Monday, April 29, 2013

Another set of necks.

Short weekend to get things done.

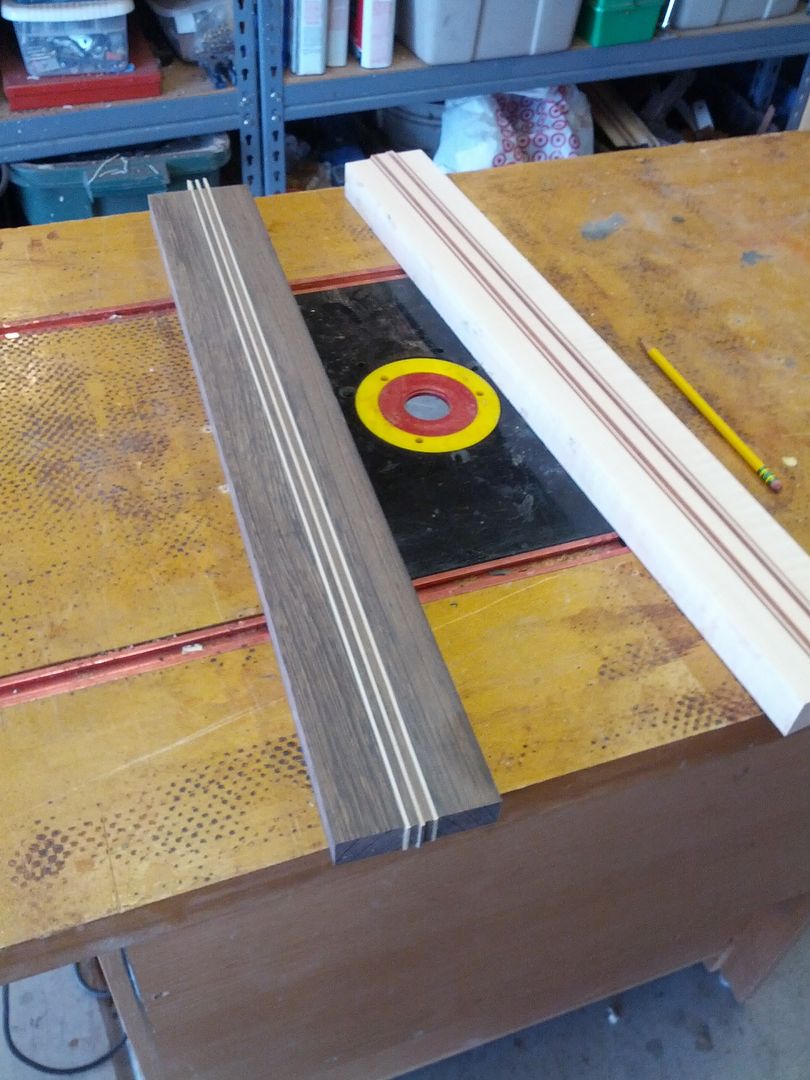
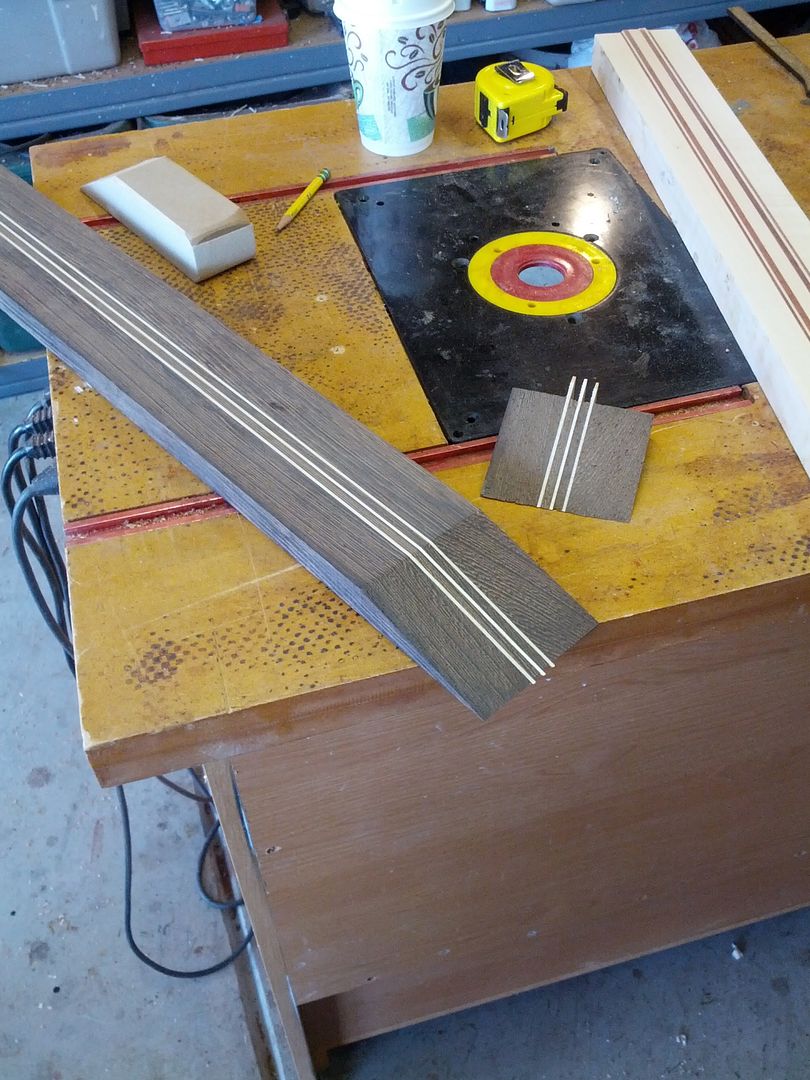
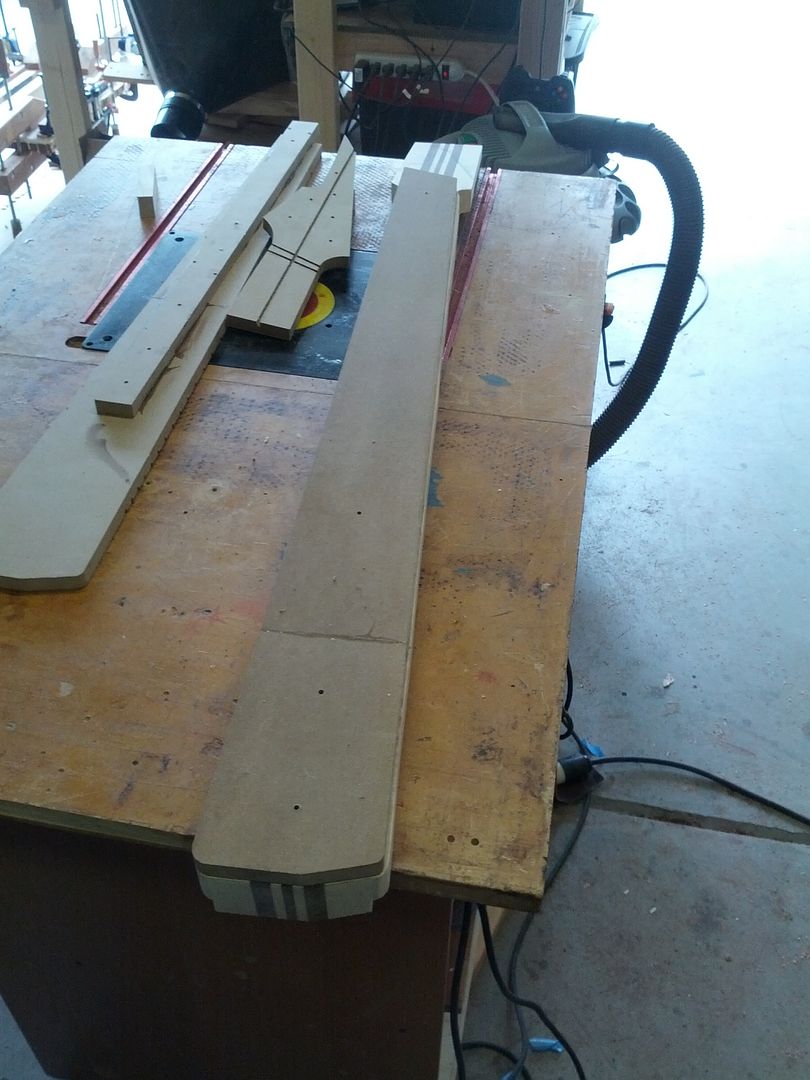
After gluing them up it is time to true them up.


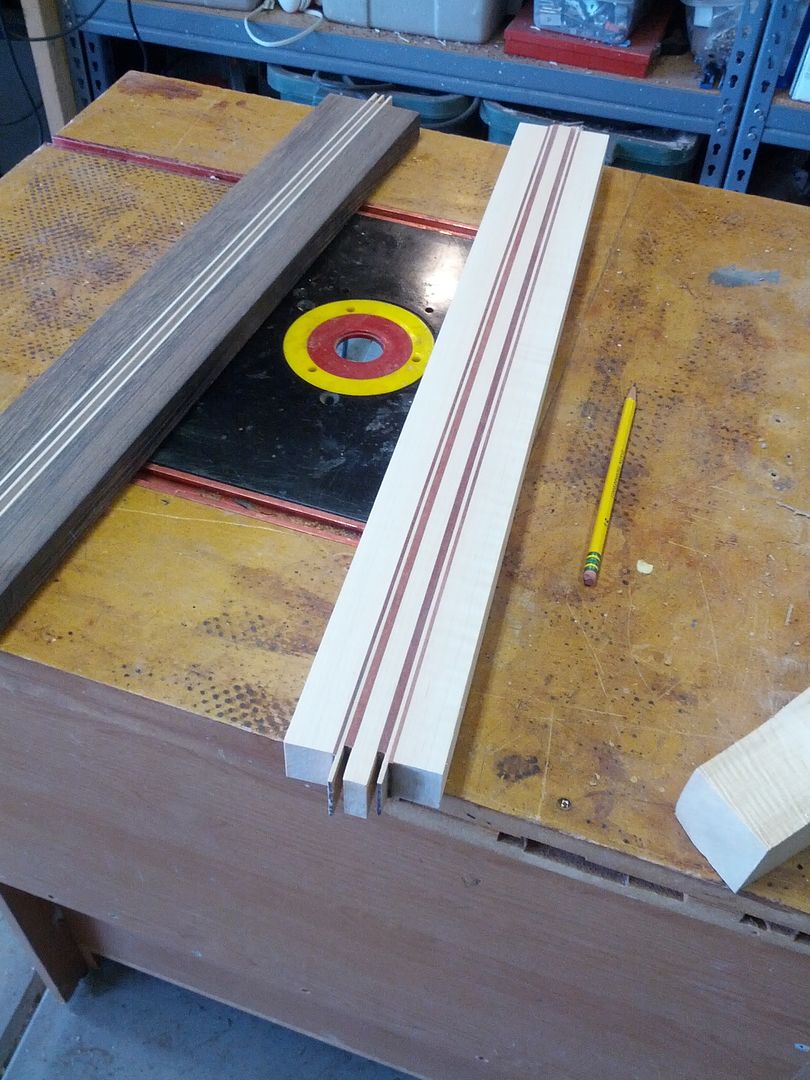
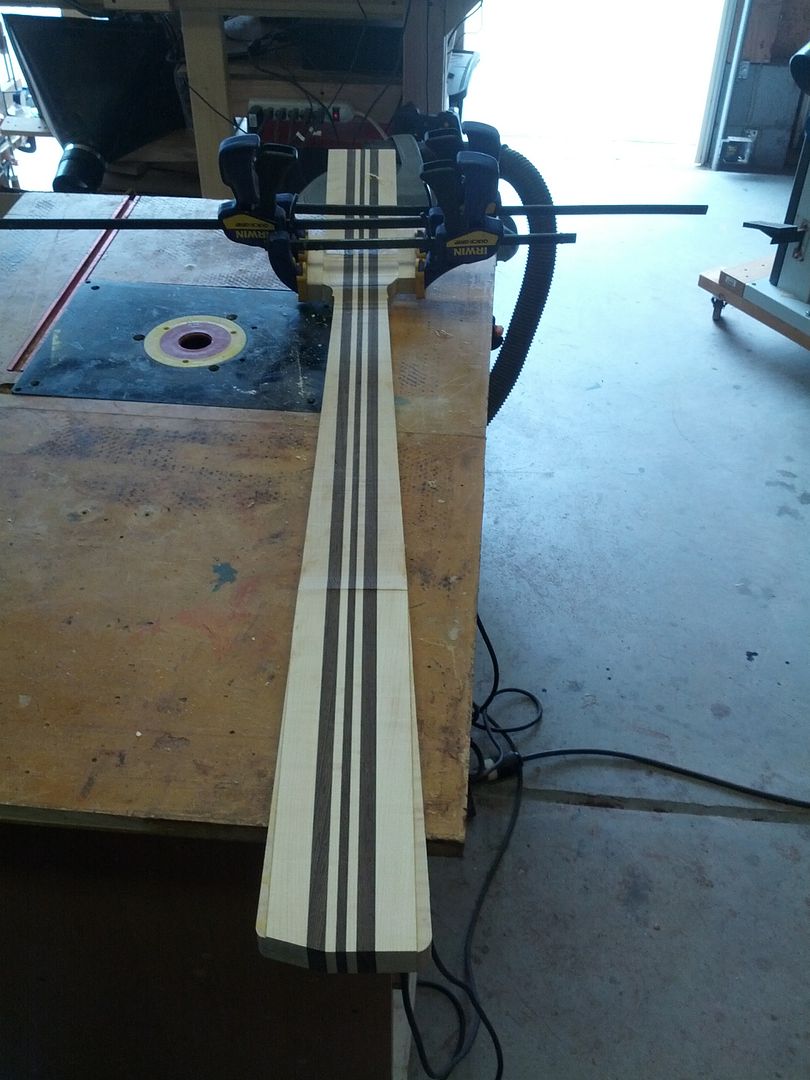
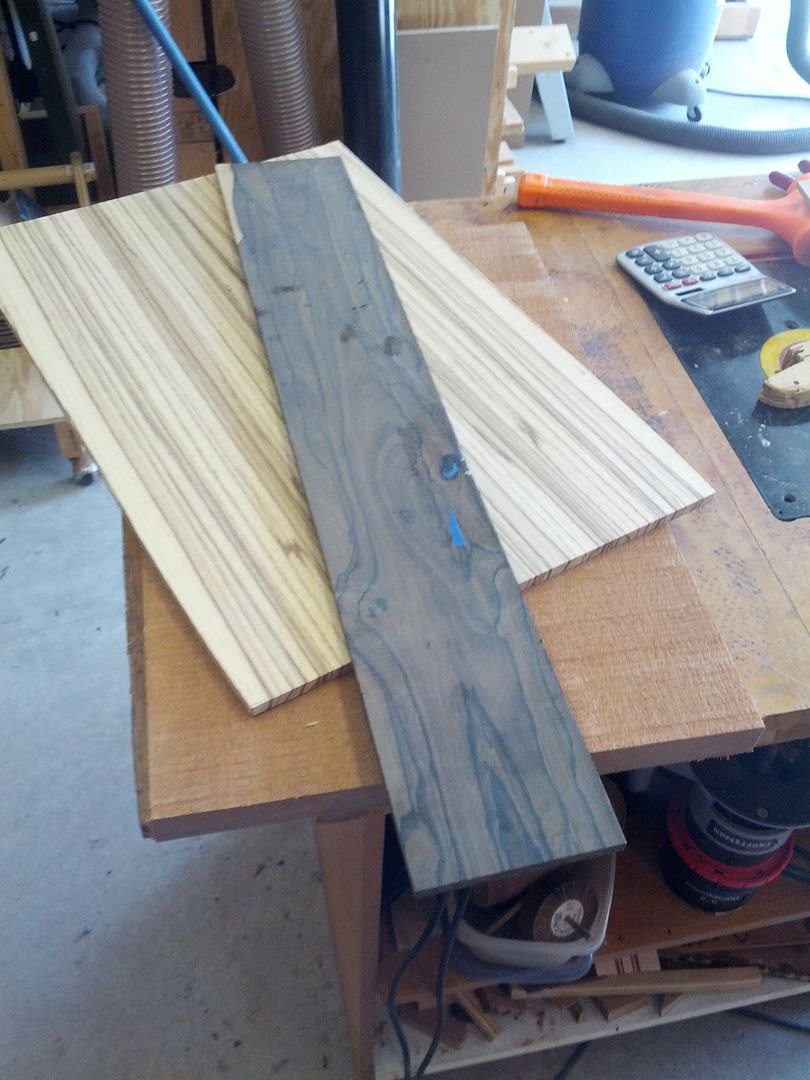
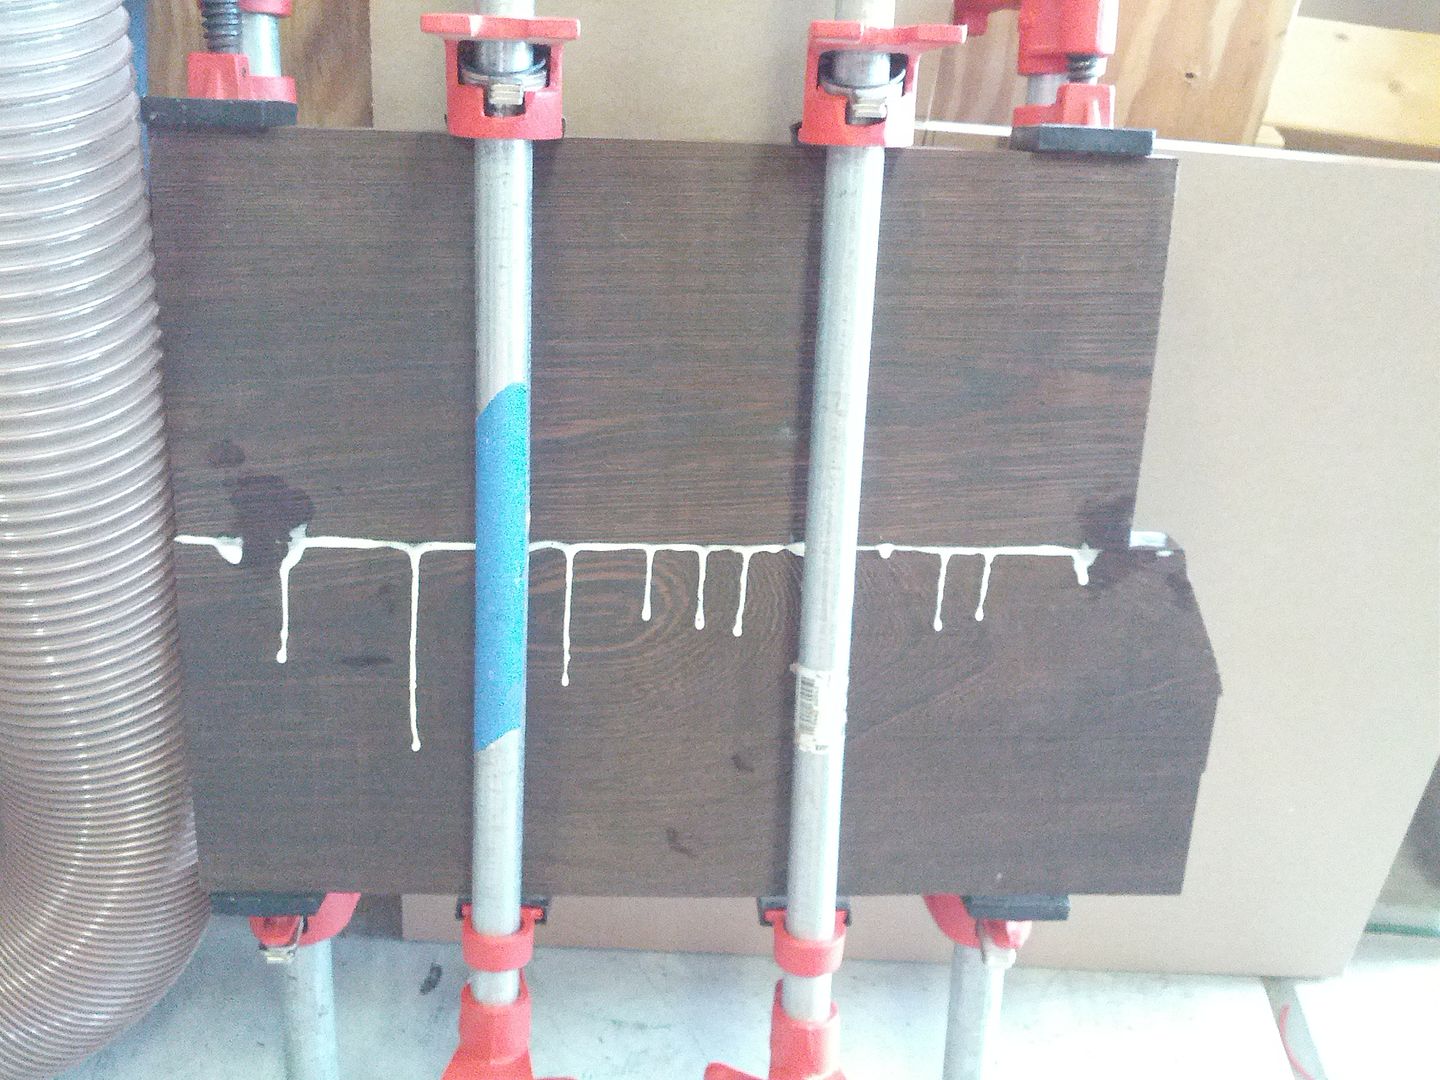
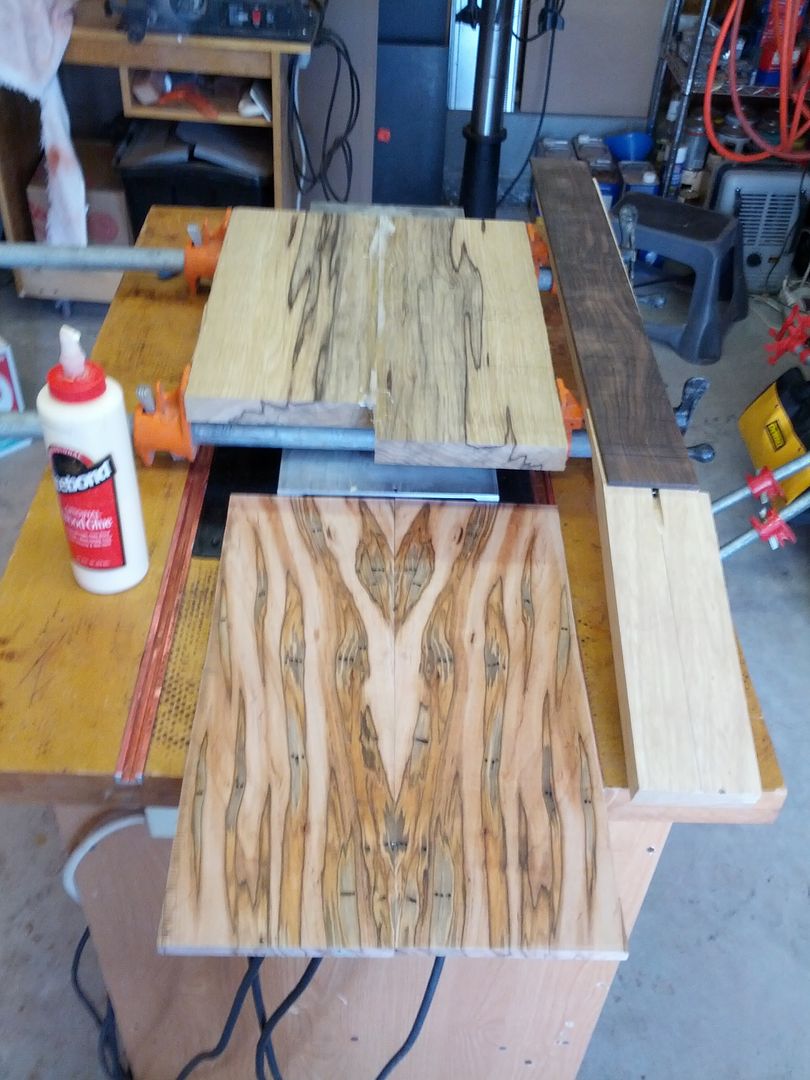
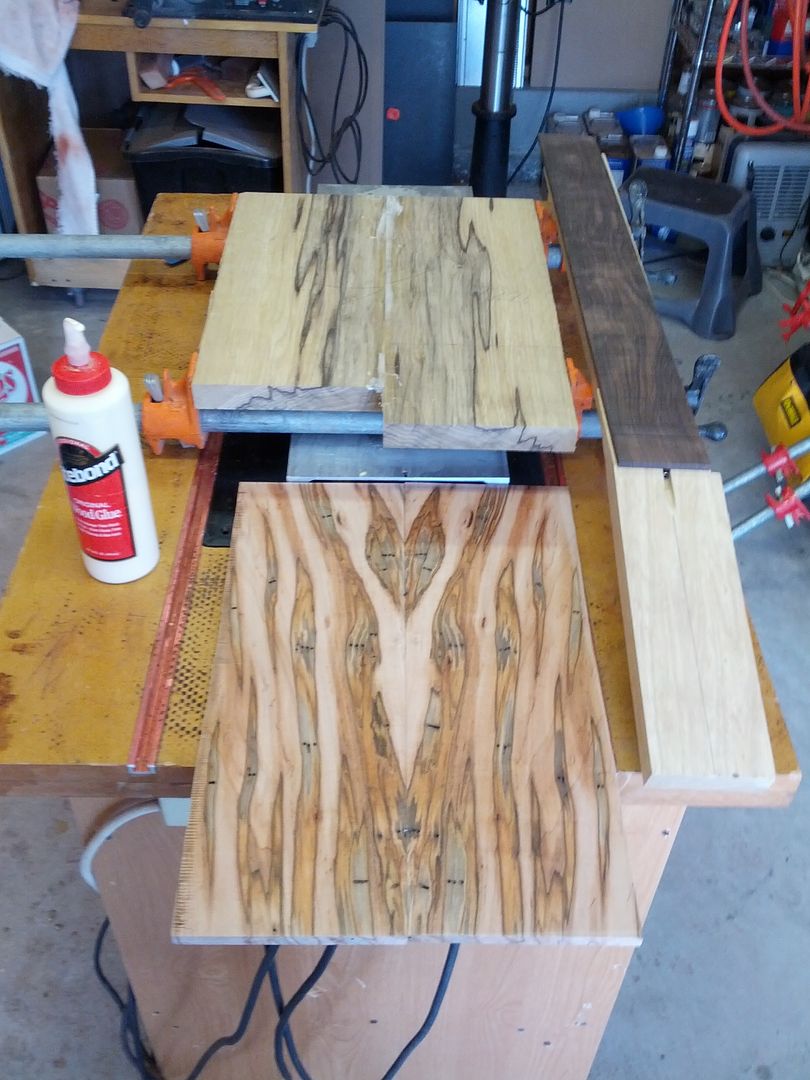
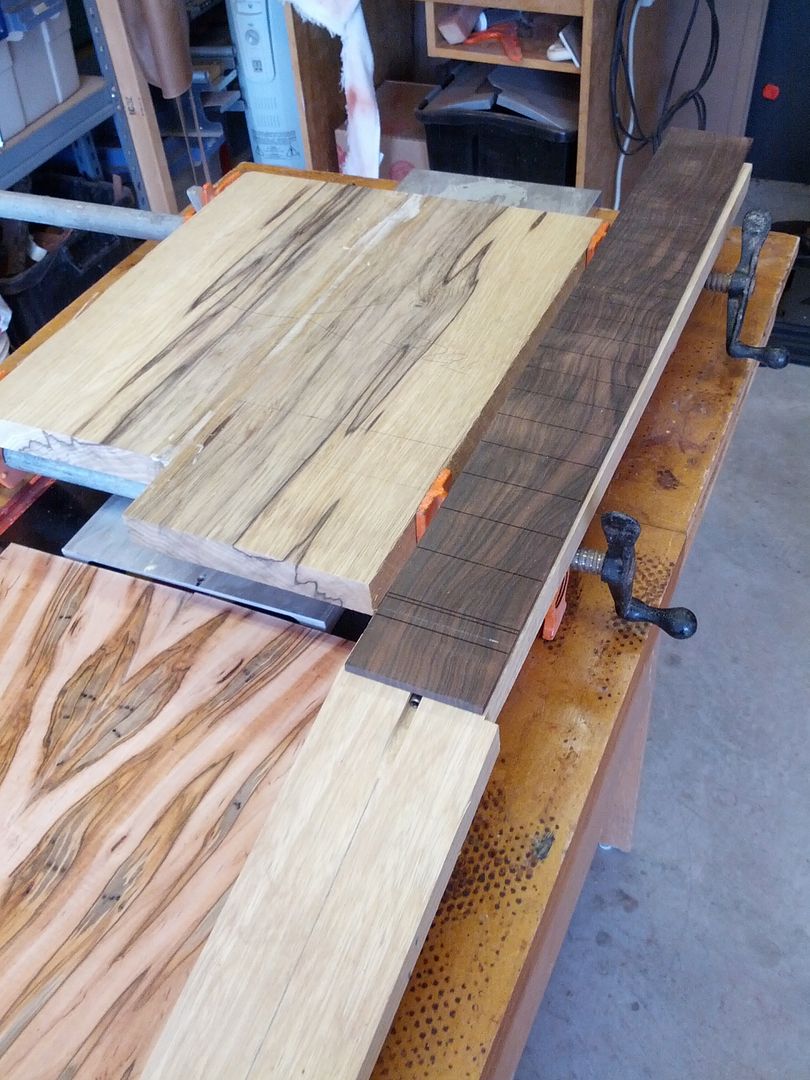
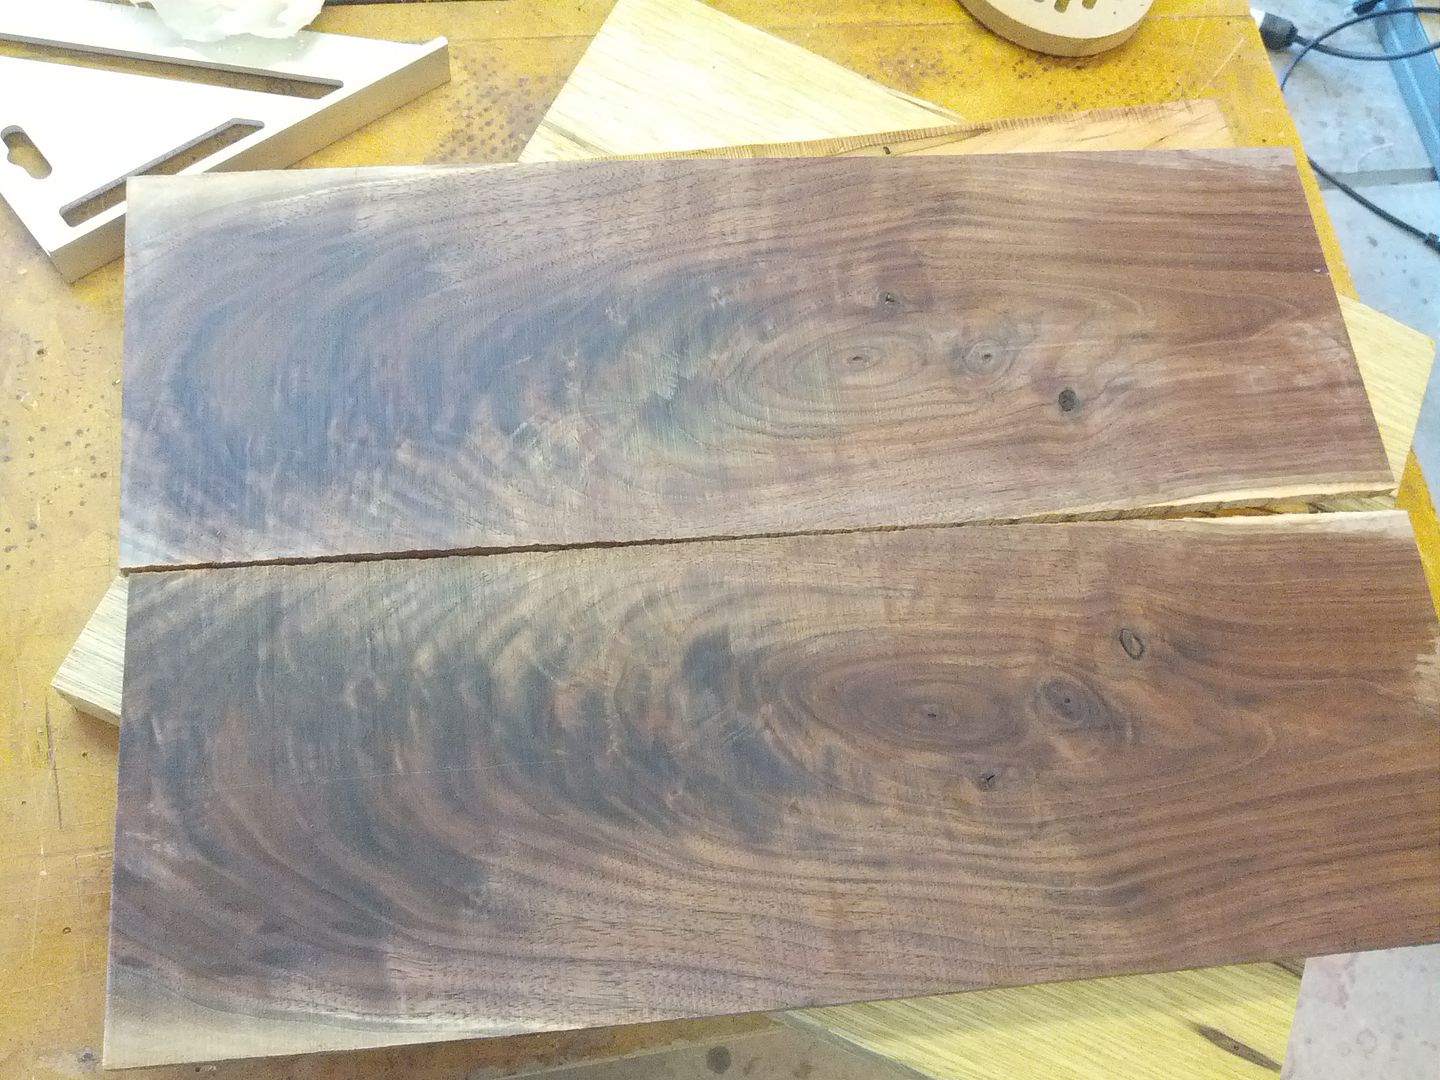
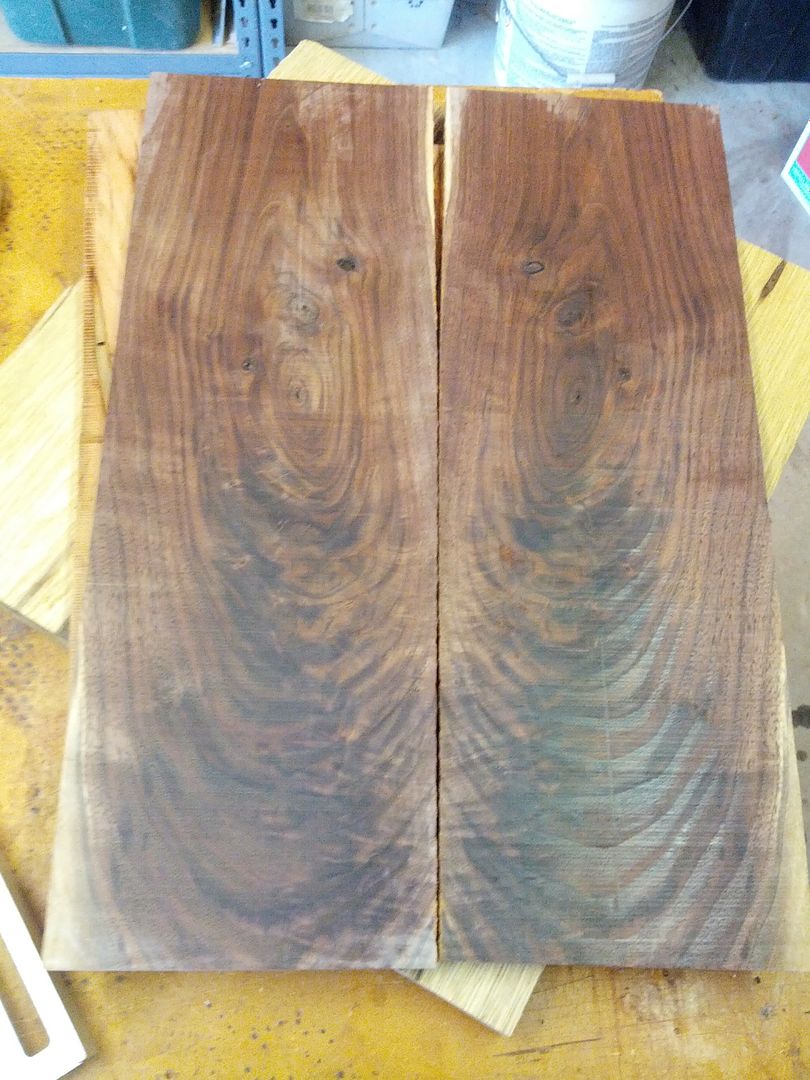
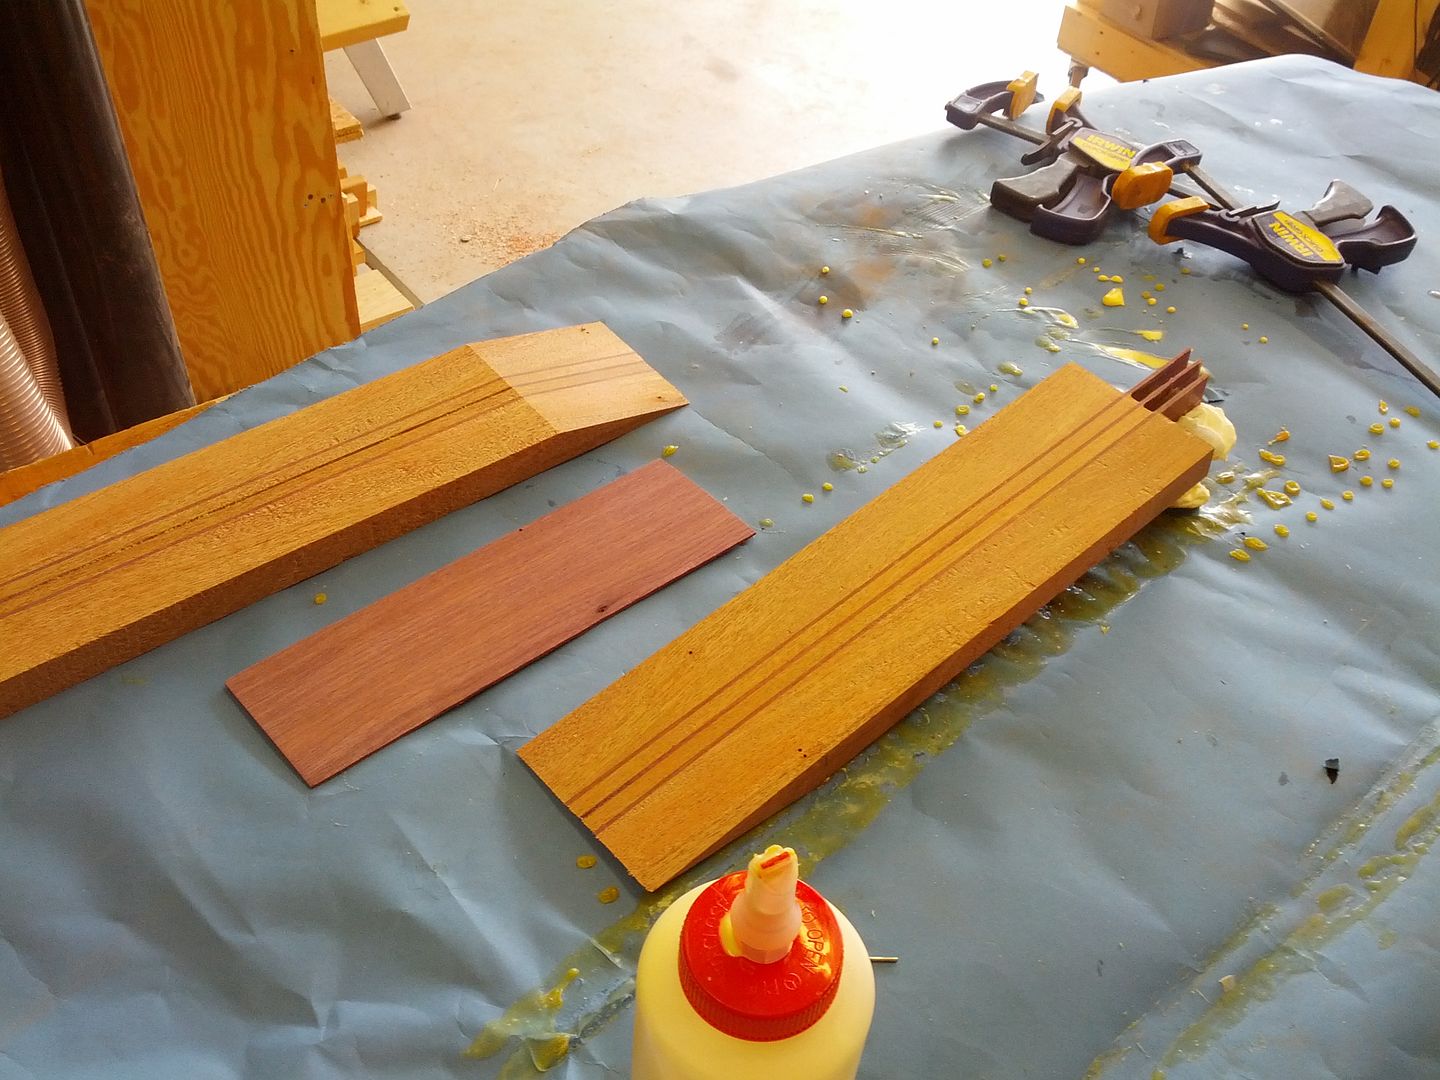
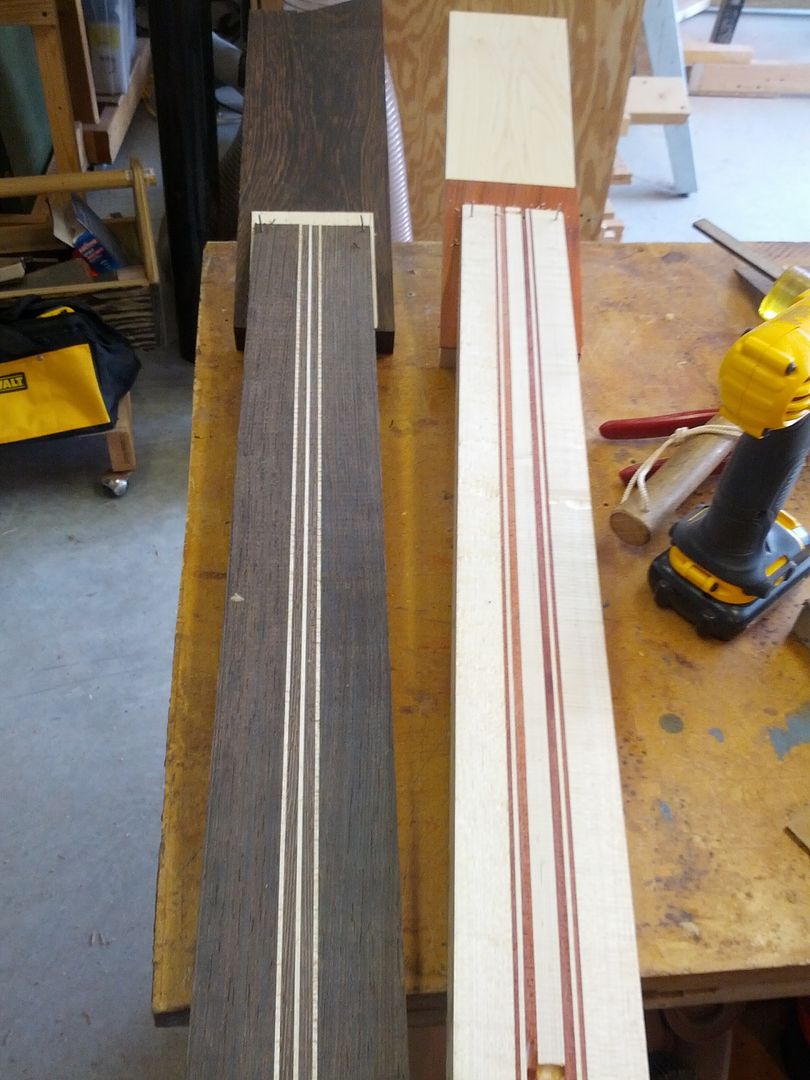
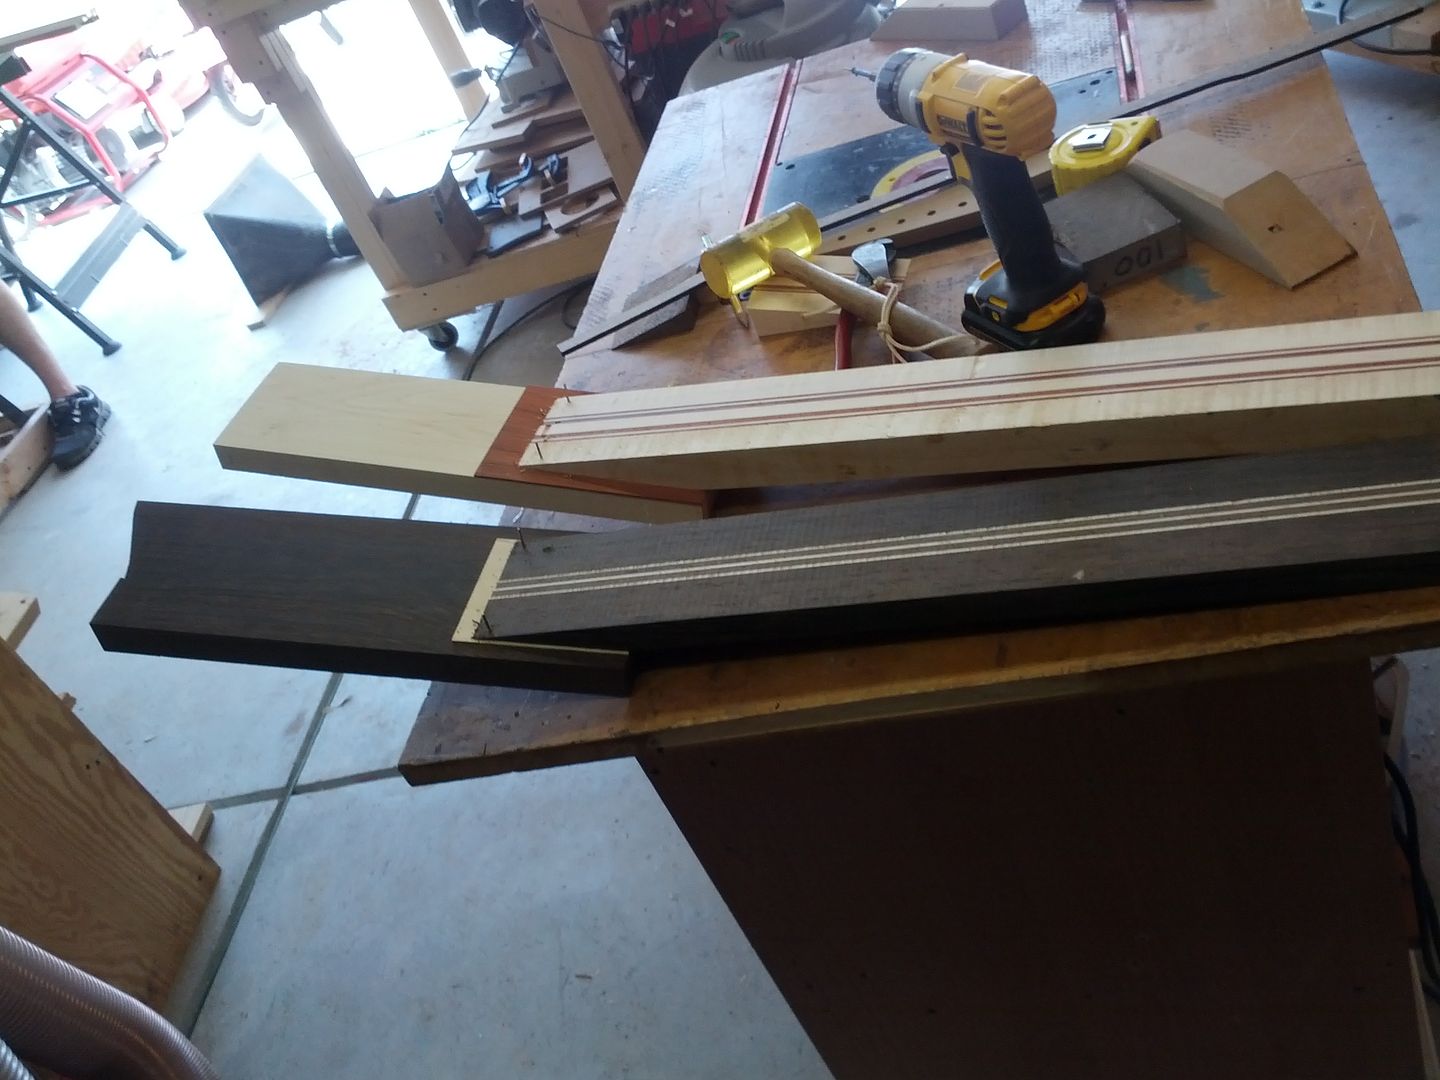
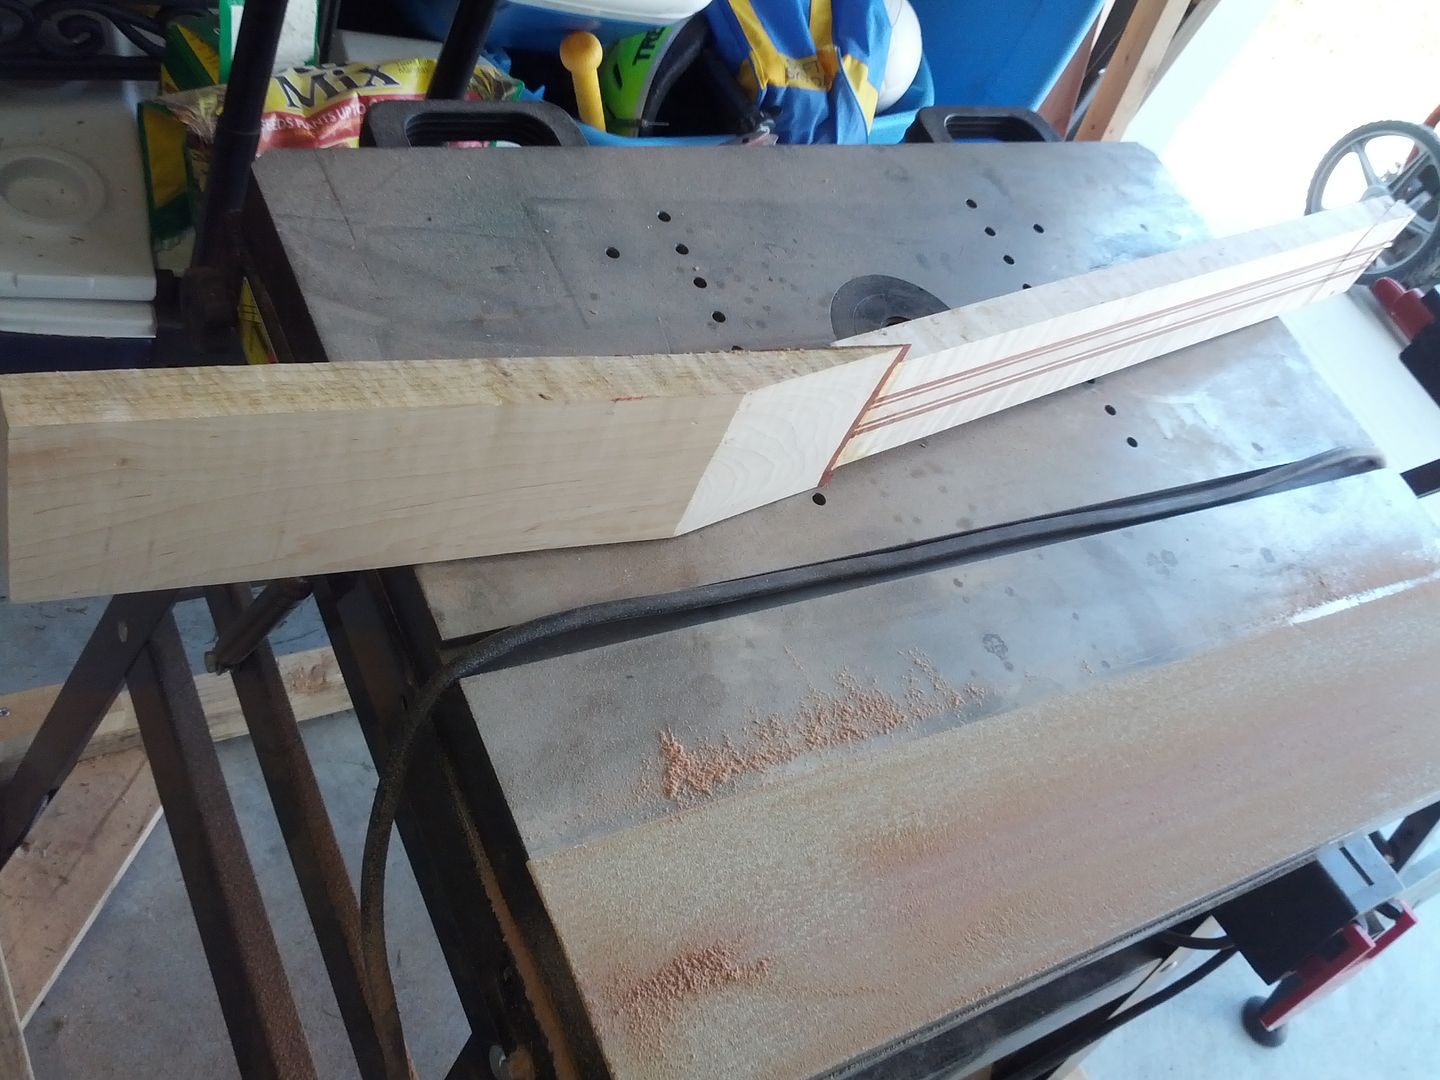
Scarf time. Doing 2 at a time here to try and make some progress.


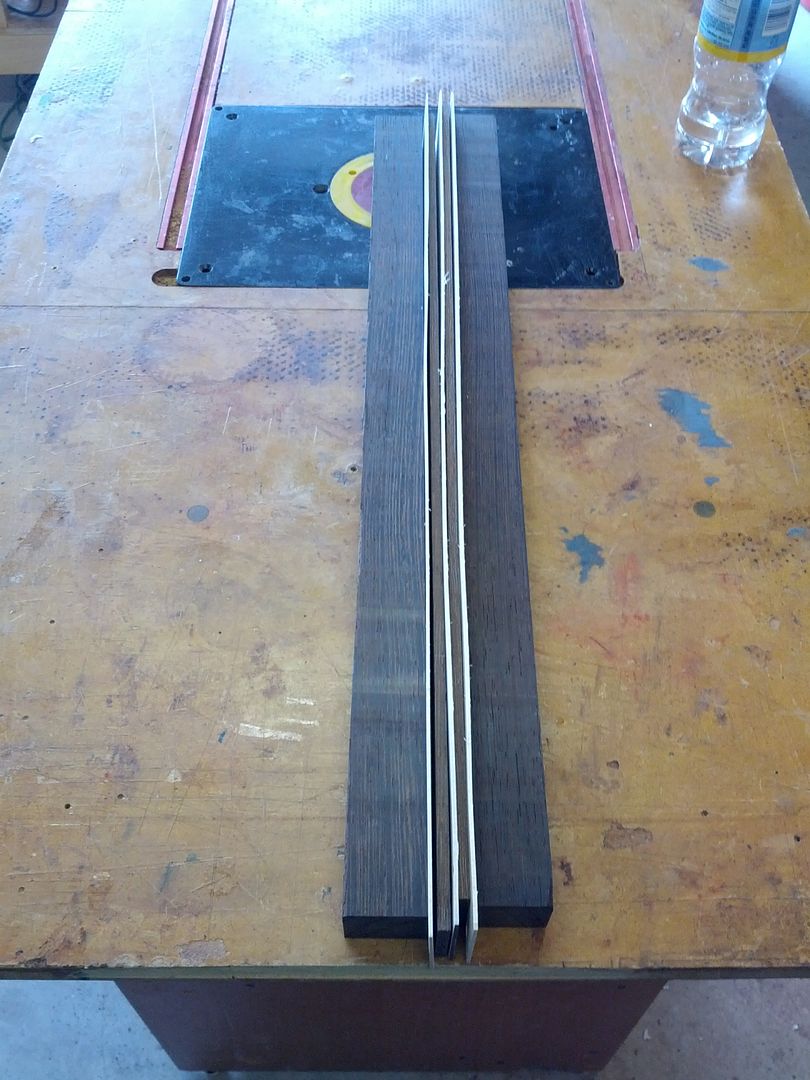
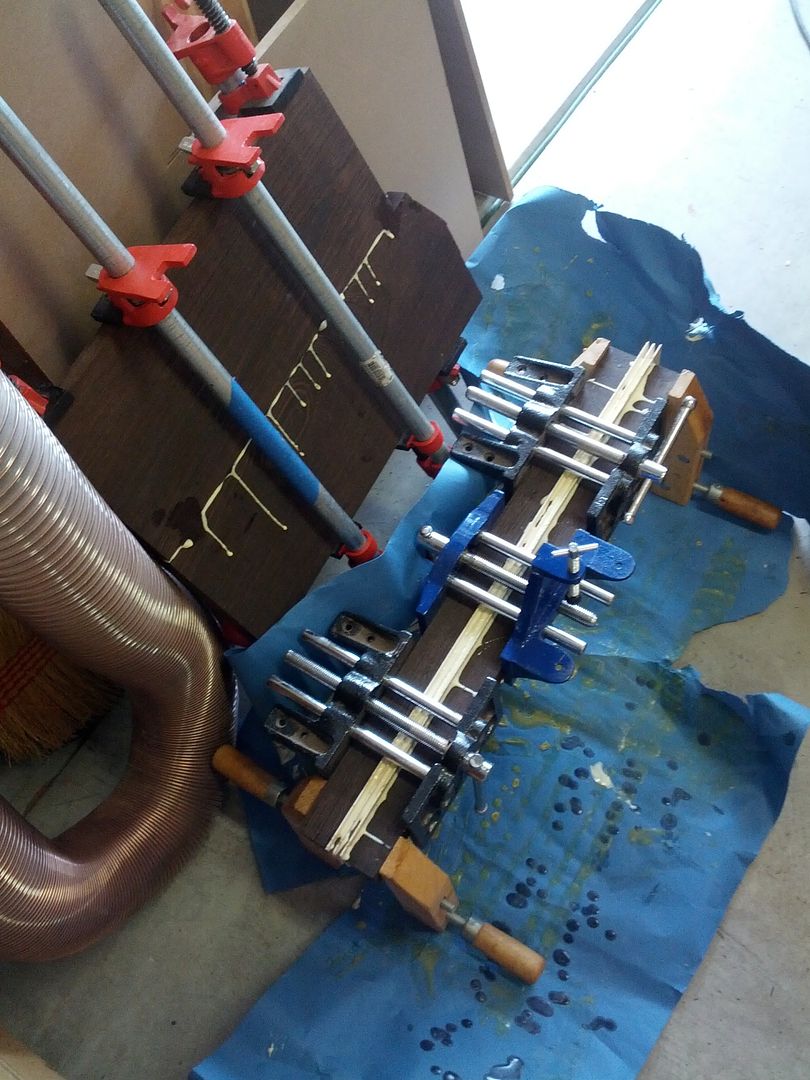
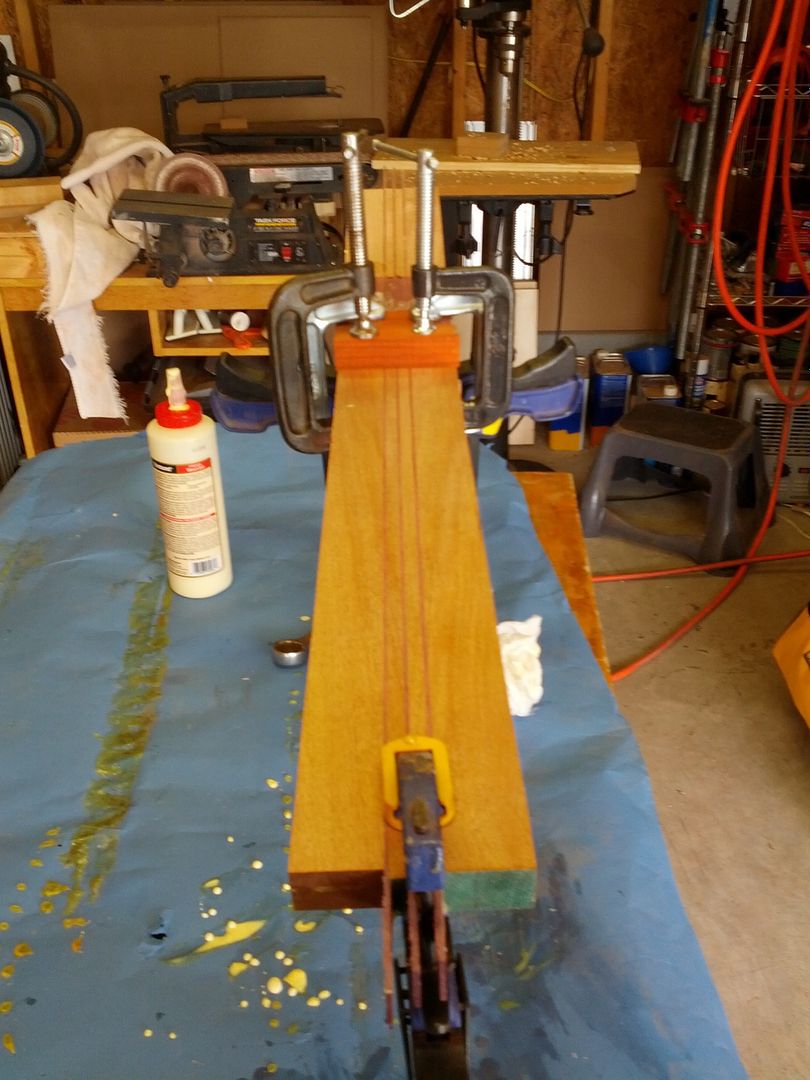
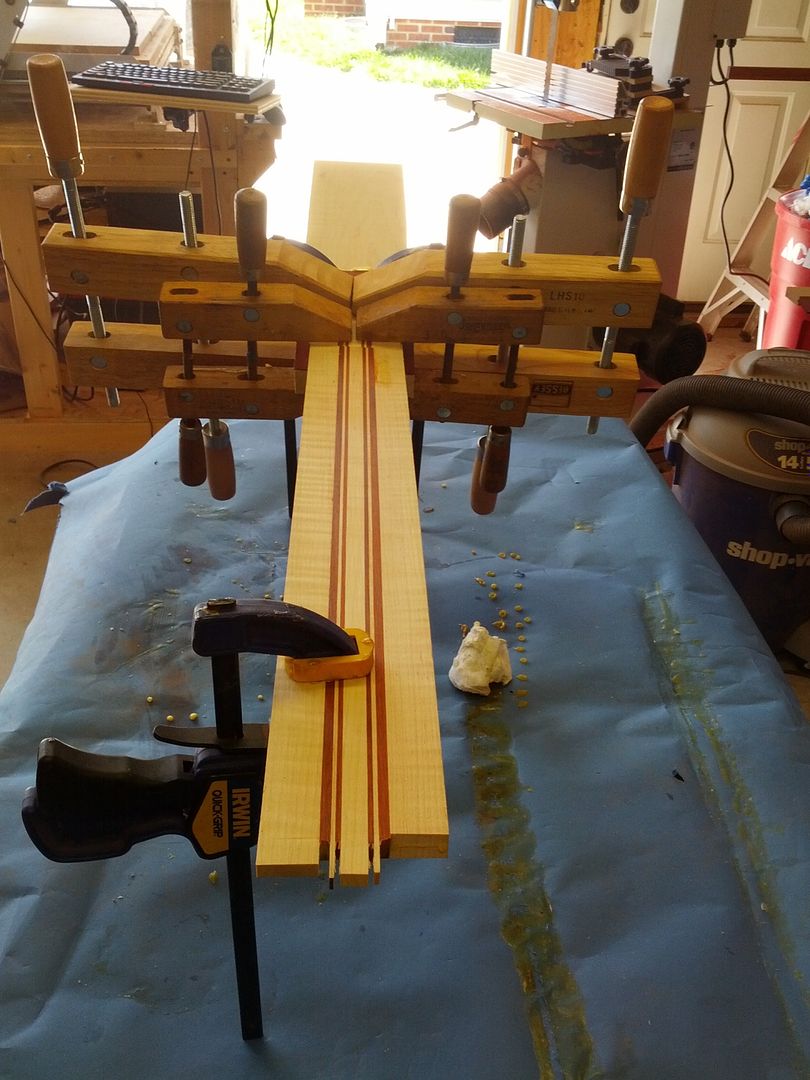
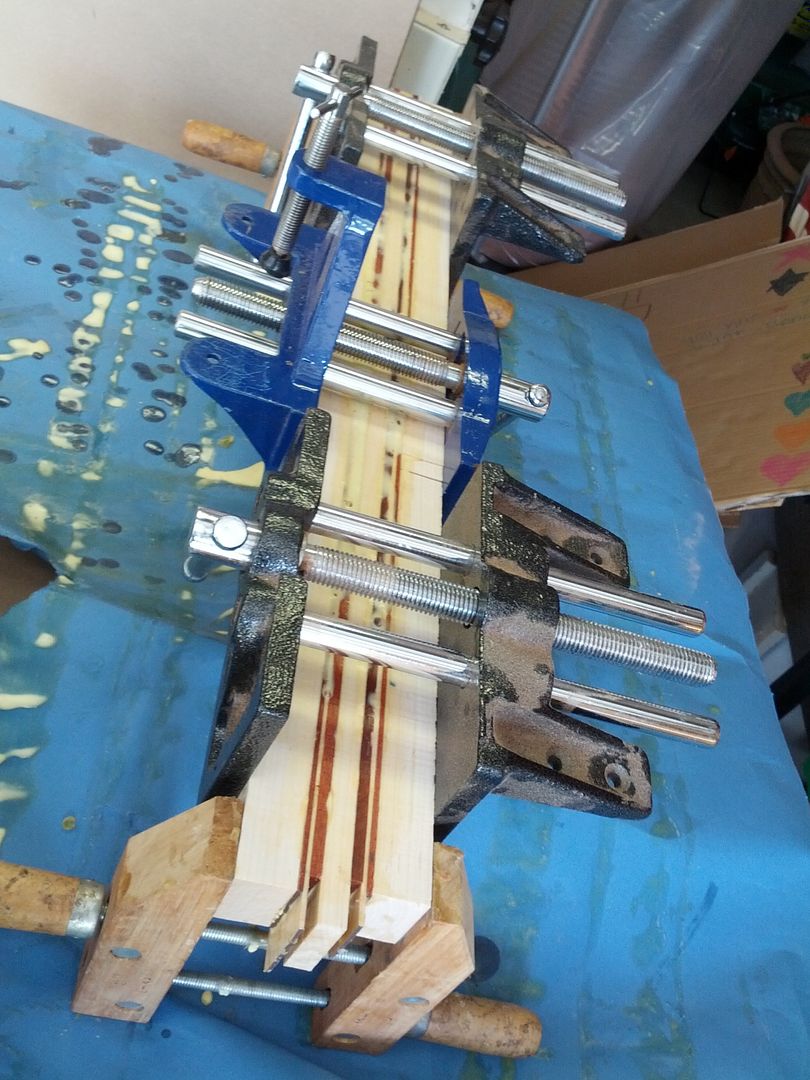
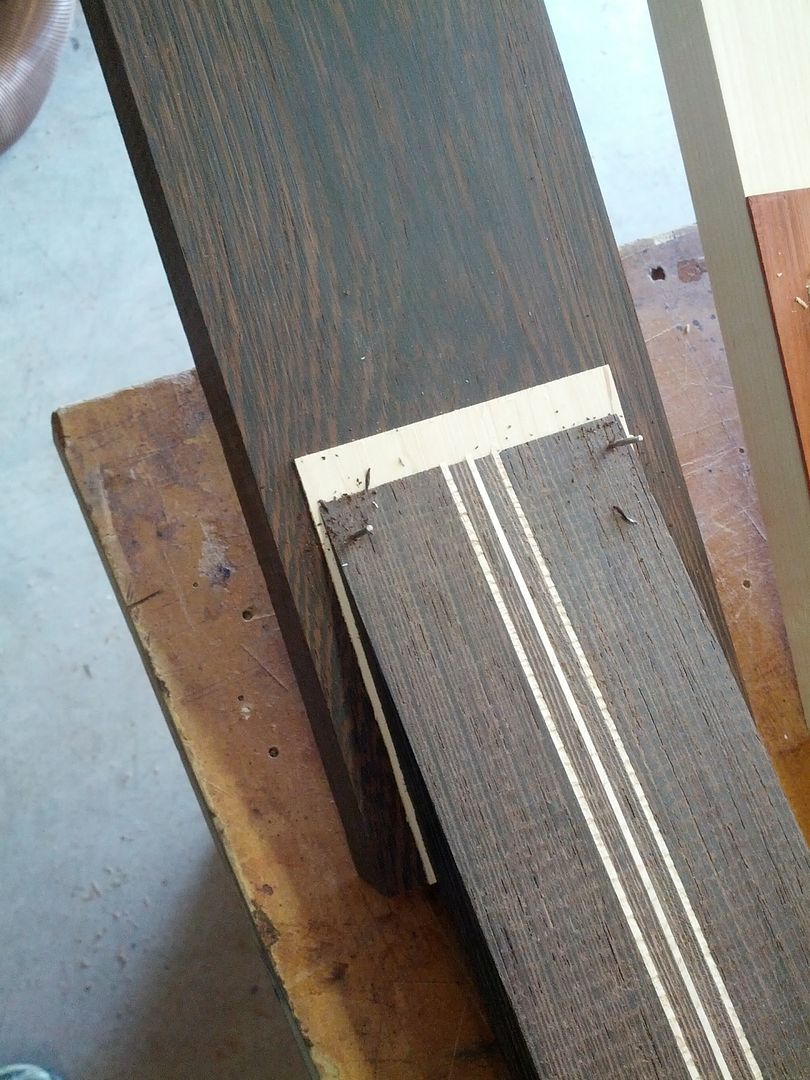
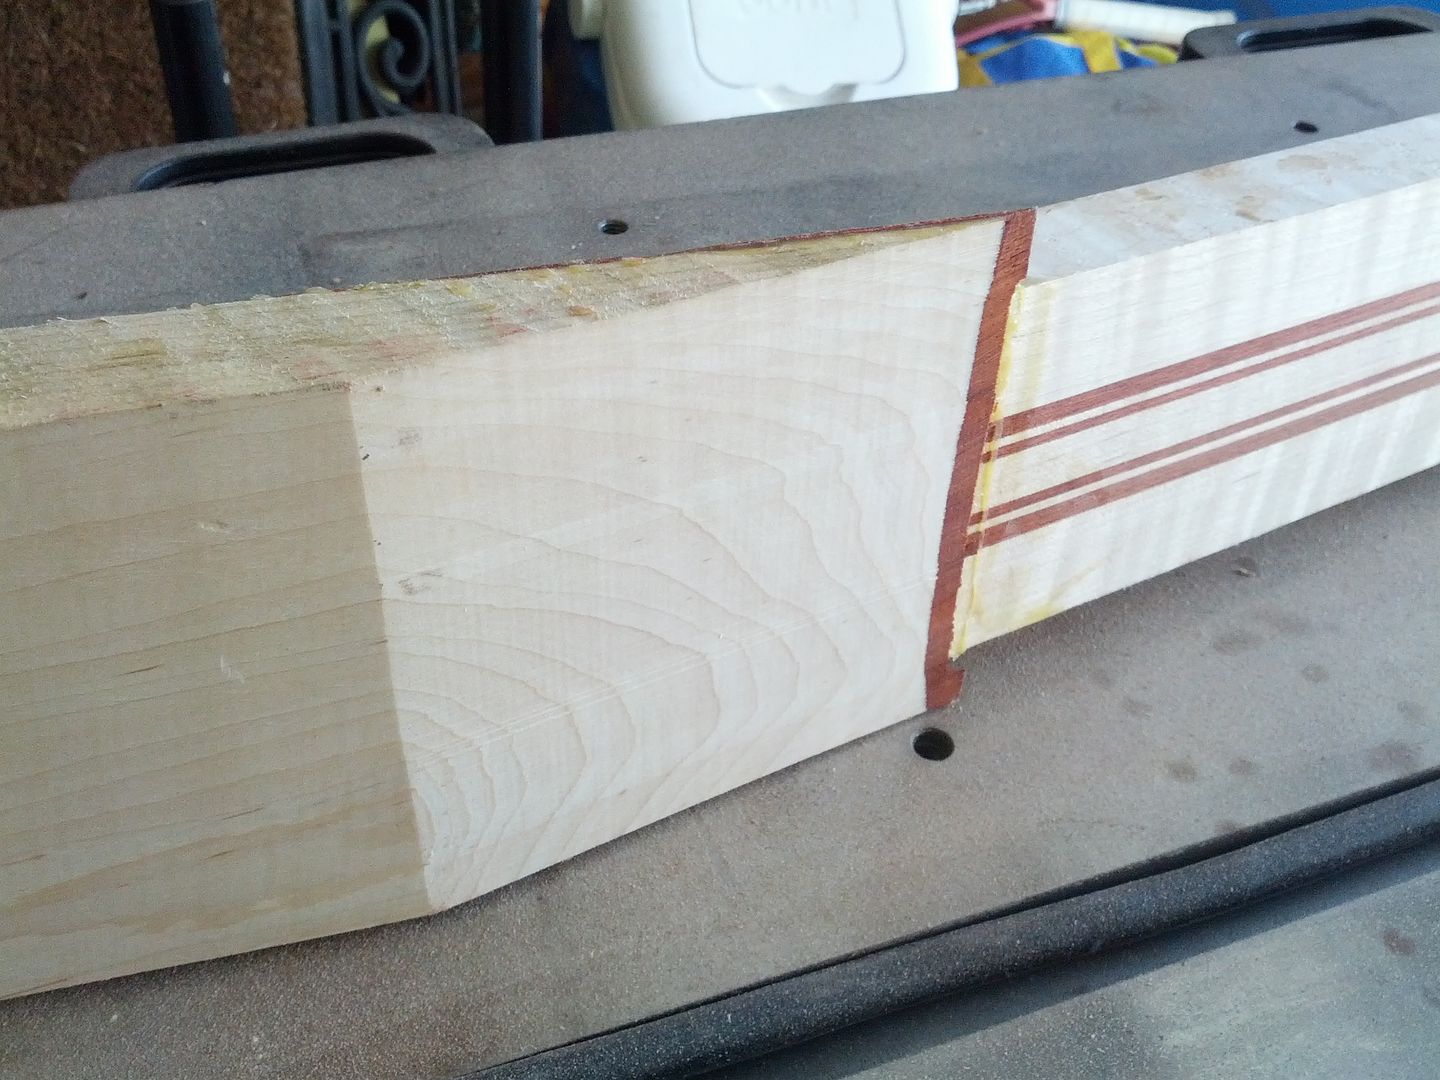
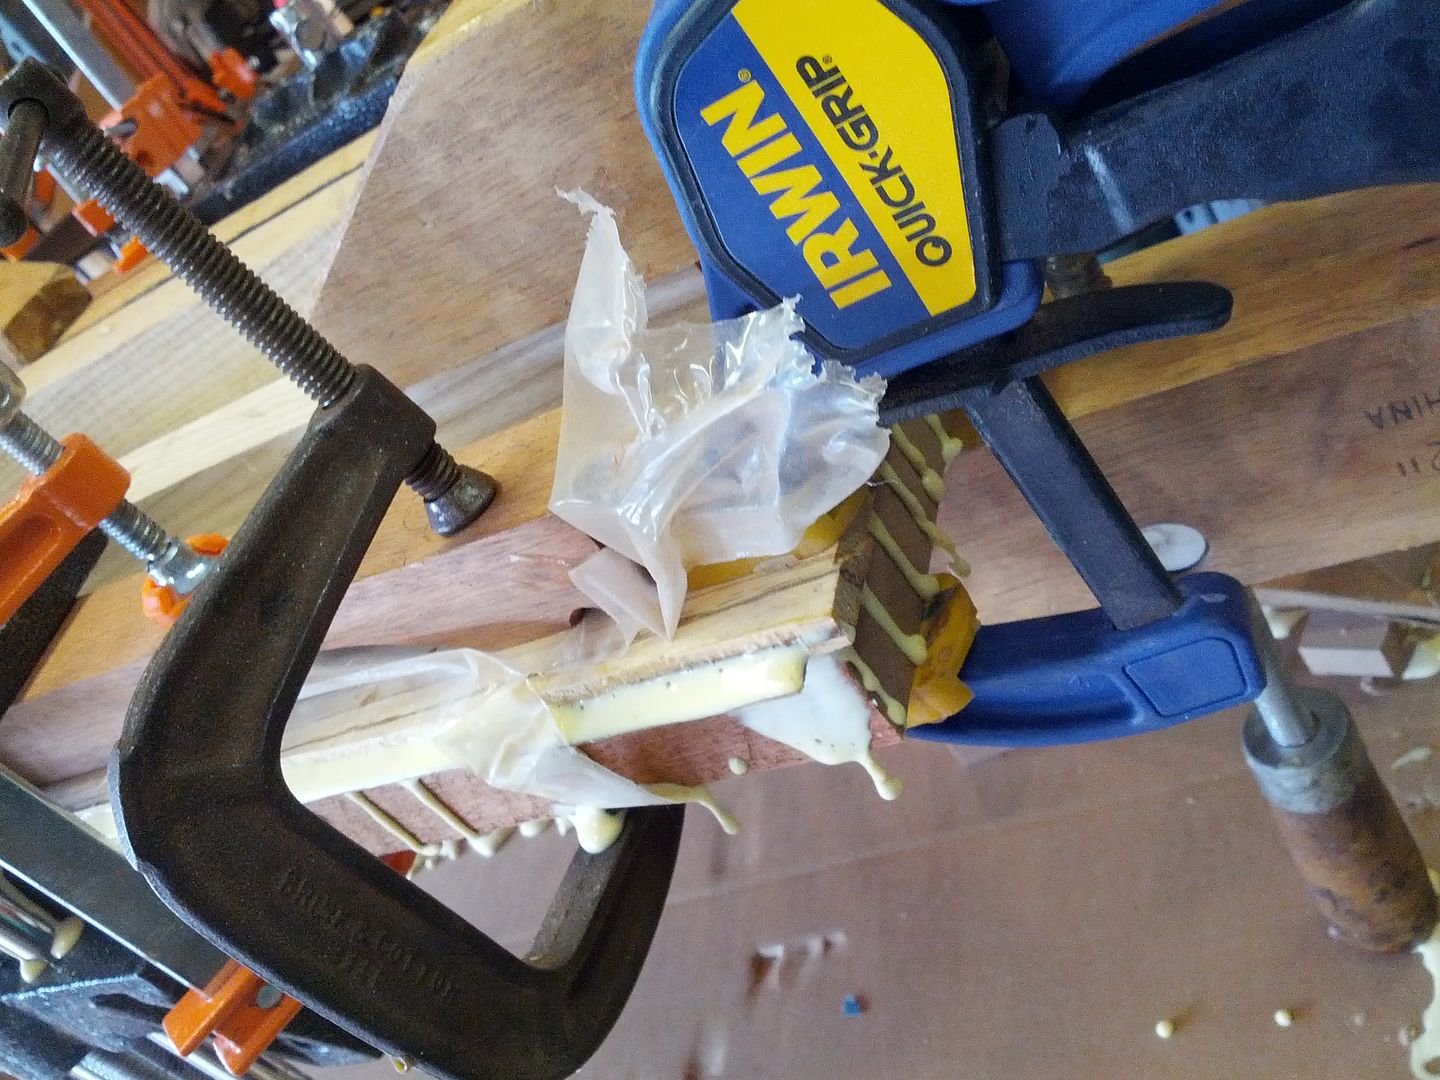
Pinning the scarf is the best way to keep it from creeping when you clamp it. You don't want the veneer squeezing out or the headstock turning under pressure.


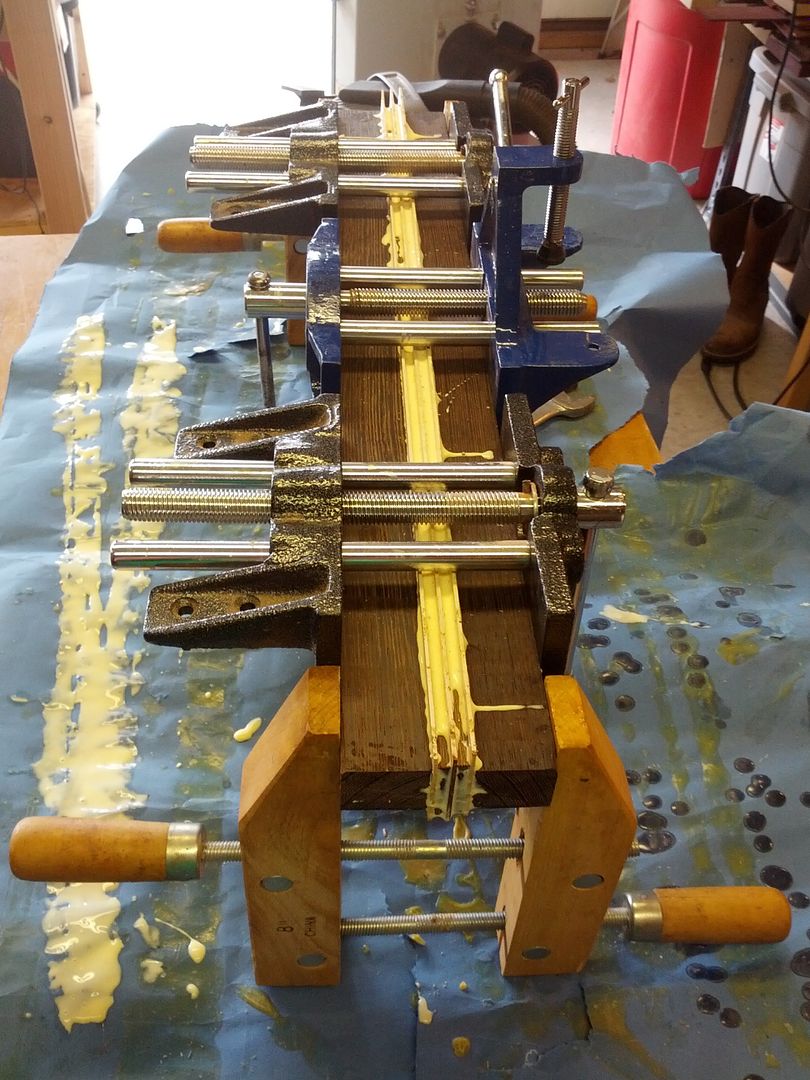
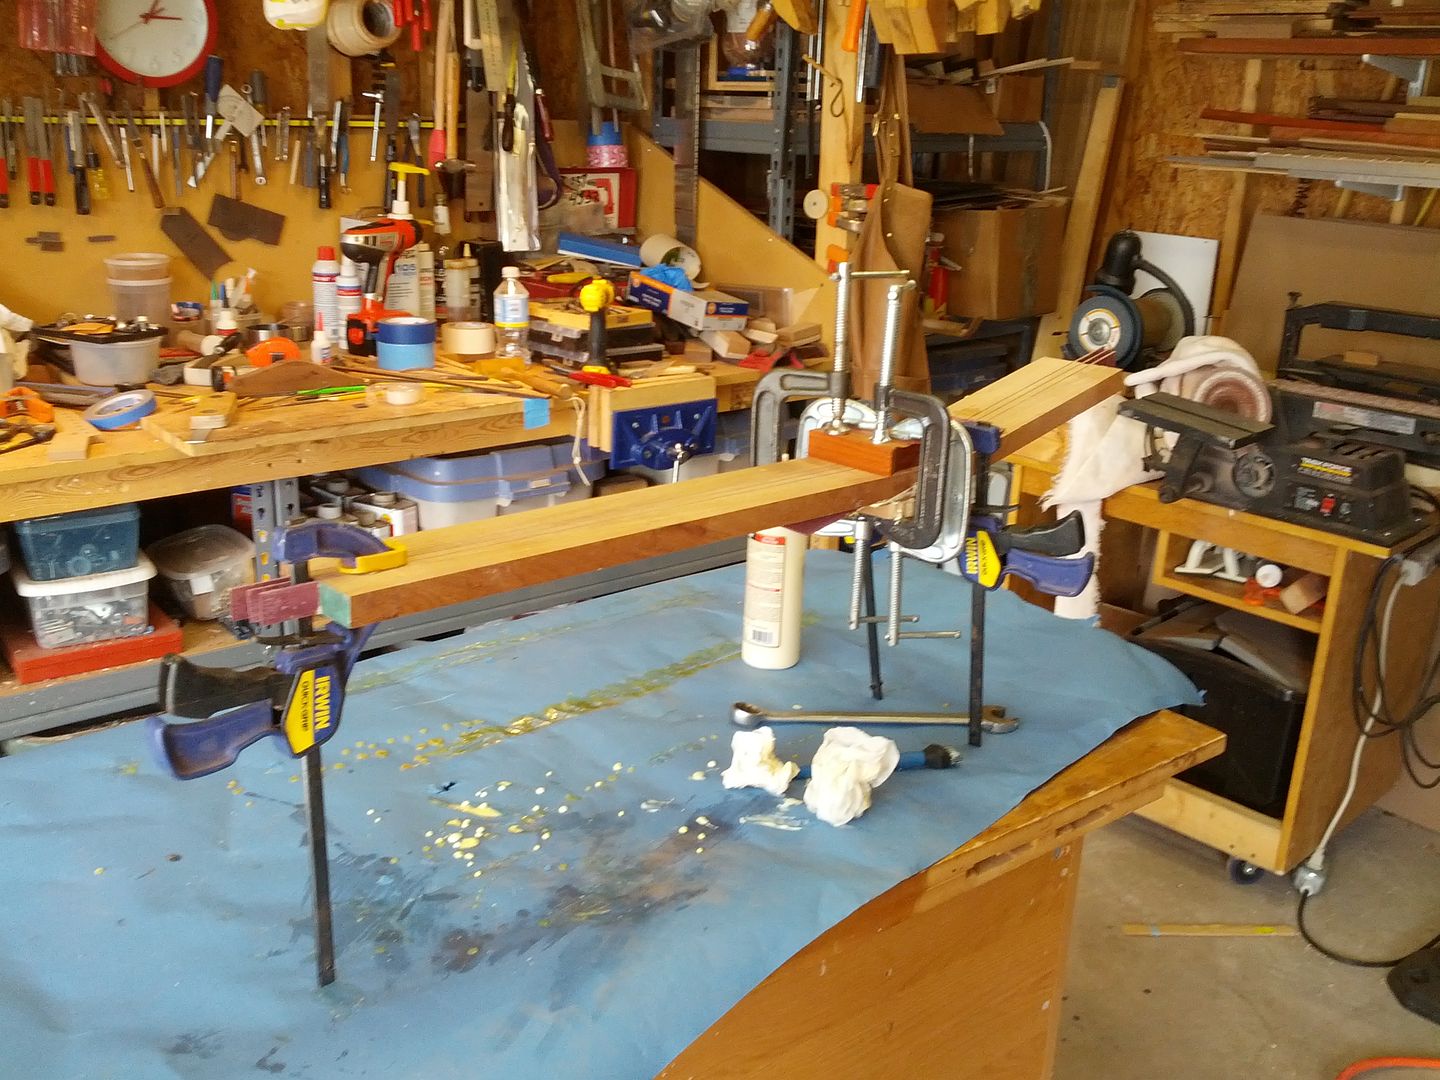
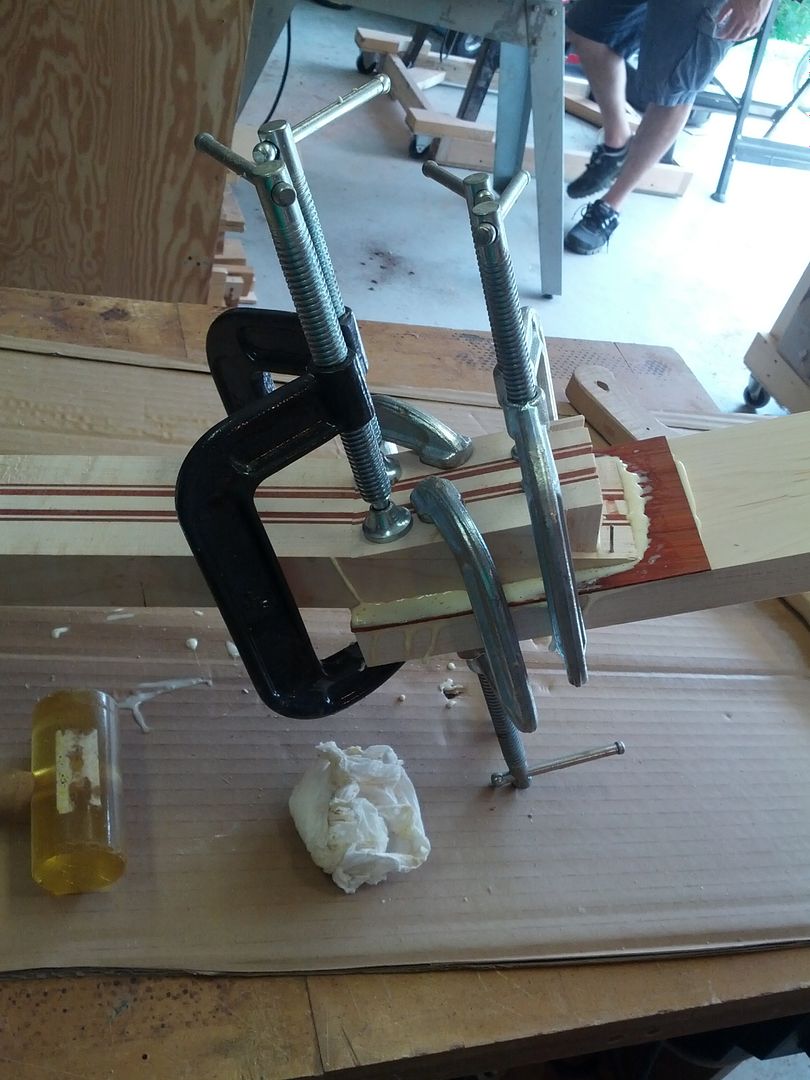
Clamps. I know you guys were wondering why I saved the cut off. Now you can see that I use it as a clamping caul.


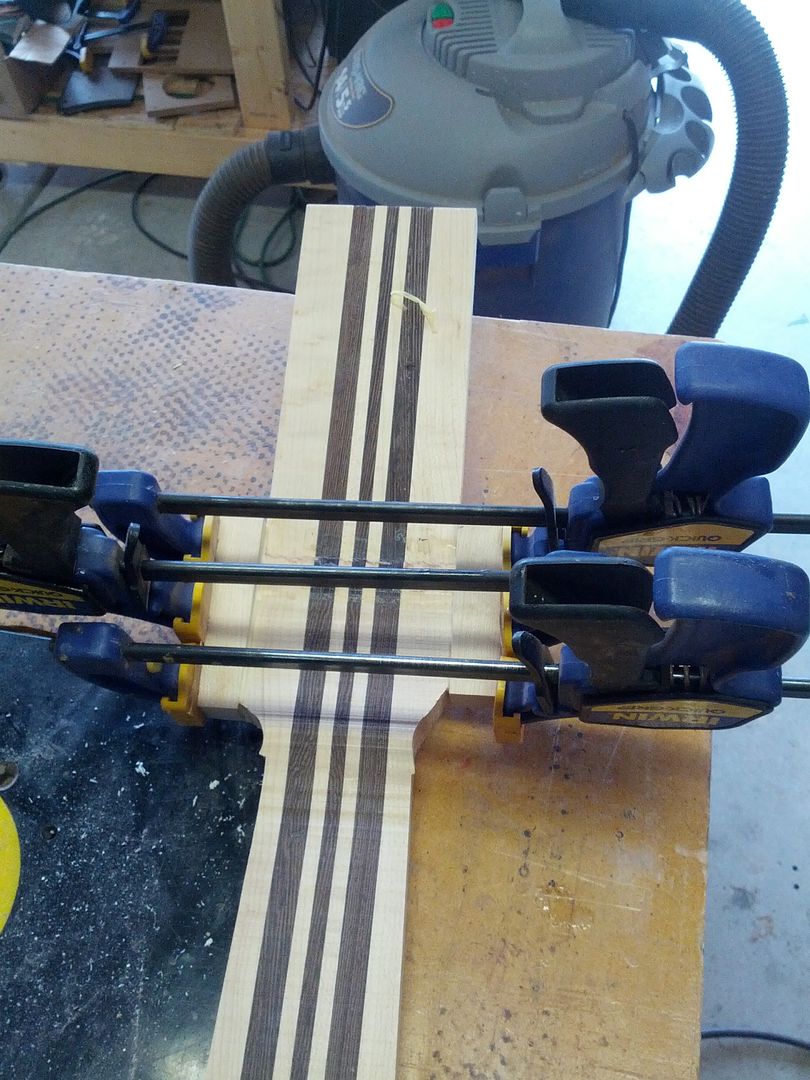
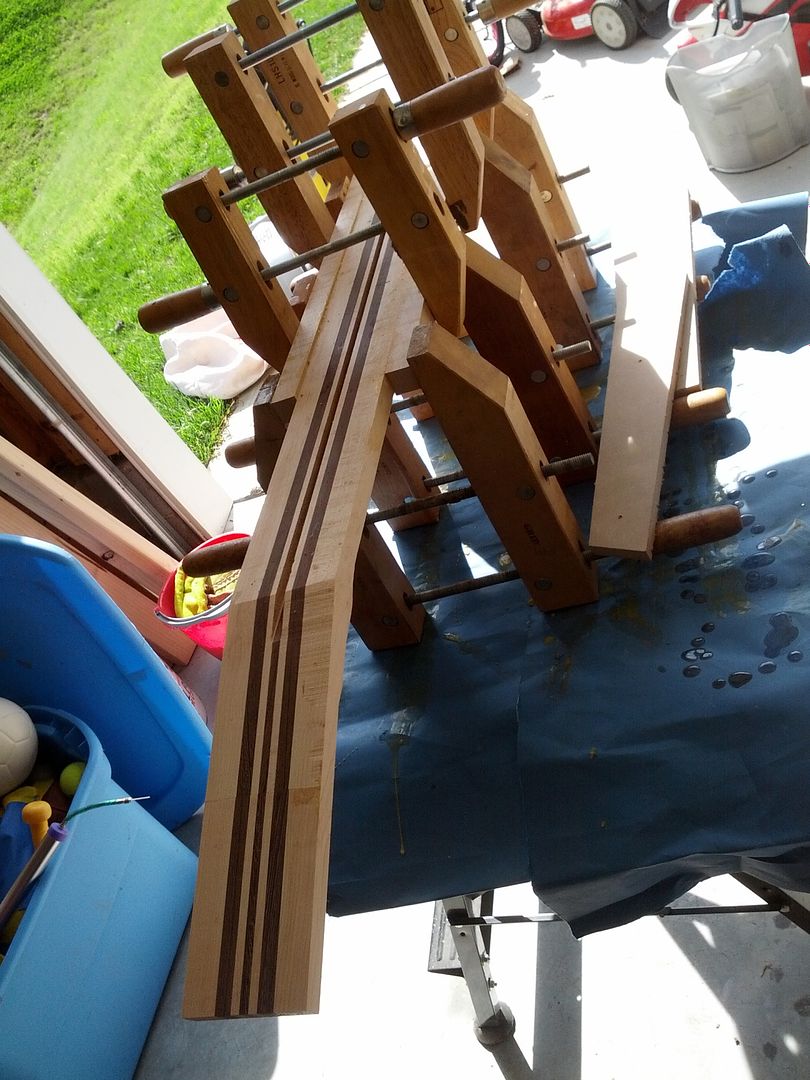
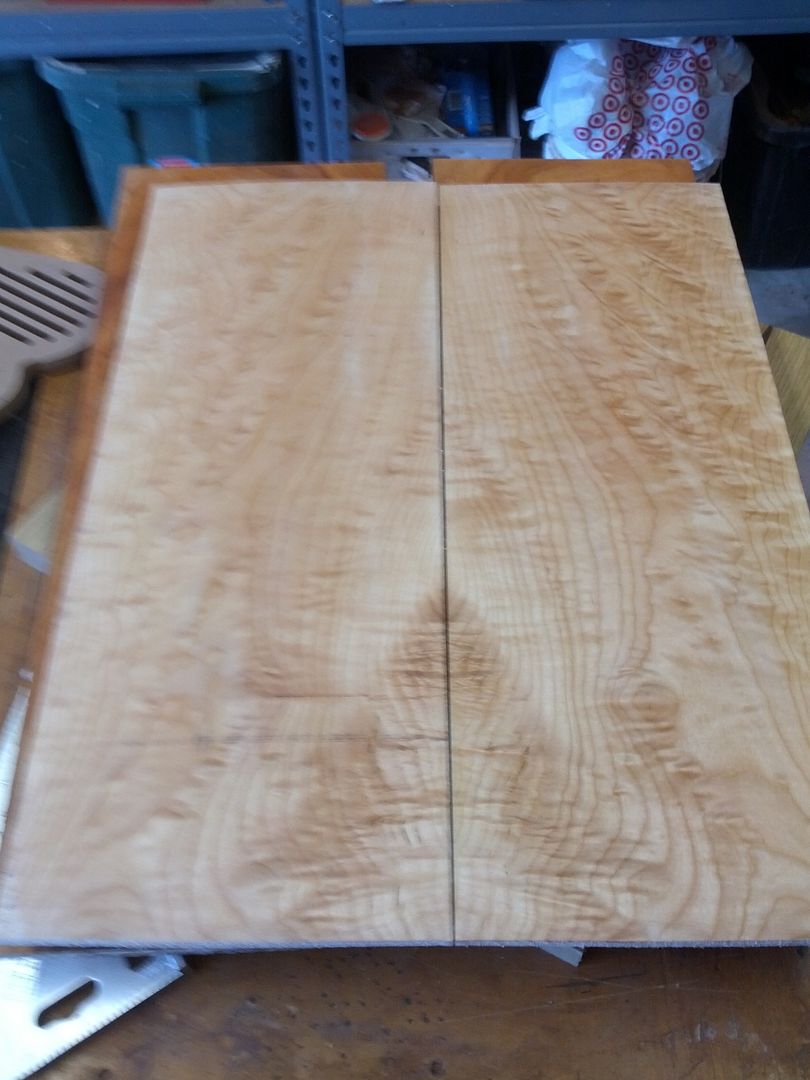
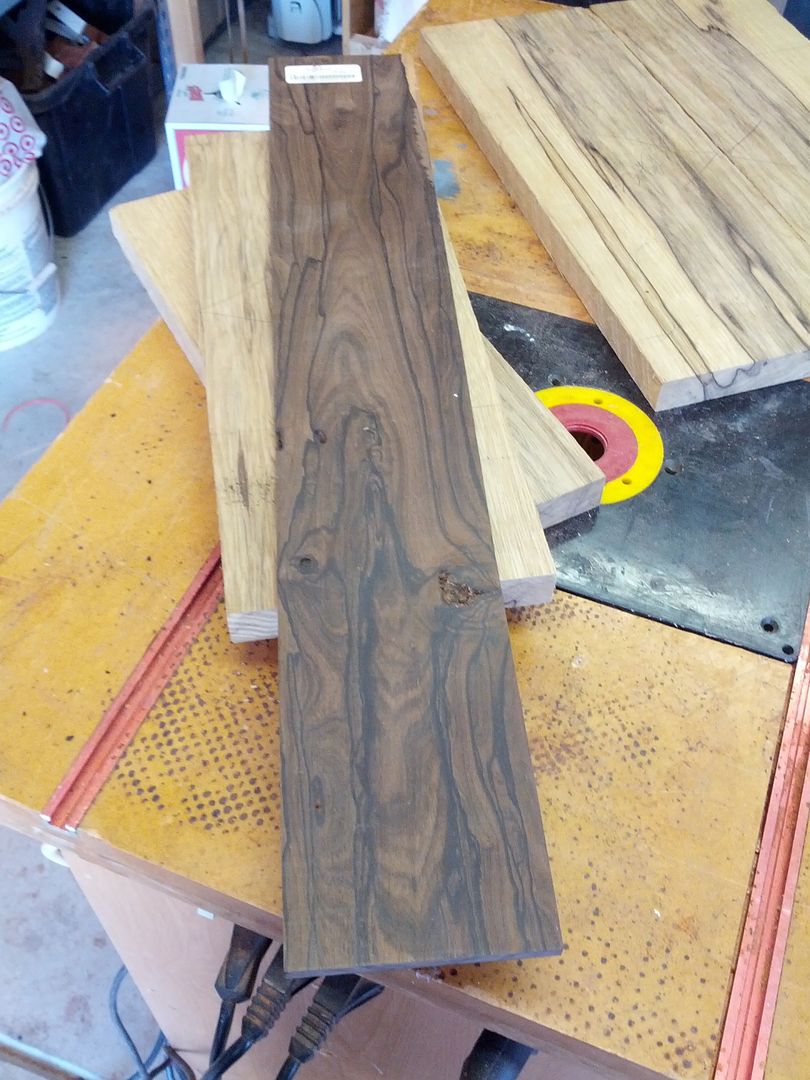
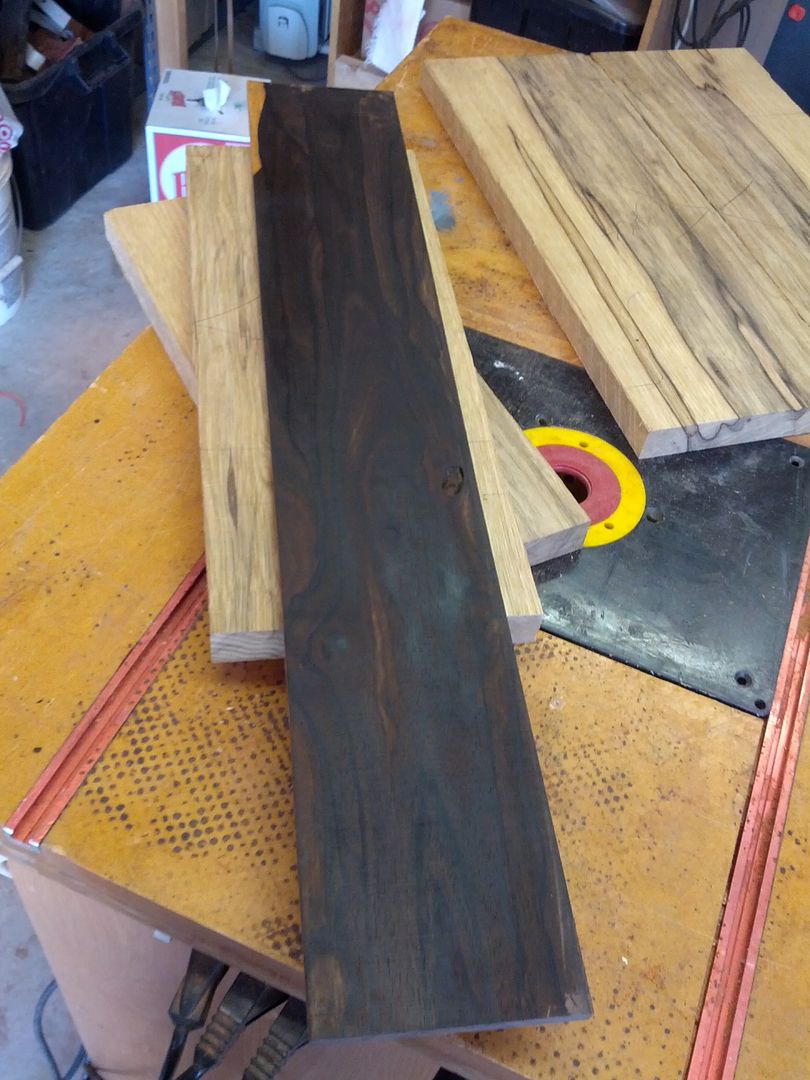
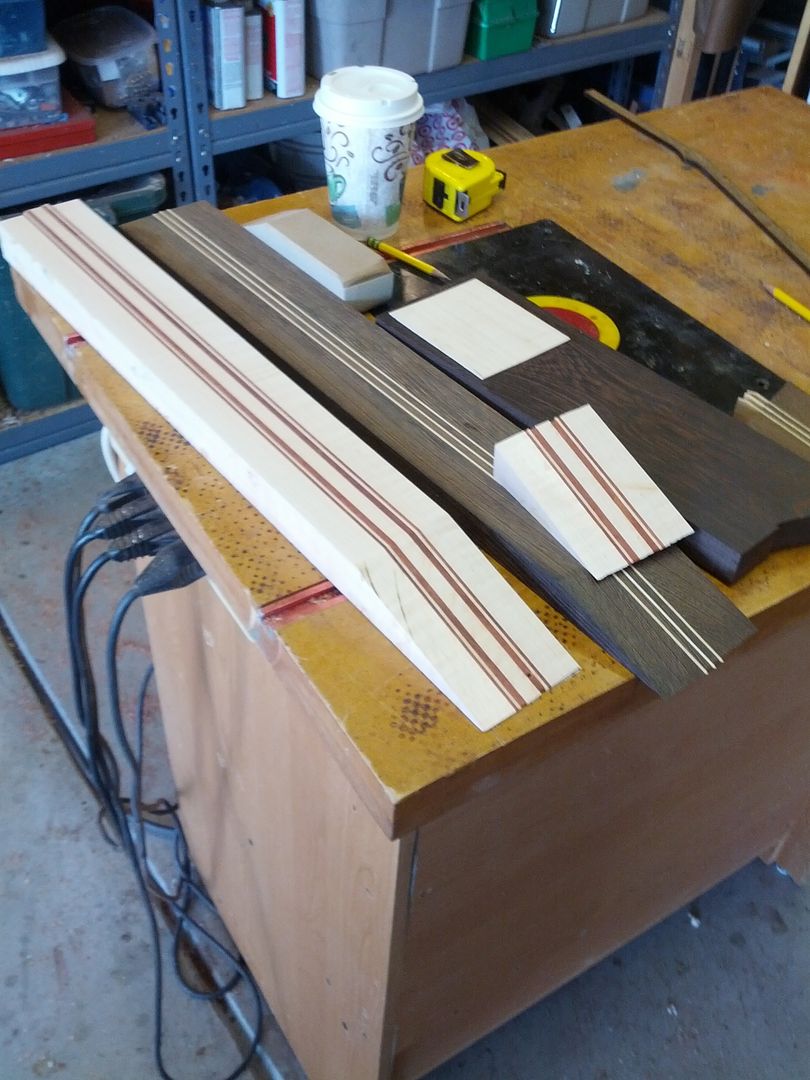
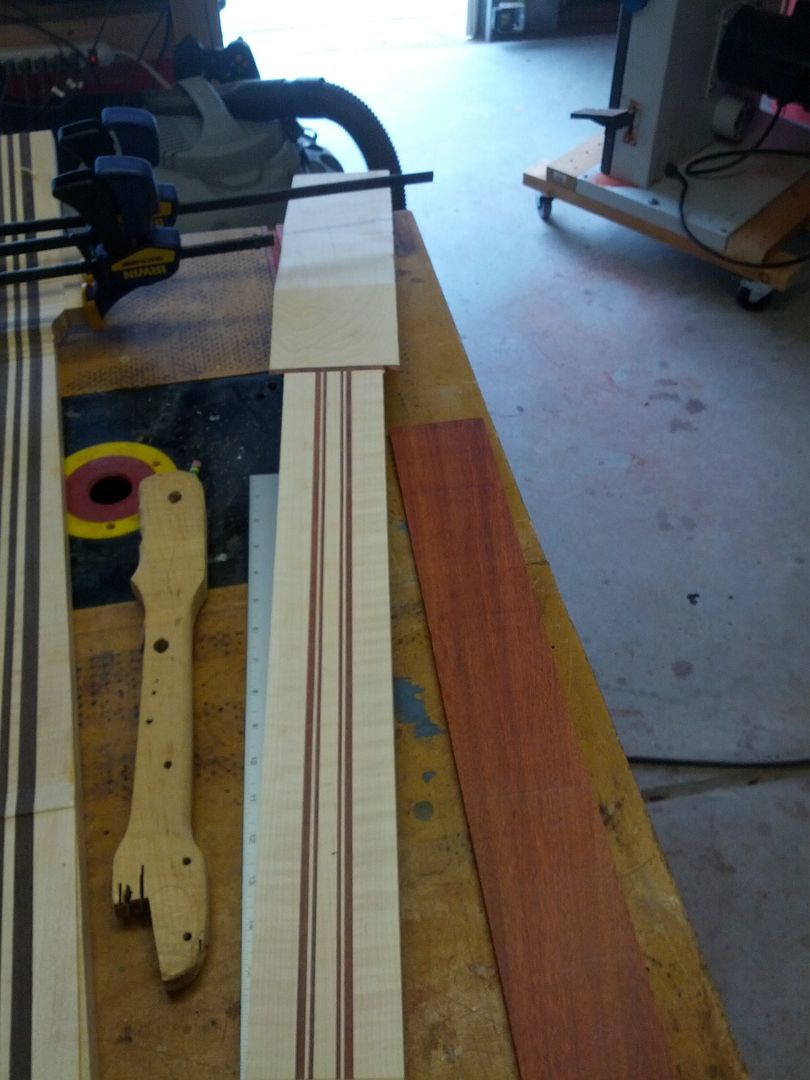
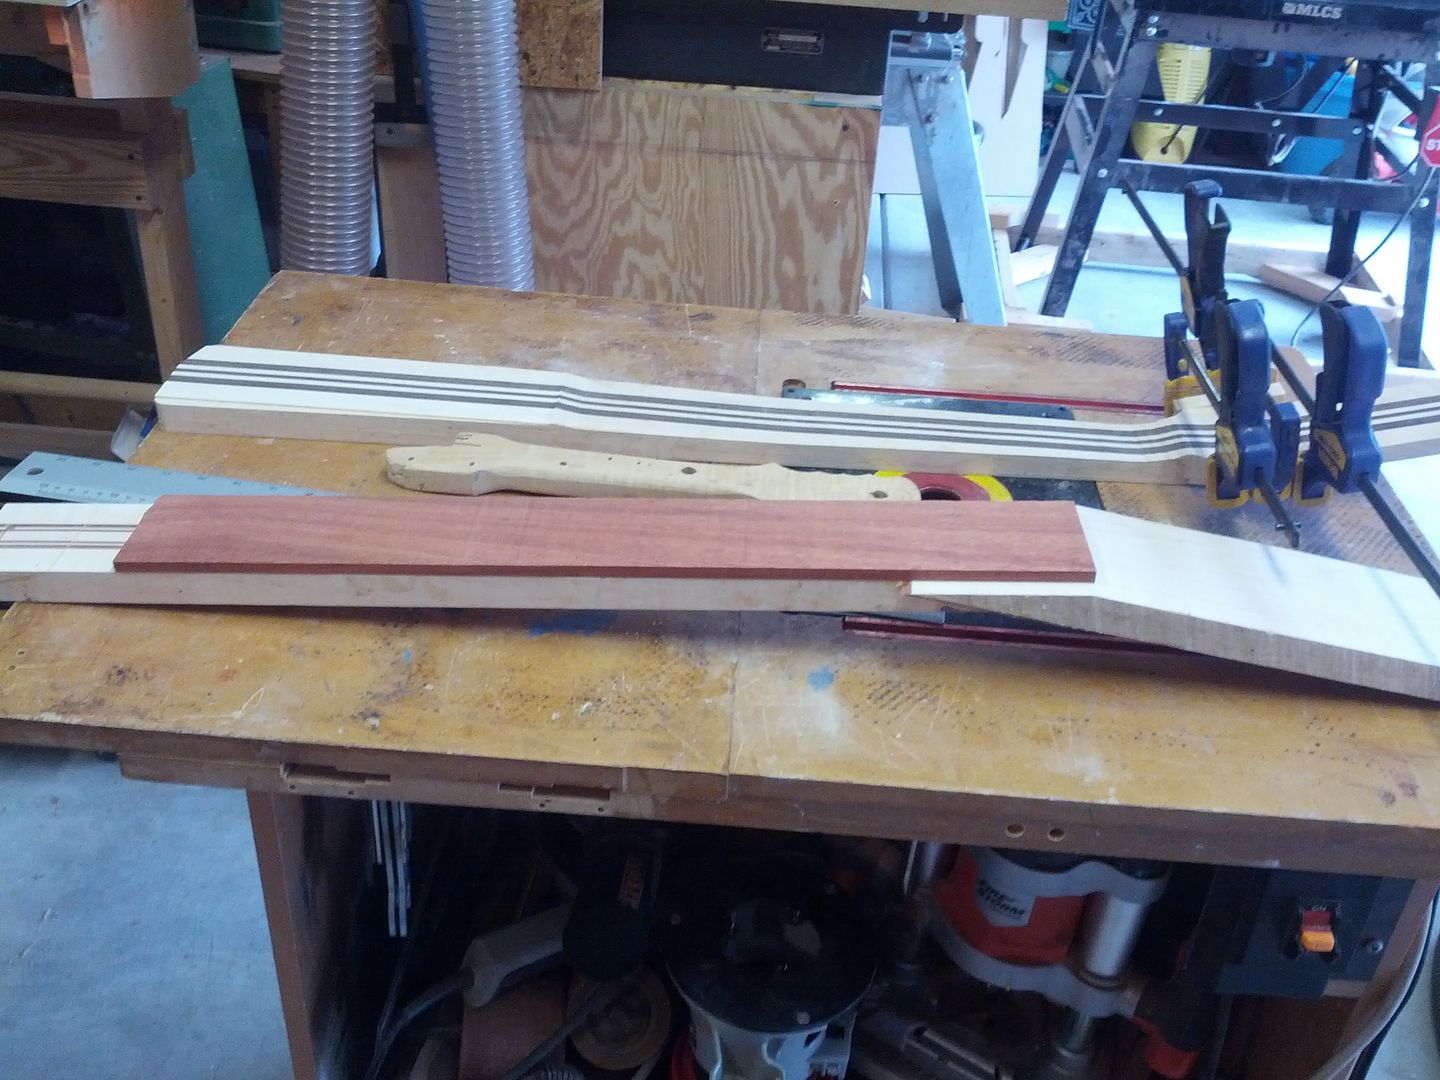
So this one is glued up and now we have to true it again… I see a pattern here. After removing the excess with the bandsaw and a little time on the jointer we are really close. What I have learned is don't push it. The jointer is not your friend. It will destroy your work every chance it gets. Figured maple is always best finished up by hand. And try to keep the woops out.


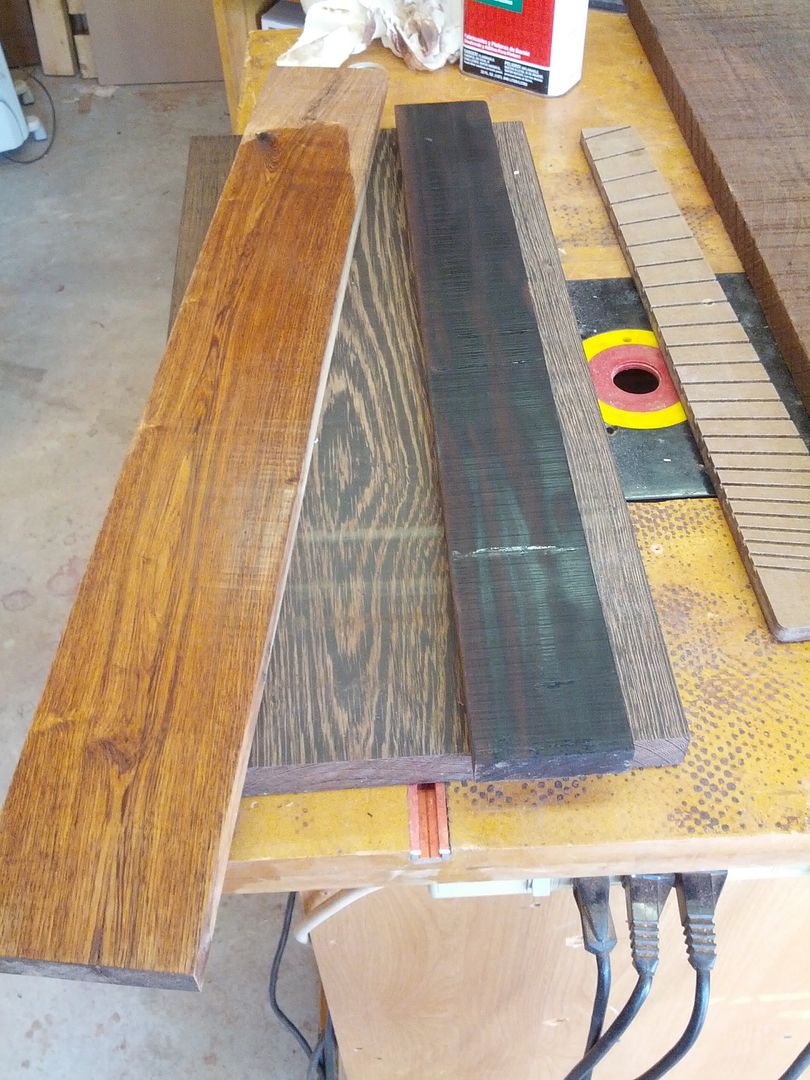
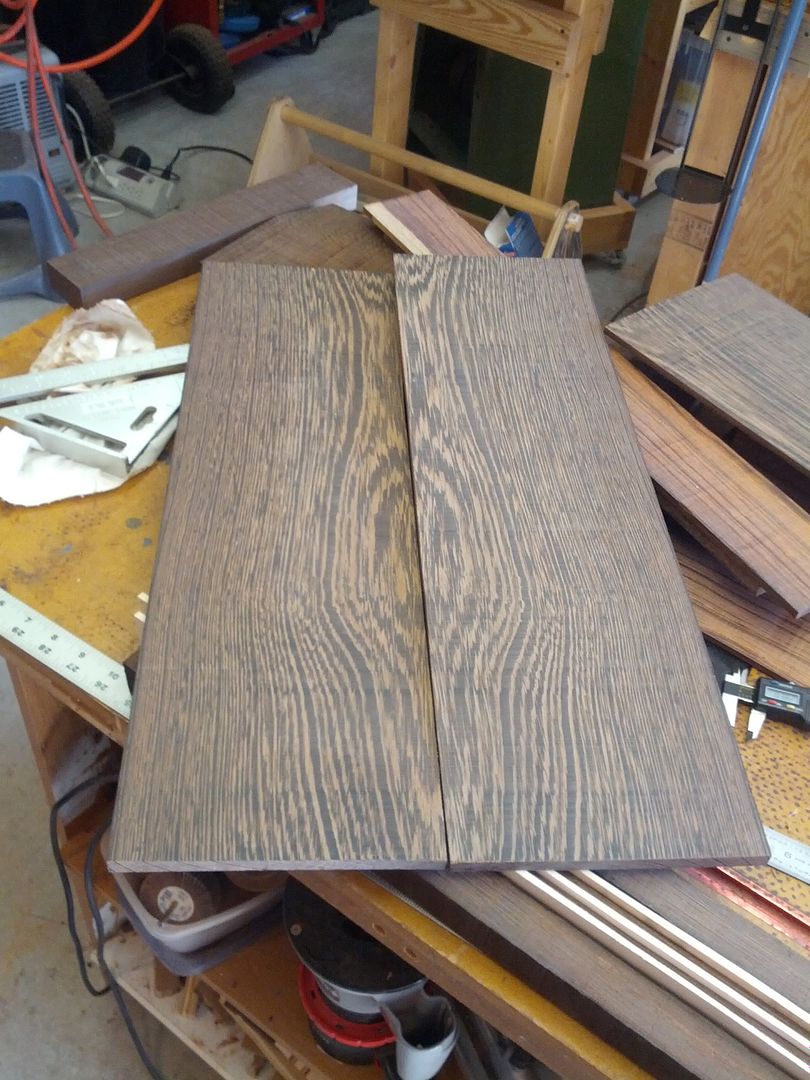
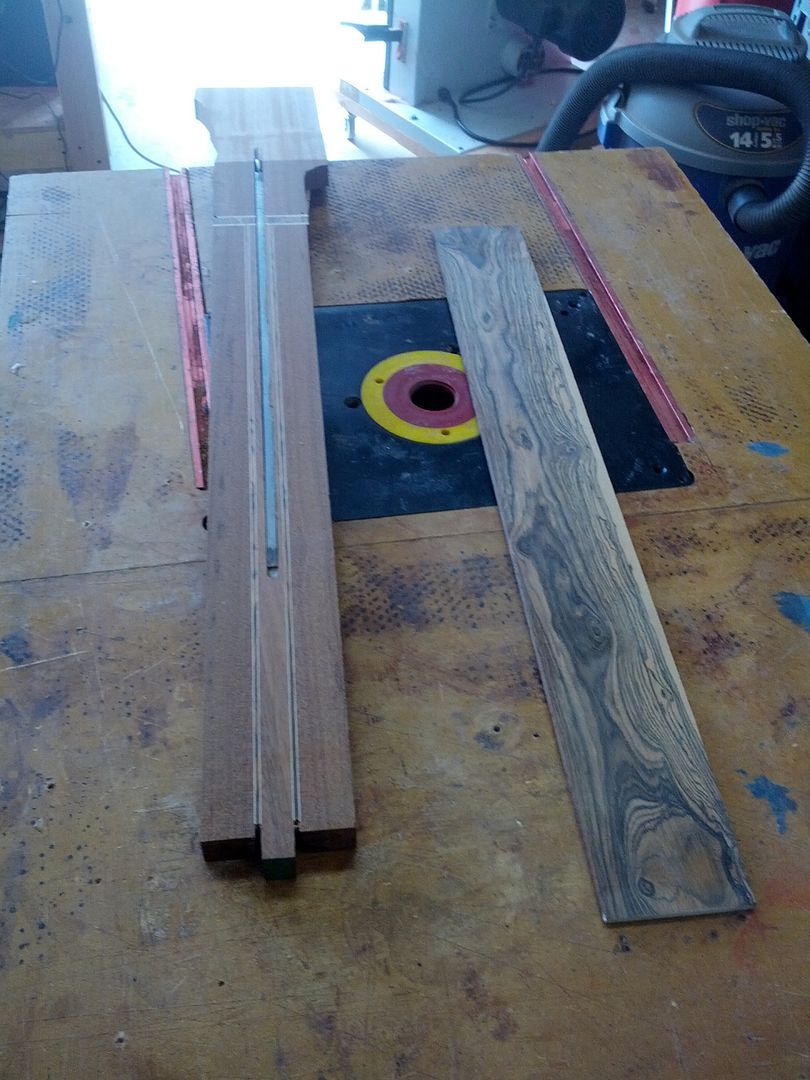
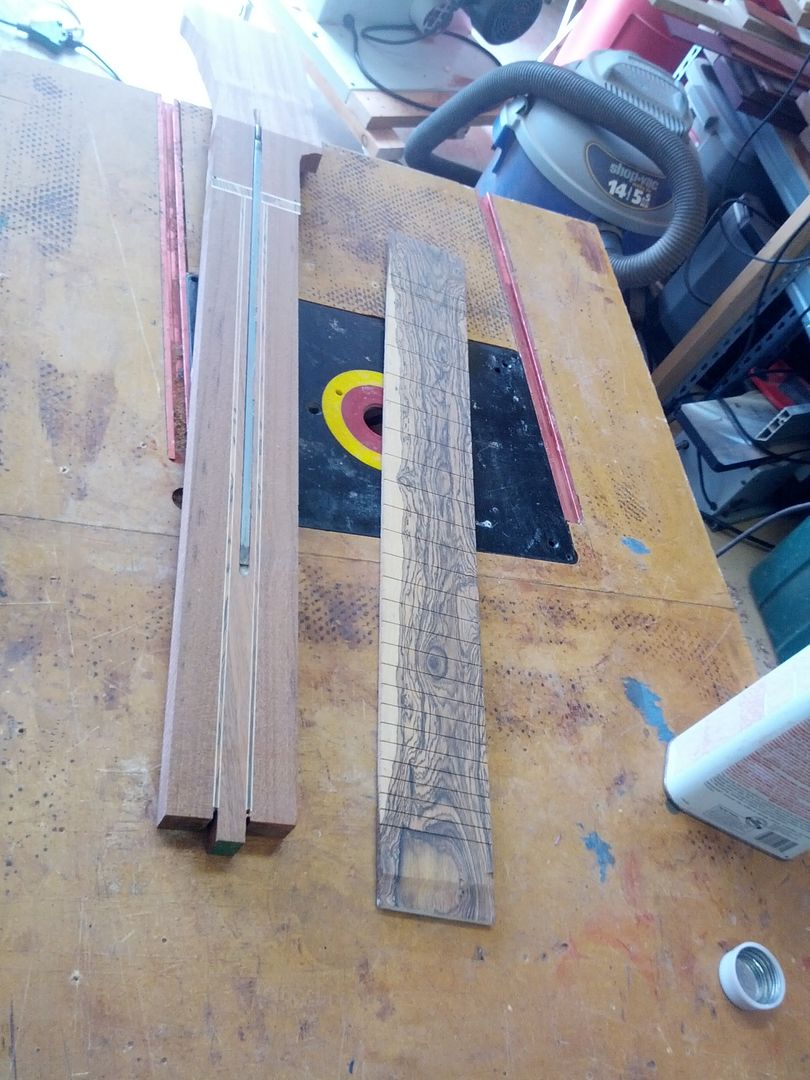
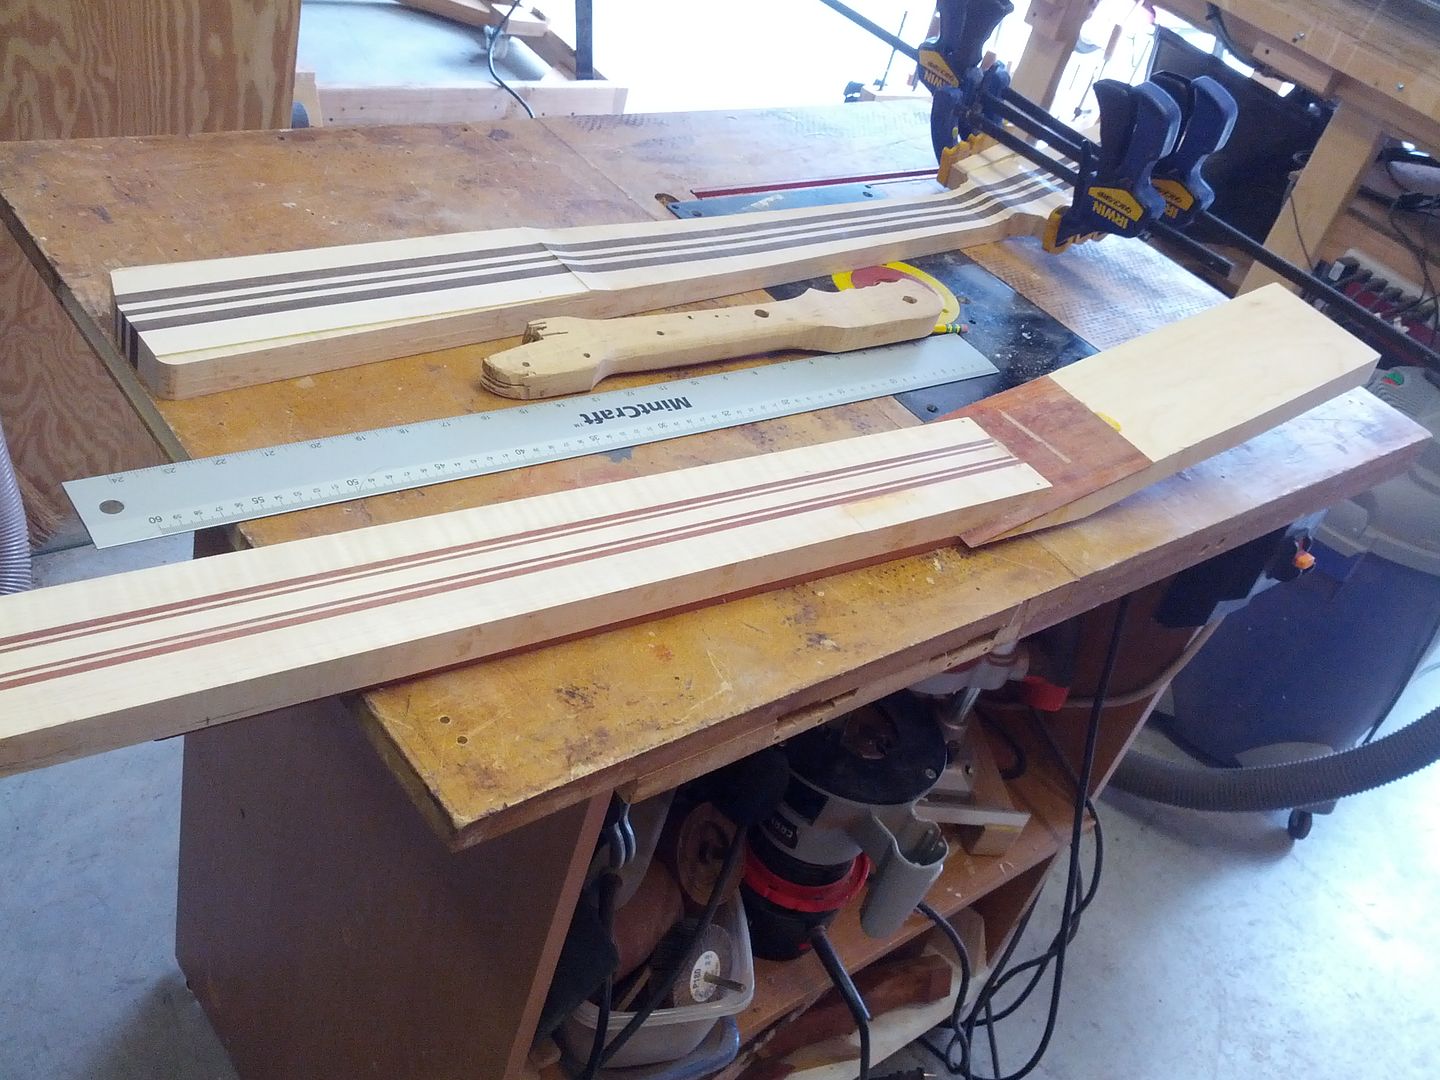
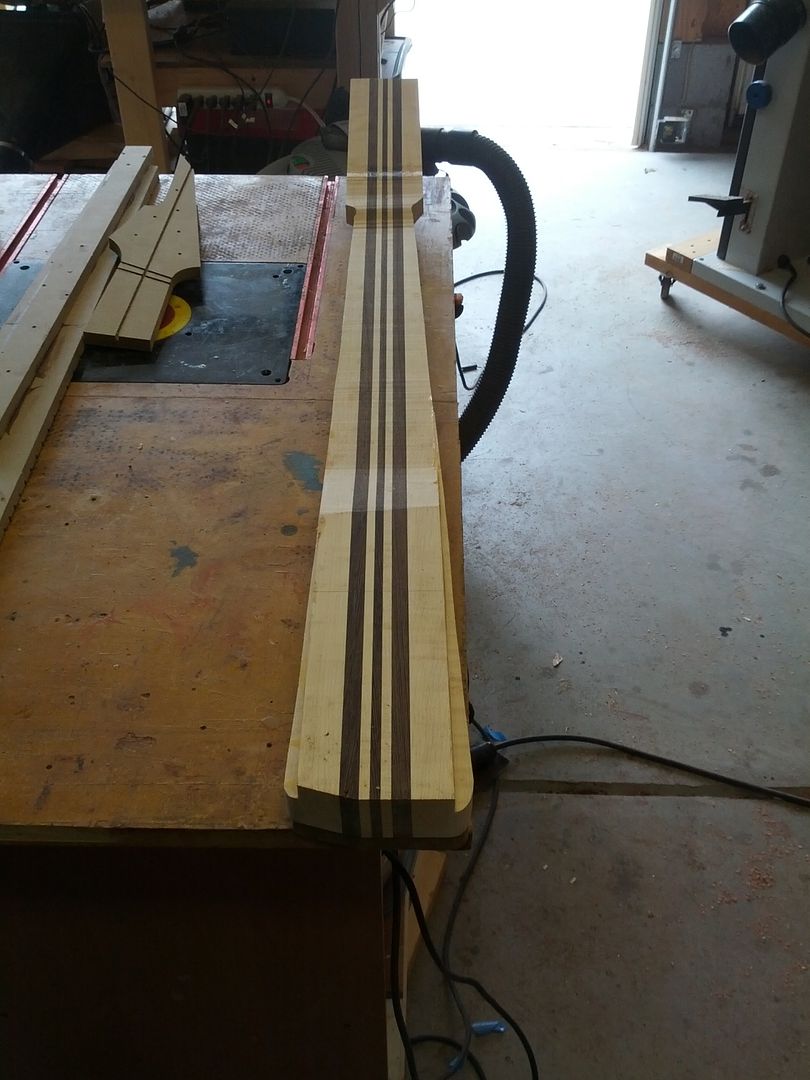
Ready for trussrod route. Bloodwood fretboard for this one.


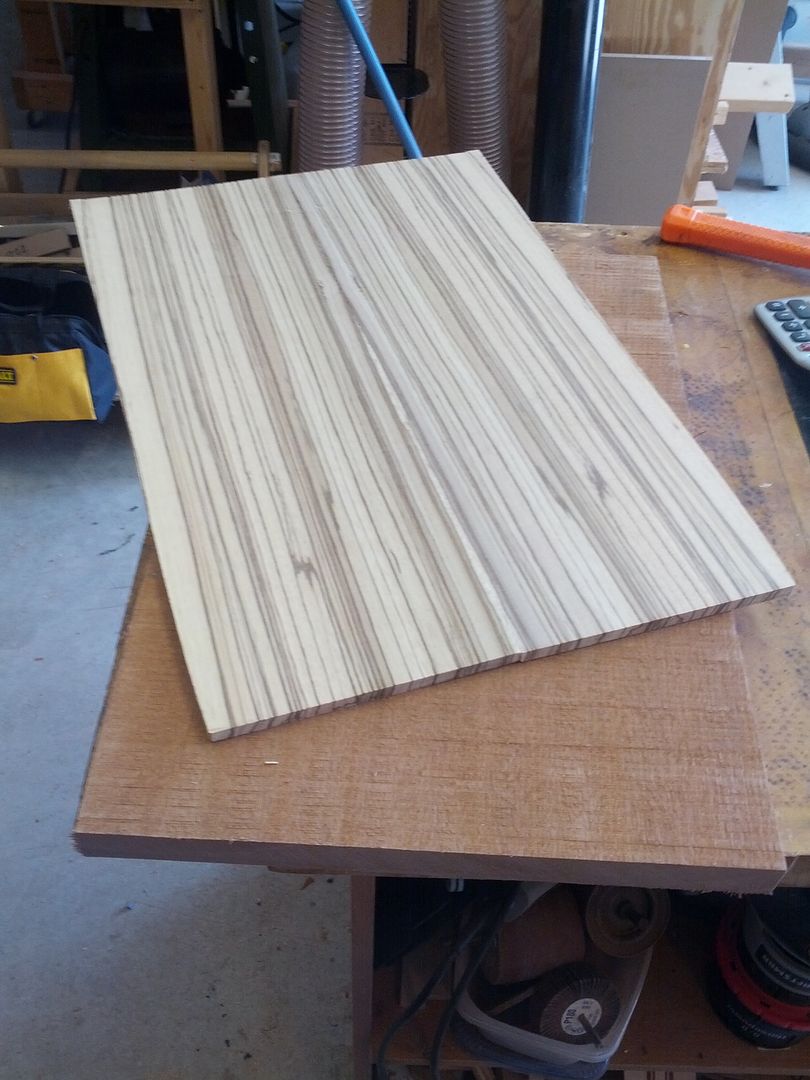
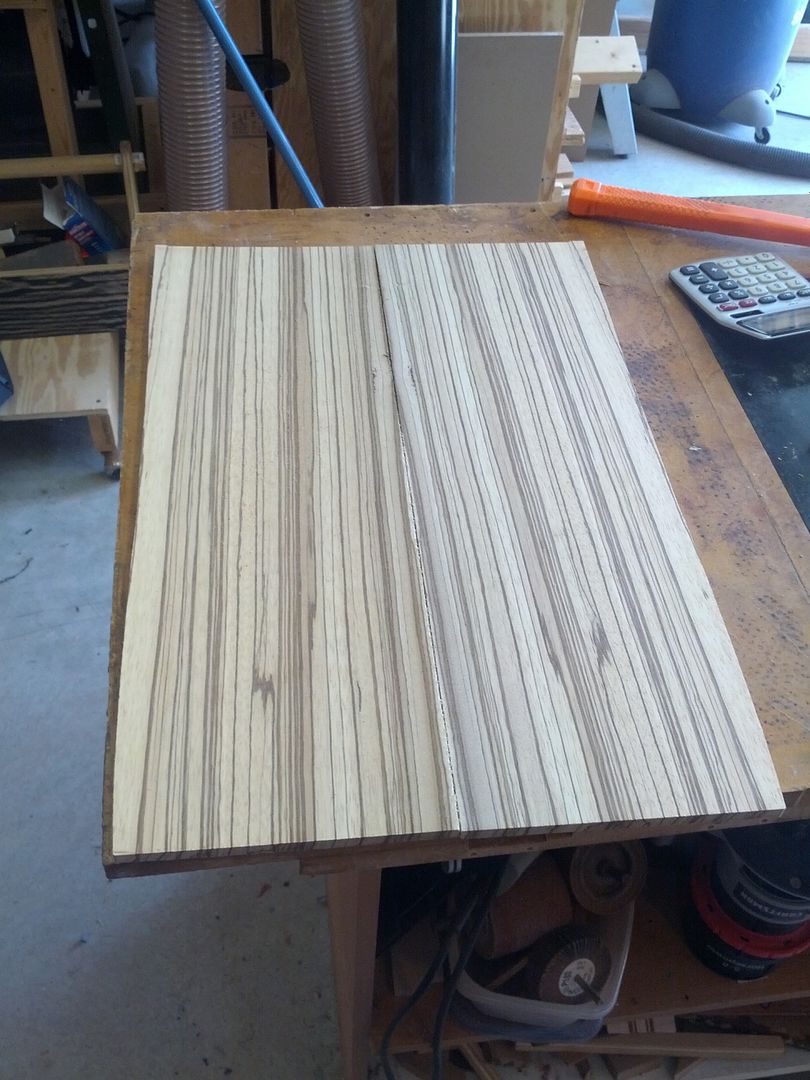
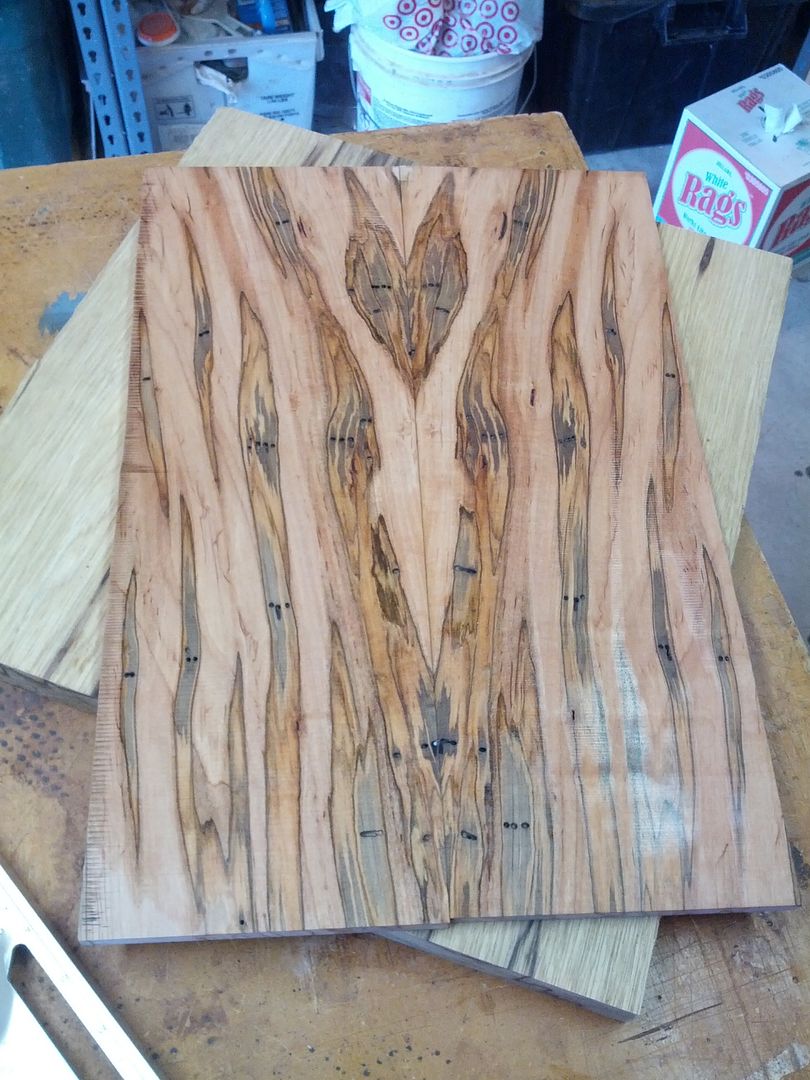
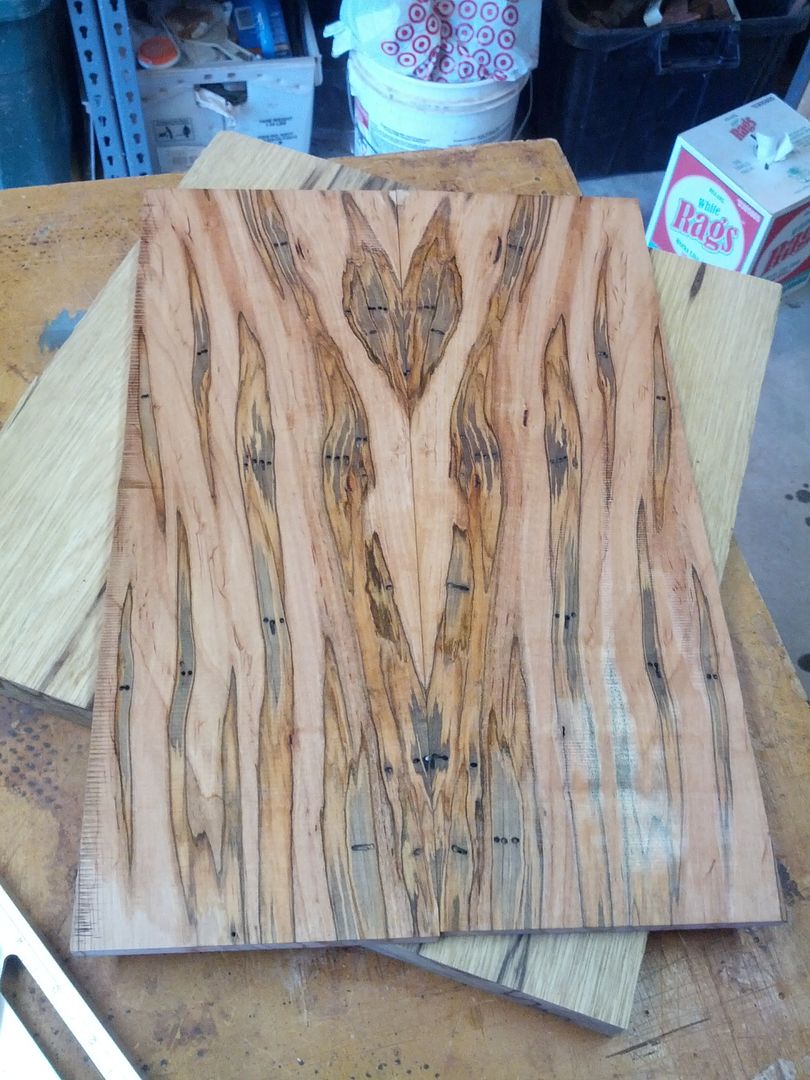
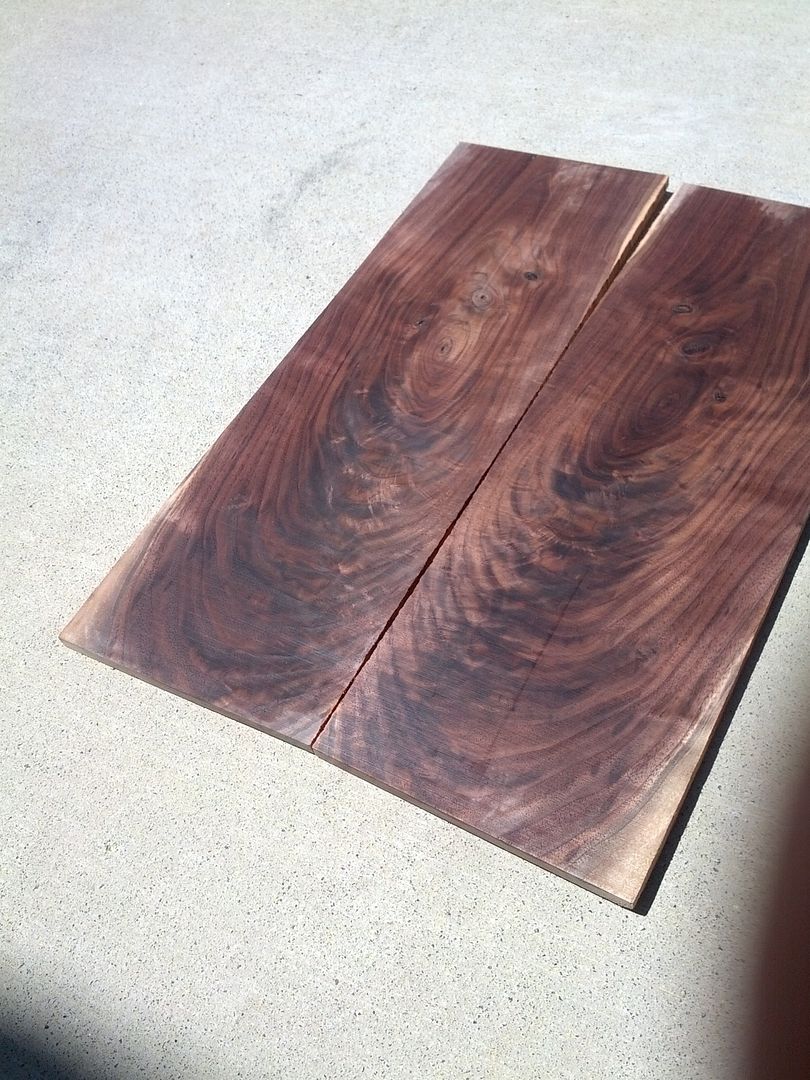
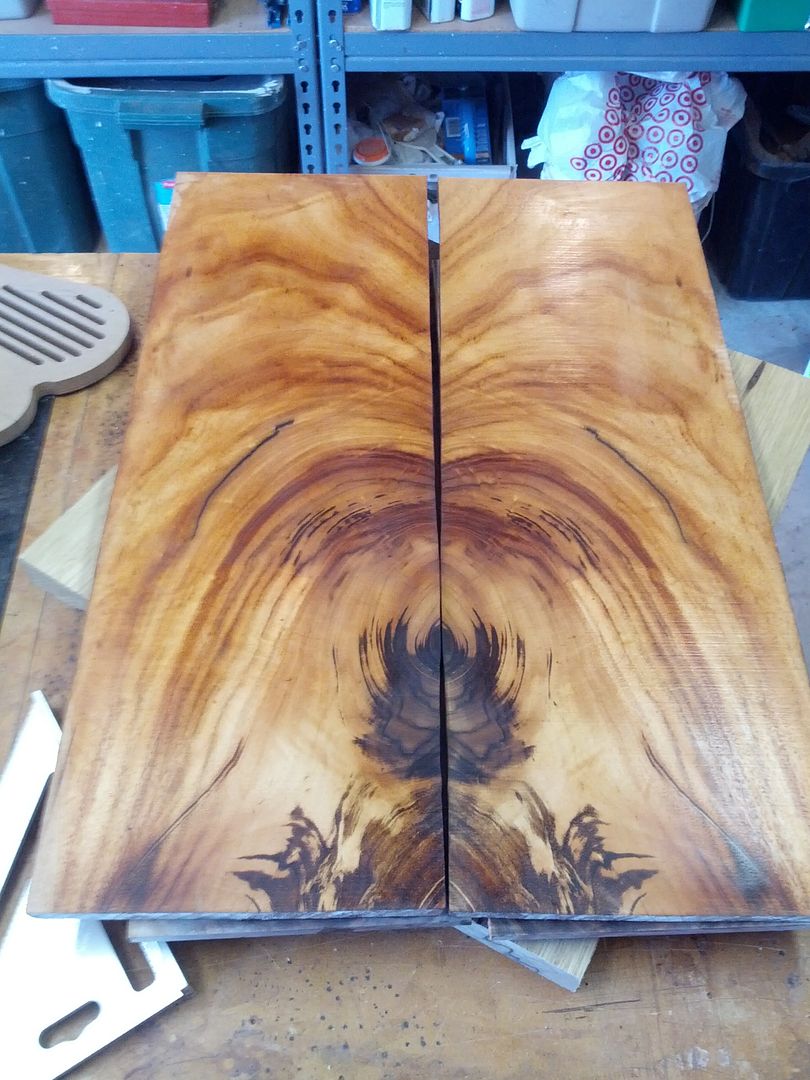
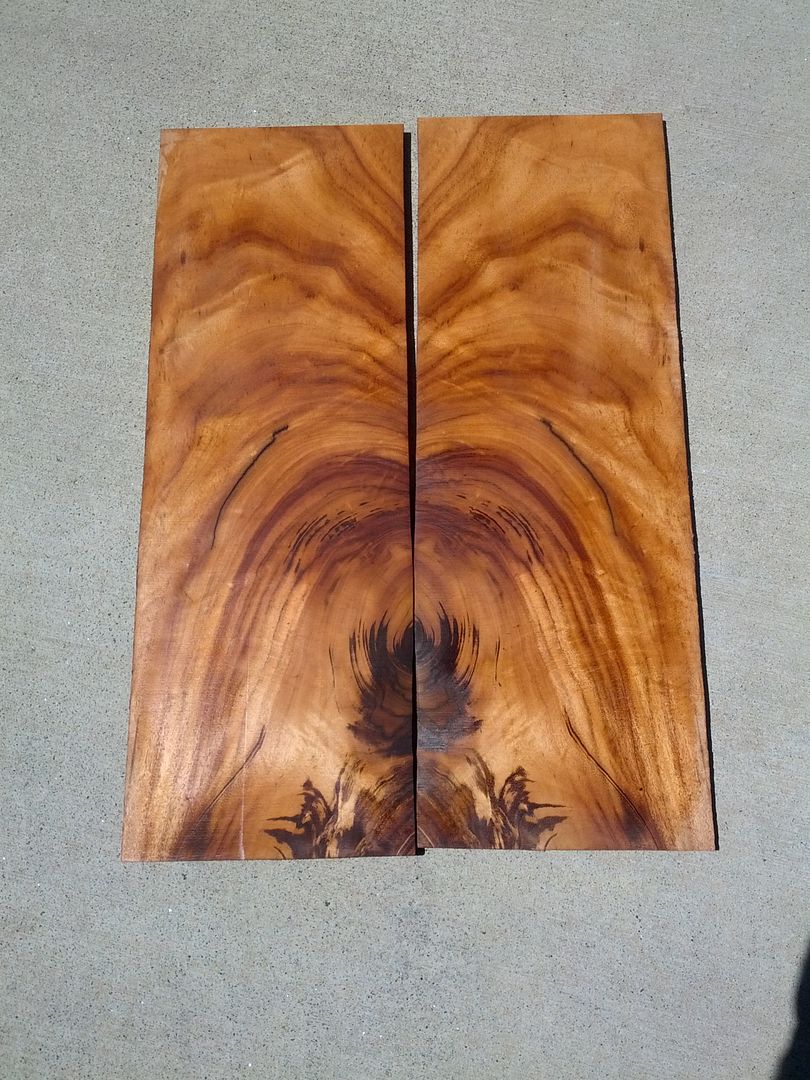
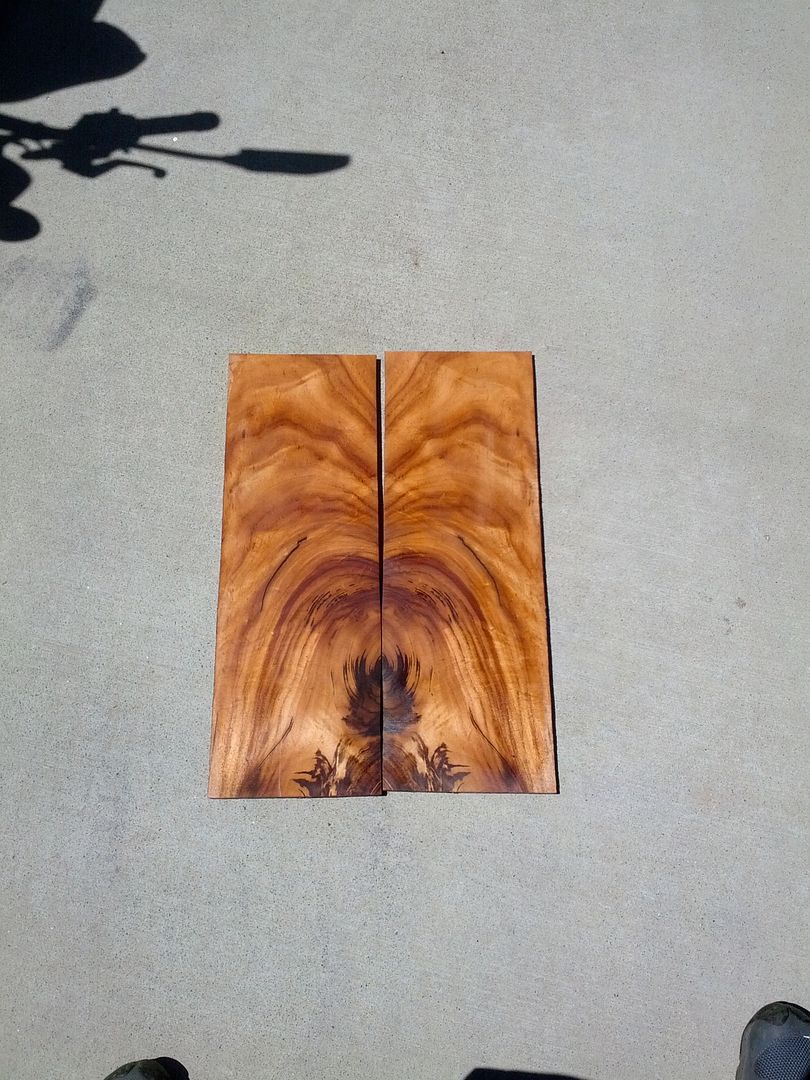
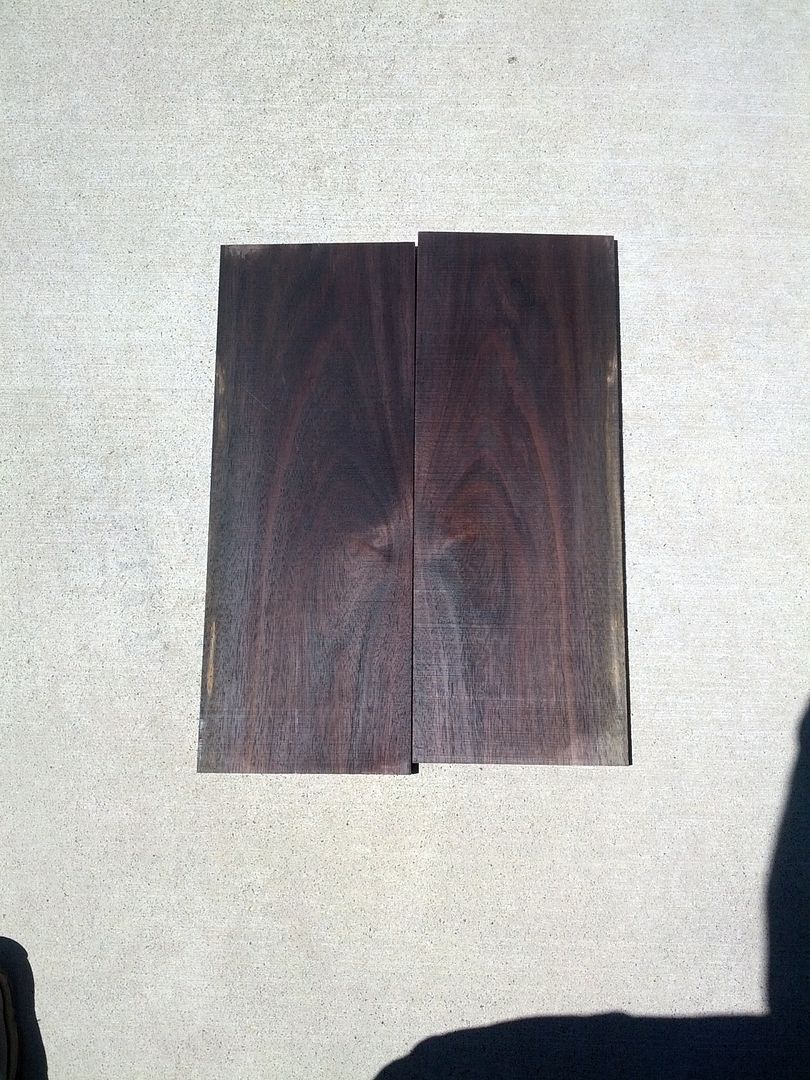
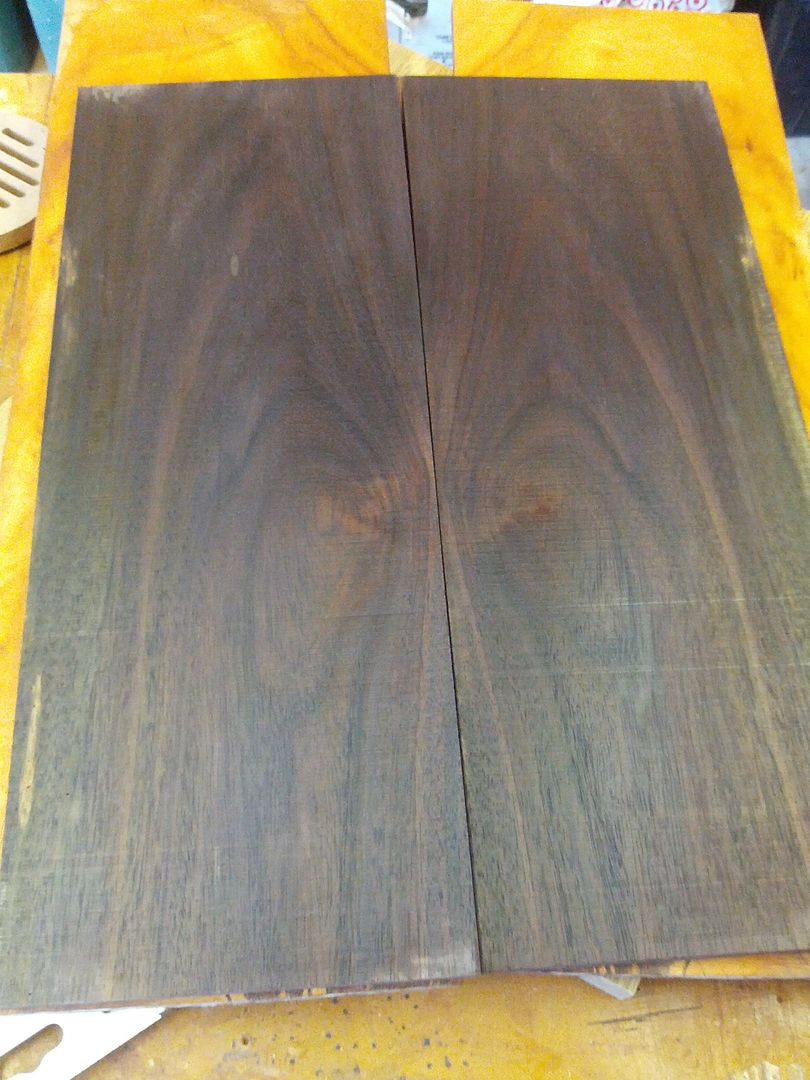
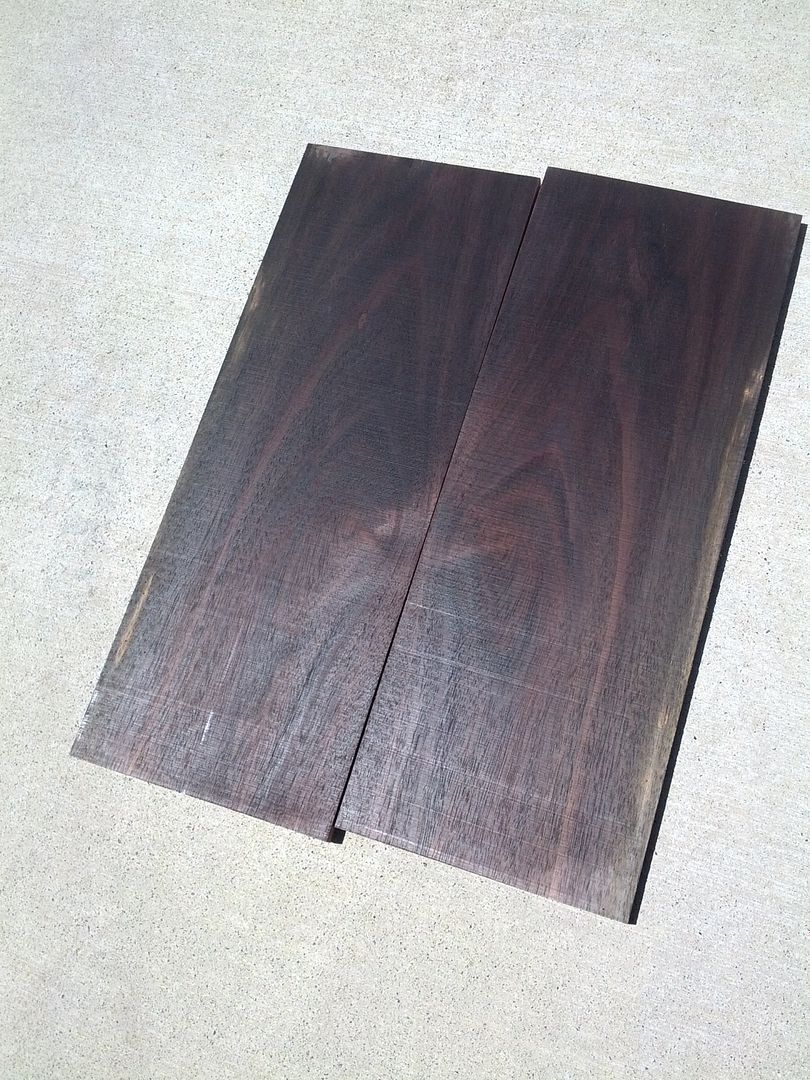
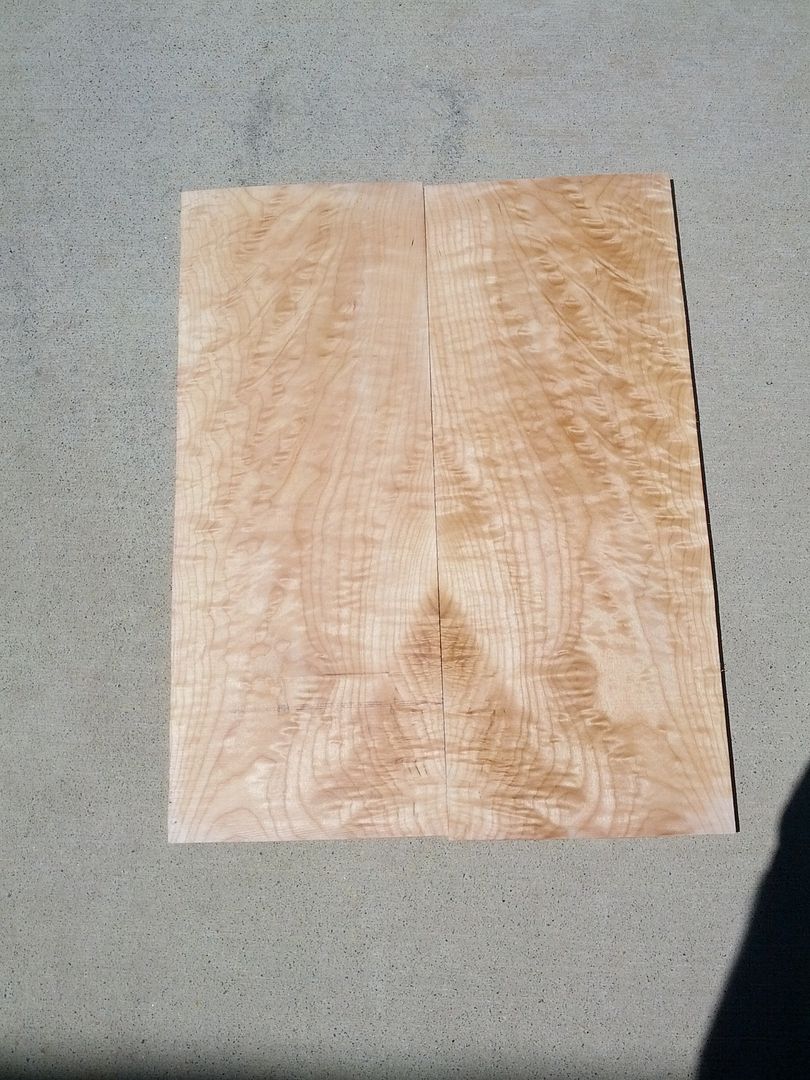
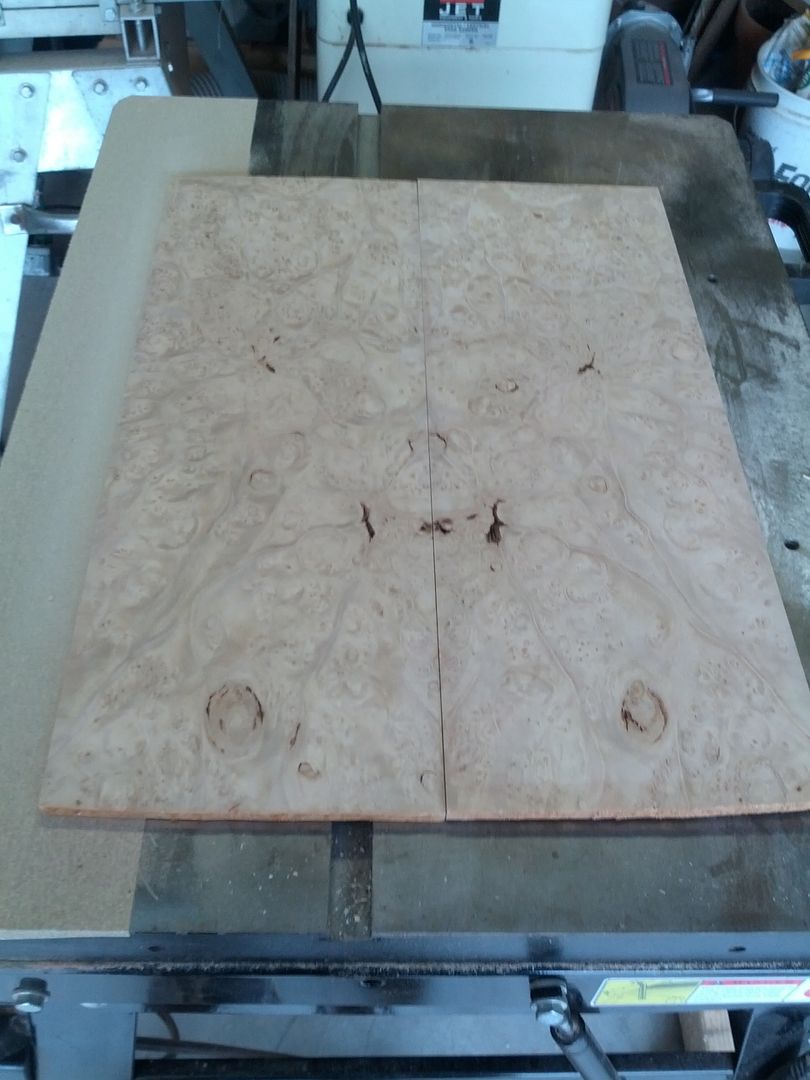
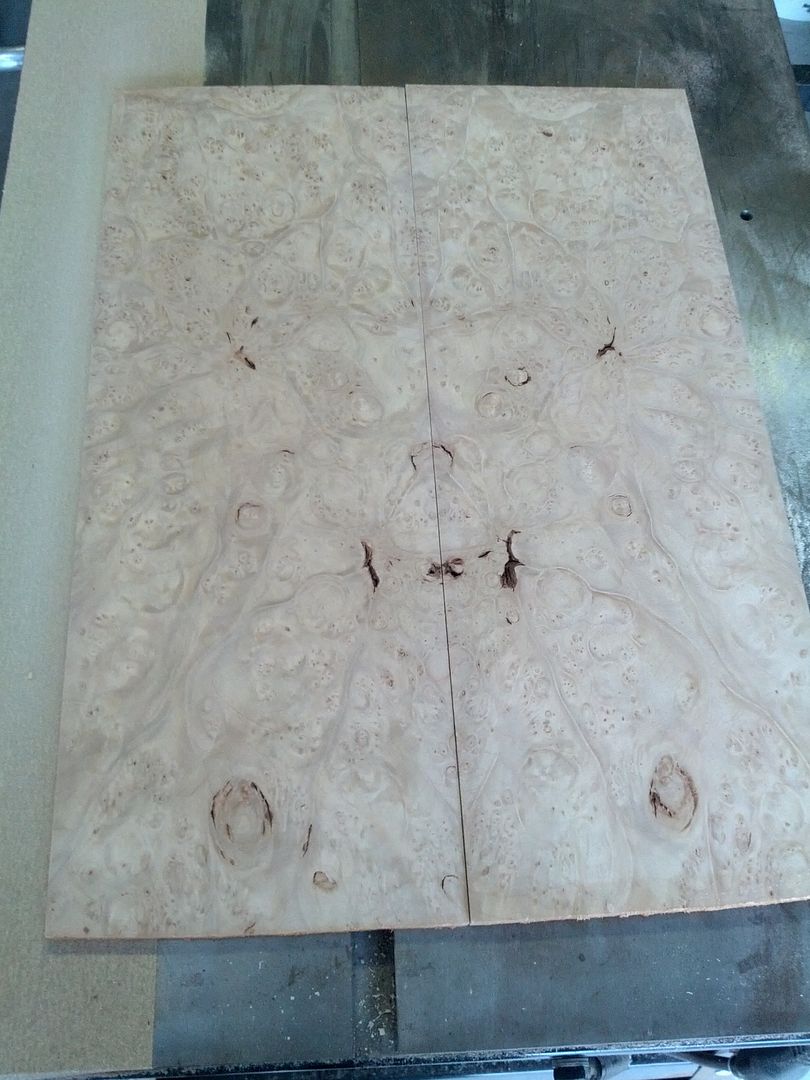
Burl top for one of these, the pictures are of the dry top. Since it is burl I am not going to wet it just for pictures. We will just have to get a wet look at it later. Trust me it kills.


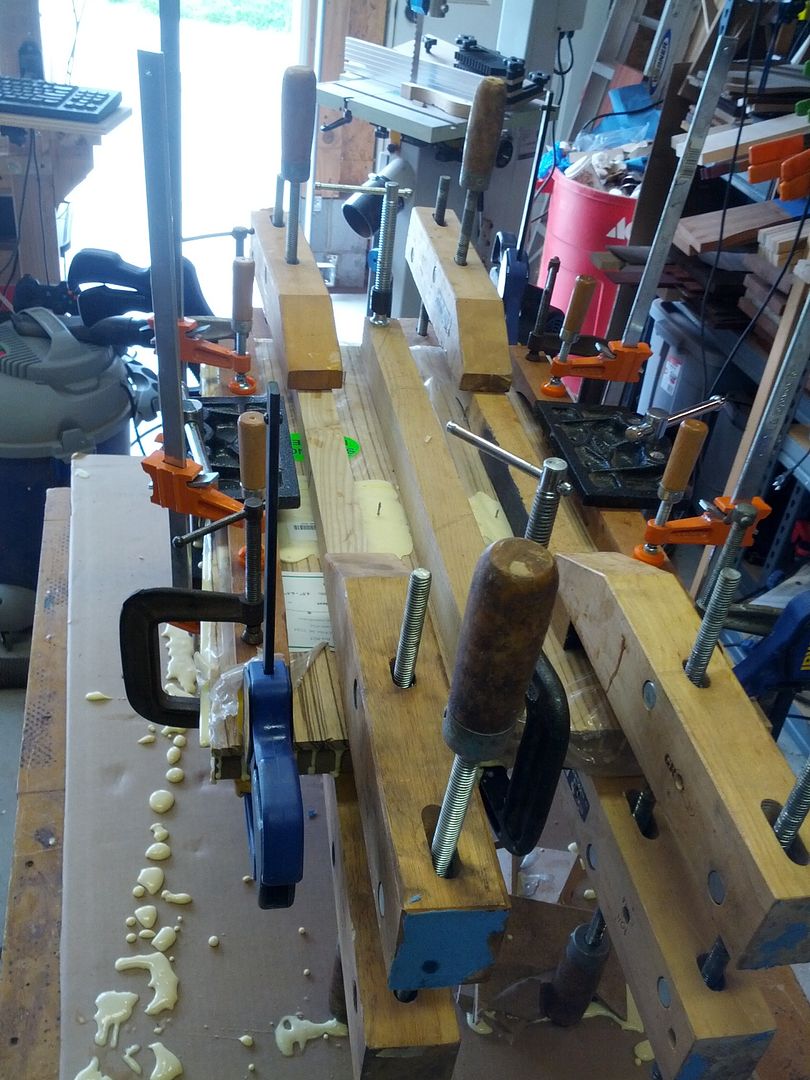
Bass bodies are huge. All my tools are setup for regular guitars. I had to make some longer clamping cauls for this one. I cleaned up all the excess glue later just didn't take any pictures.


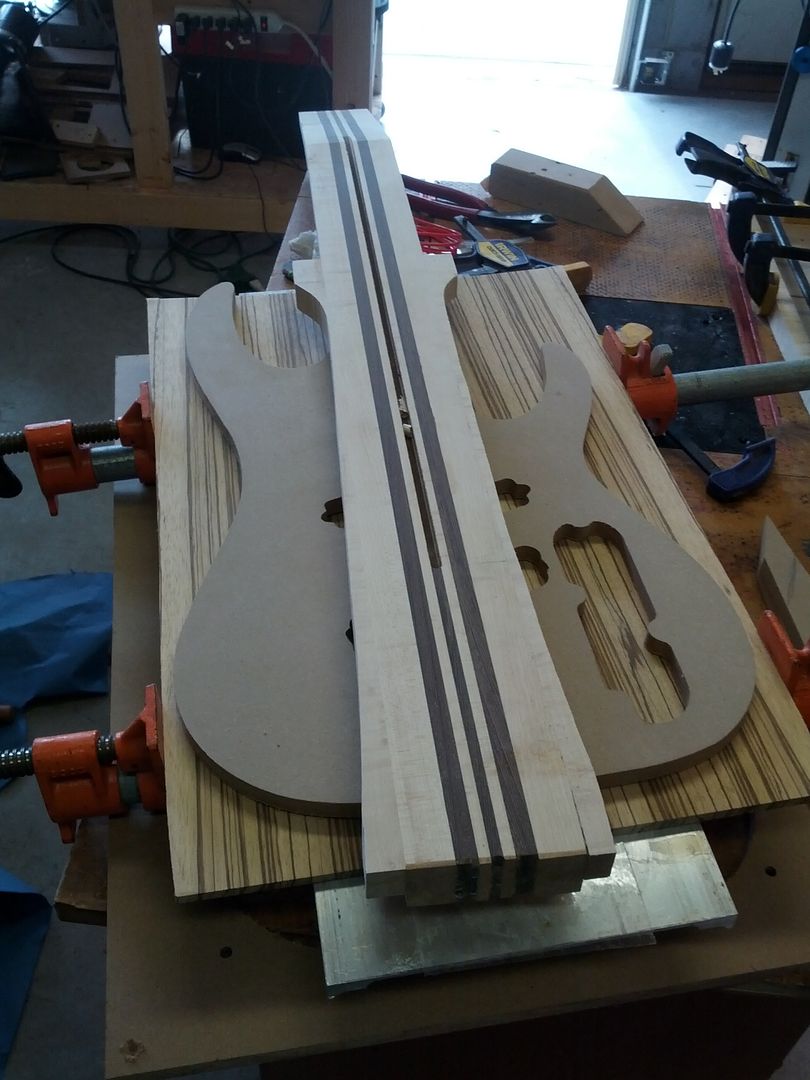
Again since Bass guitars are huge none of my tools work on them. Since this thing doesn't fit on the CNC I had to go old school on it. Attaching a template, cut as close as I can with the bandsaw, then using the dreaded router table to clean it up.

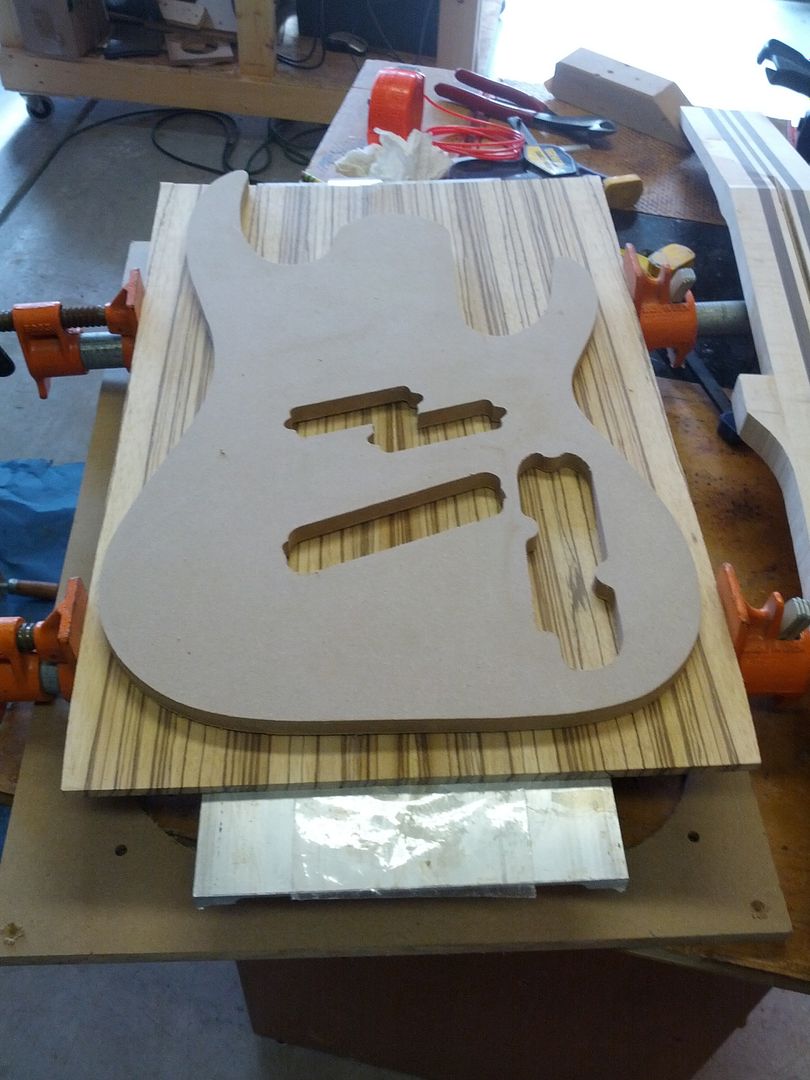
The heal still has to be trimmed down so that is why there are steps in it.


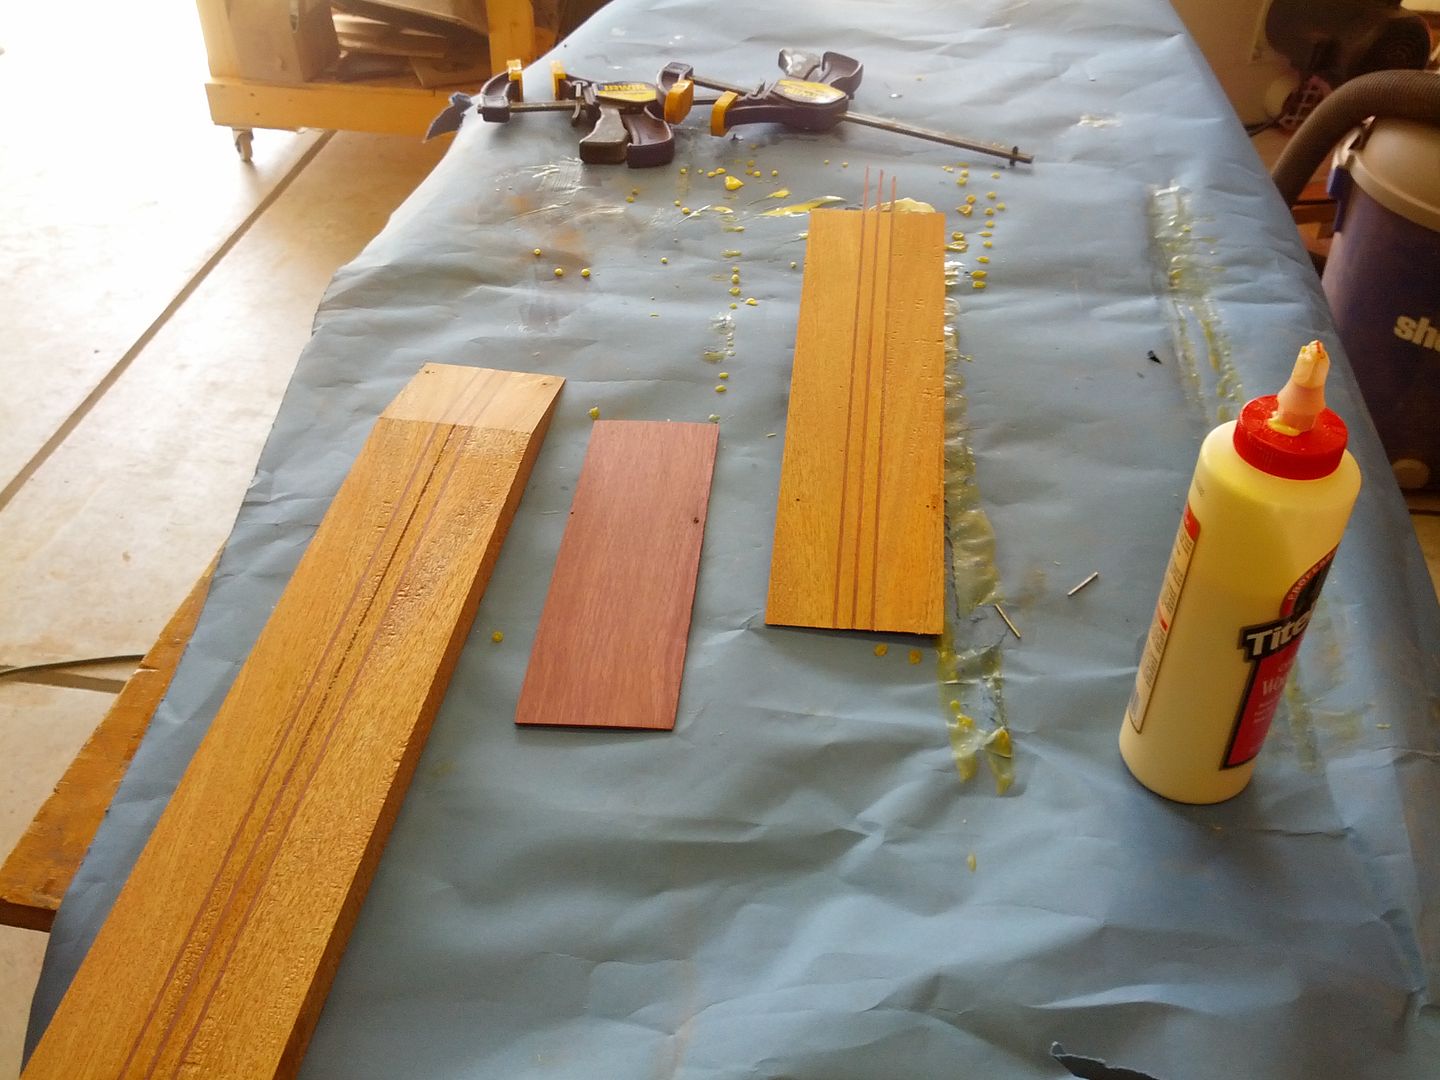
And some headstock wings to end the day.


Monday, April 22, 2013

S6 Bass and another S9 Multiscale.

S6 Bass

Top is cut and ready for sanding. Always take the bulk of the wood from the side away from the bookmatch when thickness sanding. This preserves the bookmatch. I will sand the bookmatch side in a light pass after it is joined.


Fretboard needs to be thickness sanded as well. Usually 6mm is about right to start on wide boards.


Adding some wings to the neck blank so it is wide enough for the neck.


Joined the top. The body is one piece Sapele so no need to do anything other than thickness sand it.


Neck blank and templates. This is a work in progress so some things may be adjusted by hand. The tabs on the neck blank are for index pins on the CNC.


It is really not as big as it looks… really.


S9 Multiscale 7

Hmmm… what the heck is he up to? I will let you know later. This is pretty random and is not part of any current builds.


Time to get some wood together. While I really enjoy putting the woods together it can be tedious going through the piles of wood on the shelf to find the right pieces. It was a very tough choice between the fretboards.

The losers.


The winner. Fretboard on the left.


Now that I have a fretboard lets try and cut this pile up without wasting anything. It usually takes me a little while to get this part done. I try to not waste a single piece. The scrap from this build was a 2"x6" block. But I will use it to make control cavity covers... so it is not really scrap at all.


With the new saw I get a top and a nice veneer for headstocks and such out of a 4/4 board. Nice to not waste anything.


I am still torn about cleaning up glue… I know Titebond doesn't really shrink but old habits die hard.


With the body blank glued up time to get going on the neck blank. The CNC machine is turing out templates in the background... it is like there are 2 of us working.


I forgot how painful it is to work with Wenge. The splinters get infected so easily and it is a very splintery wood. By Sunday my hands were sore from handling it.

Ok you guys sit and think about what you did...


Friday, April 19, 2013

Ranting...

So I was posting on Project Guitar and lost my mind... I thought it was mostly true so I am sharing it here.


<rant>
  If I am ever truly happy with a guitar I built I will stop there, quit building all the time and go enjoy life. We should all build like Scott does for fun... I just always manage to suck the fun out of it by being too serious.

  Pickup building is silly. You can't really do it for fun. It is expensive to tool up, time consuming, a pain in the arse to source parts for, and the knowledge is HARD LEARNED as no one talks about building pickups. I am about 4 years into "serious" pickup building and I can tell you that building pickups from scratch is more time consuming and frustrating than building a guitar. 

There are plenty of good companies to order pickups from ;)  

Now for custom multiscale guitars... good luck with that.

  The real reason I started making pickups is to keep as much of my builds in house as I can. Next year (with some luck) I am going to start on hardware. Then I will truly be free of vendors and distributors and other peoples silly ideas on what a bridge and tuner should be.

  This all ties into the reason I started building guitars. Major manufacturers suck at it
</rant>


Wow... I think I am ok now. I think I will drink a few tonight!

Monday, April 15, 2013

Grinding on prep work...

Starting another T9

Black Limba body, Limba neck, Macassar Ebony fretboard. Similar to the last one but simpler as there will be no veneers.


I am not sure this top will work as it is not wide enough... and I am not going to splice it in the middle. I do have a few crazy ideas about splicing the outside edges.


Nothing better than cutting up what looked to be scrap walnut and finding this.


Wait there is. Cutting the end off a long piece of Tiger wood and finding this


The Laguna is amazing. I can rip through a 7" Indian Rosewood board in a bout 30 seconds. And the bookmatched boards only need one pass through the drum sander. Indian rosewood tops.


Plain old chevron quilted maple...


I lost track of this one somehow... I decided I need to get it finished. Here are the shots right before gluing the board to the neck.


Khaya neck with purple heart lams. This will probably be for a 8 string multiscale.


And here we have a pair of Diablo necks.


And the ziricote I am planning on using for a secret project. I had 2 pieces with some nasty little voids in them. I filled them with epoxy after this shot.