Monday, August 19, 2013

Nothing ever gets finished

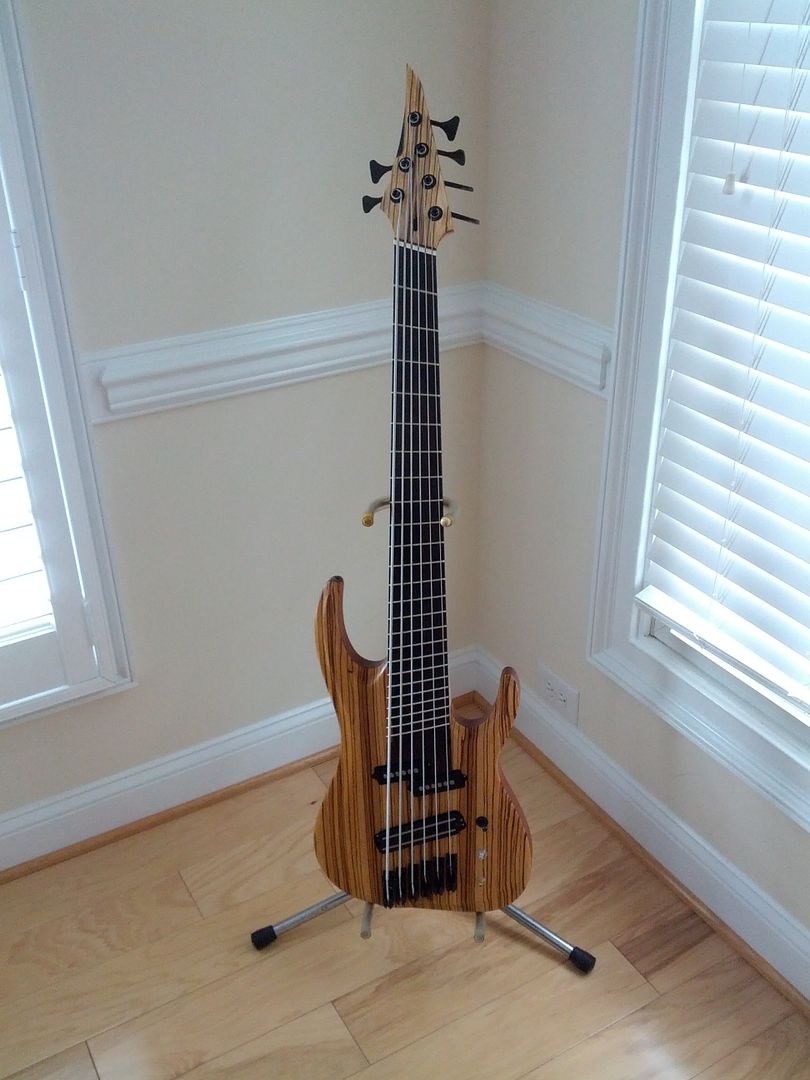
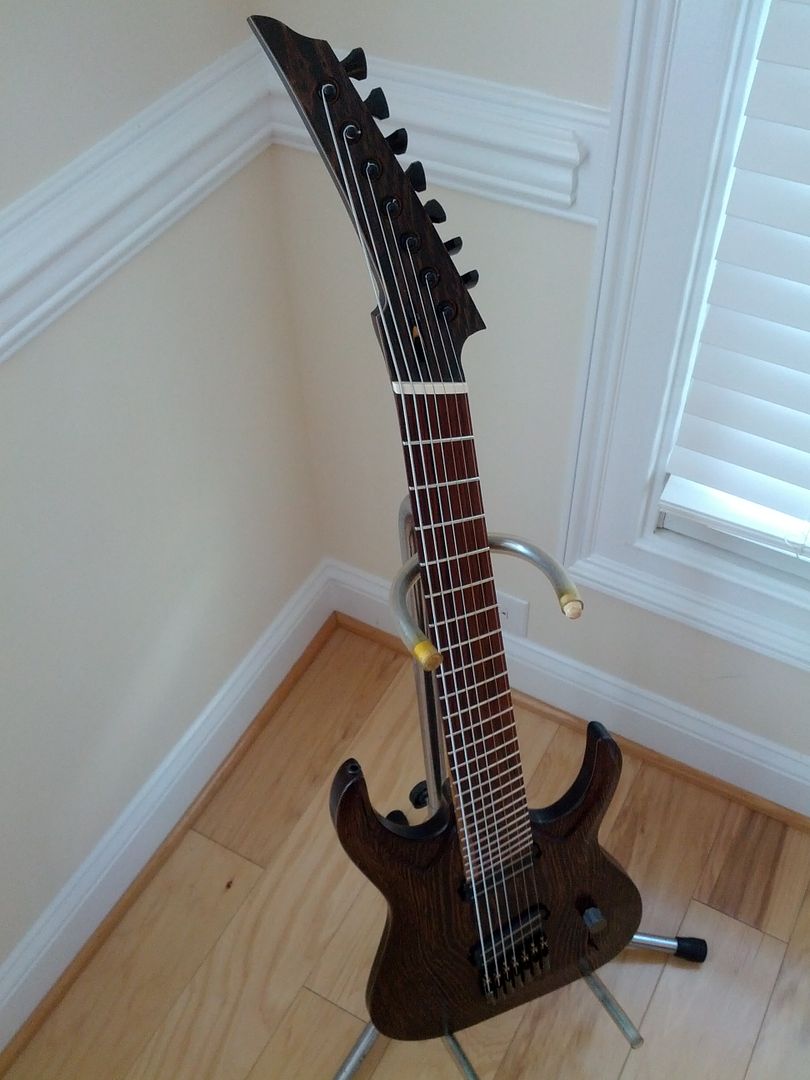
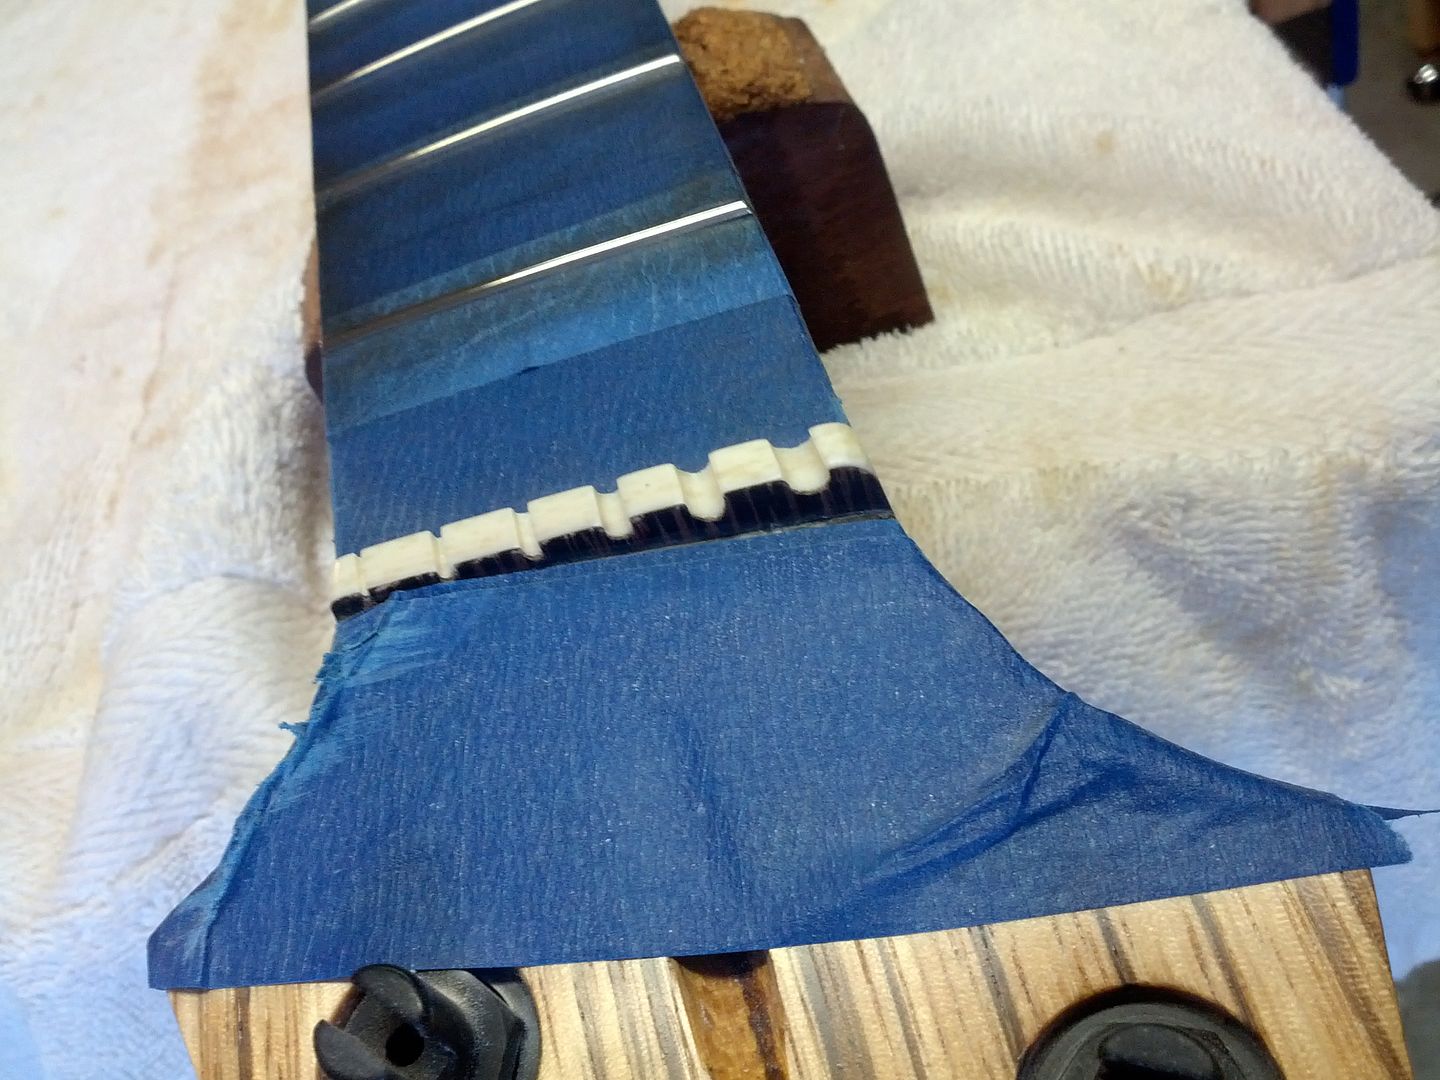
This is where all my blue tape went... Taped up to buff the frets.


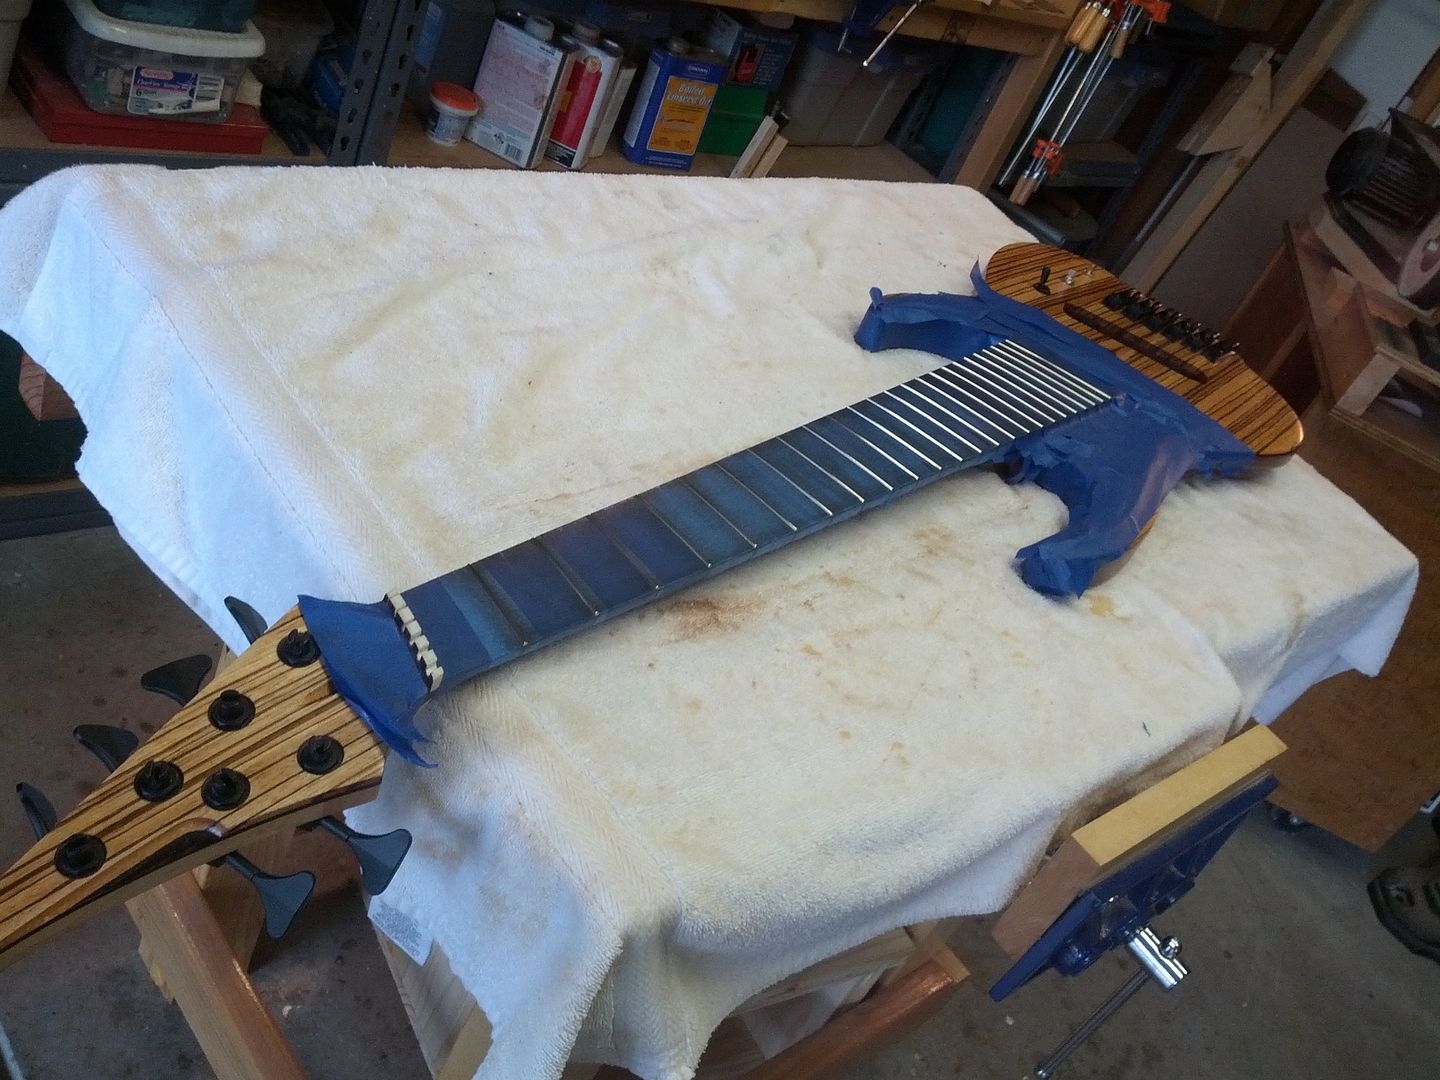
And trim the top of the nut a bit as well.


Tools

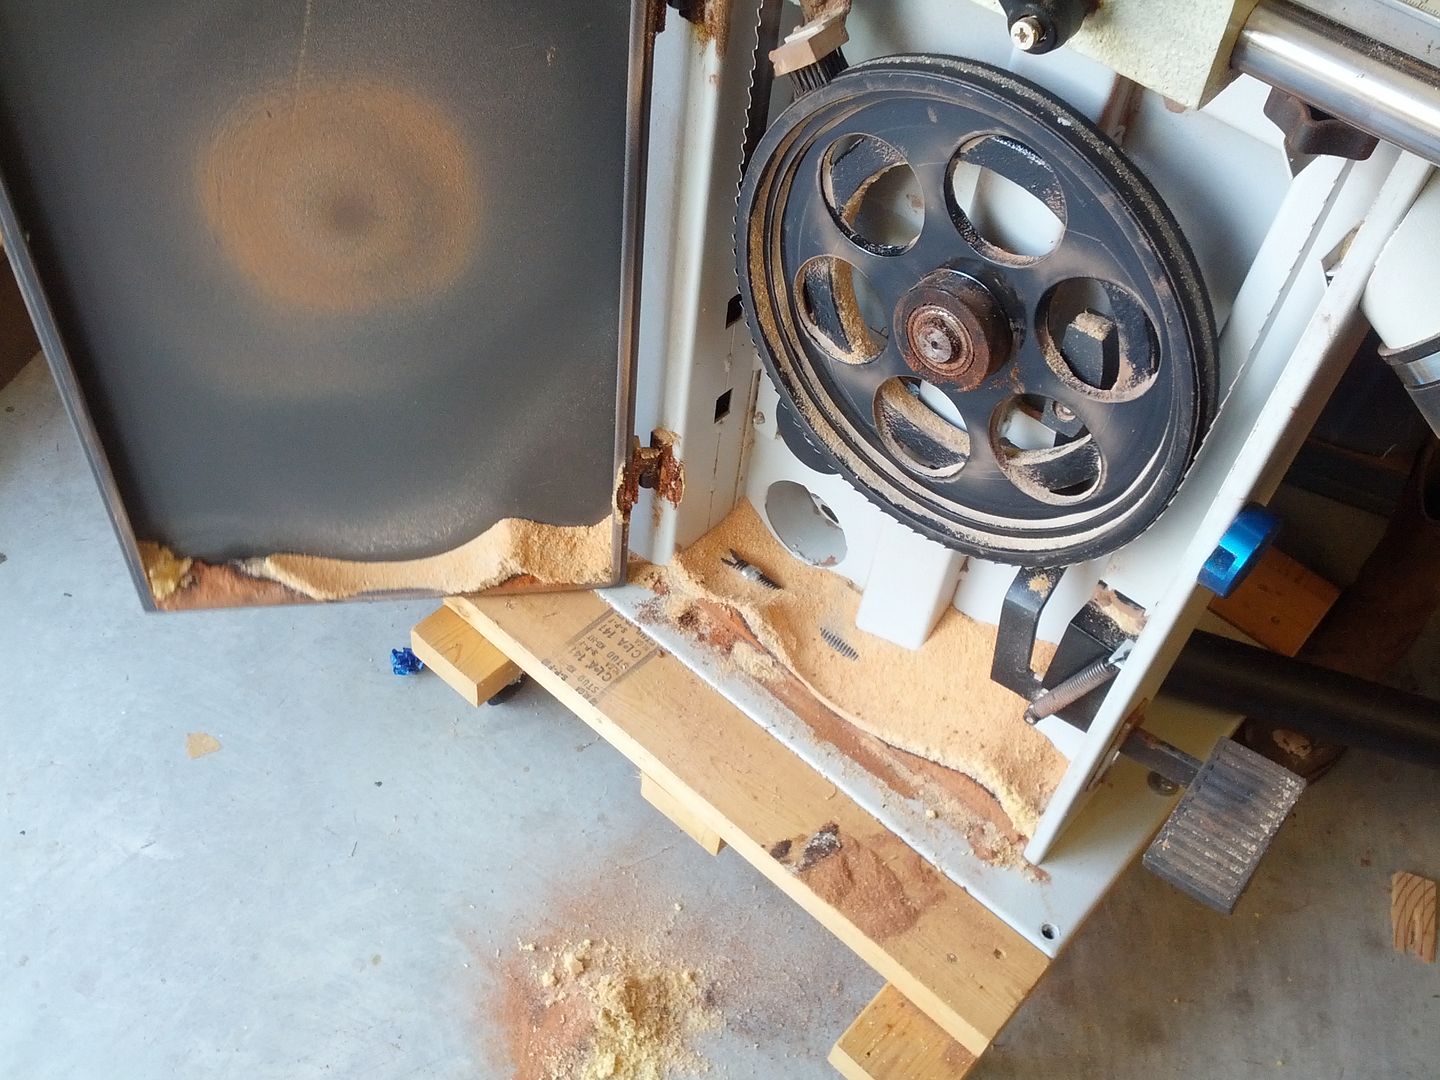
I just cleaned this thing 2 weeks ago. Must remember to turn on dust collection before cutting.


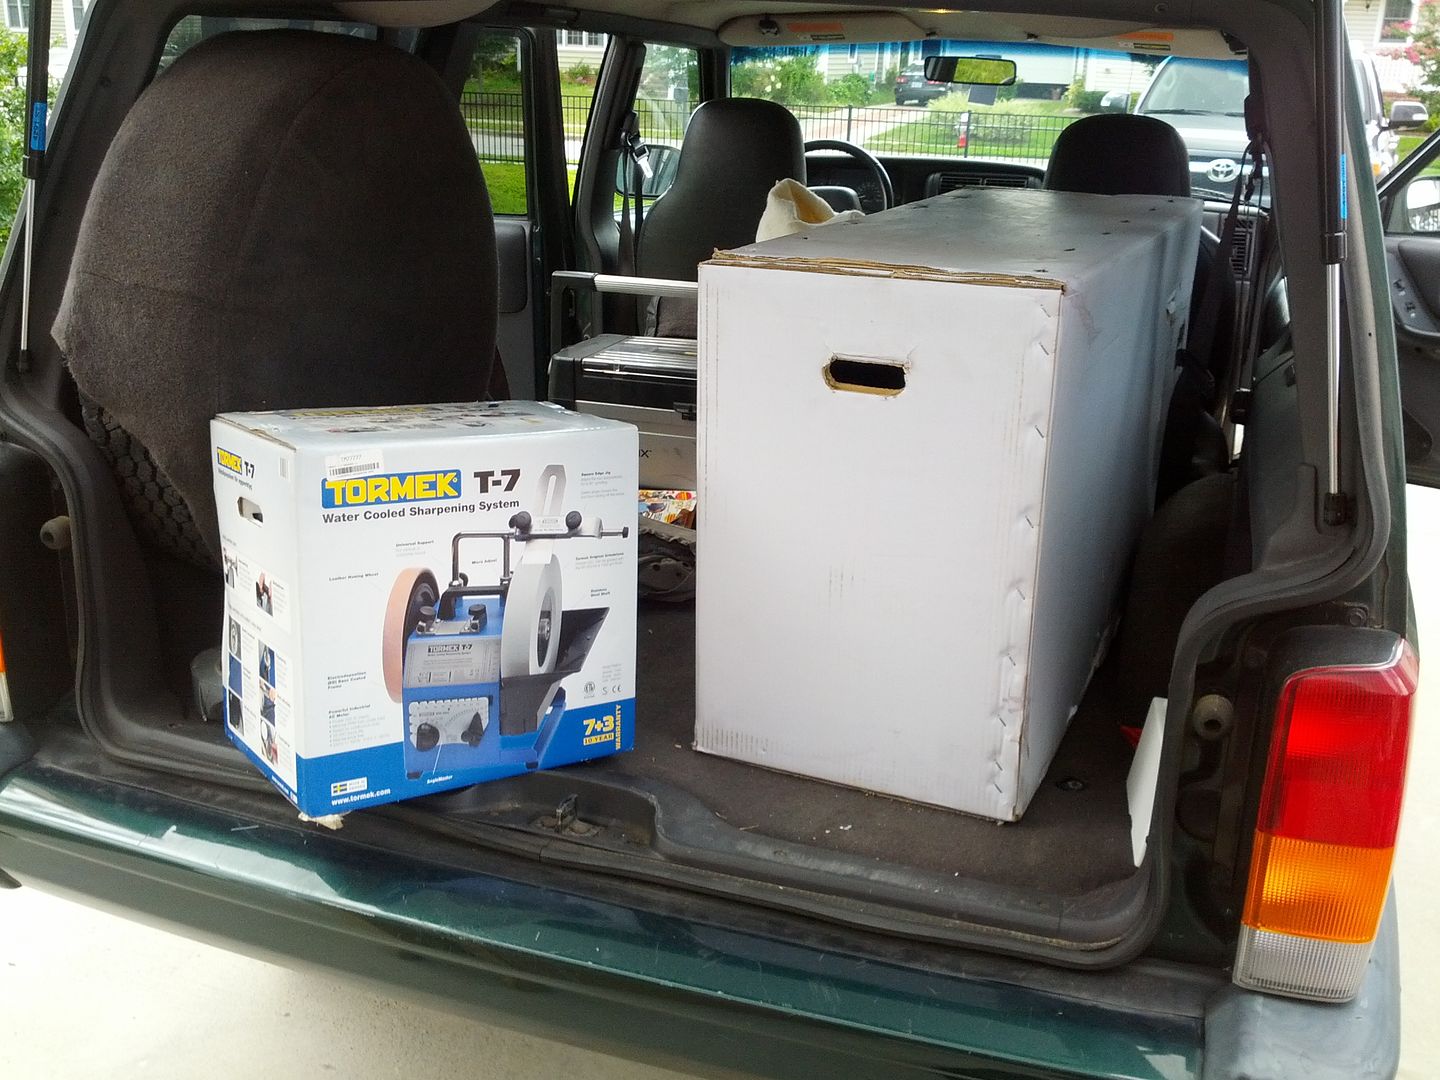
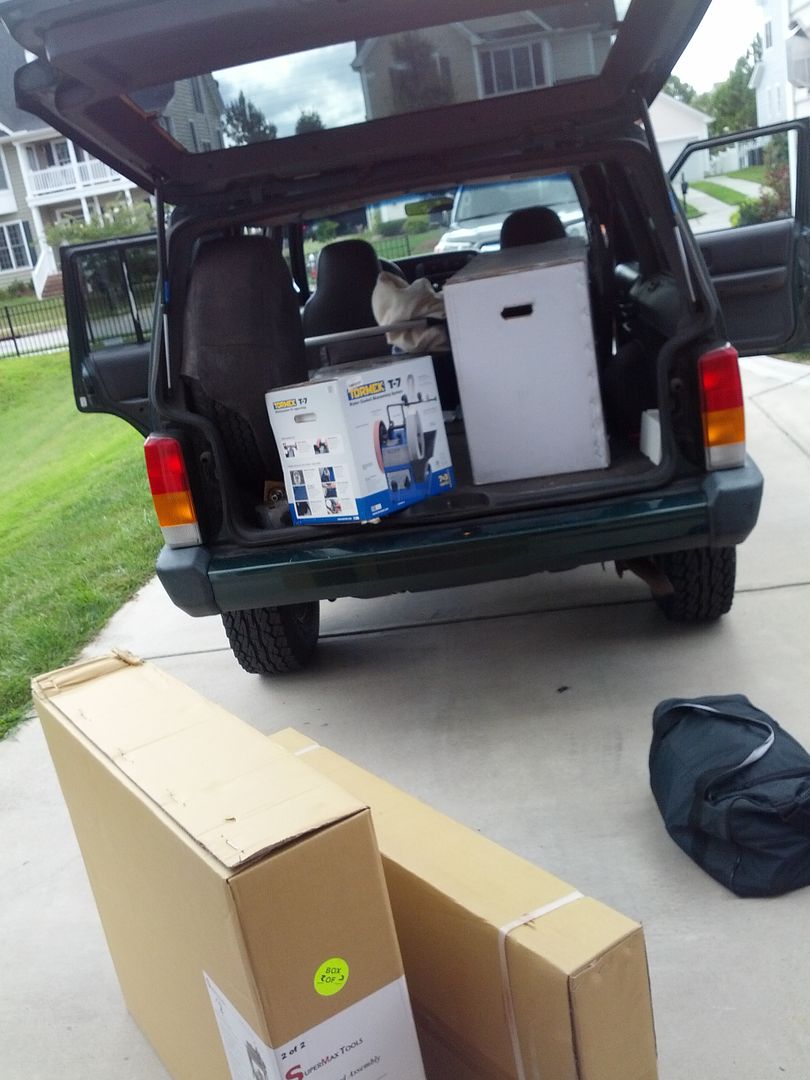
SuperMax 19-38 box #1, 2, 3 and the Tormek T-7. Everything is going to get sanded and sharpened.


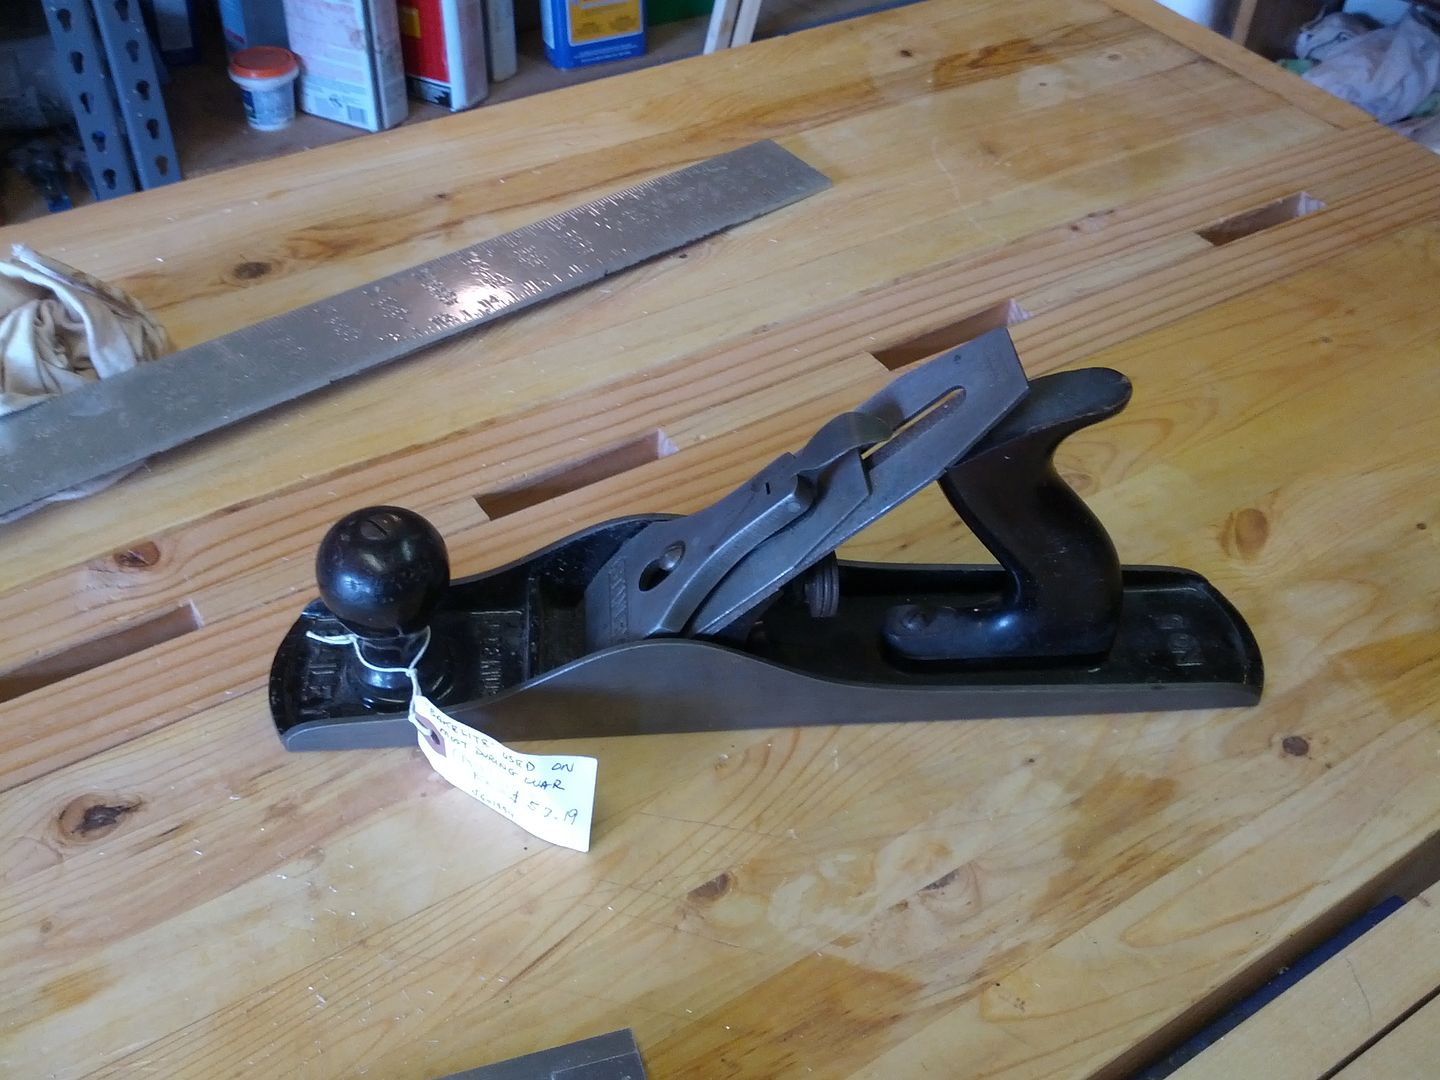
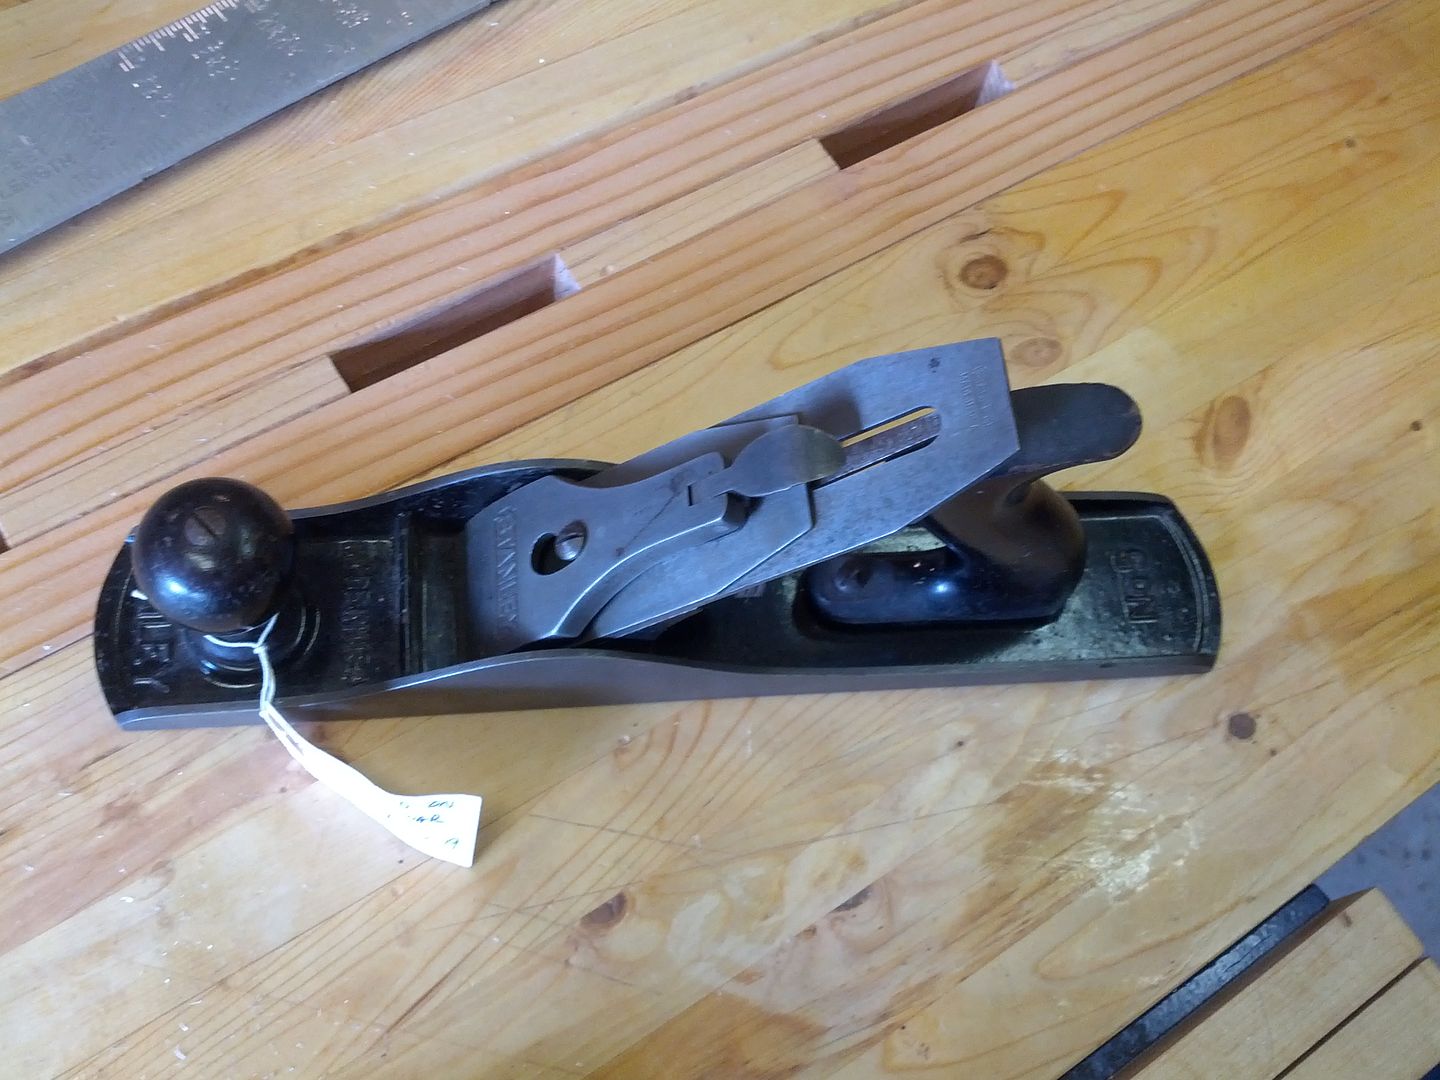
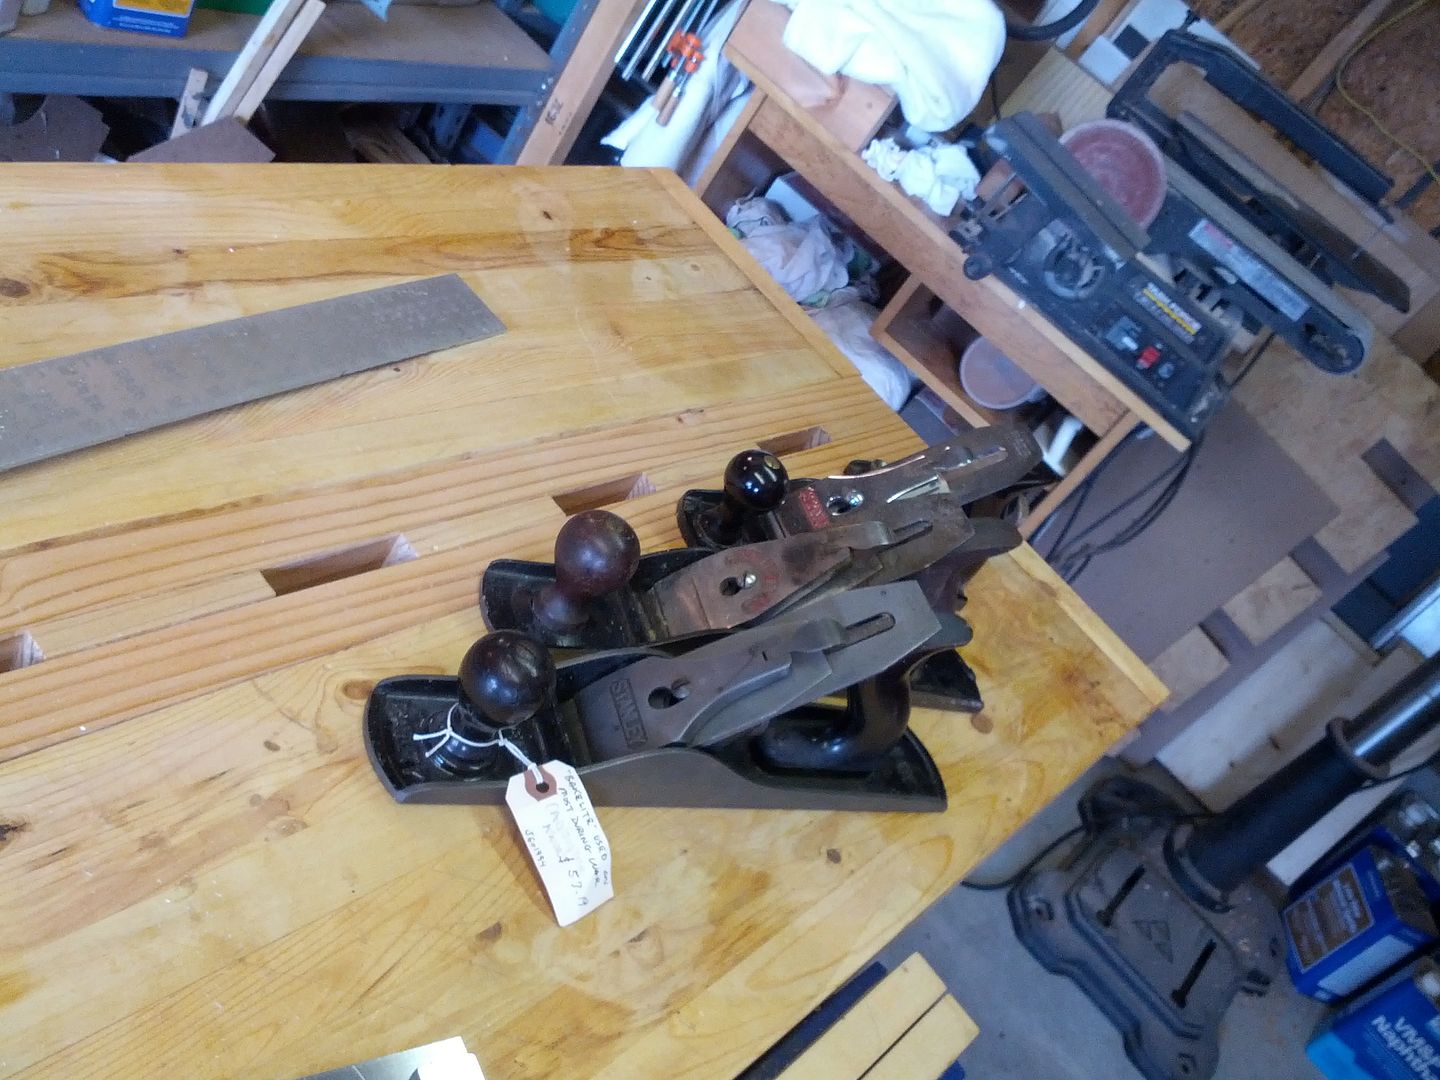
Rare wood handled WW2 Era No. 5 Stanley along with a late 40s No. 14 a newer Stanley No. 4 1/2 and what I think to be a 50s era Stanley block plane.


Monday, August 12, 2013

Final stages

Final stages of finish.

I just realized I rarely ever take pictures in the final stages. I don't show electronics getting put together a lot so lets remedy that.

Electronics for the S6 Bass are really simple. We have a 3-way, push/pull volume for tapping the humbucker, and a tone knob. One more pot than one of my electrics. Bass players actually need a lot of versatility in their electronics so they can find one setting they like and leave it. ;)


Strung up and sitting. I still have to dress the frets and do a final setup. It is huge.


Talking about electronics.

Always trim the excess off. Leaving stray pieces sticking out is not only sloppy but can also contribute to random crazy things that are hard to diagnose.


Don't forget to put your heatshrink tubing on before soldering the connections. Heatshrink is your friend in tight cavities. It can be a pain if you mess up and have to move a wire but in the long run it has saved me more than once.


Order of operation is important as you don't want to accidentally burn wires while soldering the new ones in. Also using small lead wires to connect later makes troubleshooting easier.


Here is a push/pull wired for a tap. The common is grounded and the switched sides are jumpered so we can easily attach the coil starts to them. I put each tap on a separate lug for isolation.


Grounded everything to the chassis with a jumper to make it easy to tie together when it is ready to go in the guitar.


Heating up the heat shrink.


Starting to look like electric spaghetti.


This one and I are at war. After deciding the finish was not good enough I scuffed the whole body back with 600 and shot new clear on it. Luckily my customer is a very patient man.


Back to assembly. Trusty clamps help hold things while I solder up the prebuilt harness.

This setup is my favorite. Push/pull for pickup selecting with a small tap switch. Crazy for some but for me it makes sense as I never use both pickups together when playing metal live. For the studio maybe more options make sense but live it has to be simple and work overtime.


Only waiting to settle in to the big strings and get a final setup. I am relieved to be at this stage with this guitar. Control cover will go on when it is done done.


Between builds

Zero.

This is were I left off.


So I had some time to kill between lacquer coats on a customer guitar so I grabbed the white zero body off the hook and decided to start making a mess.

Not sure what I am up to with this paint scheme. For now lets just call it an experiment.


I have decided to not follow the Kamikaze theme but just pay respects to it. Some sort of 80s montage. Also bailing on the Kamikaze graphics and going much more American. I am planning on doing a Corsair theme with a picture of Boyington instead of the Kamikaze pilot. Should be fun.


2 Colors down.


3 Colors and my eyes are starting to hurt looking at it.


The real issue is now I think I need Black hardware for this. I already have all the chrome stuff ready. Oh well I will figure something out.


Tuesday, August 6, 2013

I Nitro

A quick look at the most hated guitar in the shop right now.

I have sanded the finish off this POS 3 times already.

For the record Nitro is the only way to consistently finish cocobolo. I don't know why I tried something different or experiment. The Behlens Teak oil looked like a million dollars on the Sapele but on the cocobolo it was very dull in the springwood and super shiny in the summerwood. My fix was to scuff and use a few light coats of Poly over top of it. Well the poly peeled up on the springwood (softer sections). Stuck like mad to the Sapele. Mad at myself for trying something so silly I sanded the whole guitar back.

My next plan was shellac. I don't use shellac much at all. Now I know that I won't moving forward. What a sticky nasty mess. Once I had a coat of shellac on it I hit it with more Poly. It looked like arse. So I left it to dry. Sanded it all back off and decided this guitar will be for experimenting with finishes.

I have always wanted to try brushing lacquer on as a finish method. I took some Behlens and a sponge brush and brushed away. It dried so fast the lines did not flow out. To be expected I guess. So I added some retarder (not thinner but retarder to slow the drying process) and tried again. By the time I got enough retarder so it would flow out it was so thin it might take a year to build. I let it cure brush marks and all.

The next day I sanded out the brush marks and was mildly surprised at where the finish was. I am pretty sure with the right brush, retarder, and some patience you could brush on lacquer and get a good finish.

Patience is not my virtue.

Finally I decided I had enough. Grabbed the spray gun and shot 3 coats over the mess. It worked. Looks like a million dollars. I hate finishing but if I have to finish with something other than oil it will be Nitro.

I should know better....