
Tuesday, December 23, 2008


Wednesday, November 26, 2008
BTW ... its red
Very happy with the latest addition. I finally got around to replacing my beat RG470 body with an RG550. The original pickgaurd had to be heated and clamped straight. The paint had to be fixed were USPS dropped it and cracked the finish. I ended up using Zpoxy to rebuild the input jack area. It took a little work but here we go.


Tuesday, November 25, 2008
Change in direction....

Originally this neck was going to be for an RG550 replica. I have now attained a real 91 Road Flare Red RG550 body, mated it to the 93 RG470 neck and parts and no longer need a replica. I just realized that I really liked the 93 Wizard neck from my RG470 but not the Wizard from the 87 RG570. I like necks that are flat and thin. I like the 1 11/16" nut and string spacing on the RG470 neck.
I love my 82 Destroyer. I disliked the 83 DT155 and am selling it on ebay. The 83 DT155 has a very Strat style neck with no neck angle, 25.5" scale, and small tall frets. The 82 has a Gibson style neck with a nice 3 degree neck angle and a 24.75" scale. I am not a fan of shorter scales.
Ok ranting over... SO what am I doing with my RG copy neck. I am going to build a Hybrid Destroyer.
25.5" scale, 2 Humbuckers, one volume push/pull and a 3 way switch.
Harmonica TOM style Bridge or a Gotoh 510 from Warmoth
Six inline headstock. Headstock is bigger than a modern RG yet smaller than the 82 Destroyer.
I think I am going to use Mahogany or Black Limba for the body. No exotic top though as I want a specific sound that you get from all Mahogany body.
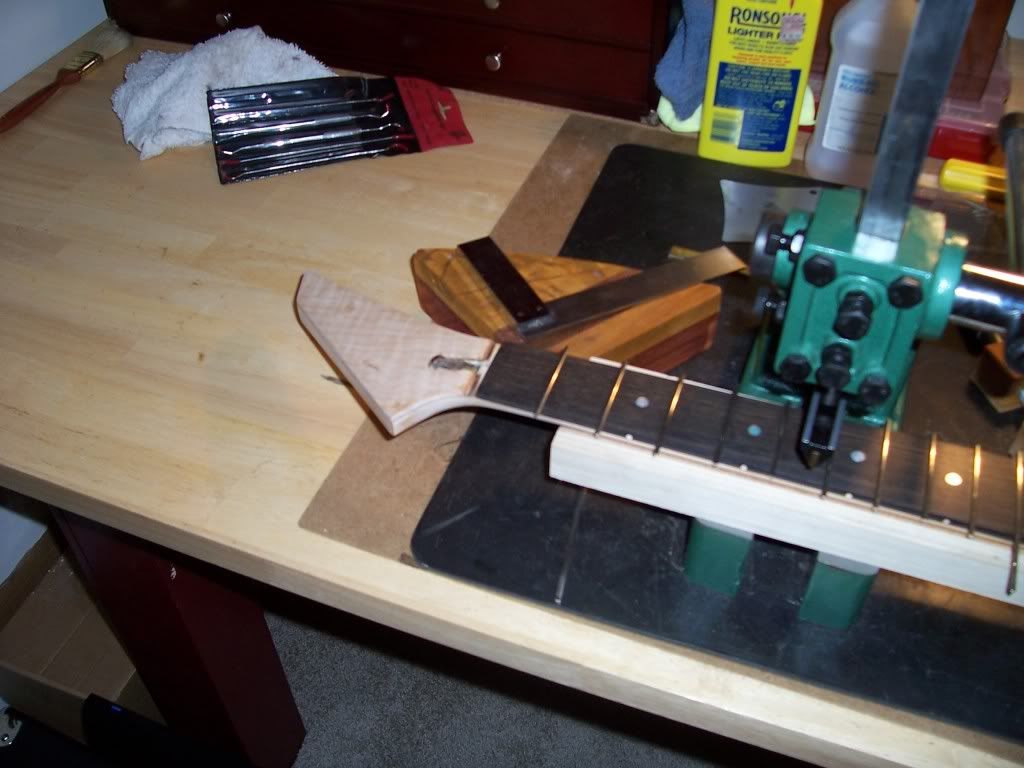
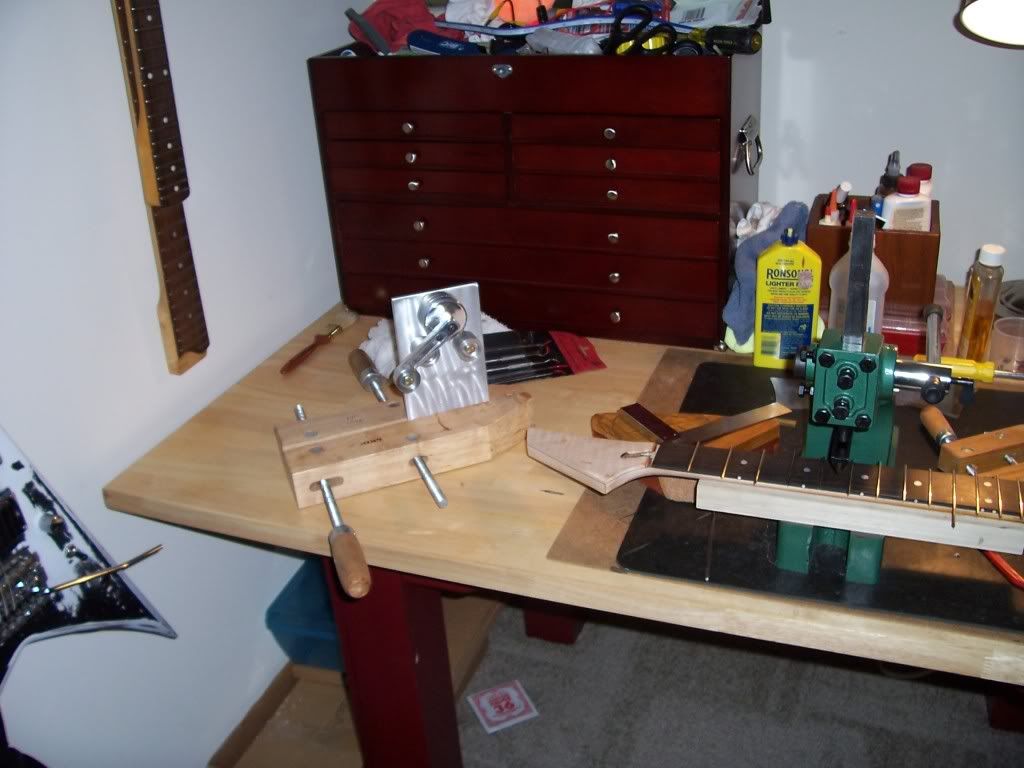
The neck is half done. Still need to finish fretboard, fretting, and clean everything up.

The crazy joint was accomplished with several layers of Walnut veneer. I was trying to get the 5 piece Re-Issue RG wizard neck look and came up with an interesting experiment that turned out nice.


Sunday, October 26, 2008
Starting on the RG replica
Flame maple with Walnut stripes. I also threw in a walnut scarf joint spacer thing. I thought it would help with the volute.


Friday, October 17, 2008


Monday, October 13, 2008


Recessed TOM
Recessed TOM to compensate for the lack of neck angle on the guitar.


I think my favorite build thing to do is a 3 degree neck angle set deep in the body so that the strings are still close to the body. The thing I dislike most about my Gibson V is the cavernous expanse between the strings and the body at the TOM. However the neck angle is really comfortable. On my King V I fixed this with a 2.5 degree neck angle and recessed the neck deep into the body.


I think my favorite build thing to do is a 3 degree neck angle set deep in the body so that the strings are still close to the body. The thing I dislike most about my Gibson V is the cavernous expanse between the strings and the body at the TOM. However the neck angle is really comfortable. On my King V I fixed this with a 2.5 degree neck angle and recessed the neck deep into the body.
Winging it
So I really haven't planned this guitar. I am just listening to music and working on it. The extreme thin profile coupled with spare parts approach to this build has prompted some interesting design decisions. No neck angle since the body was so shallow... (This might be my last guitar I build with no neck angle) and some strange jack placement. However I think the jack placement is going to work out well.


Friday, October 10, 2008
Cleaning tuners
So I started cleaning the Ibanez smooth tuners II that belong to the black DT-155 I am restoring...
They are nasty. There is a film of gunk on everything associated with this guitar. Acetone and Naptha are my friends right now. It is hard to see in the pictures but these are really really toxically nasty.

After the bath and brass brush...

They are nasty. There is a film of gunk on everything associated with this guitar. Acetone and Naptha are my friends right now. It is hard to see in the pictures but these are really really toxically nasty.

After the bath and brass brush...

Thursday, October 9, 2008
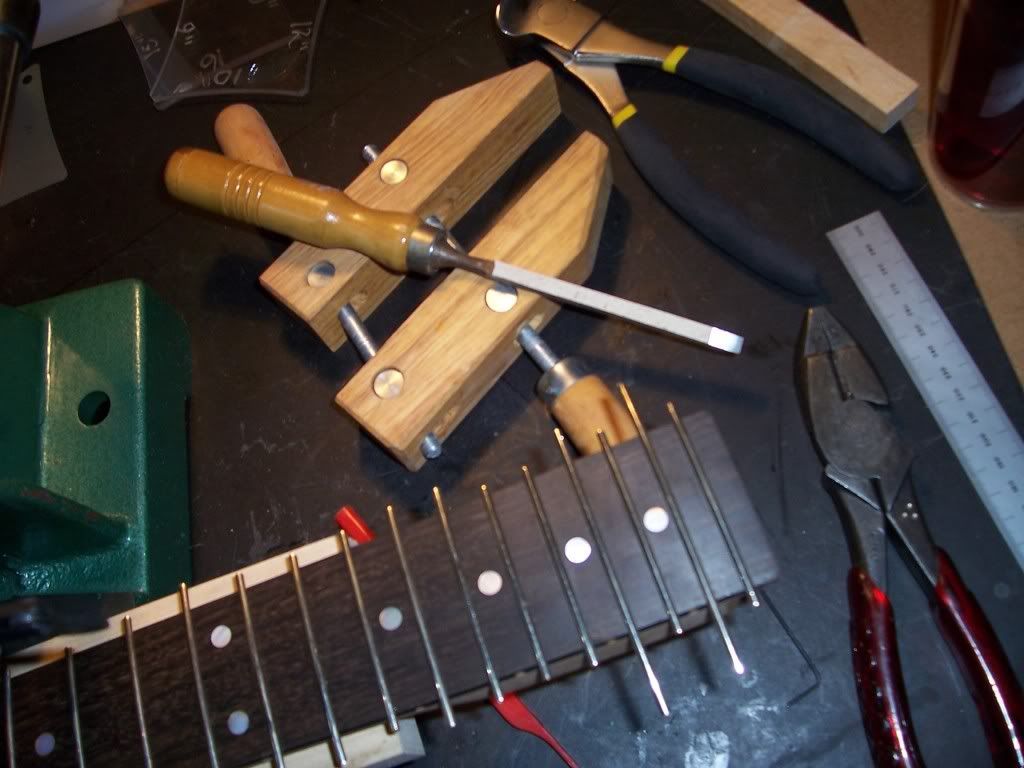
Notes on fret press
Fret work is rough on the hands. I am usually sore the day after a fret job. I guess because I don't like to use pliers to fit the fret wire. I run it through my fret bender then shape by hand. I have found pliers kink the wire and make high spots.
Notes on Fret Pressing:
Make sure the fret is square before pressing it in. I wasn't able to use a hammer because is was 1:00 in the morning but I took extra time to make sure that I had everything square.
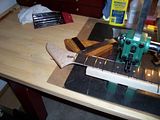
Make sure the curve of the fret matches the fret board exactly.
14" Radius on the fret board and the 12" radius insert will leave the middle of the fret sticking up if it is over bent. It happened on the first fret I pressed in. I ended up going back with a 16" radius insert and pressing the middle down.

Obviously if I had a 14" radius insert ($4.45 at StewMac) this might have been avoided but It will happen on compound radius fret boards also.
Support the neck. Either make a neck support or buy the one from StewMac. I also ended up needing some spacers to press the frets into the transition from the heal to the block part of the neck.
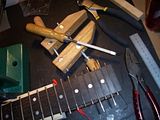
I learned 2 techniques when I worked as a Luthier. The hammer-in technique and the epoxy glue-in method. I am not a fan of the hammer in technique. I liked the glue-in technique but it was messy and unforgiving of poor fitting frets. The press in method is superior to all however it requires the fit of a glue-in and the technique from a hammer in (sort of...)
One other thing I am not a fan of is nipping fret ends with end cutters. I usually saw the fret ends off with a razor saw or a dremel. It is too easy to unseat a fret with a pair of end-nippers.
I will try a steeper fret end on this neck and see how it feels. I have always felt that 35 degrees was too lax but tradition has kept me from changing it. I am not doing hemispherical ends on this neck as it is too much work.
Notes on Fret Pressing:
Make sure the fret is square before pressing it in. I wasn't able to use a hammer because is was 1:00 in the morning but I took extra time to make sure that I had everything square.
Make sure the curve of the fret matches the fret board exactly.
14" Radius on the fret board and the 12" radius insert will leave the middle of the fret sticking up if it is over bent. It happened on the first fret I pressed in. I ended up going back with a 16" radius insert and pressing the middle down.
Obviously if I had a 14" radius insert ($4.45 at StewMac) this might have been avoided but It will happen on compound radius fret boards also.
Support the neck. Either make a neck support or buy the one from StewMac. I also ended up needing some spacers to press the frets into the transition from the heal to the block part of the neck.
I learned 2 techniques when I worked as a Luthier. The hammer-in technique and the epoxy glue-in method. I am not a fan of the hammer in technique. I liked the glue-in technique but it was messy and unforgiving of poor fitting frets. The press in method is superior to all however it requires the fit of a glue-in and the technique from a hammer in (sort of...)
One other thing I am not a fan of is nipping fret ends with end cutters. I usually saw the fret ends off with a razor saw or a dremel. It is too easy to unseat a fret with a pair of end-nippers.
I will try a steeper fret end on this neck and see how it feels. I have always felt that 35 degrees was too lax but tradition has kept me from changing it. I am not doing hemispherical ends on this neck as it is too much work.


Monday, October 6, 2008
More work on the other guitar
Made a template from plexiglass for the neck using my router table then trued it up on my delta jointer/planer (birthday present).

Then I cut the shape of the neck with the $25.00 router table.

A little spoke shave work and I have a roughed in neck.

And some more clean up with the Jointer


Then I cut the shape of the neck with the $25.00 router table.

A little spoke shave work and I have a roughed in neck.

And some more clean up with the Jointer

Subscribe to:
Posts (Atom)