Monday, July 29, 2013

Bench Updates

Swapping all the screws for pegs and glue. The frame on this should be pretty bullet proof when I am done.


You can see the split in it. I really need to finish the center piece as working on finished guitars over the gap makes me nervous.


Boiled linseed oil on the top. I am not sure it was the best choice but it will do until I redo the top in Maple.


Working on the center for the bench. I have set aside an hour a weekend to work on bench upgrades so it doesn't kill my production. Once this is dry I will use the jointer to square it up. As you can see I have very large dogs to set in it.


I moved my bench vise over. I think I like it. I used it a lot already.


Miscellaneous Misc

Few updates...

Decals are no fun. I can not wait to figure out a better way to do this.


As I was cleaning up some trash in the finish I managed to mangle this decal. Now I have to print another one... the sheets are 8x11.5 so I have to carefully print it at the top, cut it out, clear it, so I do not waste another expensive sheet of decal paper. Then I have to put finish over it.


Working on installing nuts and control plates. One thing I hate is when I forget to put the nut in before finishing a guitar. Working on already finished instruments is tedious. Of course I got in a rush and now I have to install the nut without hurting the finish.


I have the Stew Mac nut files and they are fine for repair work, like reseating a nut on a LP or Strat. They are really annoying for new work. I use a really wide nut in a Strat style slot this means I have to cut the nut slots by hand. This also means it has to fit perfect. On a LP there is no back to the slot so it is much easier to seat. On a Strat the nut is only 1/8" again much easier to work with.

Sometimes you have to sacrifice new tools for the sake of efficiency. This brand new very sharp 1/4" square bastard file had no idea what was coming. The belt sander made quick work of the teeth.


As you can see here the side I removed all the teeth from goes towards the frets. This makes it easy to cut the bed and back without ruining the intonation. Also helps keep everything square.


The results are amazing. I have made several tools for doing this over the years (including a chisel the exact size of the slot) but this one is the best.


Control plates never get done until the end. It always seems like I forget to get them done and have to hustle to finish.


I am doing a set of P90 HBs and the kit from Mojo doesn't come with centers. Word to the wise don't assume the P90 is 50mm... it was 49.2mm so I had to cut them twice.


Thursday, July 18, 2013

Benching time

So sometimes you need to convince things to it flat. That is what the strap and clamp are for. Minor adjustments before tacking the bits together. To get it all lined up and level I am using 3" screws to put it together. Don't worry I have plenty of dowel rods and glue coming once it is level.


Time for the top. After attaching the top with screws I drilled the first pegholes. Then I used a brad to mark the other holes. Beat the top down on the pegs and the brad marks the top for the dowel. Beat it loose, flip it over, drill the dowel holes and we are in business.


Here you can see the dowels that go through. I use the 3 inch screws to keep it all snug but I don't really need them. I had to beat the tops onto the pegs with a deadblow and a 2x4 scrap.


Don't mind the long runner sticking out it is jet to keep it square while I get it pinned together more permanently.


On this side is were the leg vise is going. Still a lot of work to do but at least it is usable now.


Friday, July 12, 2013

Pine Bench Stuff

What a mess... pine chips are sticky to boot. Never using pine again.


Ehh I guess they are square enough now. Even though there are still some uneven spots. Usable straight yield on a 2x4 is not a lot of wood.


Clamped all the legs together to cut them. Then figured out the radial arm saw wasn't big enough... so I ended up with a little left over.


Cleaned it up with old #5. Of course since it is pine and I was in a rush it just friggin chipped out.


Time to glue the legs and truss together. They were square when I clamped it all up.


Wednesday, July 10, 2013

Benches and plastic tools

Both halves of the top are ready for planning.


Legs ready to be glued.


Gluing up all the legs at once. I hope I have glue in the right places.


What a complete POS I managed to buy from Rockler. Every piece of the dust collector tools I bought with a seam in it has busted. Wasted $78.00. Luckily it is all ABS plastic. That means that normal old PVC glue will weld it fast.


Tuesday, July 9, 2013

Random things

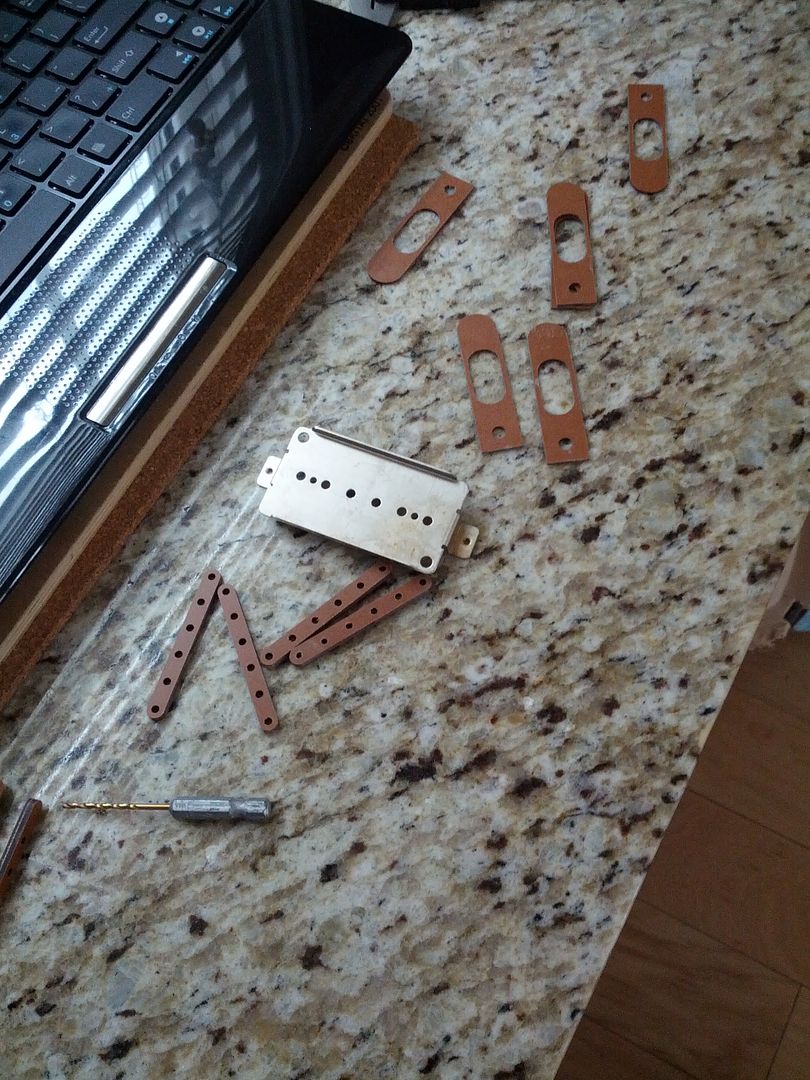
Watching finish cure and winding pickups is pretty boring in photos so here is some fun stuff.

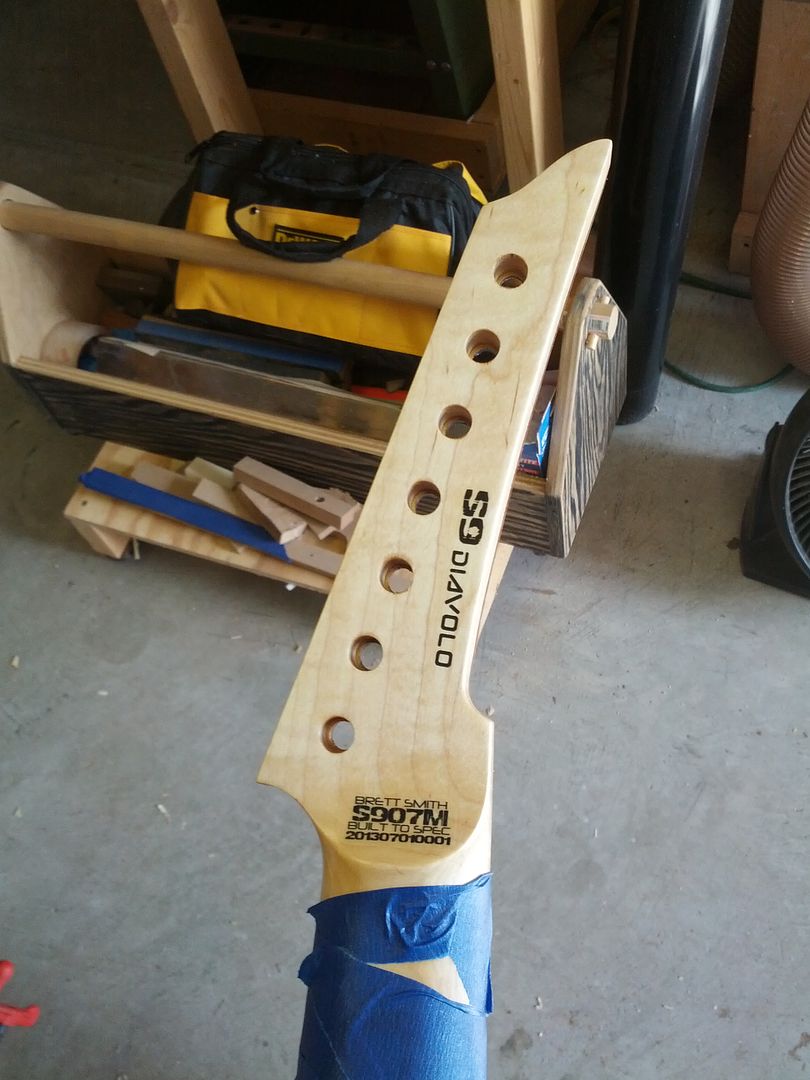
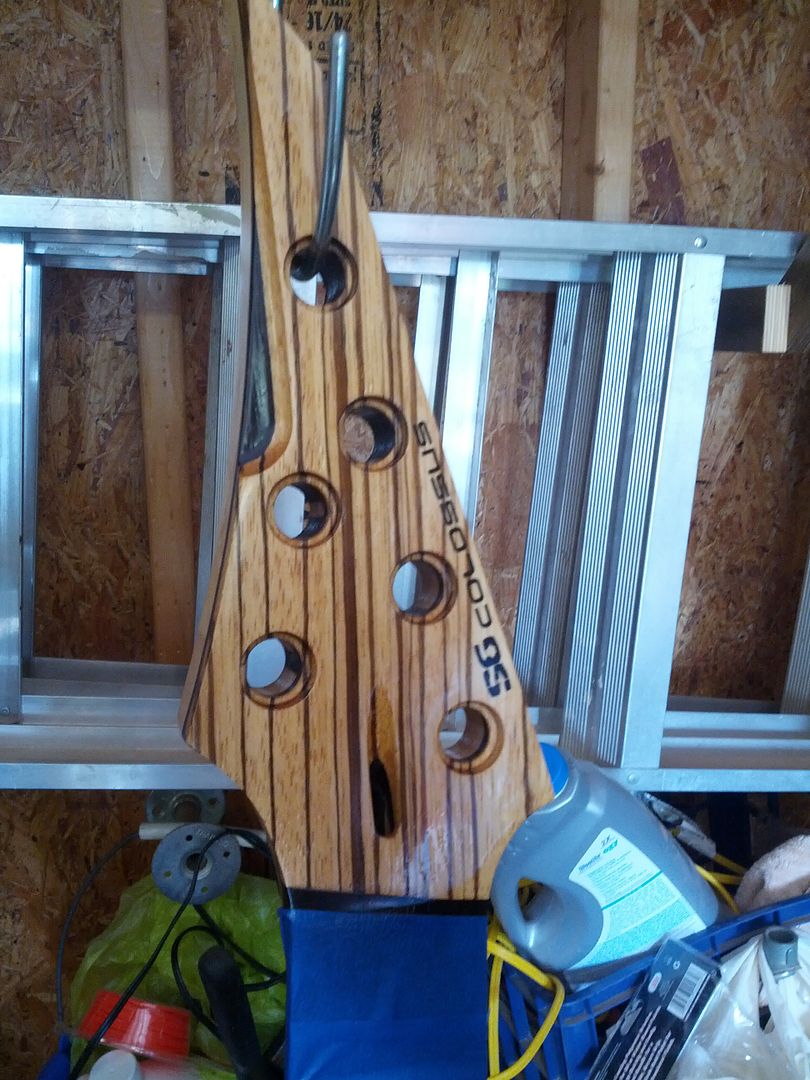
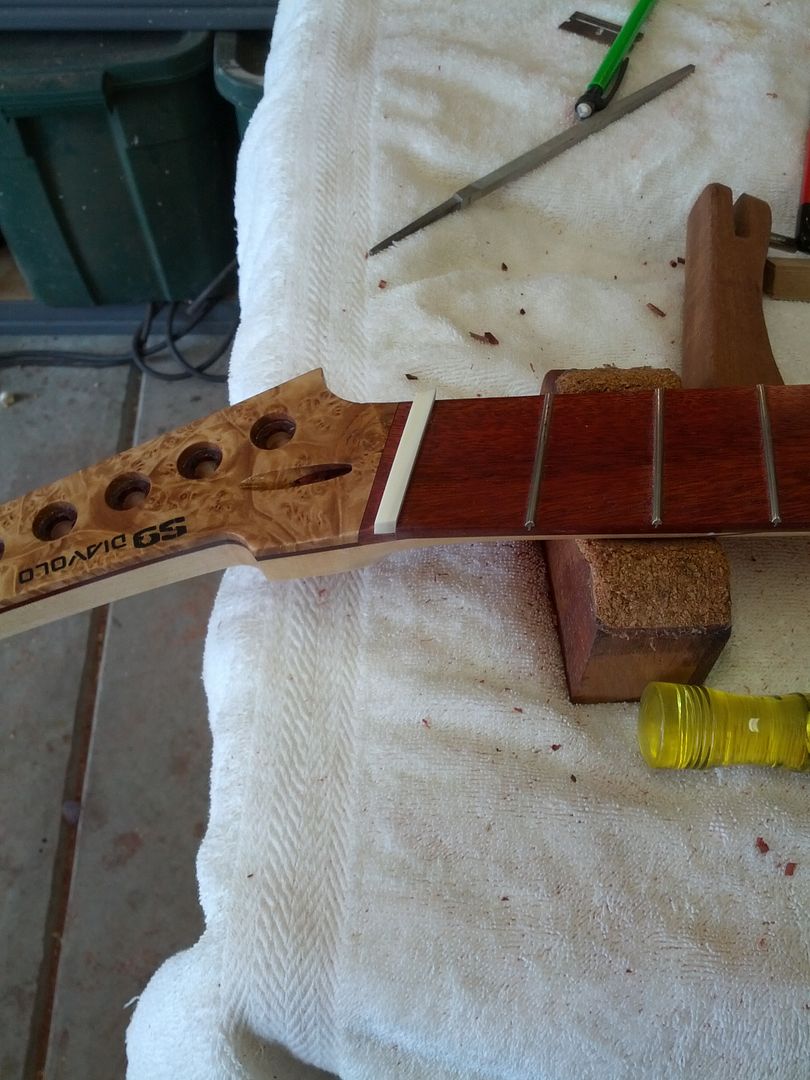
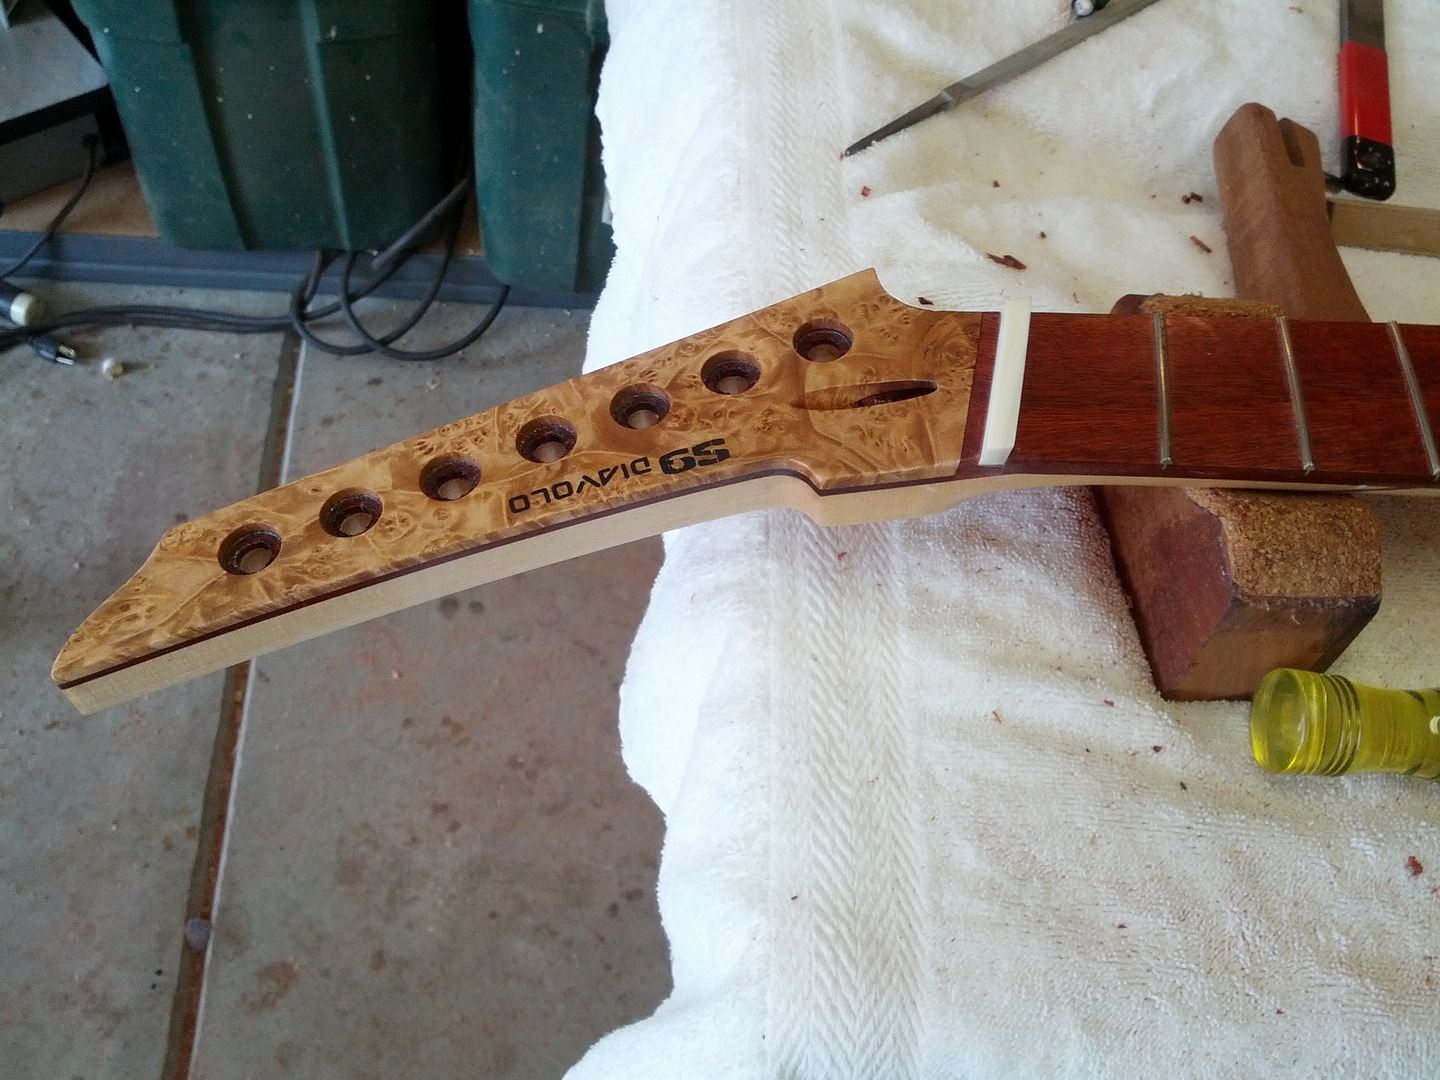
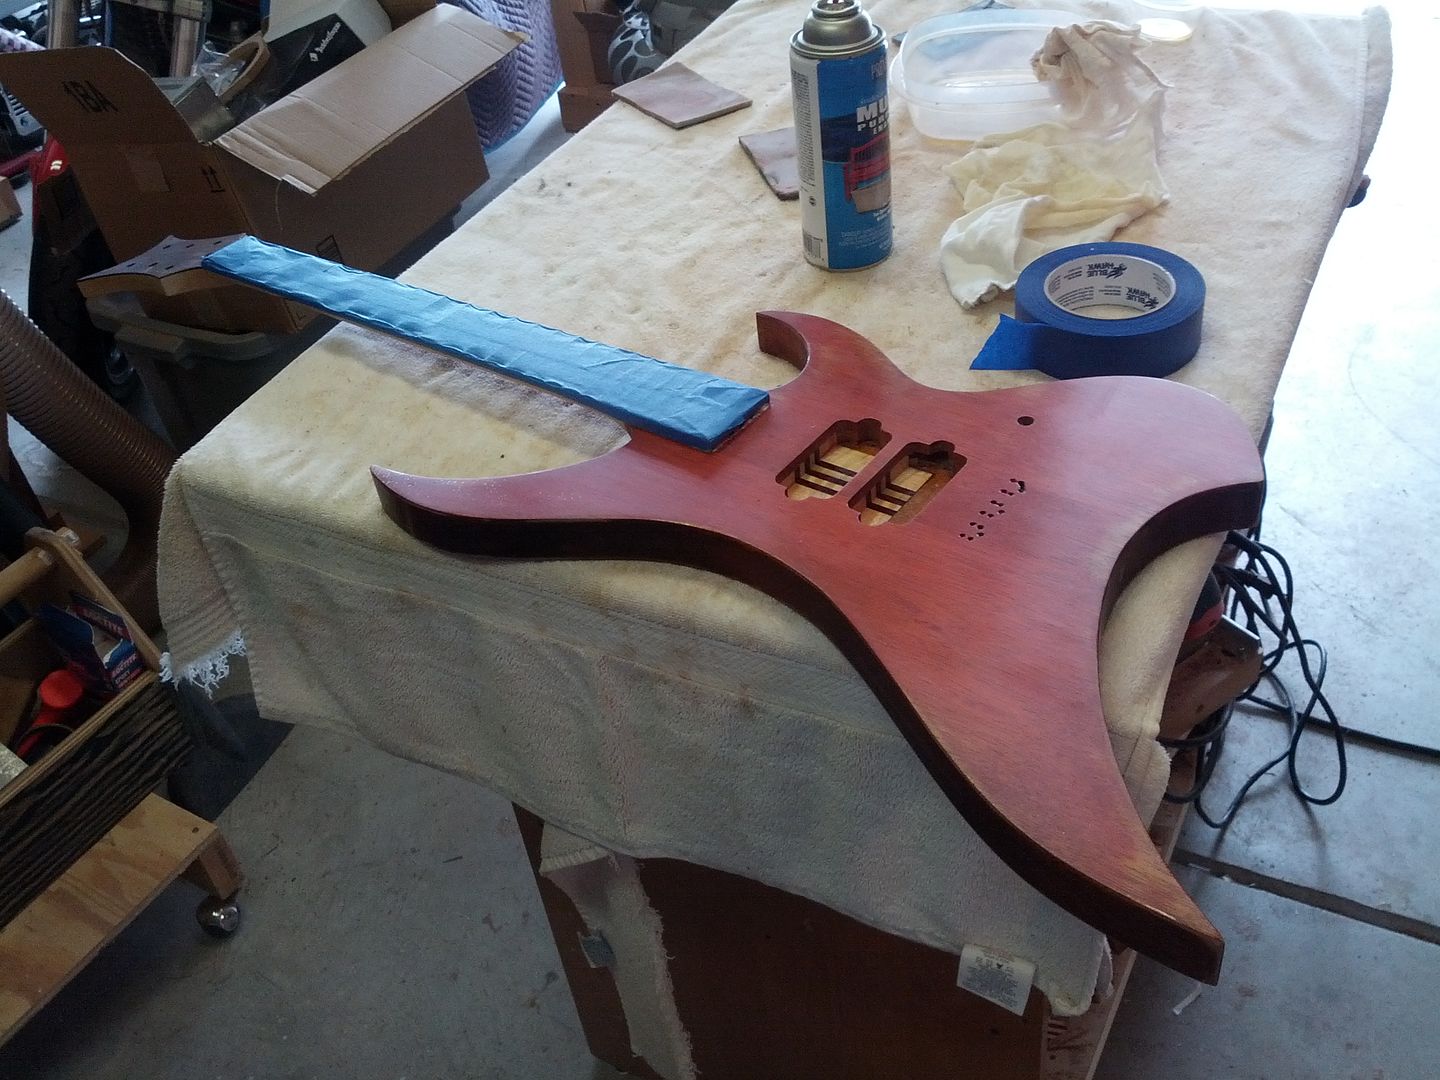
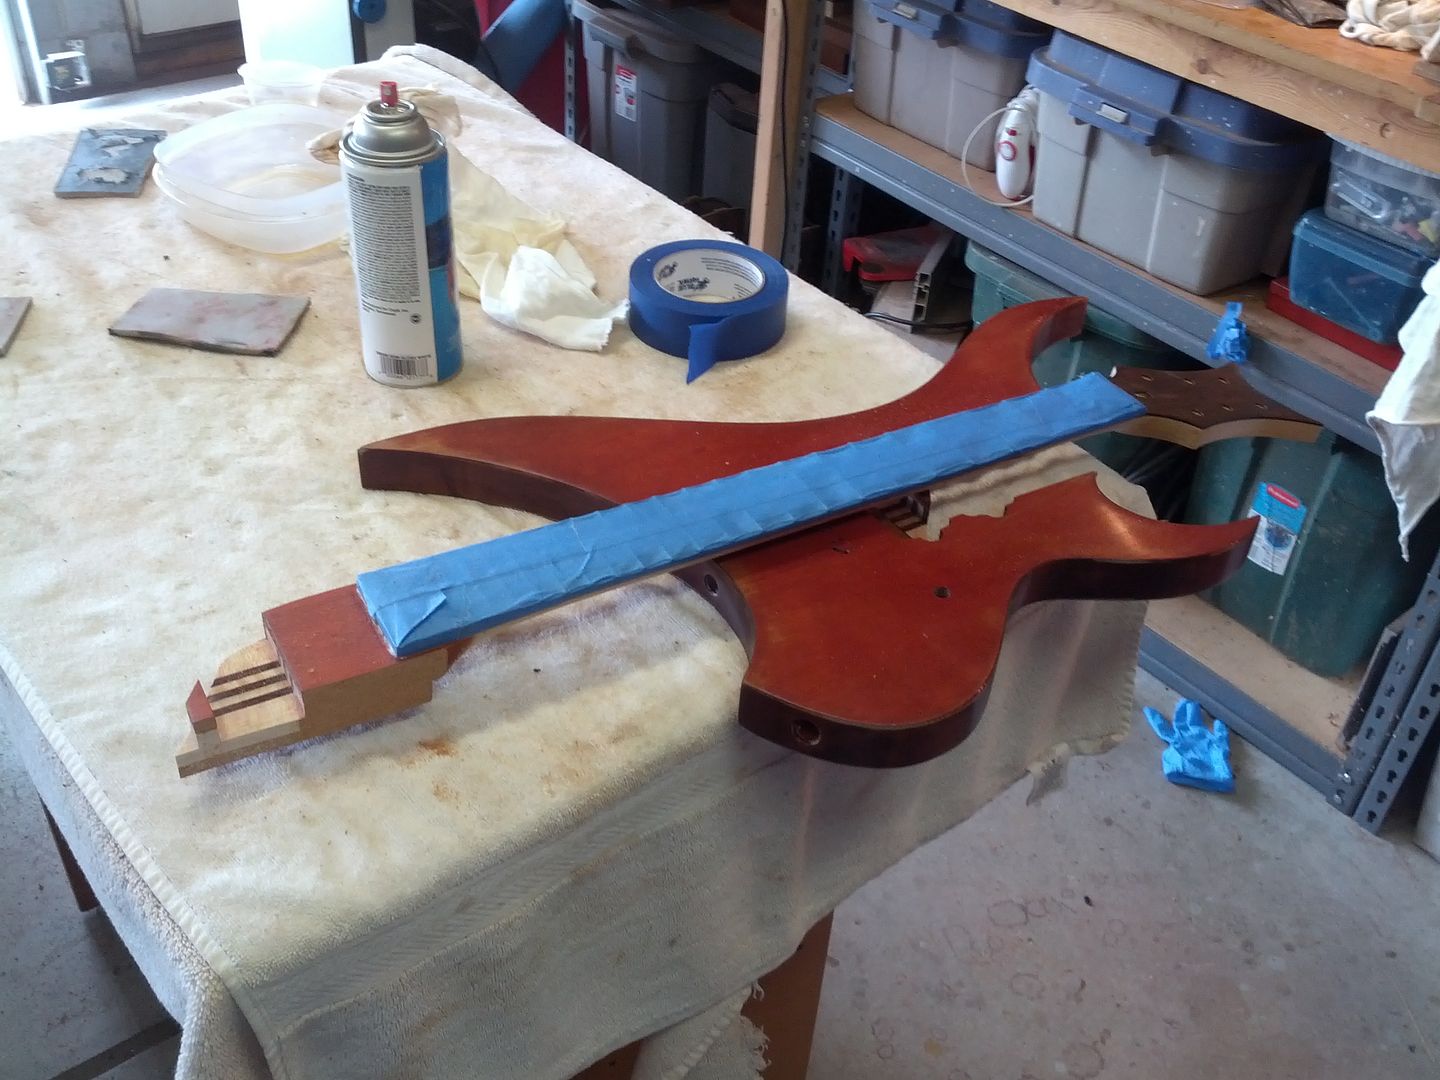
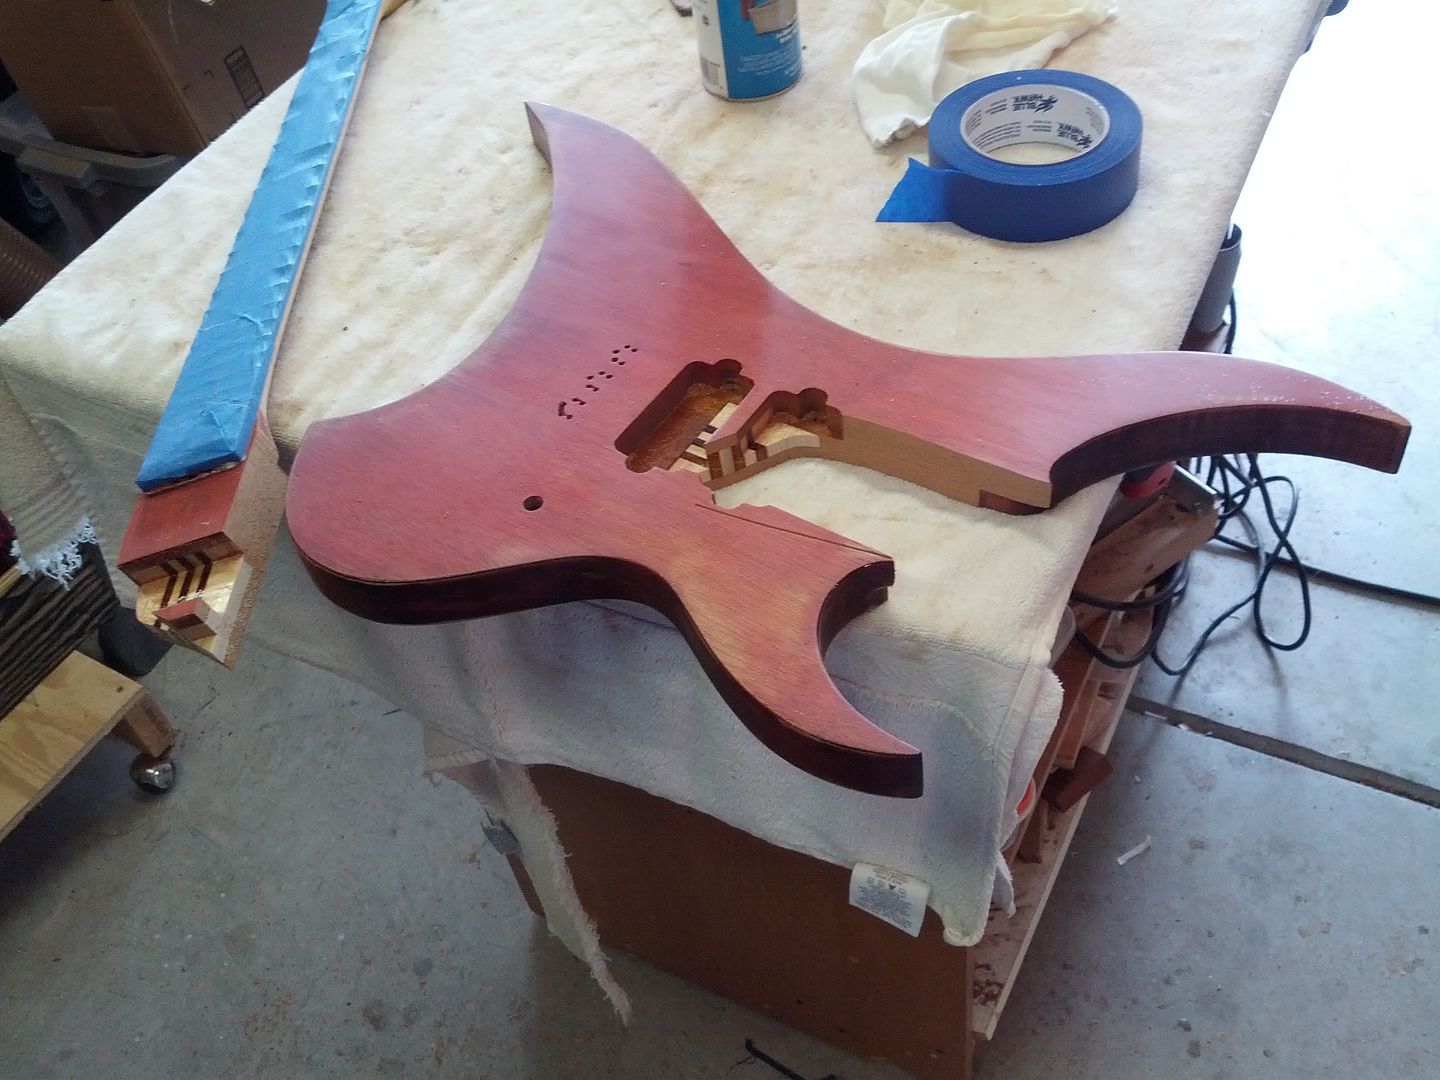
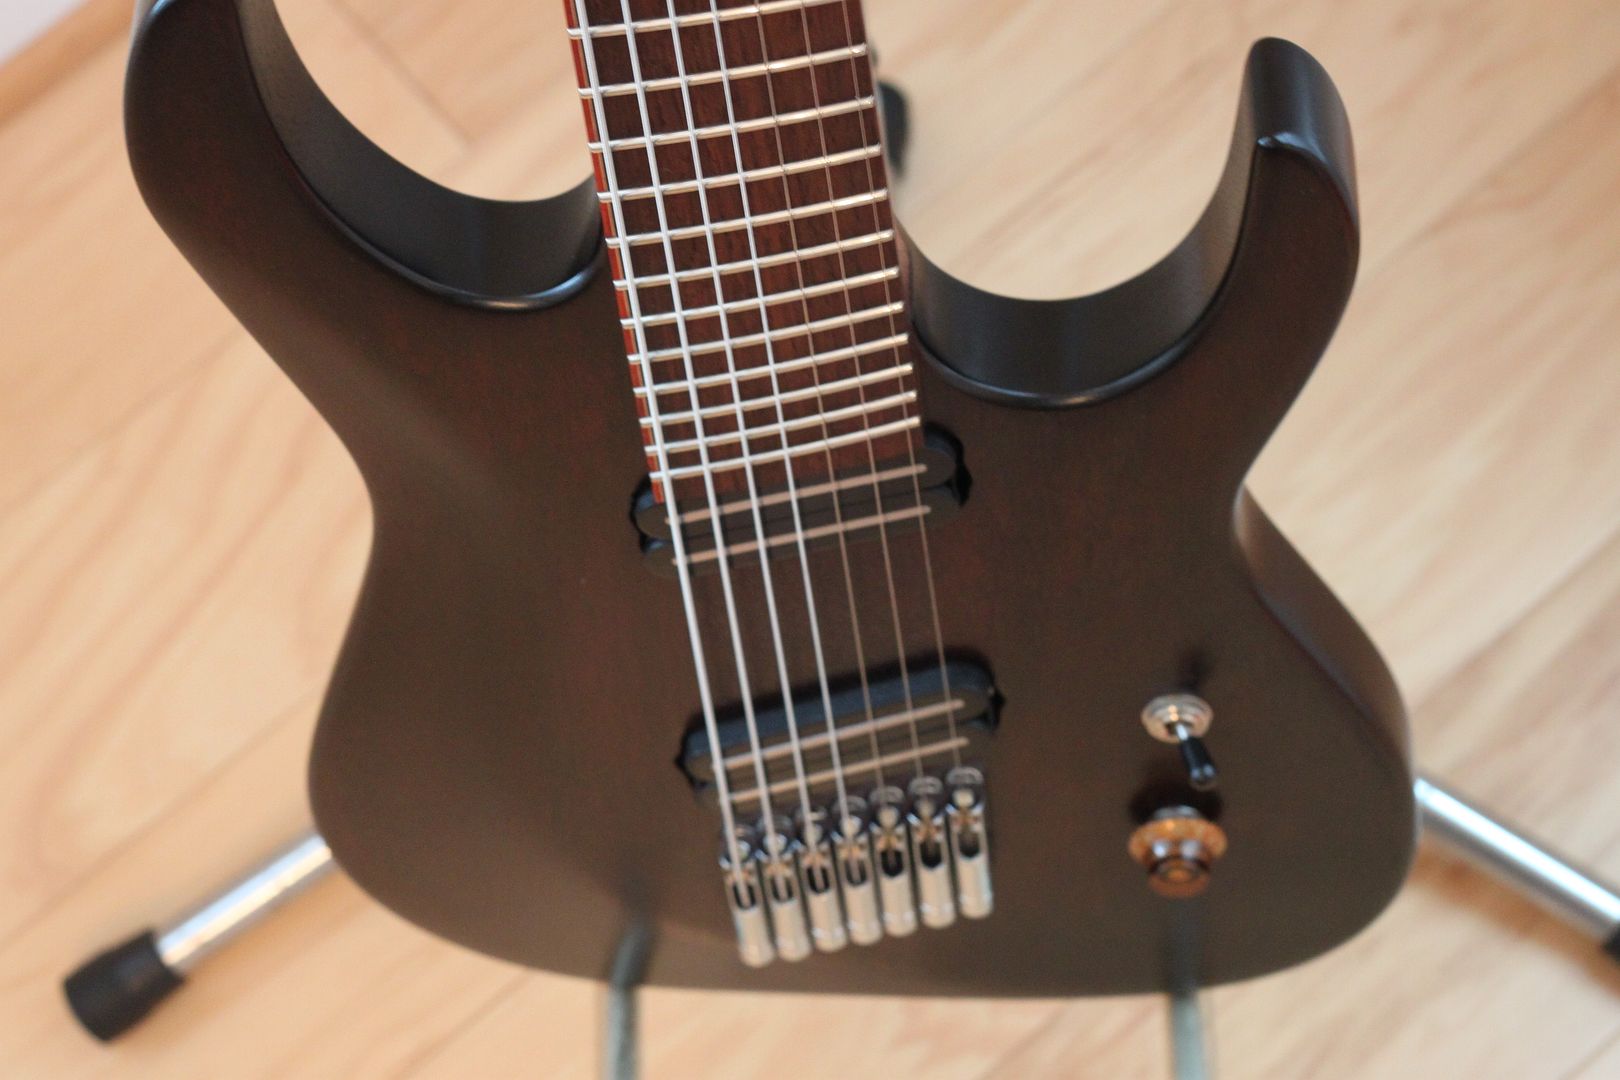
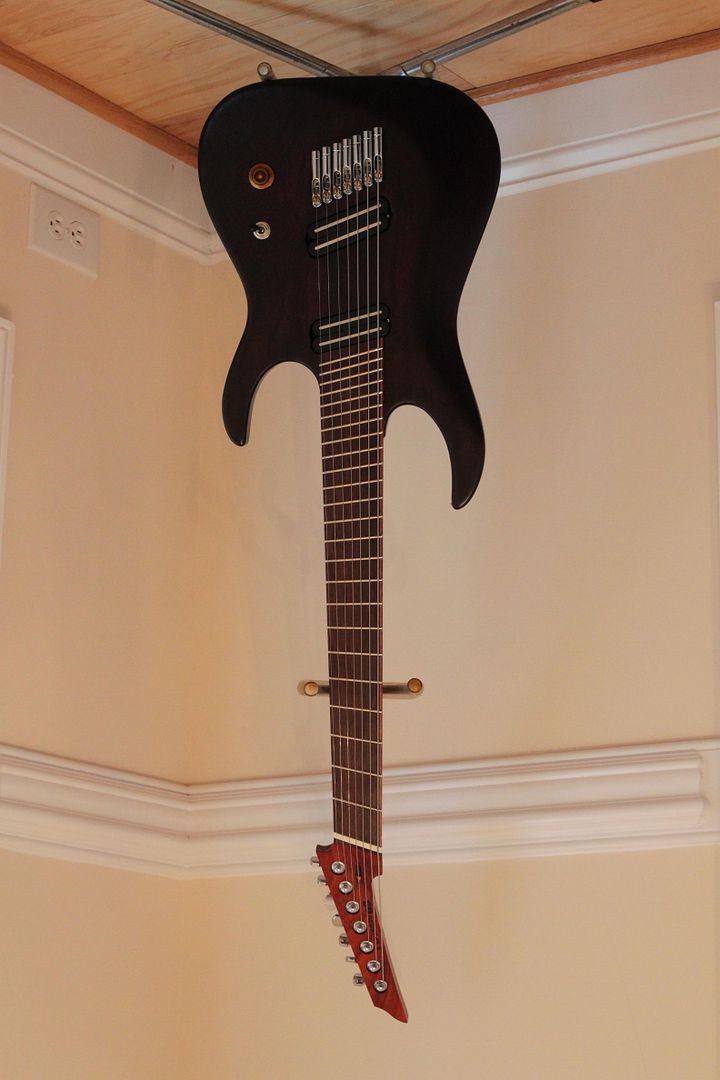
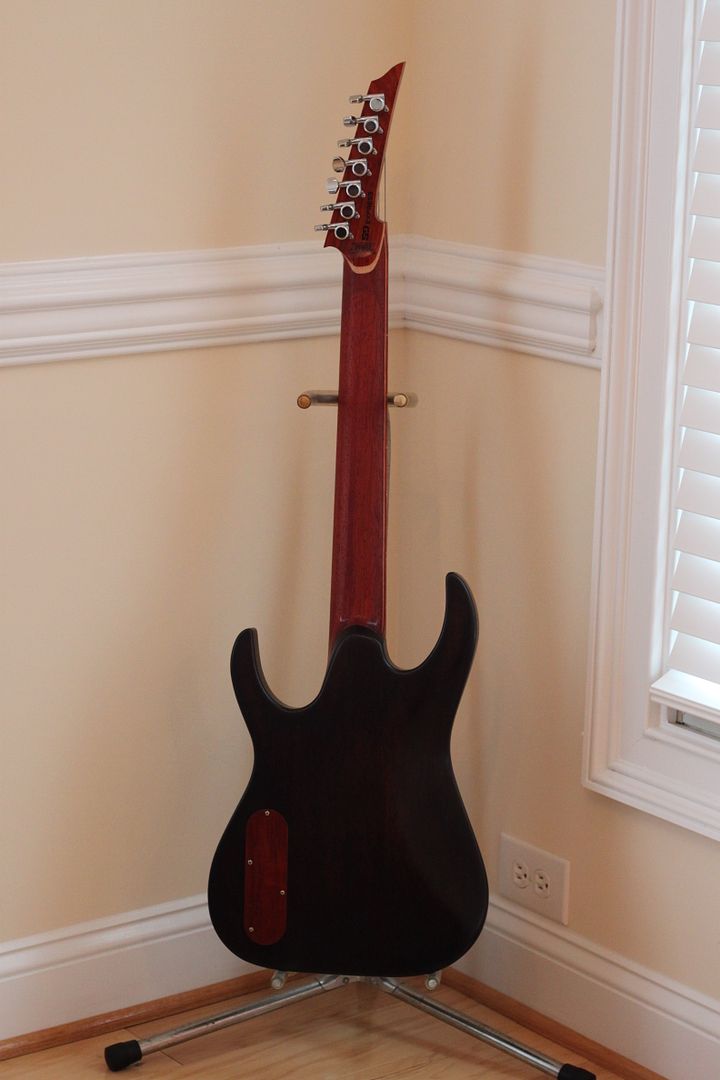
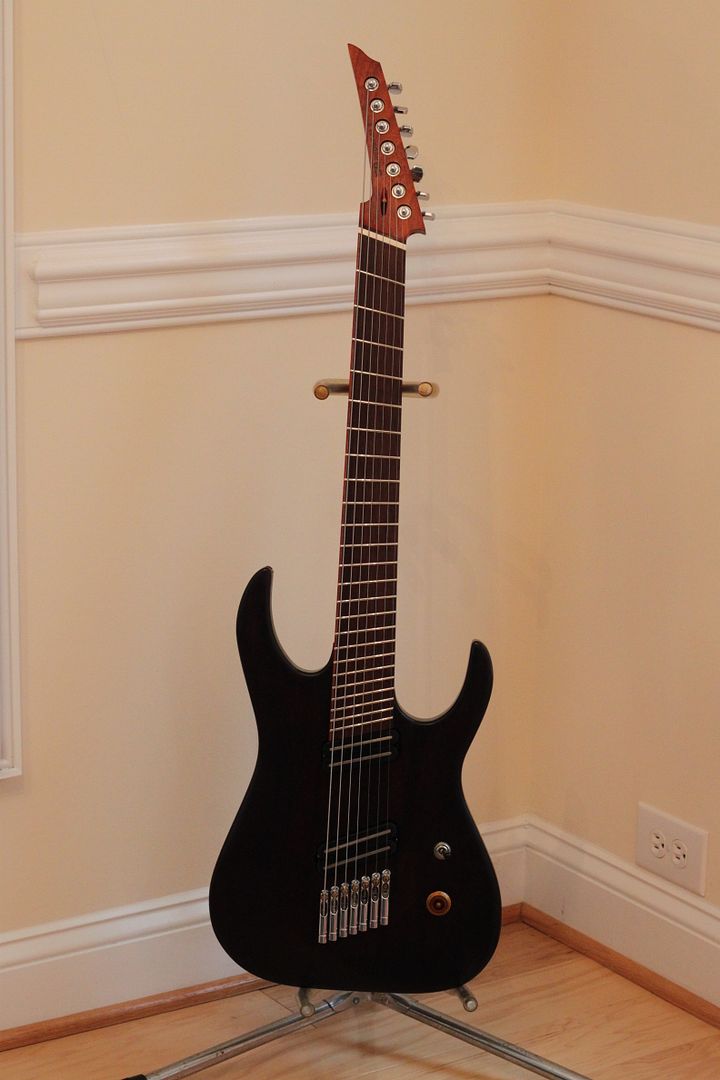
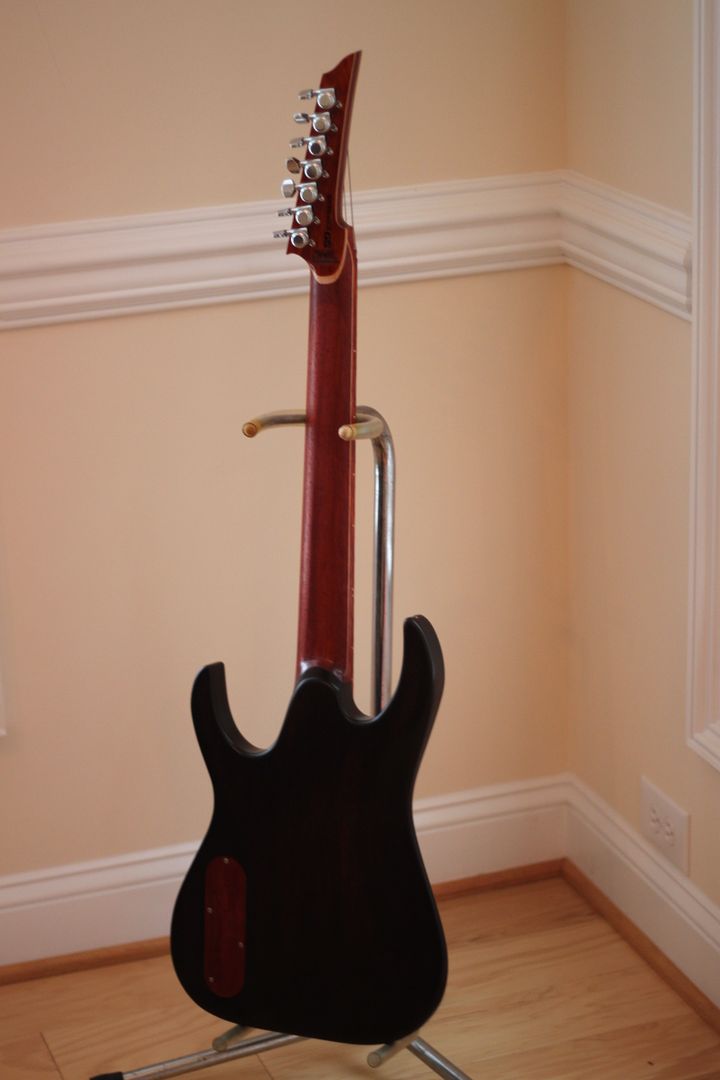
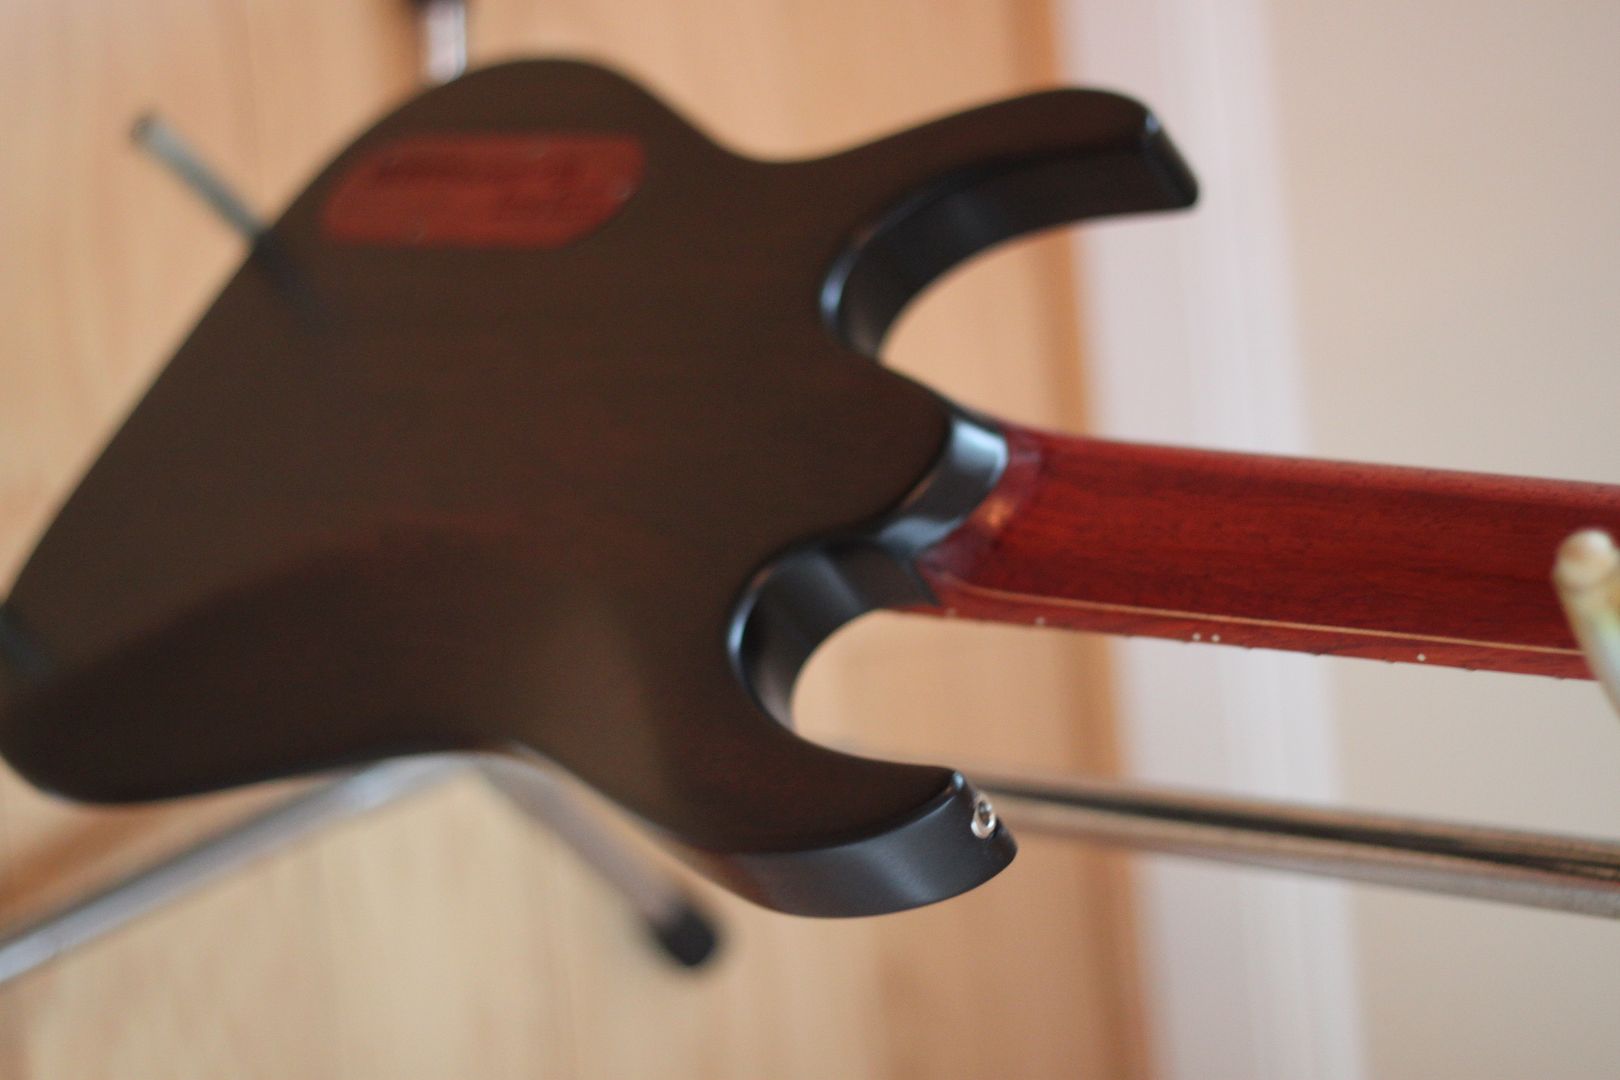
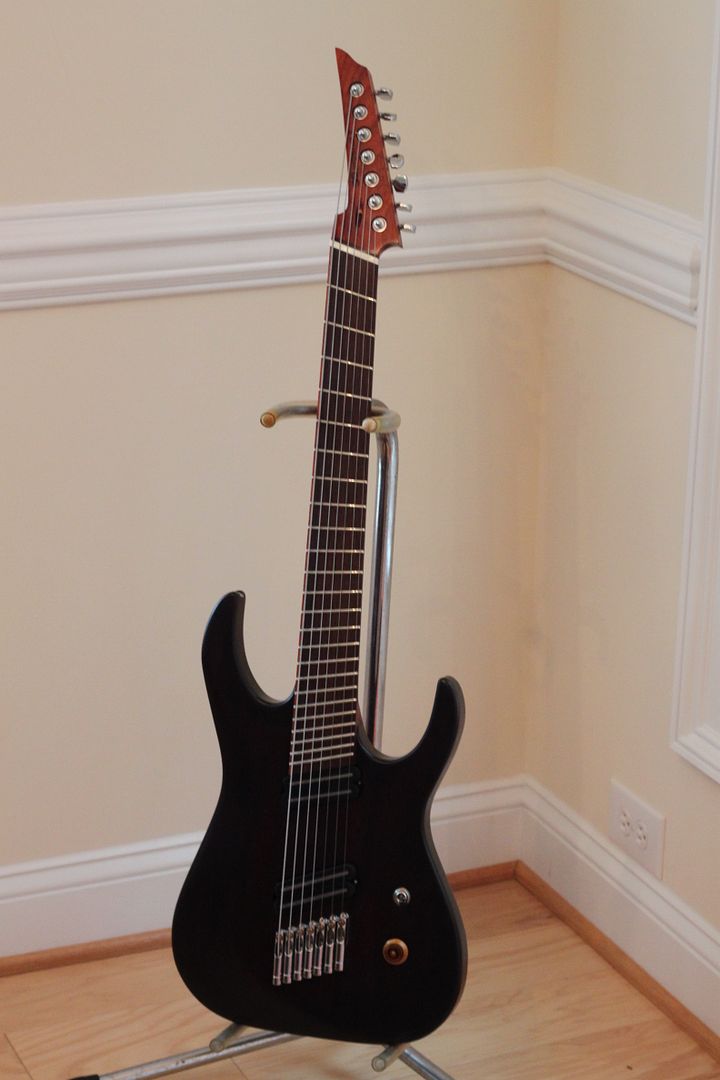
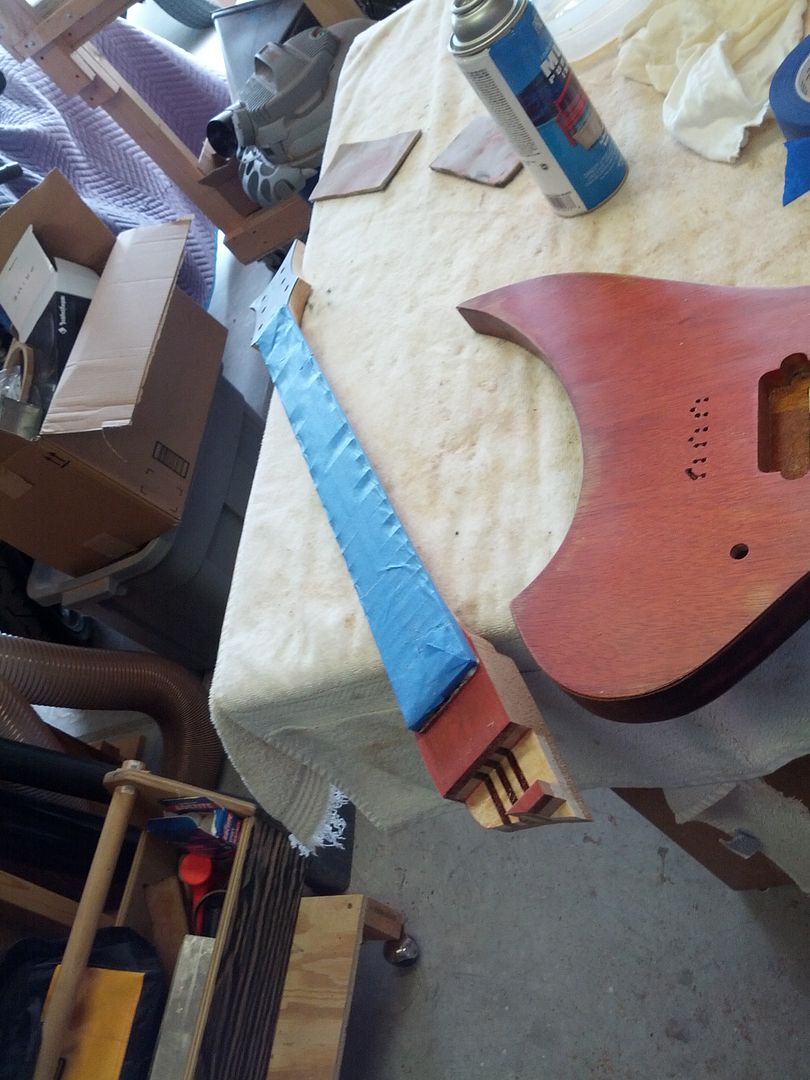
So this project got hung up because the guitar didn't balance right. Rather than try and fix it I just left it laying around until I could figure out what to do with it.

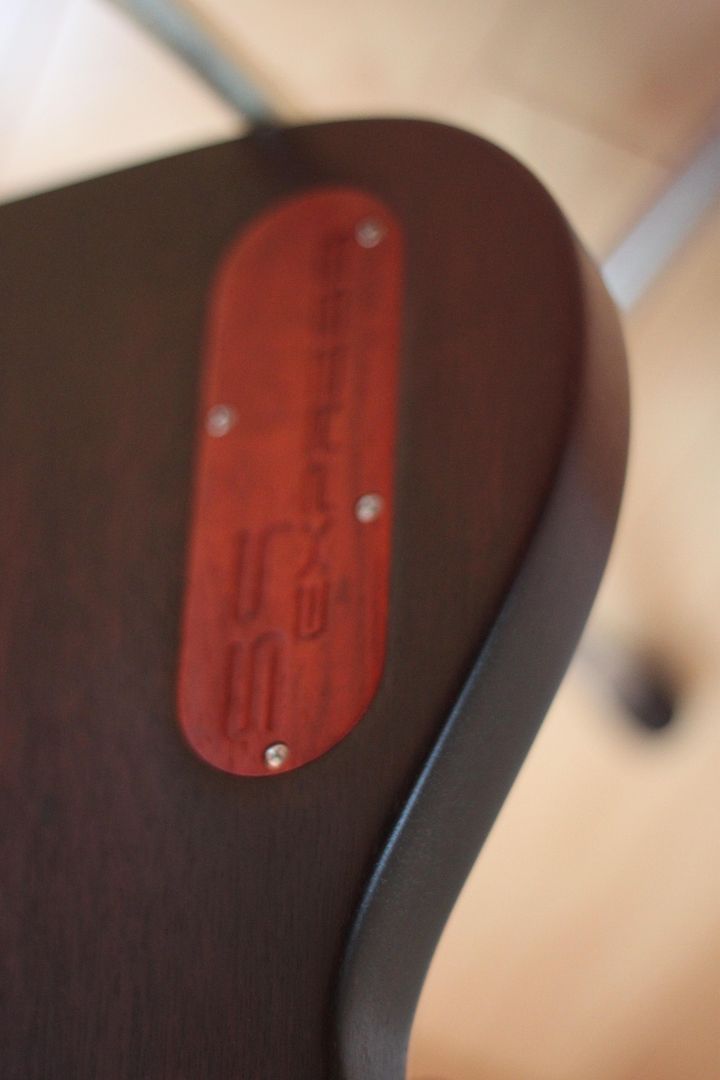
I am so tired of looking at this that it is time to get it out of my sight.

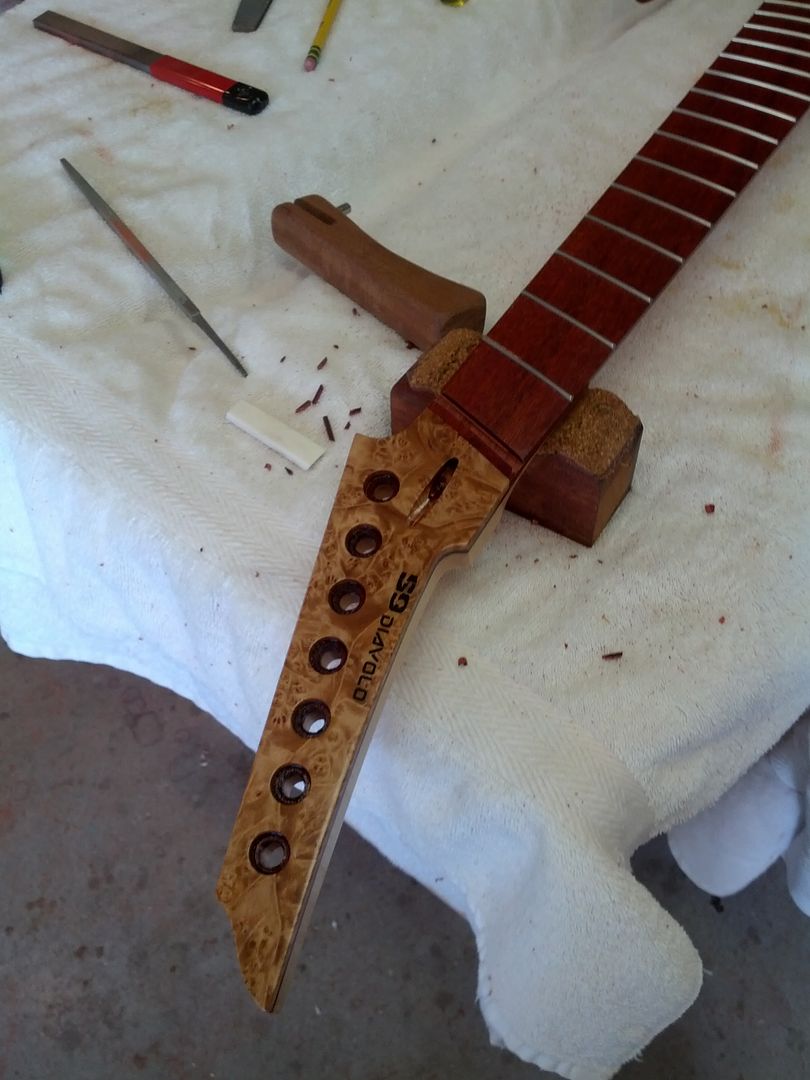
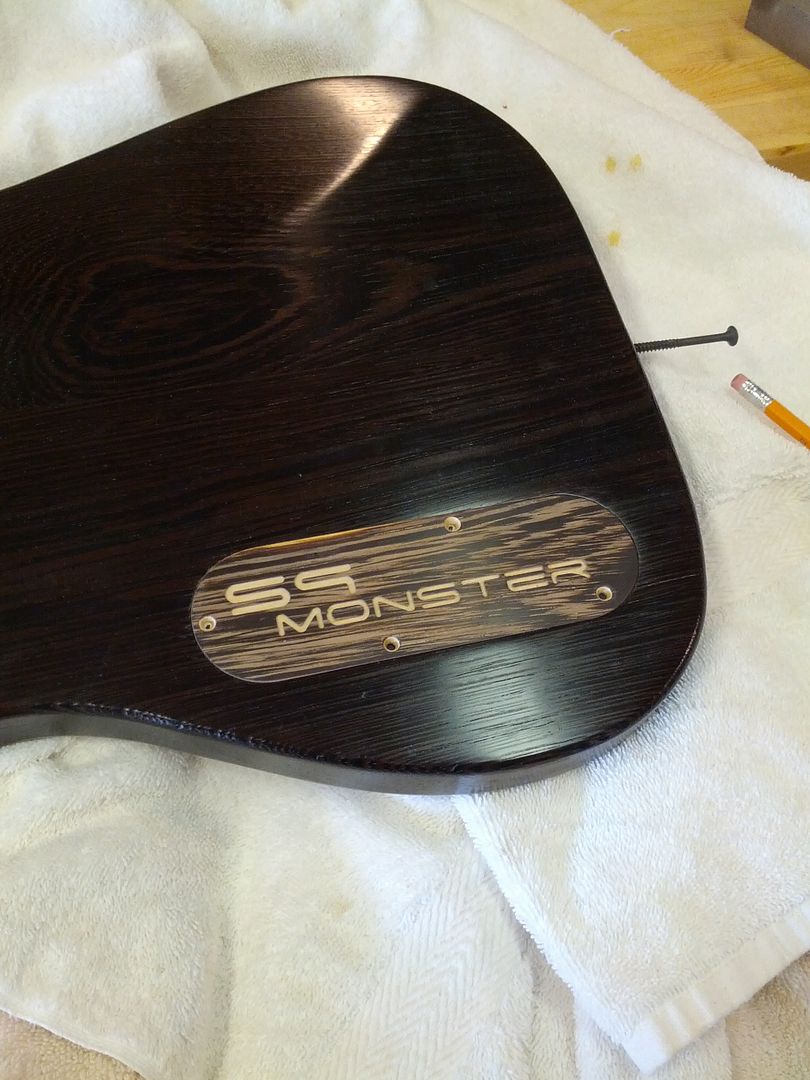
I am going to salvage the neck and scrap the body. Maybe I will figure something out for it later...


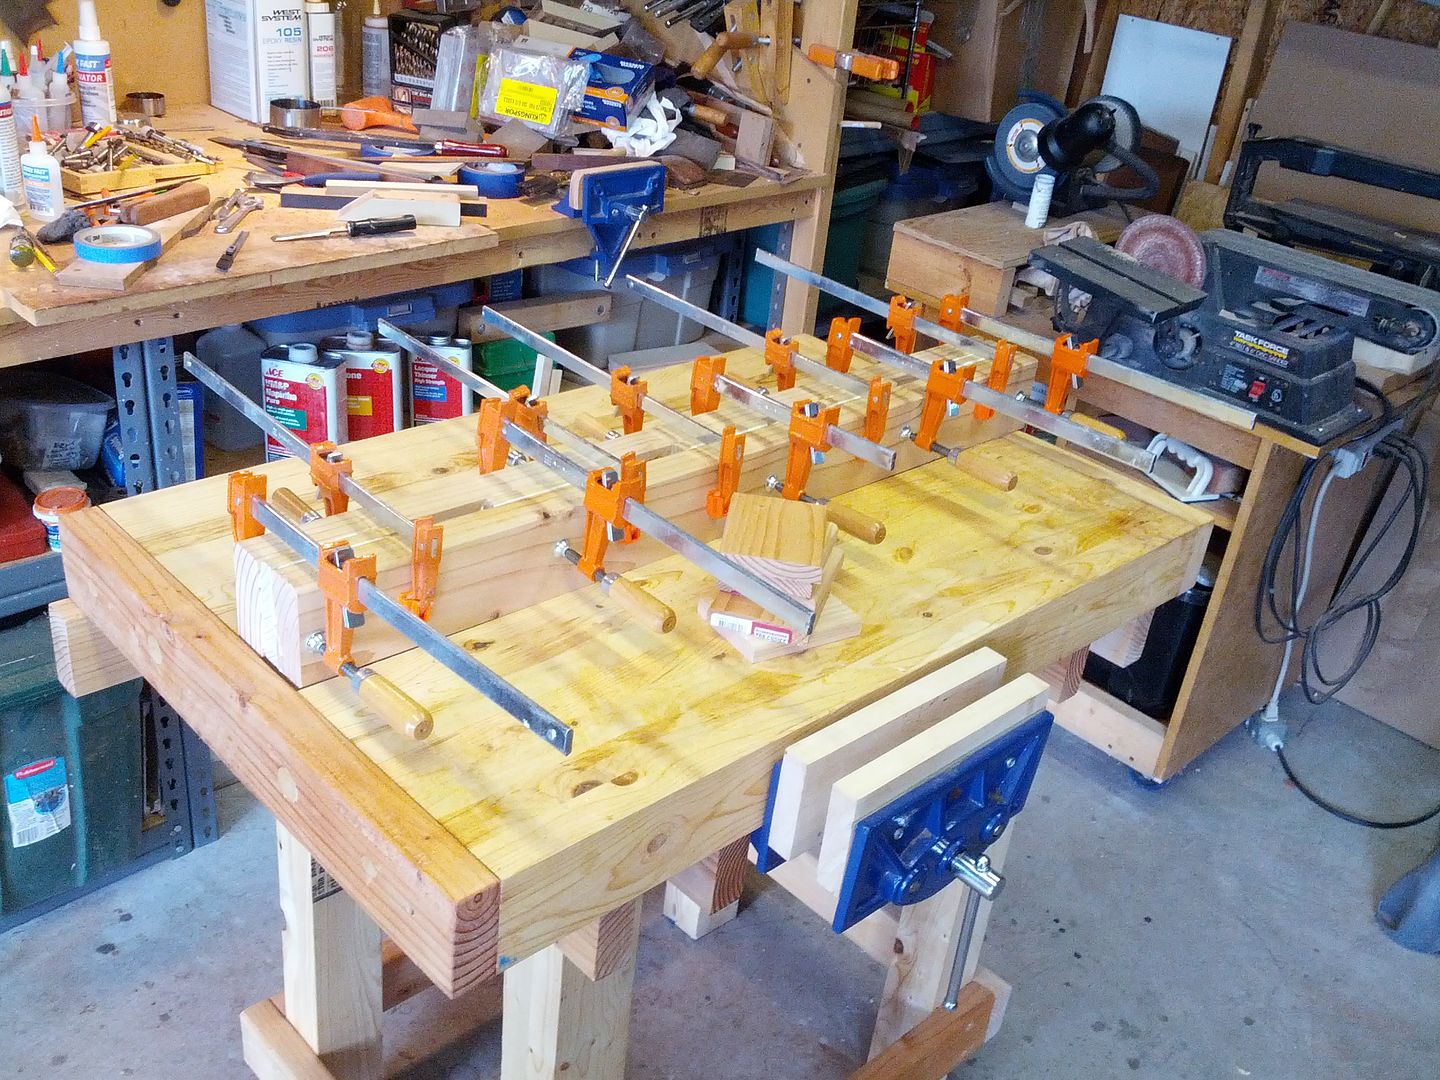
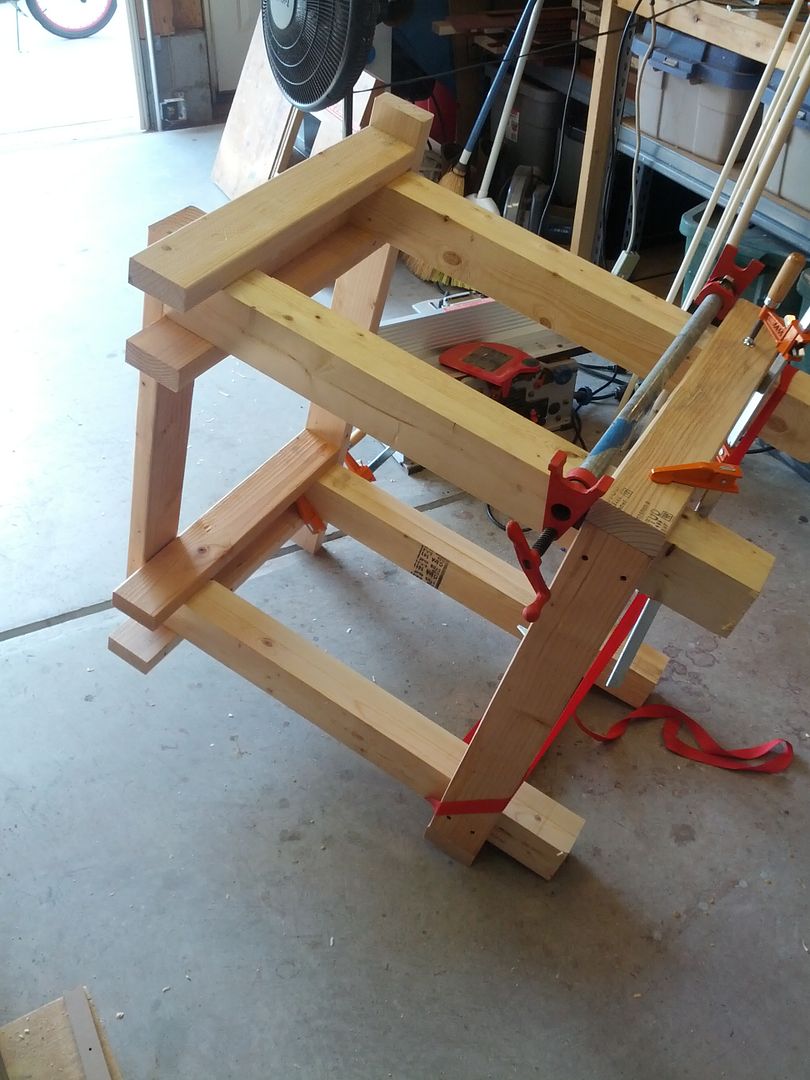
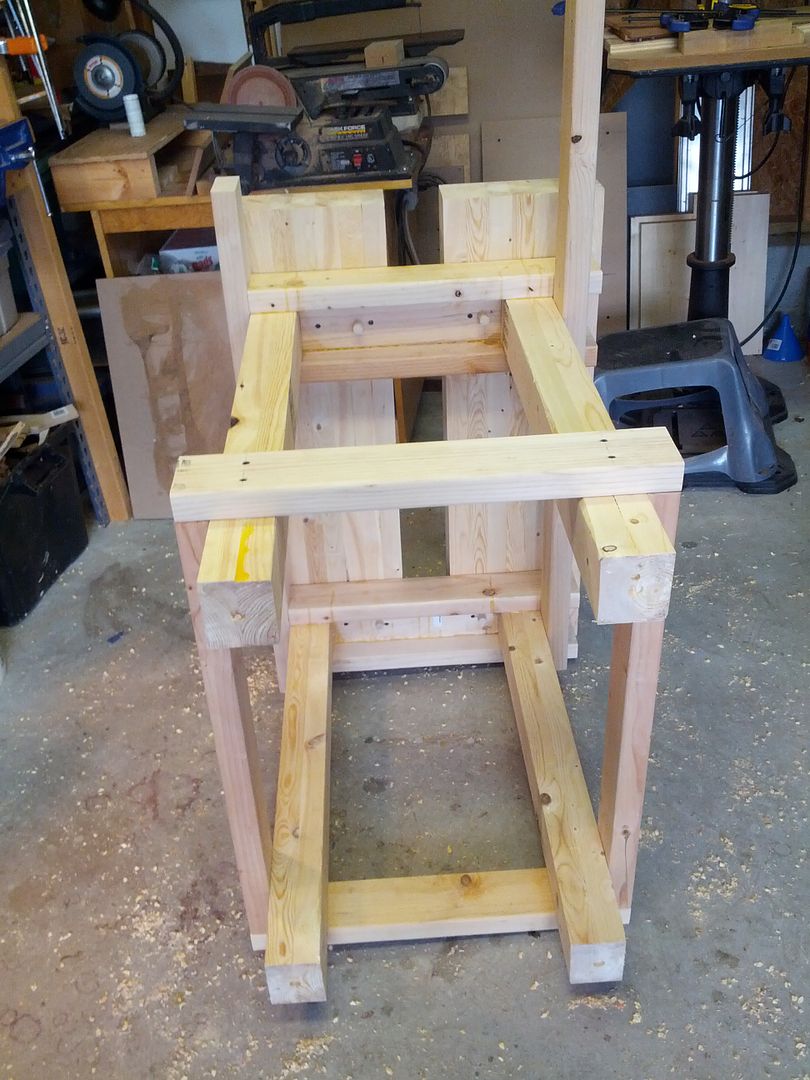
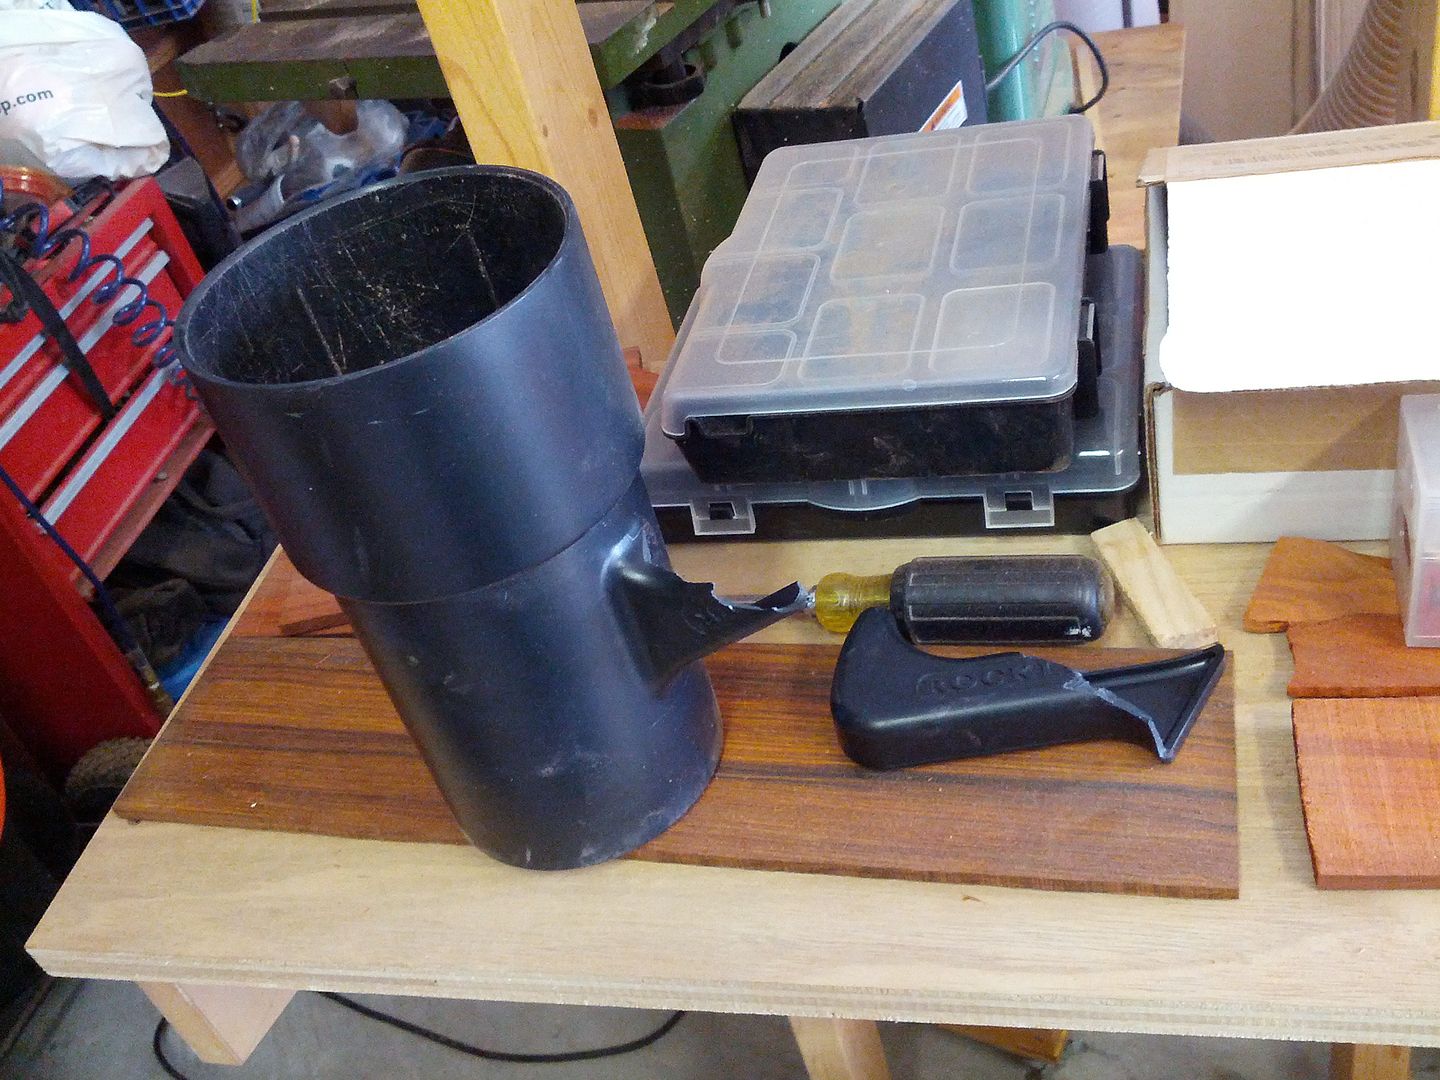
My neighbor gave me a three chest Craftsman toolbox and 12 framing 2x4s. Time to reorganize the tools and build my split roubo bench.

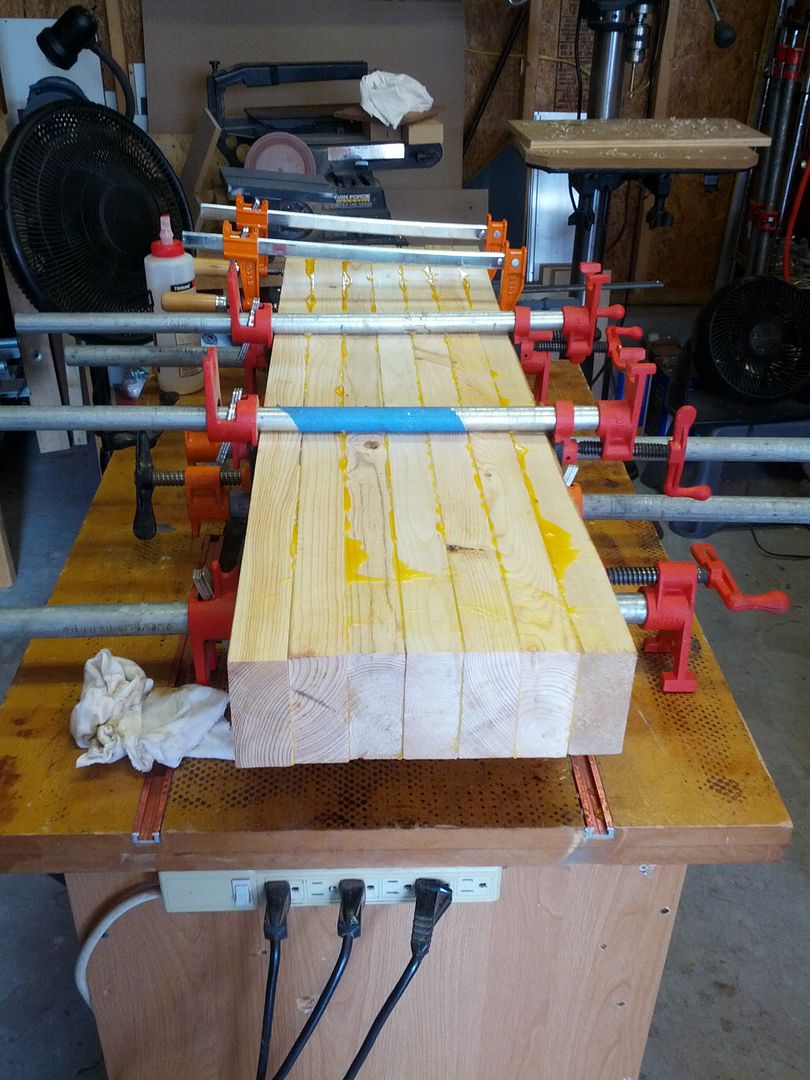
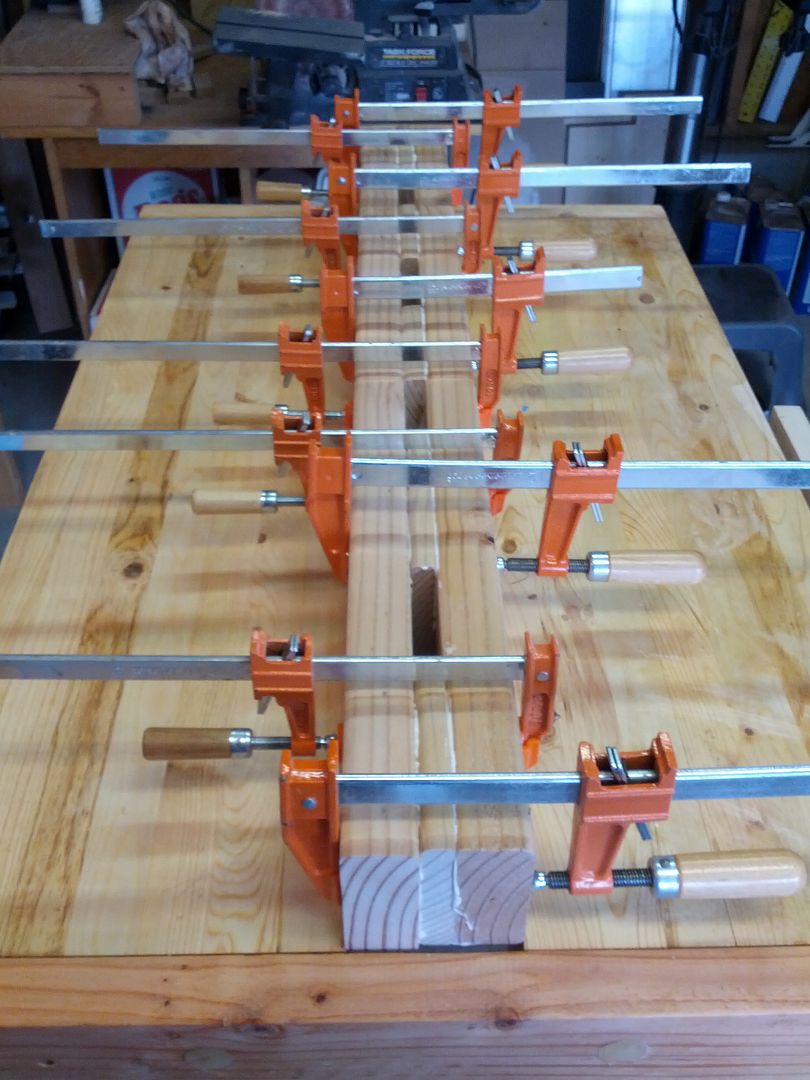
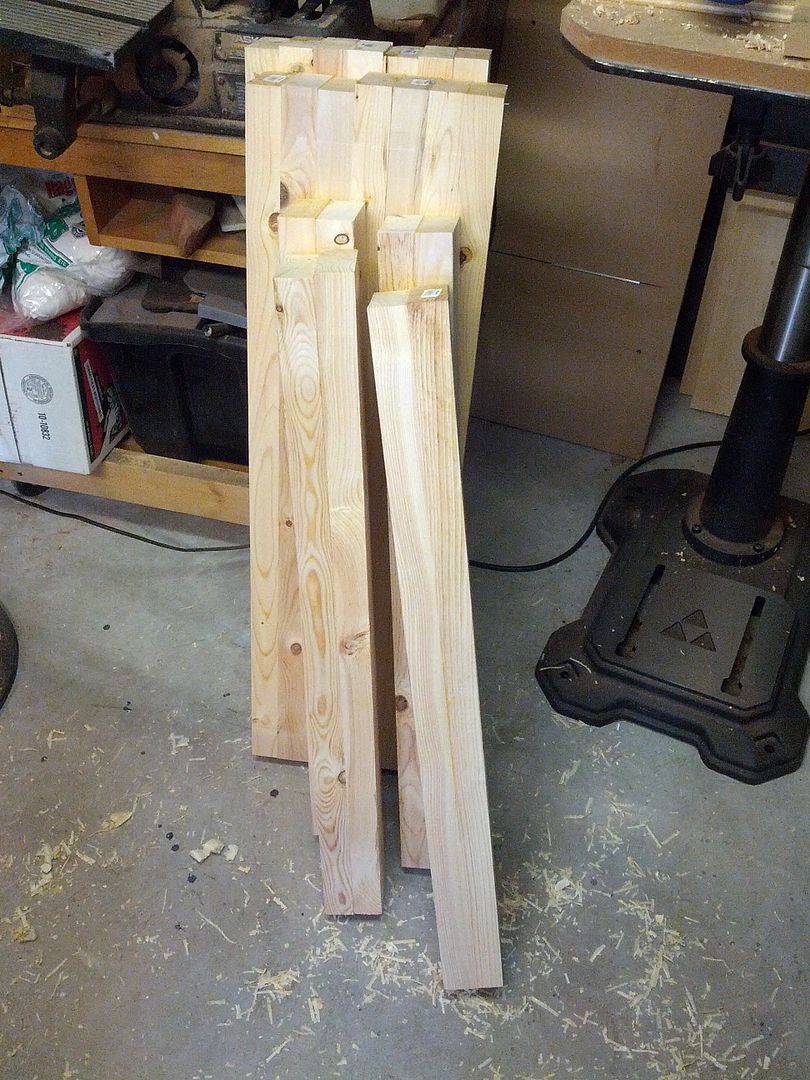
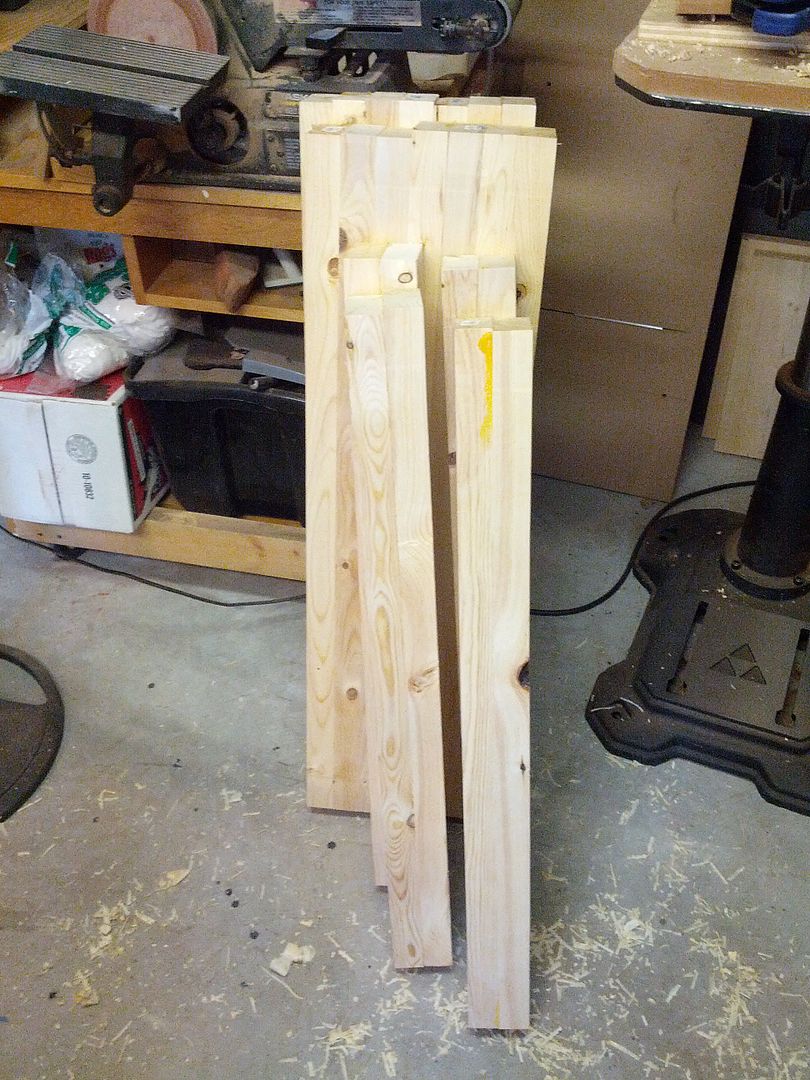
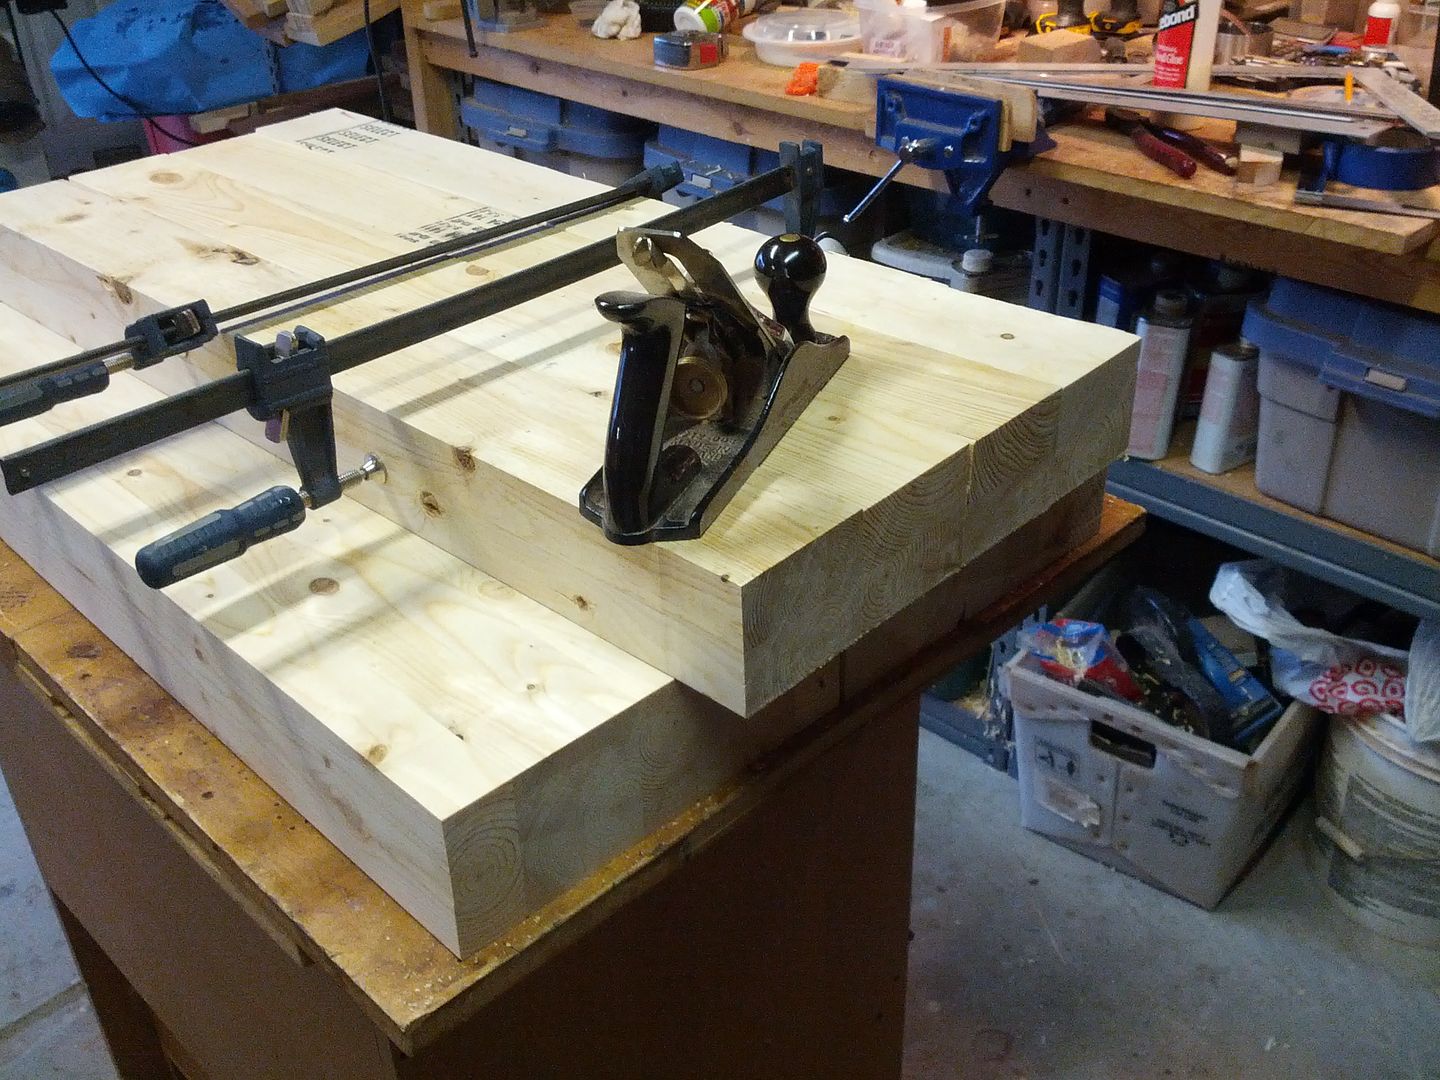
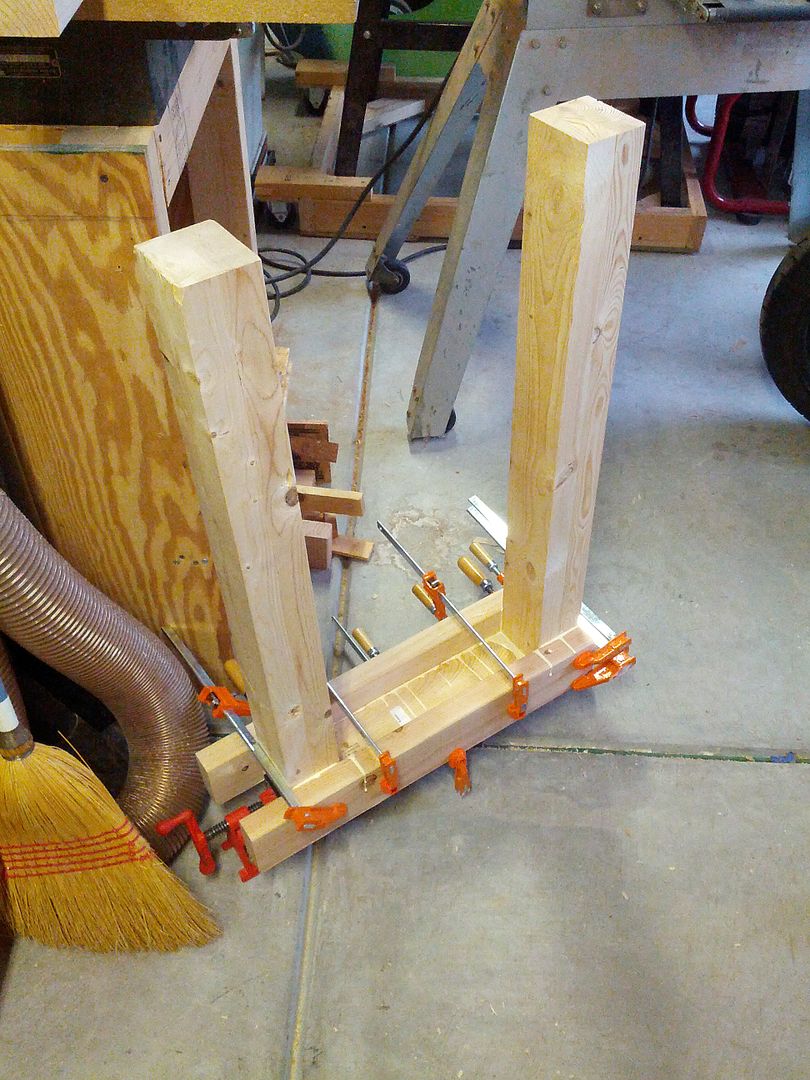
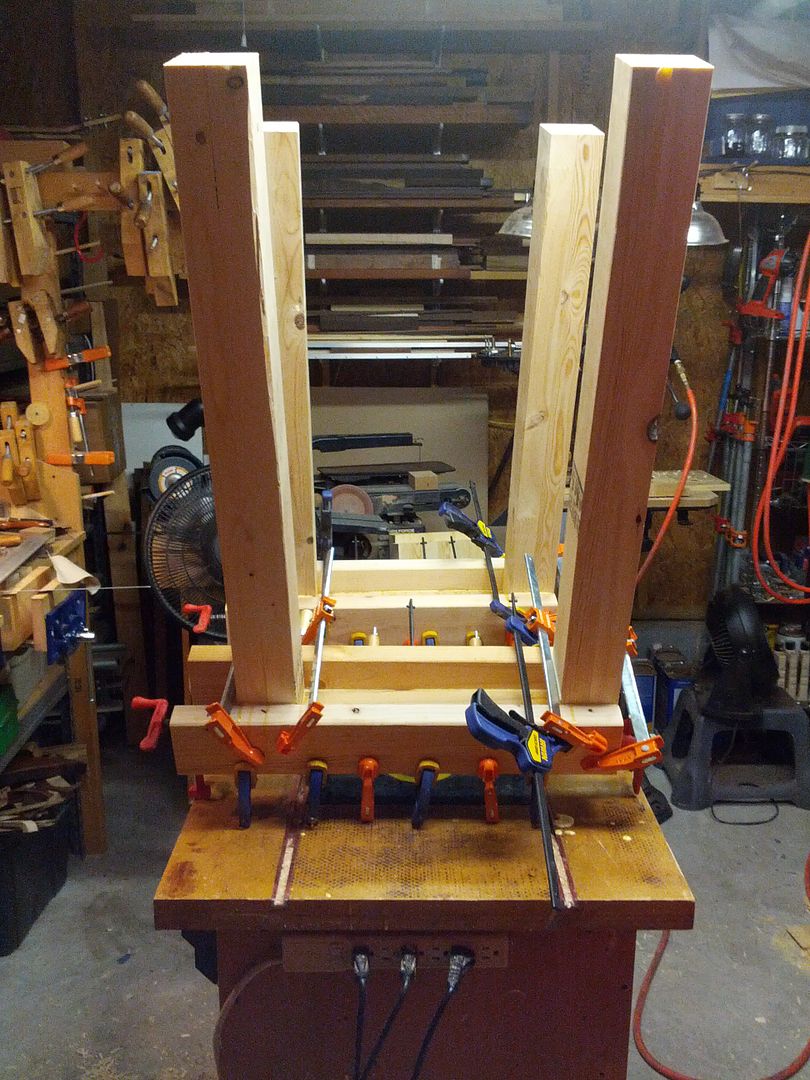
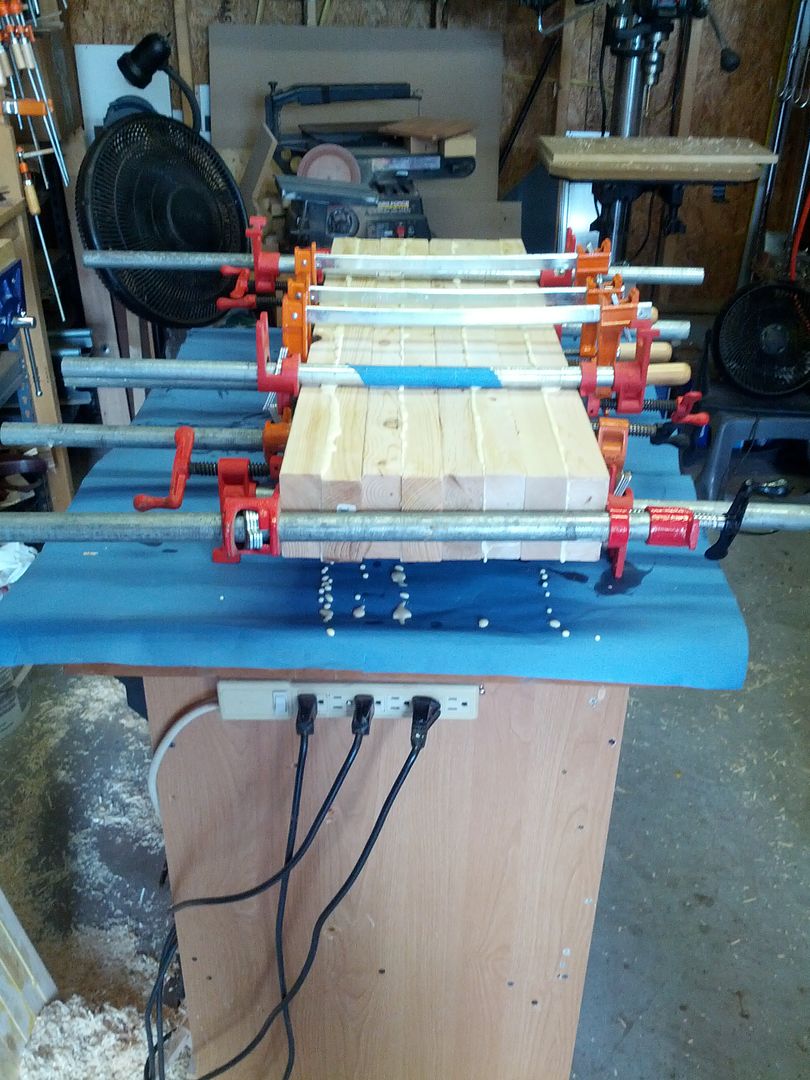
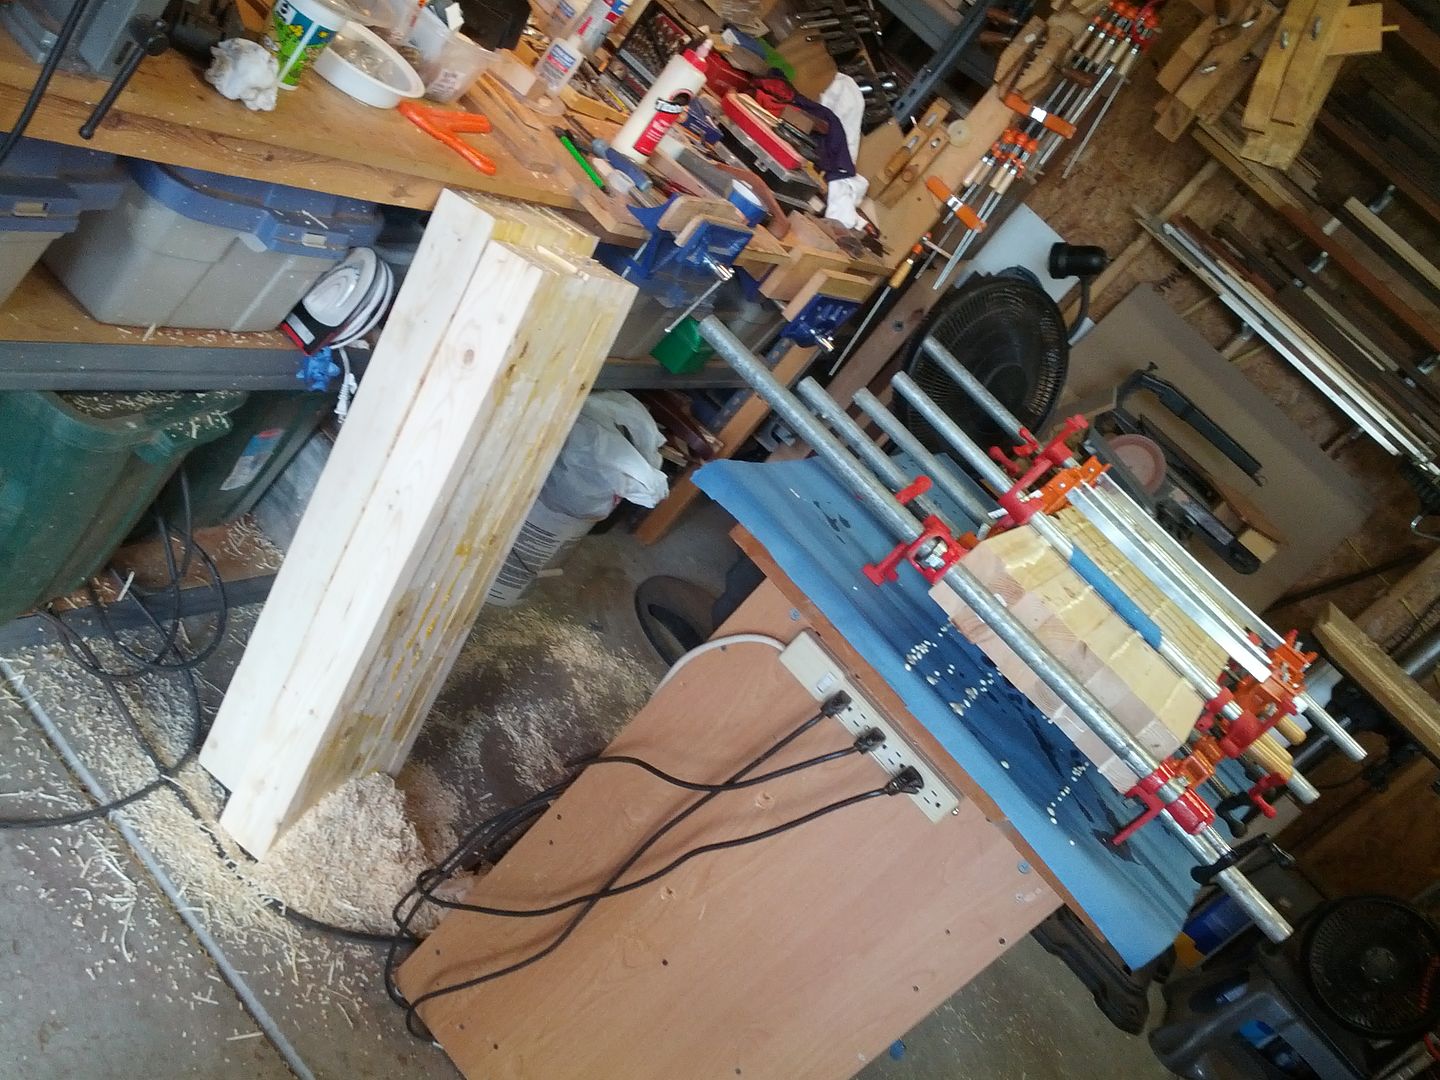
I start by sanding the faces flat and gluing all the 2x4s together. This is going to be a small bench. 42 x 26 is what I plan on. I am building 4x4 legs by gluing the 2x4s together.

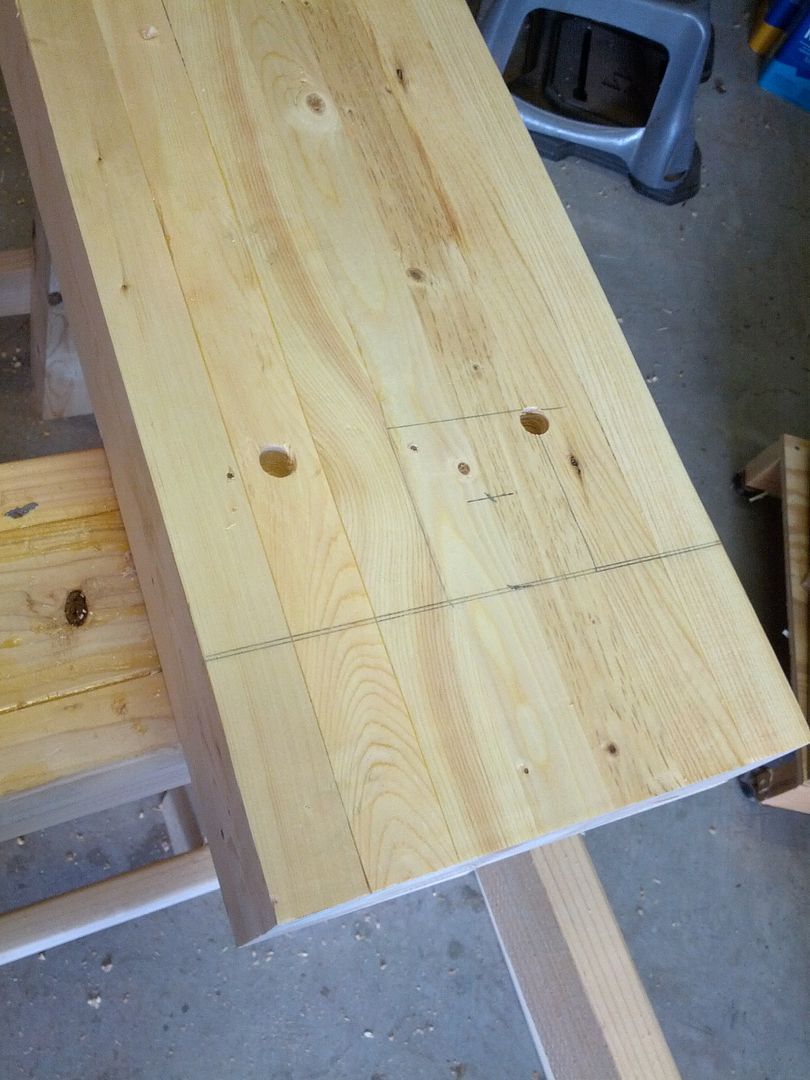
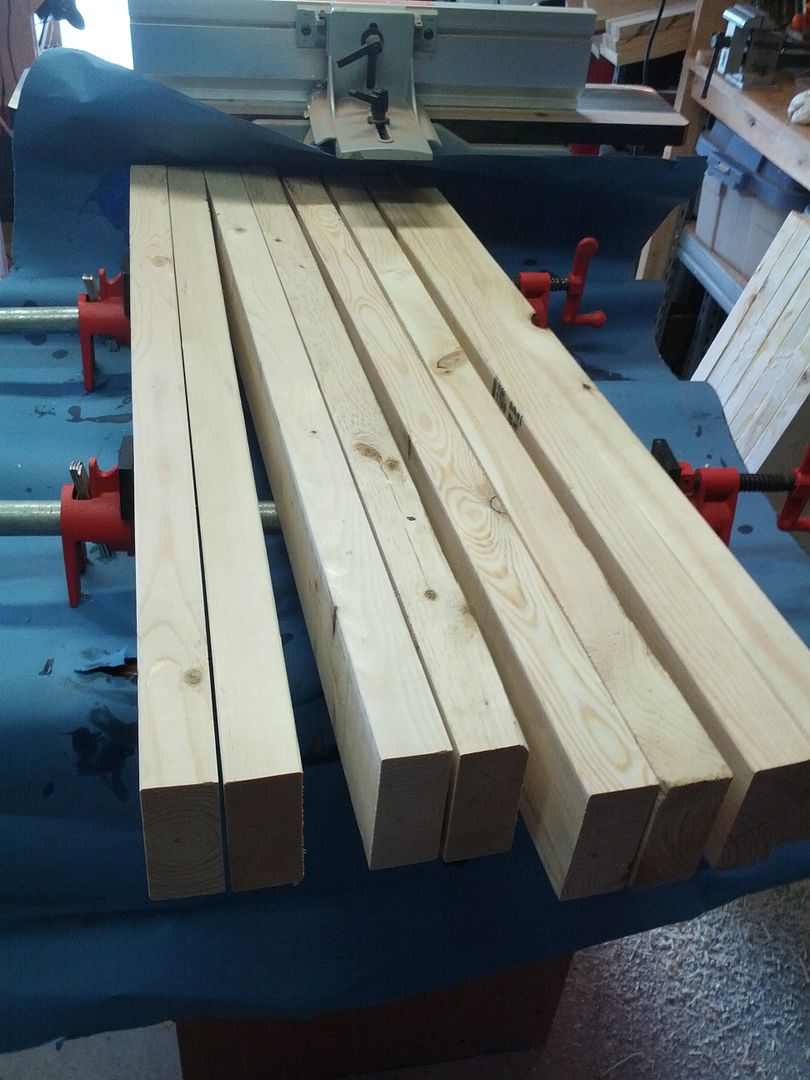
The 2x4s are 105 in. I will try to explain how I did the sizing. I cut each one into 3 pieces, 2 for the top and 1 for a leg. 36" measured from each end leaves me 33" in the middle. I make sure to leave the line for each top piece. Since the top is going to be about 3" thick when I finish the bench height will be 36" (my personal comfort zone).

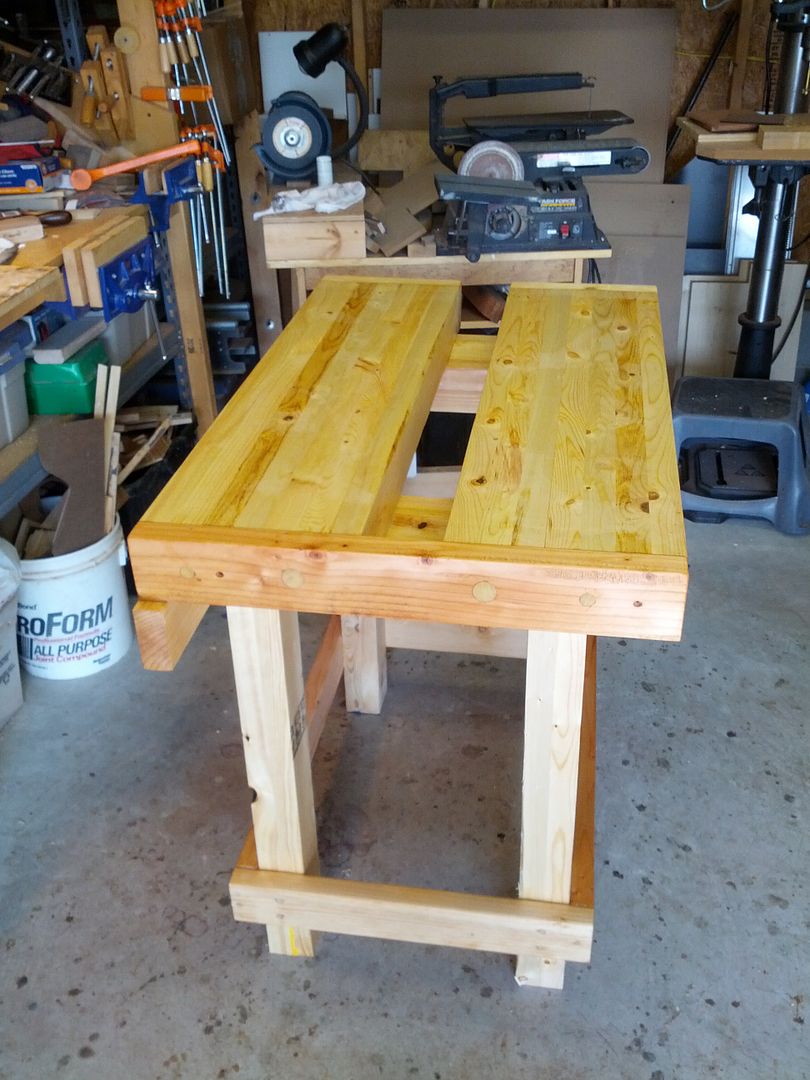
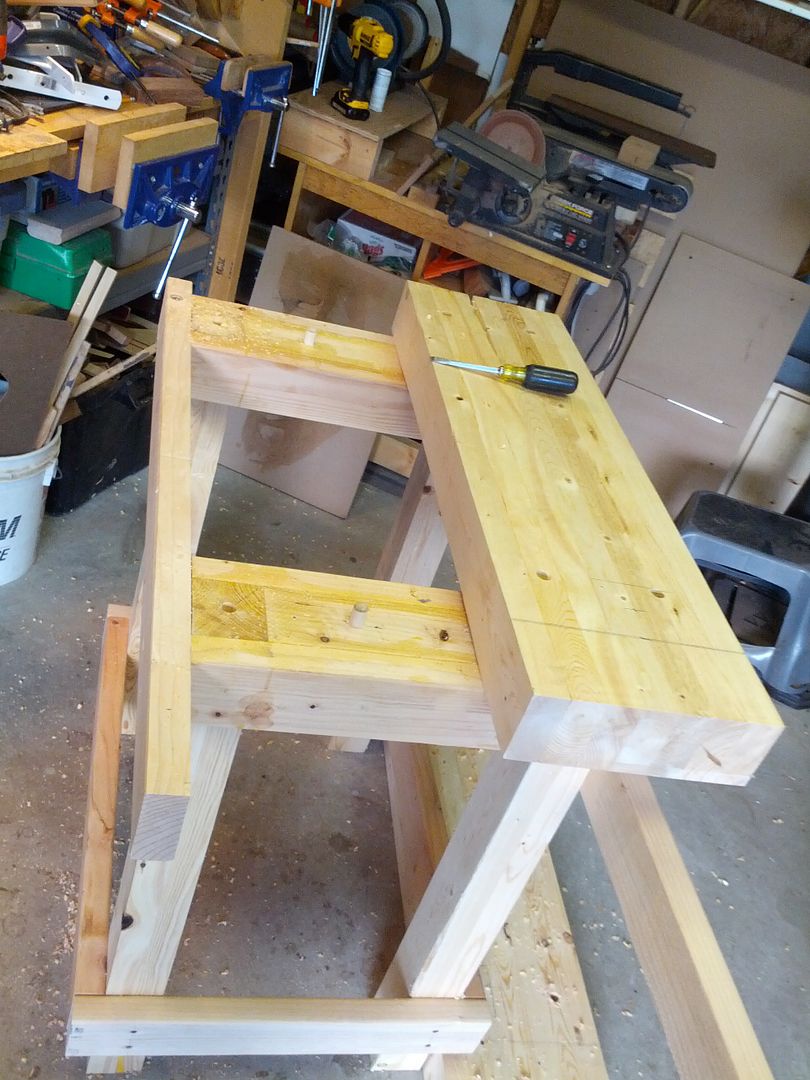
The top will have 2 end blocks and an end vice so that is were the 42" comes from.

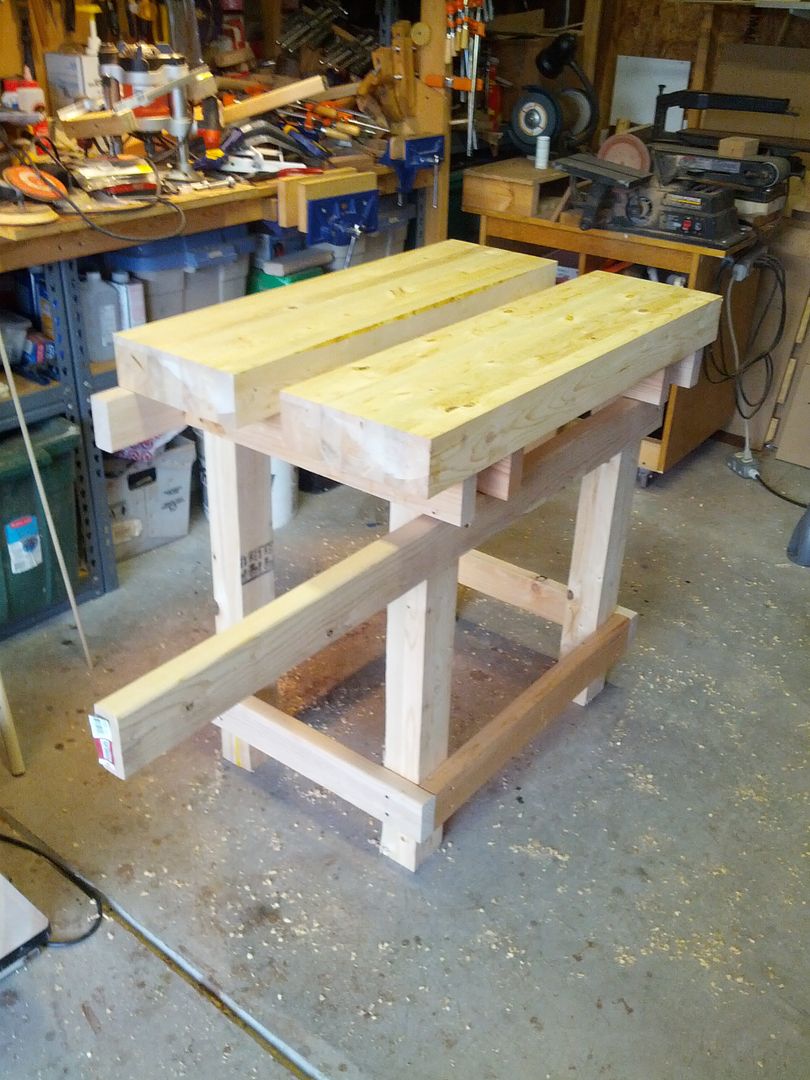
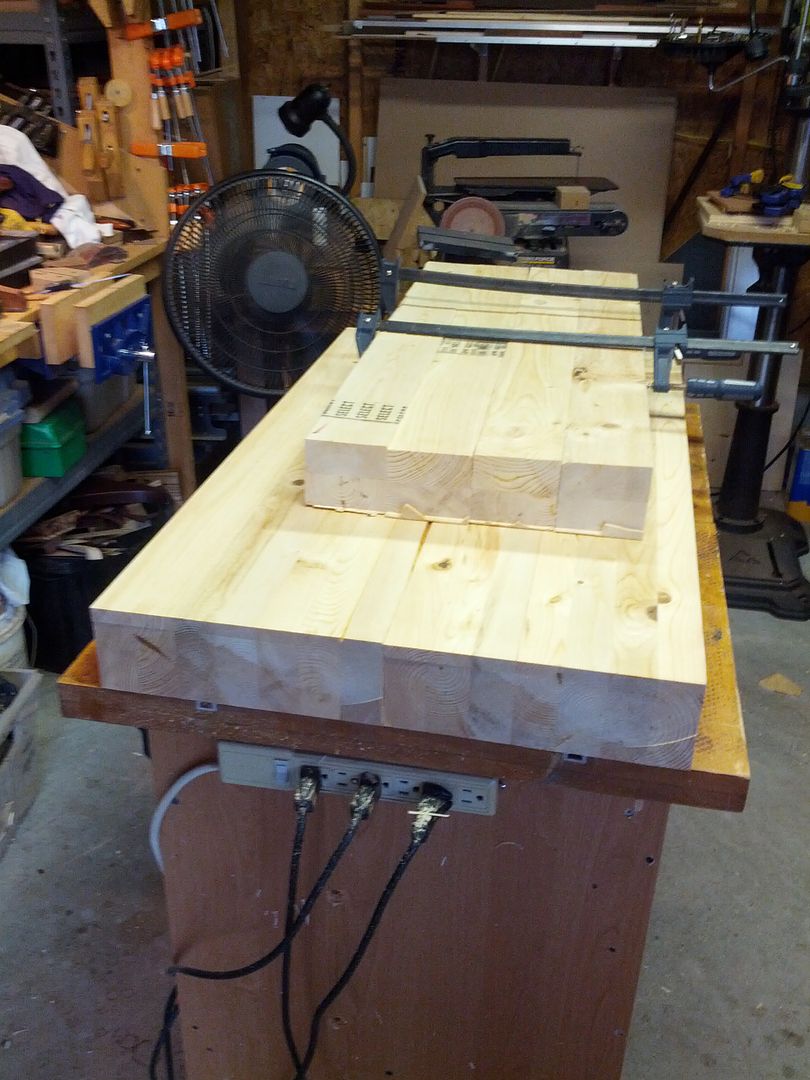
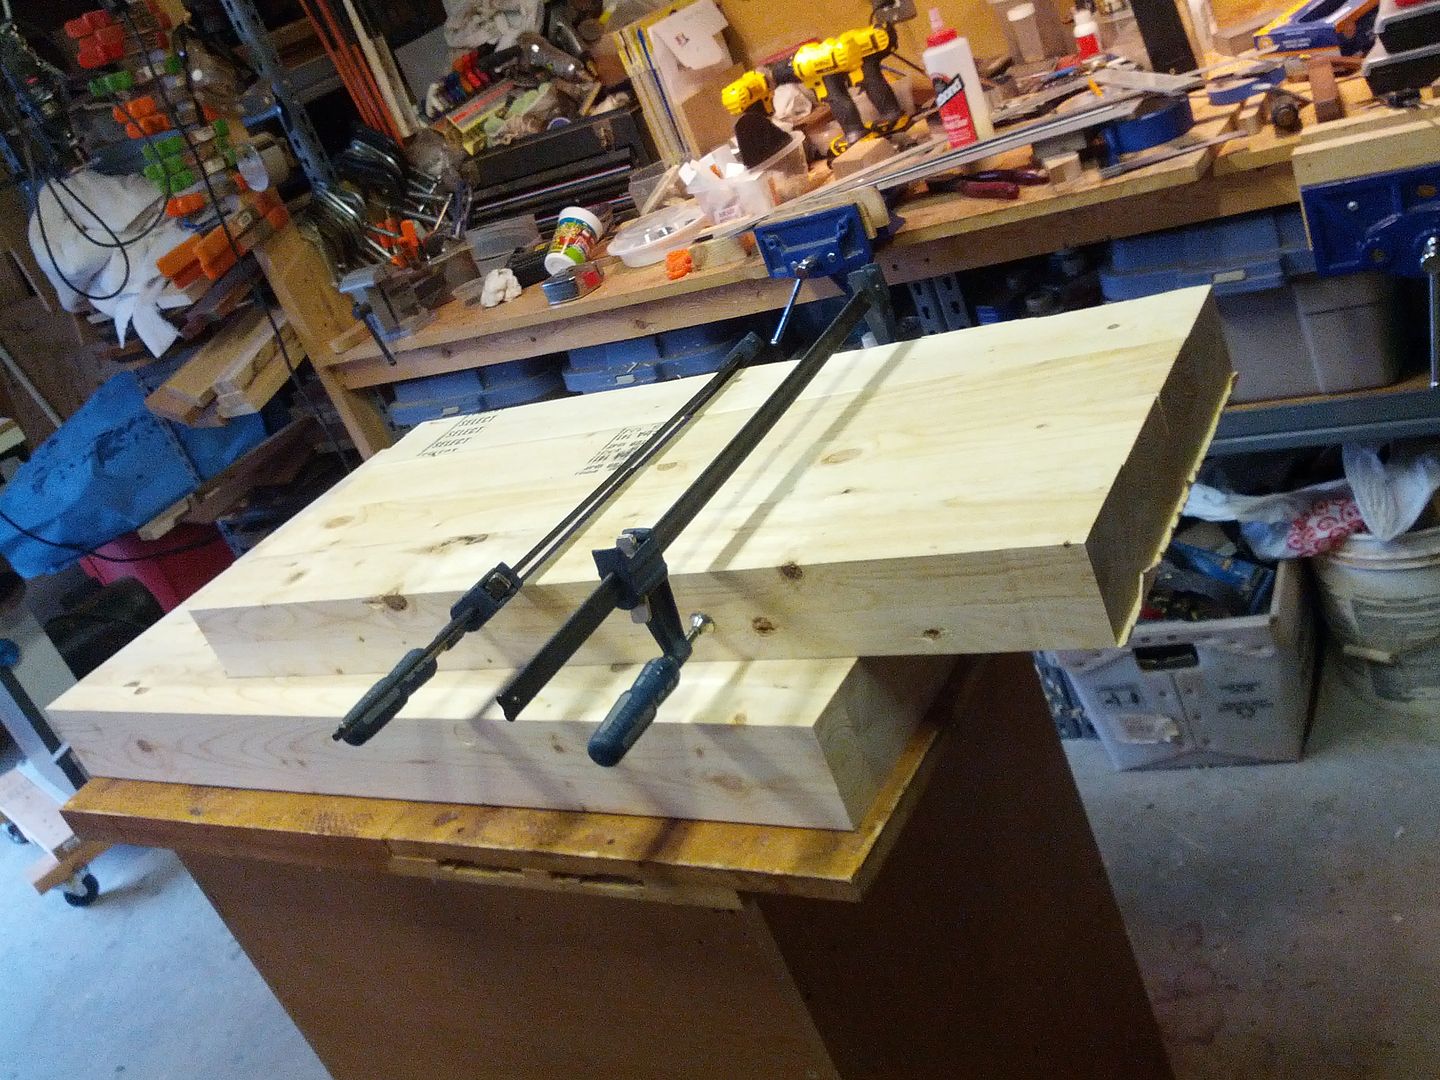
I used 7 pieces per side of the roubo. It is something like 12.25" per side after sanding the 2x4s. One reason I used the drum sander was to preserve as much wood as I could. The plainer I have nerfs the ends hard so I will have to make a work around when I plain the tops.

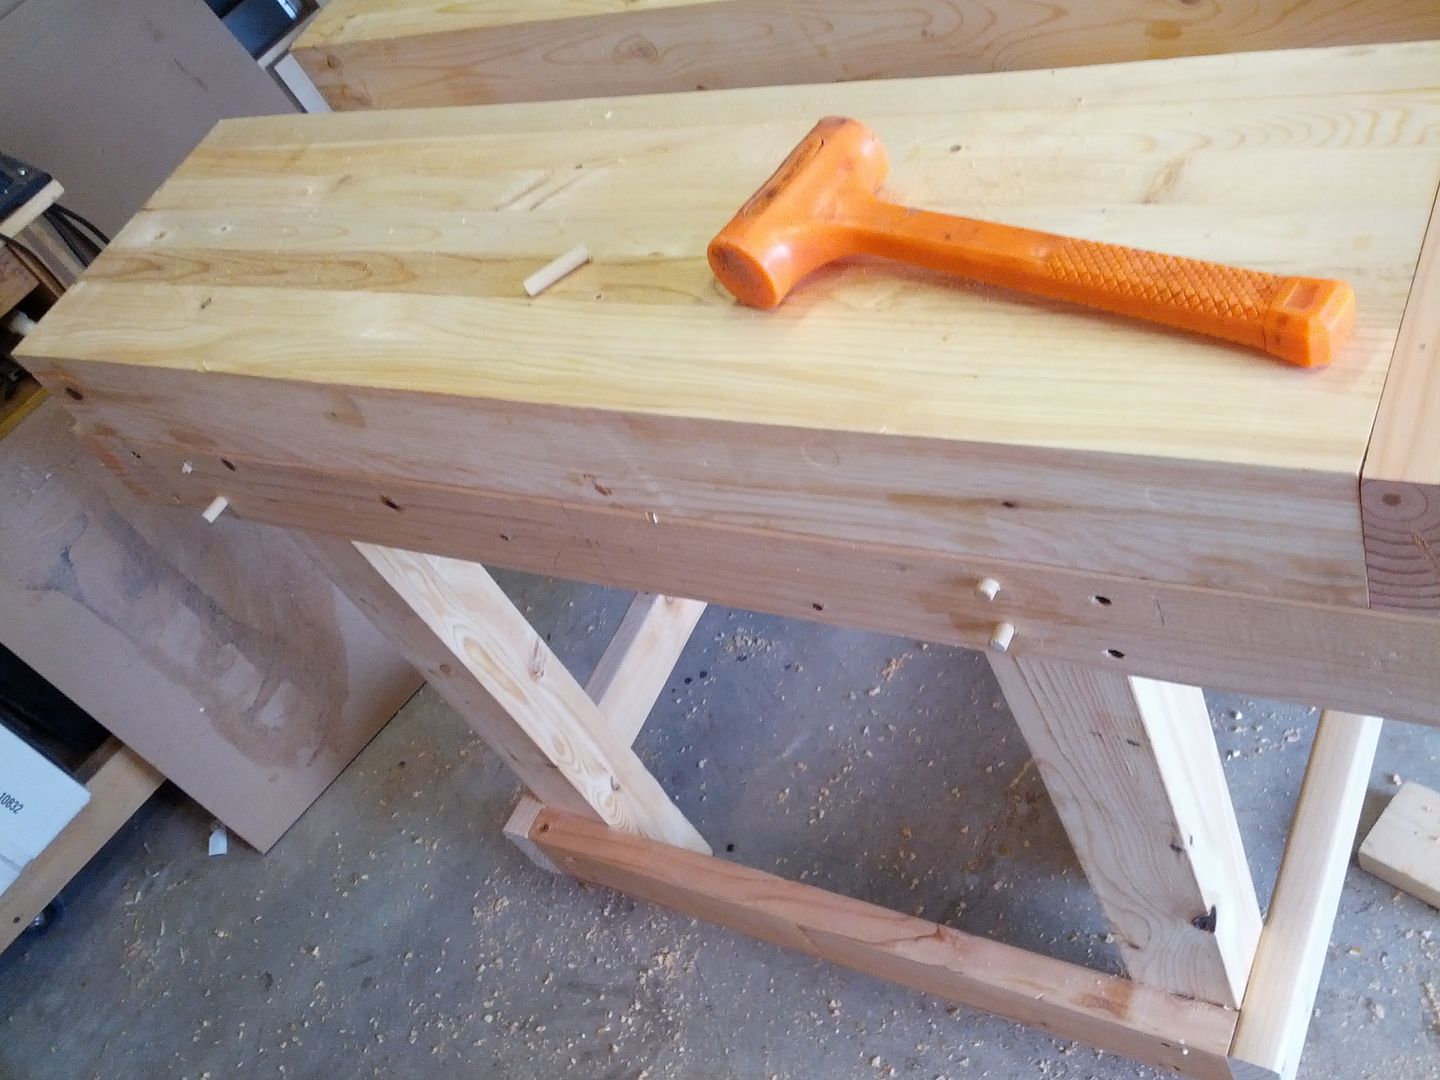
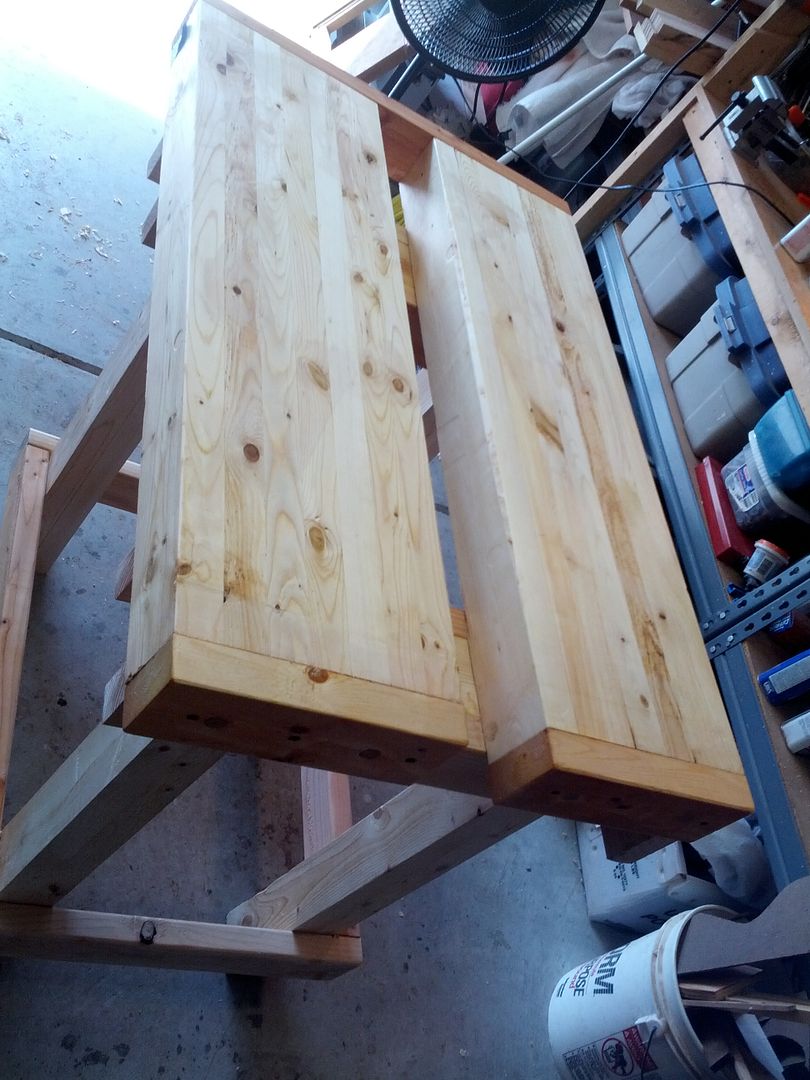
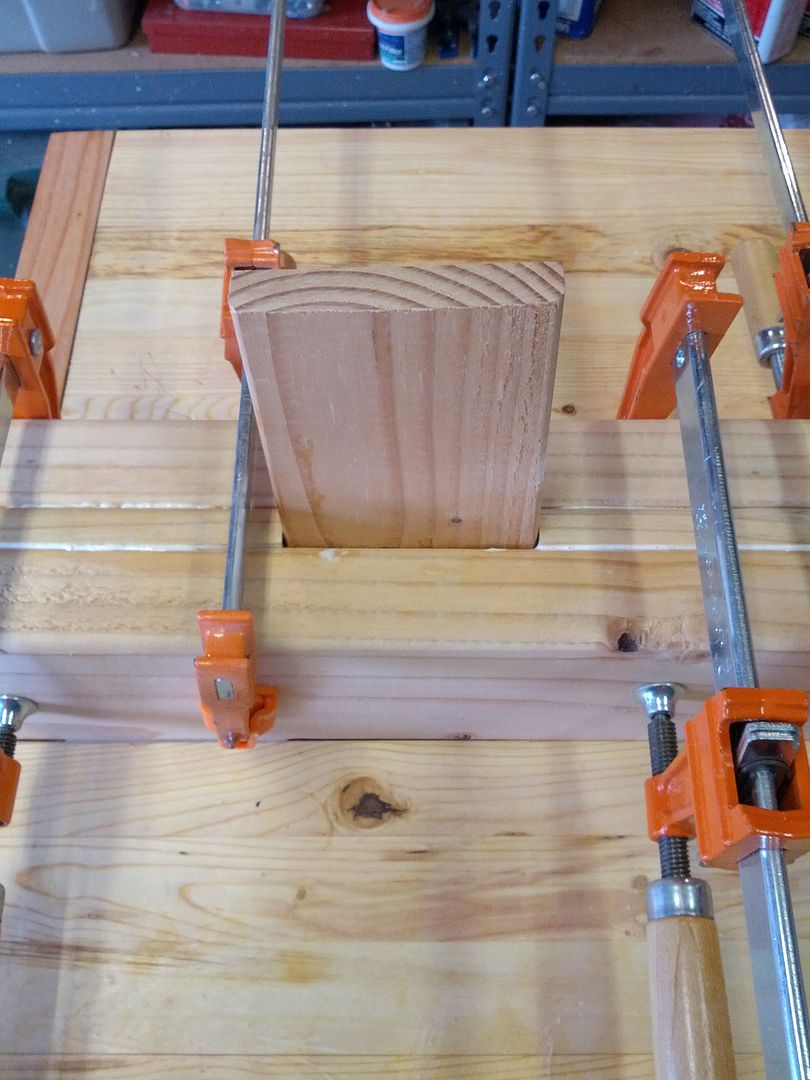
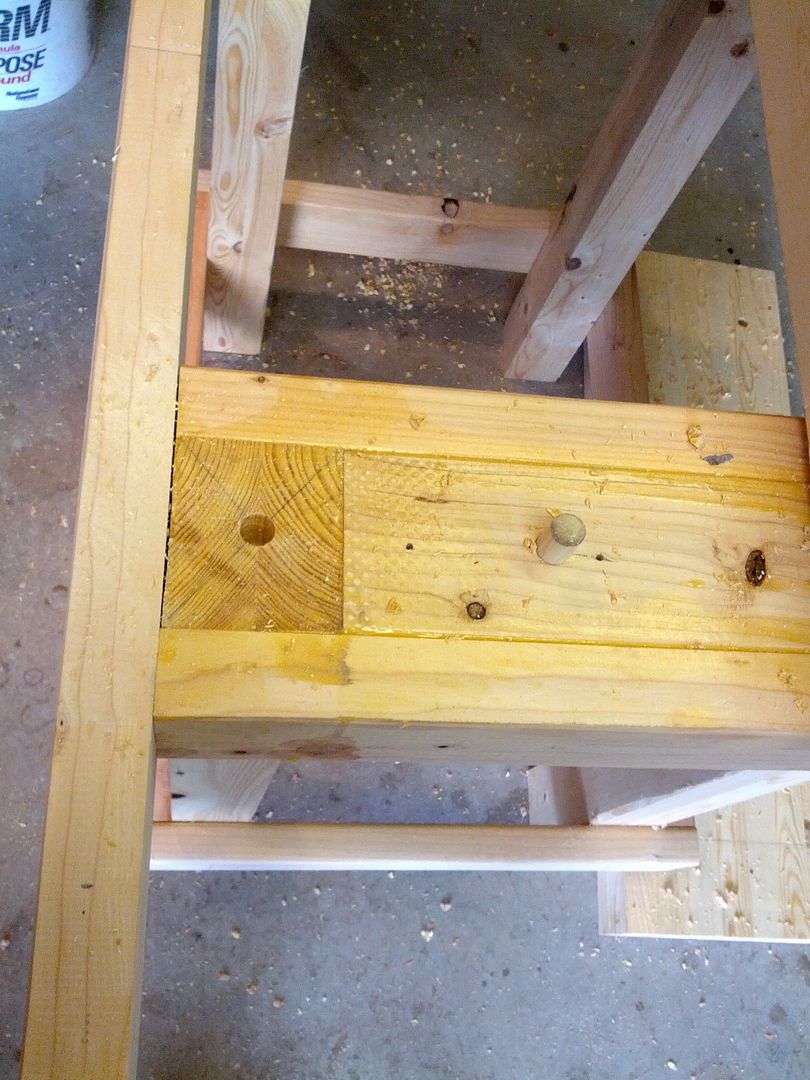
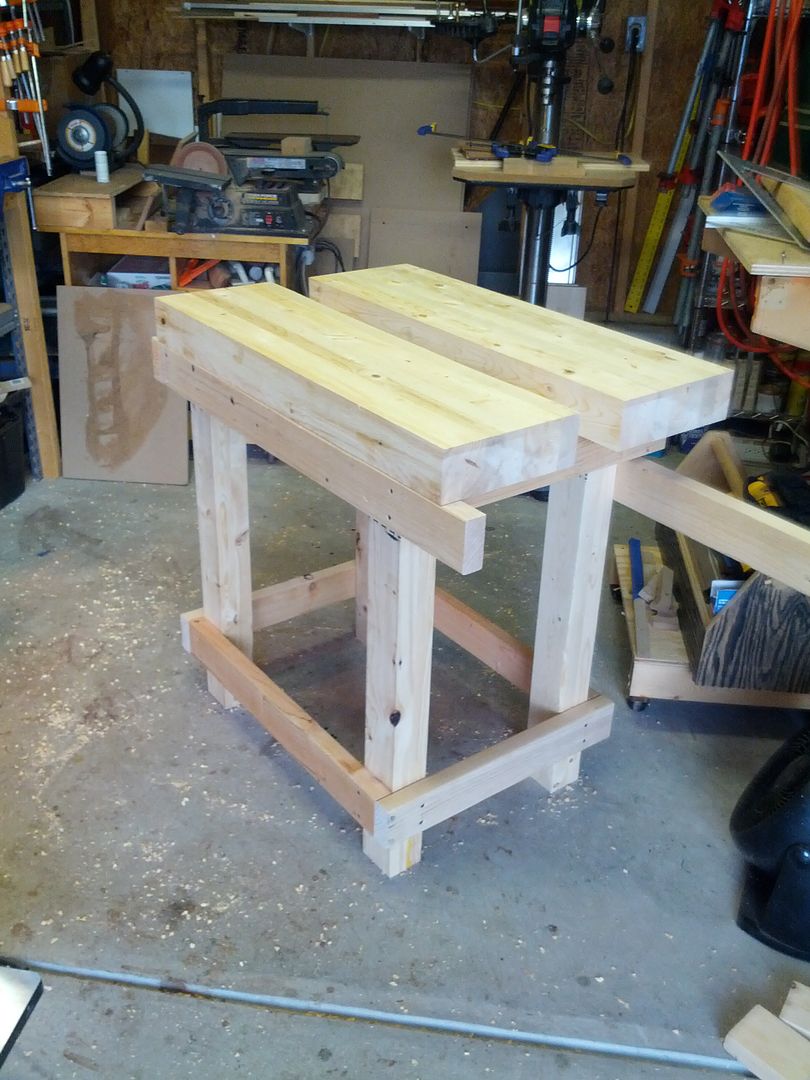
Using a split roubo design allows me to use my 13" planar to level the tops. And it gives me the ability to clamp in the middle of the table. The insert for the middle will fit flush one way and stick up 1/2" or so when turned over. This is so I can use it as a block.

It will not be a traditional bench because I am not working from plans but basically winging it. Since it is free 2x4s if it sucks I will burn it, if it is awesome I will rebuild it in maple.


Tuesday, July 2, 2013

S9 Express -- RedStar II --

Redstar II

S9 Express Multiscale

25.5" - 27" Scale

One Piece Honduran Mahogany Body

Padauk Neck with Cocobolo Fingerboard

T4M Bridges

Locking Tuners

Custom Blade Multiscale Humbuckers (Jazz)

3-Way/Volume with Push/Pull tap

Black Cherry Dye with Teak Oil and Poly finish