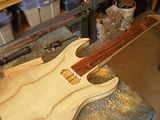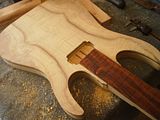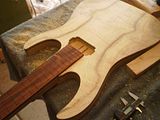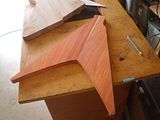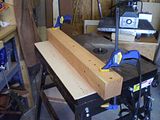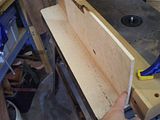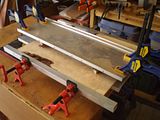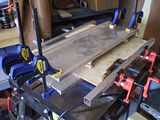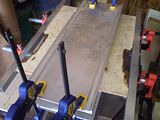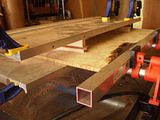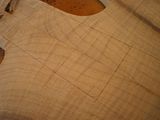
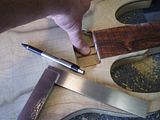
On the sides of the neck mark the center of the 24th fret using a machinists square from the heal side (because you know it is square). Then mark the end of the tenon (43mm from the center of the 24th fret for the S9).
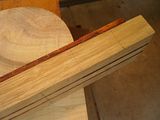
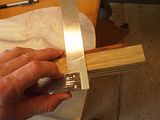
Now set the neck on the body and test your results. If it was done right everything should line up perfect. I had a bit of deviation on the 43mm mark but I was able to shoot the gap and get it where I wanted it.
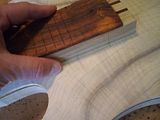
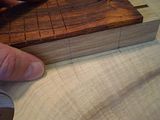
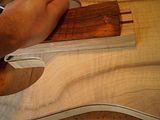
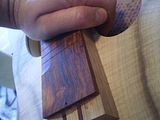
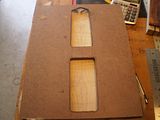
Satisfied with the lines it is time to set the template. When you lay the template on the body "take the line". This is a carpenters term for cut to the inside of your pencil line (don't leave anything). I know this seems extreme but .05mm is the difference between a tight fit and a lose fit. The neck pocket needs to be tight. When you look at the template you should not be able to see pencil lines without moving your head.
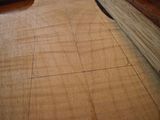
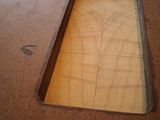
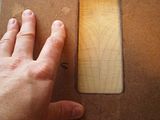
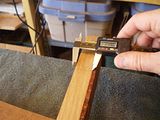
Next up neck depth. I set my necks according to bridge height. Since I know the hipshot so well I know that I like to be able to see a paper thin line of neck wood under the fretboard when the neck is fully set in the body (Yes I know my measurements but they don't help you). Measure the depth that you want on the neck blank. Transfer that to the body so you can set the forstner bit depth.
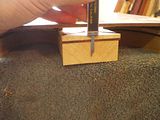
Jump to the drill press and set the stop on the forstner bit so that the point is shy of your line. Don't go too deep. You do not want any marks in the final cut of the neck pocket. Once you are sure all is well drill out the neck pocket. Stay off the edges and protect your template. Clean out your shavings as you proceed to give you better visibility and protect your bit.
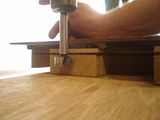
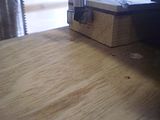
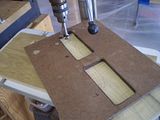
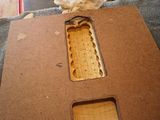
Start shallow (1/8") for the first cut as it should be razor sharp (provides a nice glue line). Then take small cuts to hollow out the neck pocket with the router. Small cuts allow you control. Patience is the key.
Once you approach the final depth work to your depth measurement calculated earlier by making your first cut at the top of the template in an area that will be cut away. This allows you to check your router setting and not accidentally cut to deep.
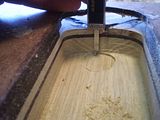
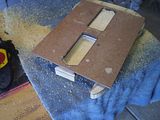
For this project I cleaned out the corners with a very sharp chisel instead of rounding the corners of the tenon as I feel I would get hair more gluing surface (voodoo structural advantage). Then the fit test. Does it fit tight enough to lift the body but not need a hammer to set the joint?
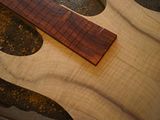
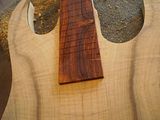
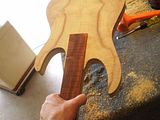
Now we get a bit excited...
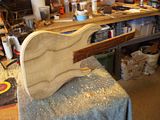
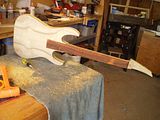
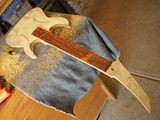
Check the depth.
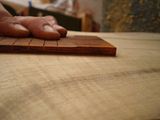
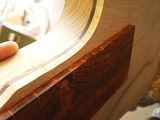
This guitar is getting a blended heal (ugh...) so I left a little extra wood.
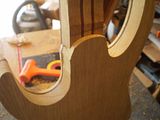
Scary part... recessing the tuners.
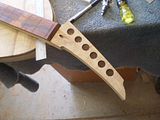
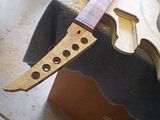
Got ahead of myself and finished the tuners. This one gets black hardware the chrome is just my test set. Way too many photos of something...
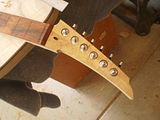
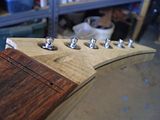
One last look.
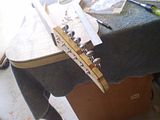
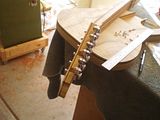
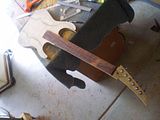
Ok these are just to see where we are.
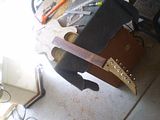
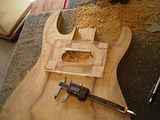
Neck humbucker laid out and routed.

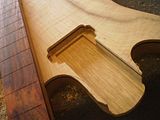
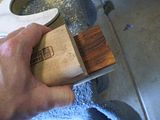
Time to trim up the tenon. Set the neck and mark the sides of the humbucker route. Transfer the line and use a radius block as a square to make the cut. Once it is all cut free check the depths. Make sure you have enough room for the neck pickup.
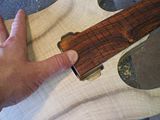
That is it for today.
