Monday, March 31, 2014

Stingray Monster

Starting on a new bass pickup. While I would love to build this with large pole magnets but they are hard to find and expensive. So the design here will use more conventional parts... actually like hardware store parts. What do you need to build a pickup? Flatwork, Low Carbon Steel, and Magnets. For the pole pieces I want them large so I grabbed a piece of 3/8" cold rolled steel at Lowes. The great thing about the Music Man pickup is the big poles. The bad thing is finding parts. Basically there are no aftermarket parts so we have to do everything from scratch.

I don't have a lathe so I used a hack saw to cut the rods to length. I could use the chop saw and get them perfect but the heat generated in the rod causes the steel to change its character.


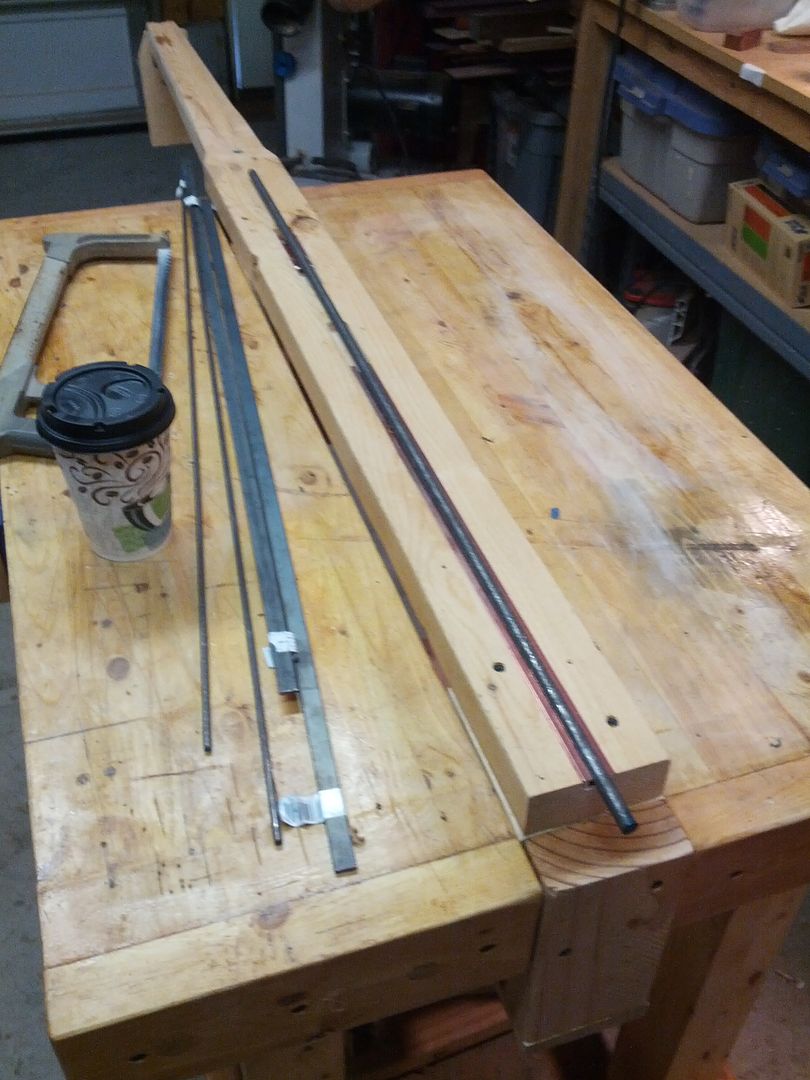
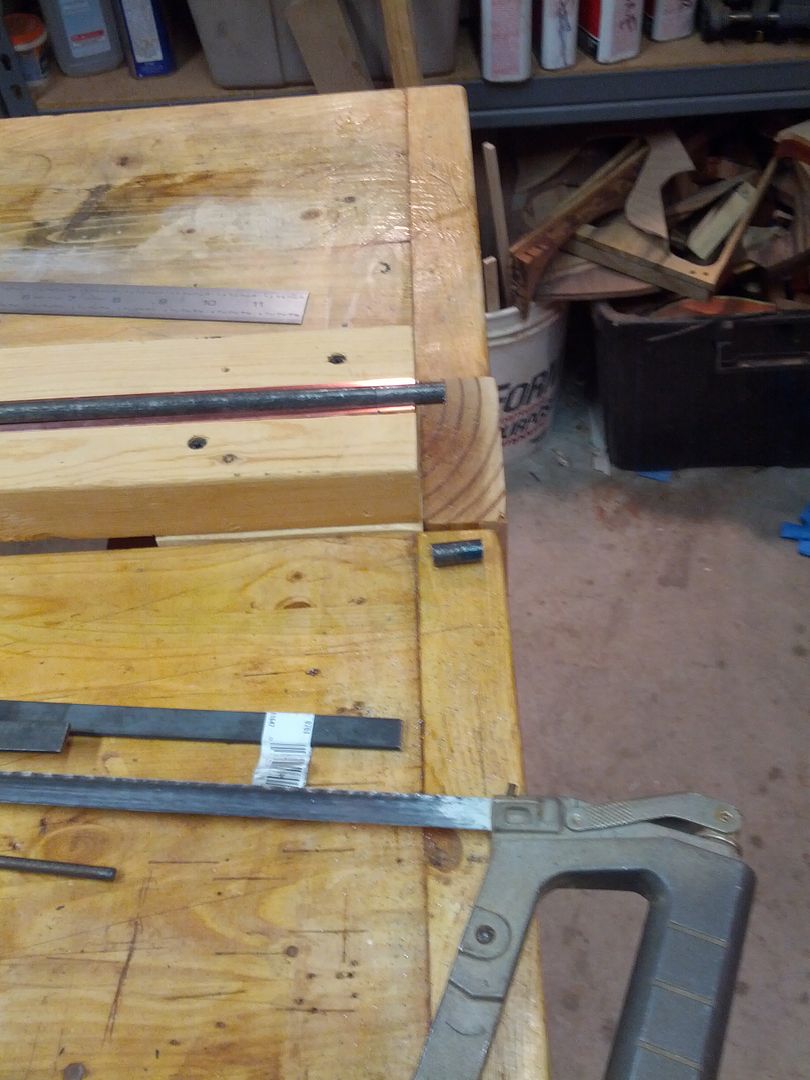
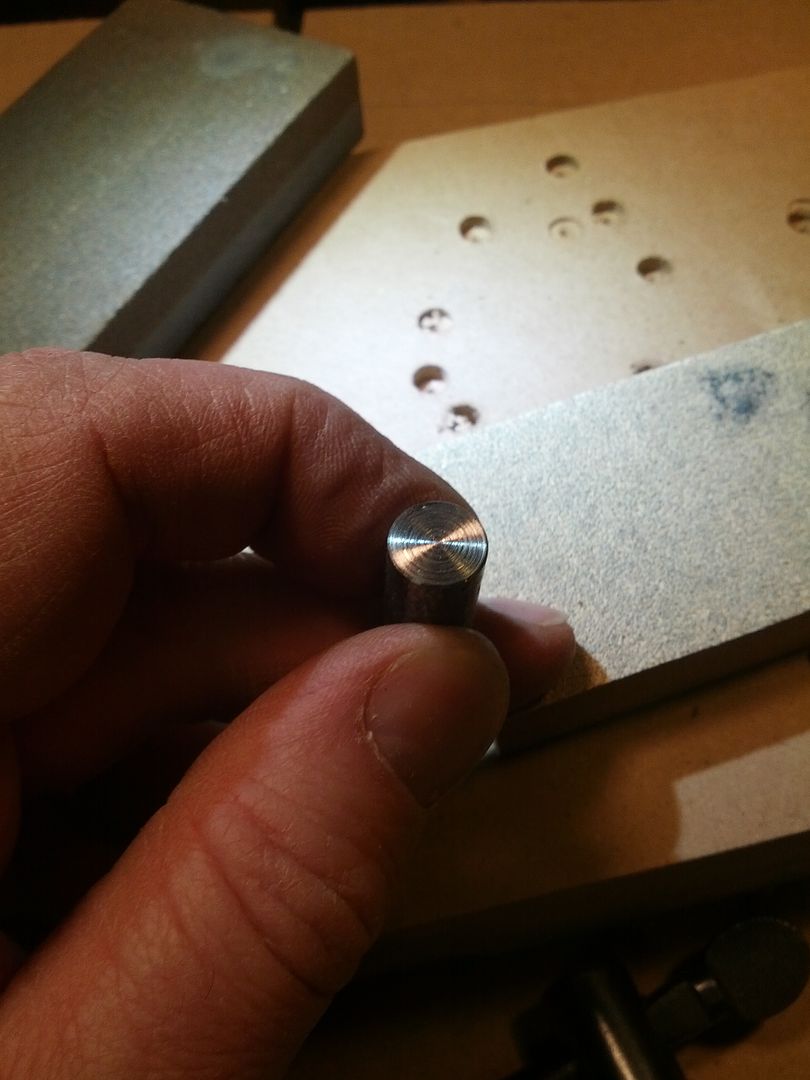
Cutting the rods with the hacksaw leaves a messy end. If you look at steel pole slugs in a humbucker they have a nice circular pattern on them from the lather cutting process. I am going to mock that out. Squared the rods on the disk sander and adjusted the lengths to suit what I am trying to do.

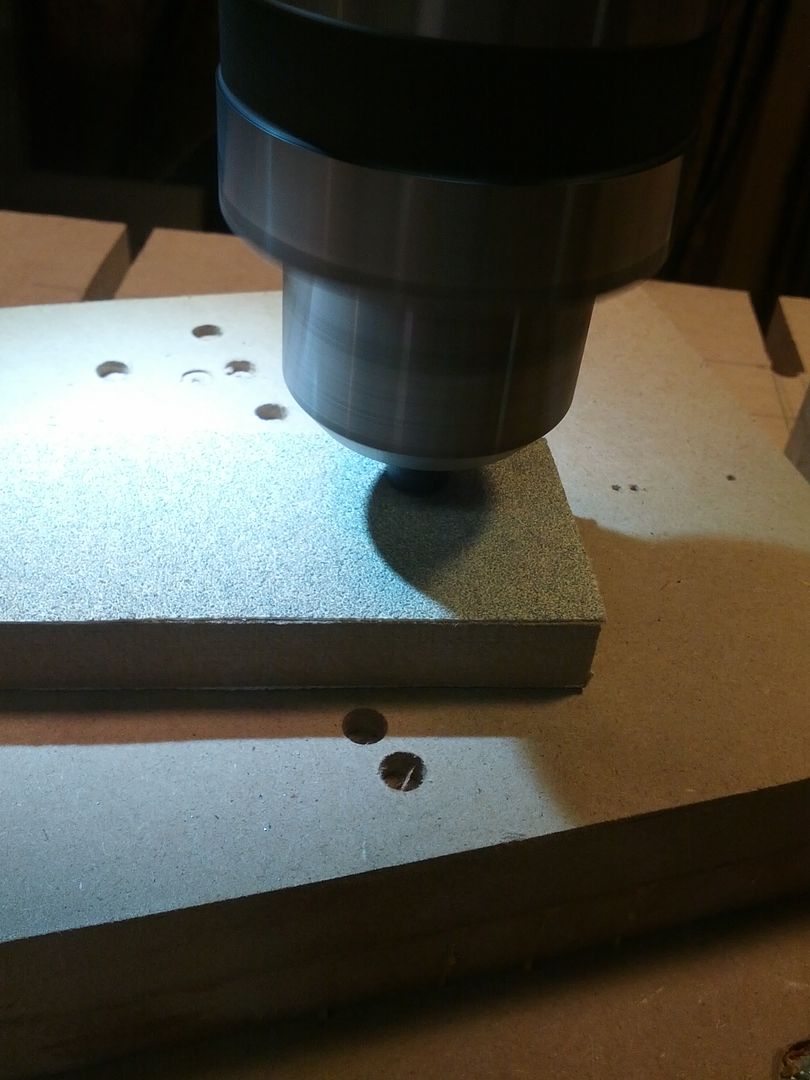
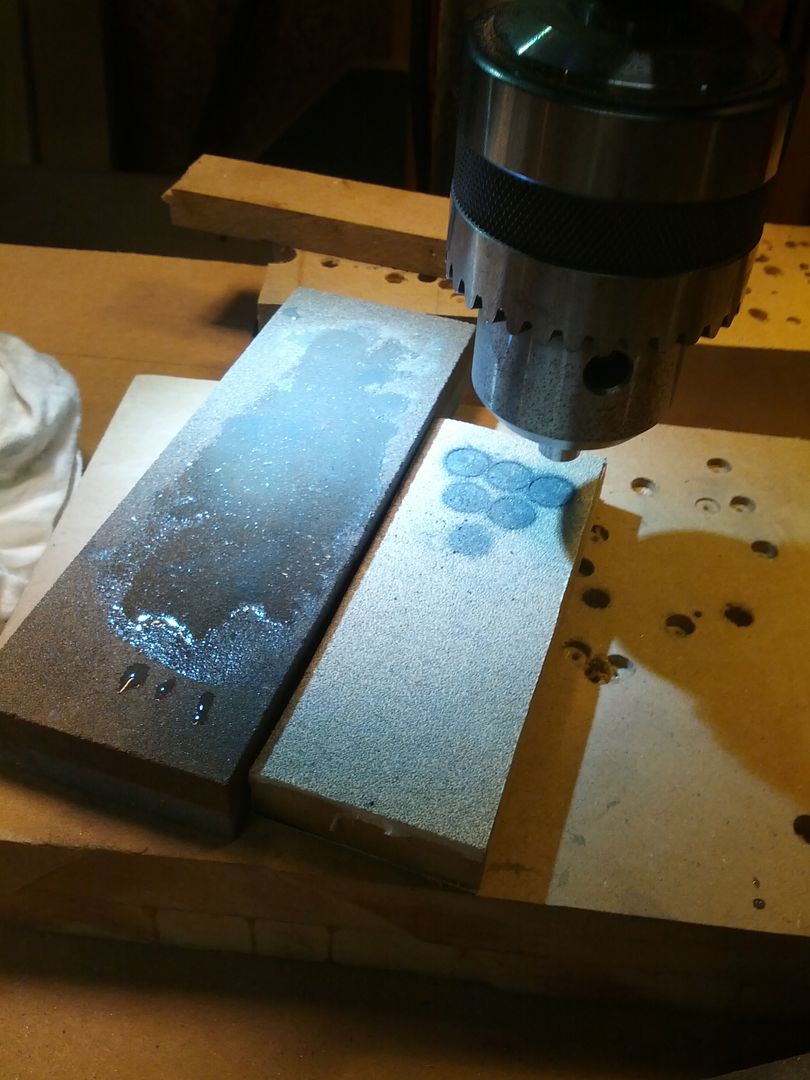
Next I chuck the rod in the drill press.

Then I take a mill file and put a slight bevel on the edge and clean up the face removing as many of the scratches form the sander as I can.

Now the trick. 80 grit PSA on a block of MDF. Turn the drill press on and run the rod down onto the block. This creates the swirls I need. Careful not to push too hard as you can really hurt yourself if the block flies out from under the rod.


I used a wet stone to square the end of the rod before putting the swirls in. This worked better than going straight to the sanding block. The problem with cold rolled steel from Lowes is that it is not very precisely ground and the outside is messy so I have to clean it up with a sanding spong.


And the results.

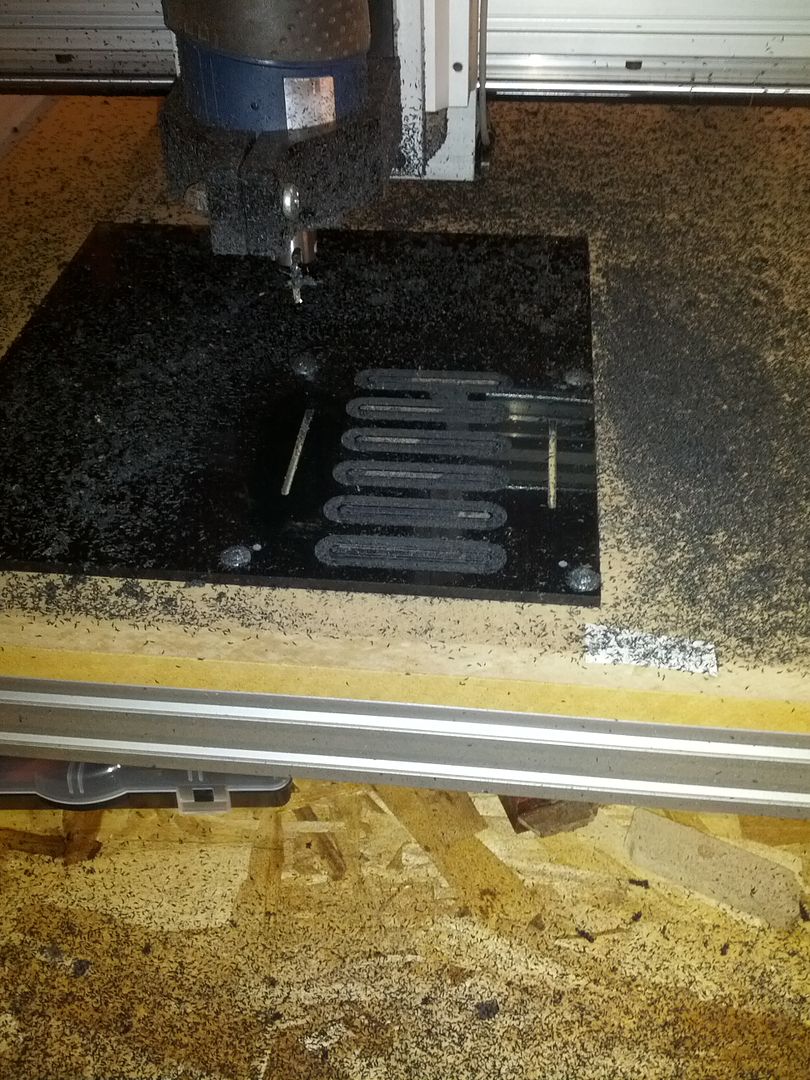
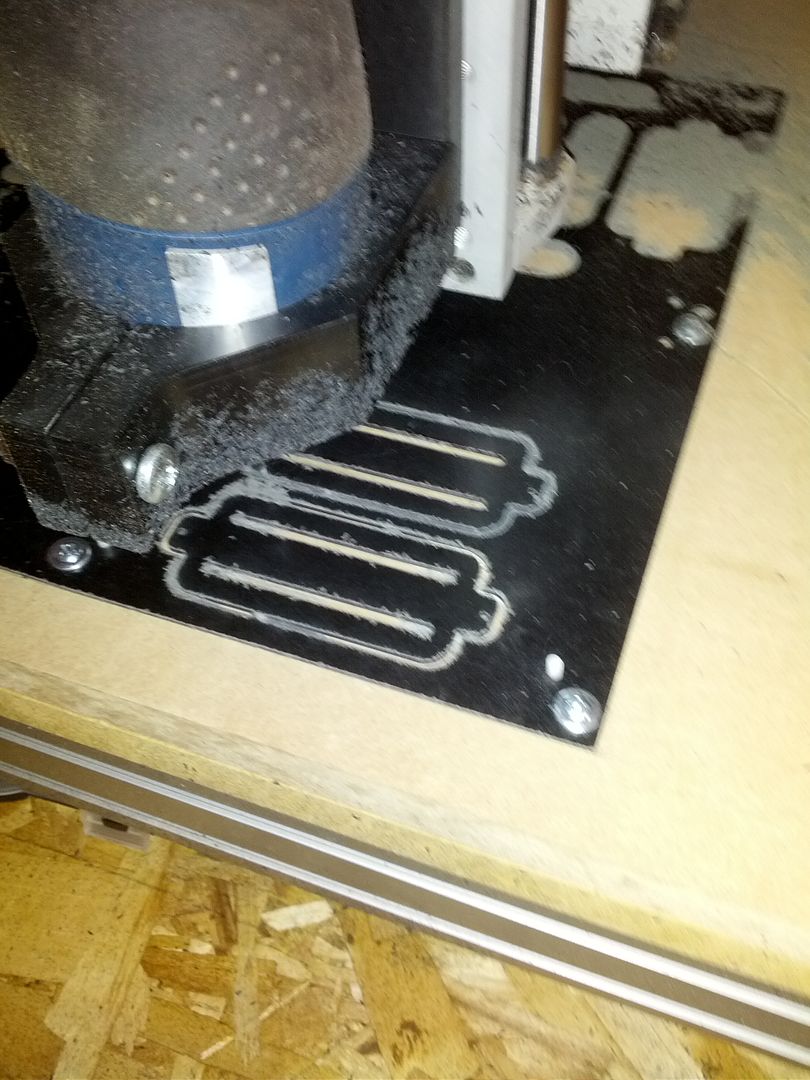
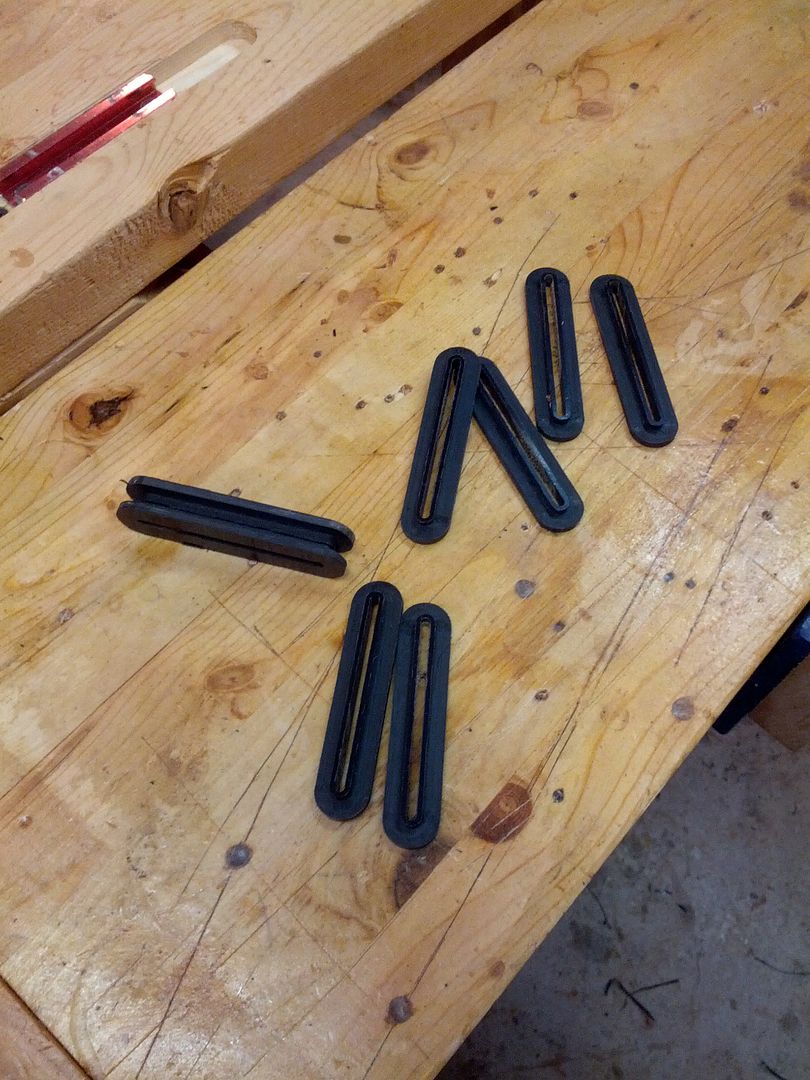
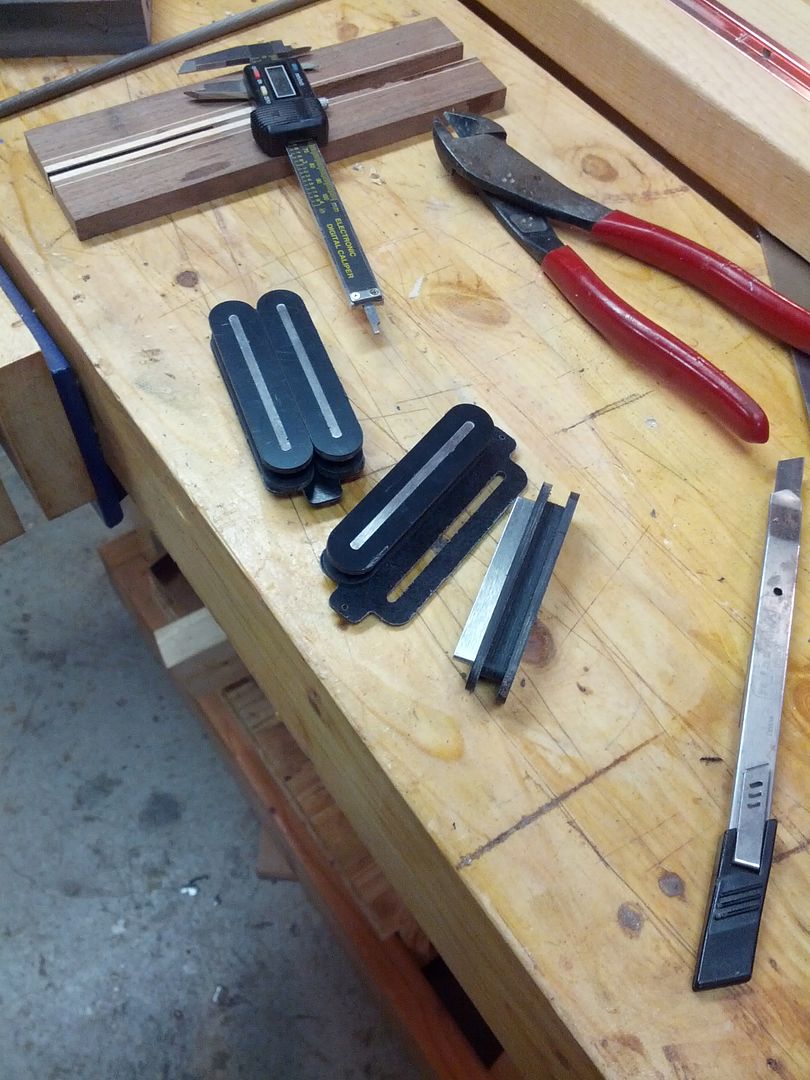
After cutting the flatware time to put it together.


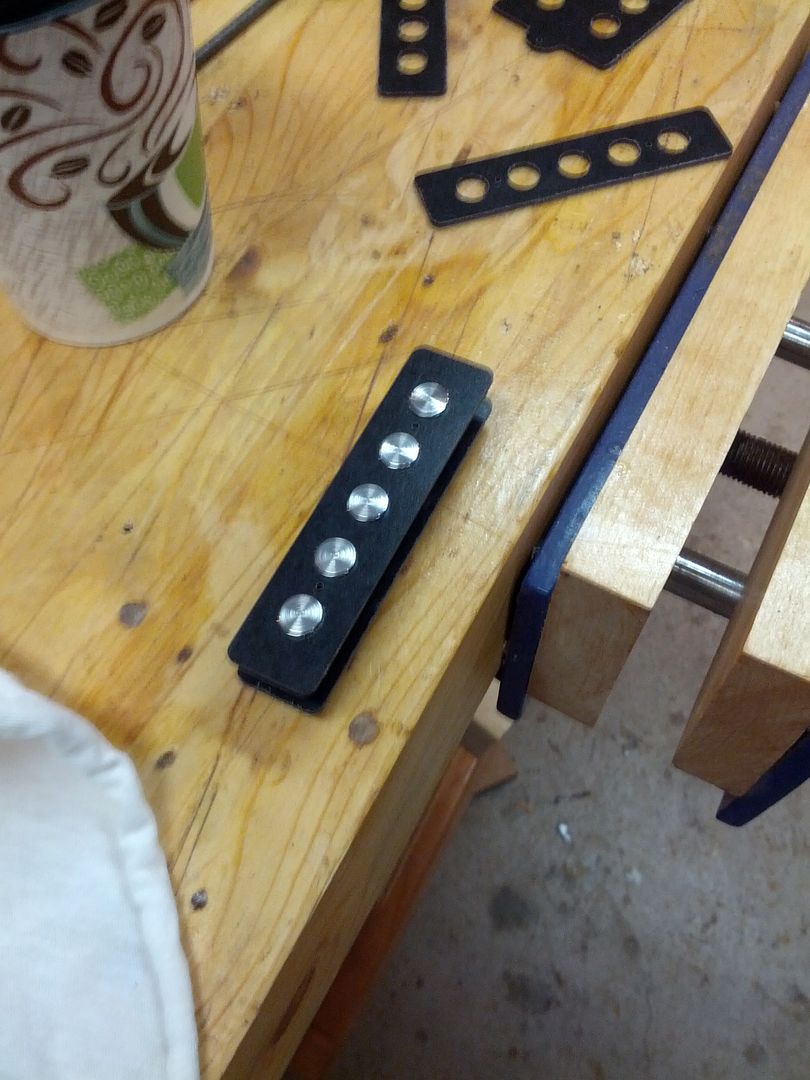
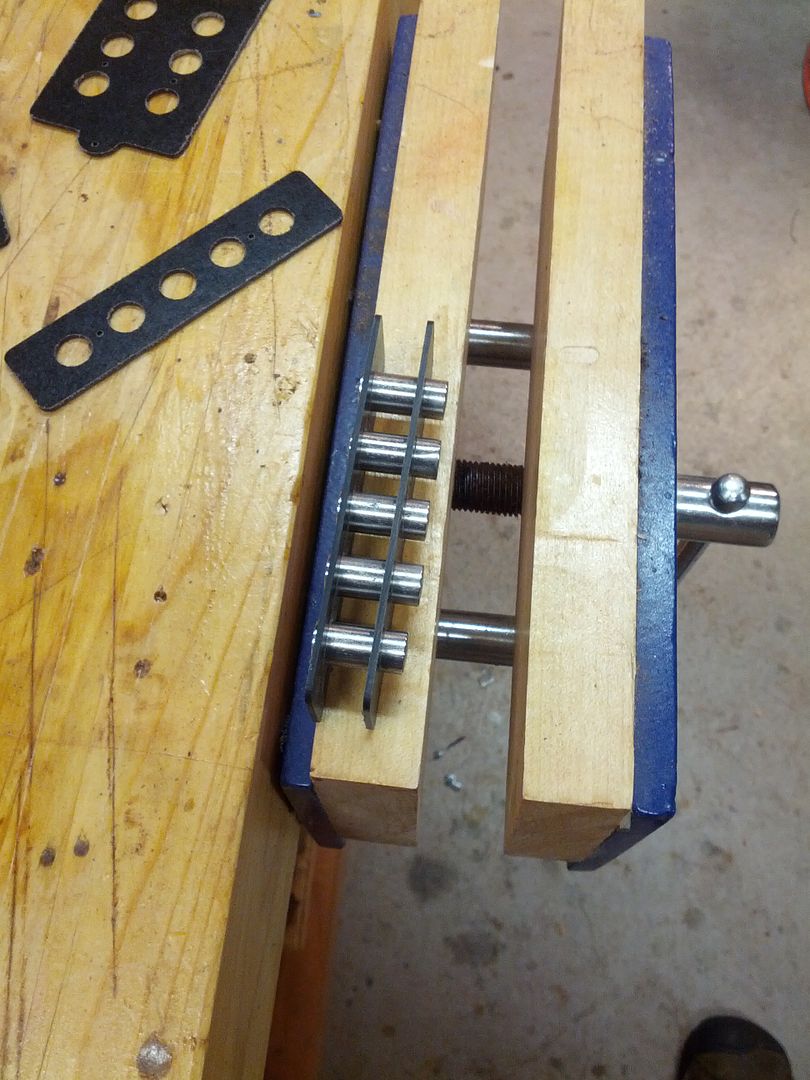
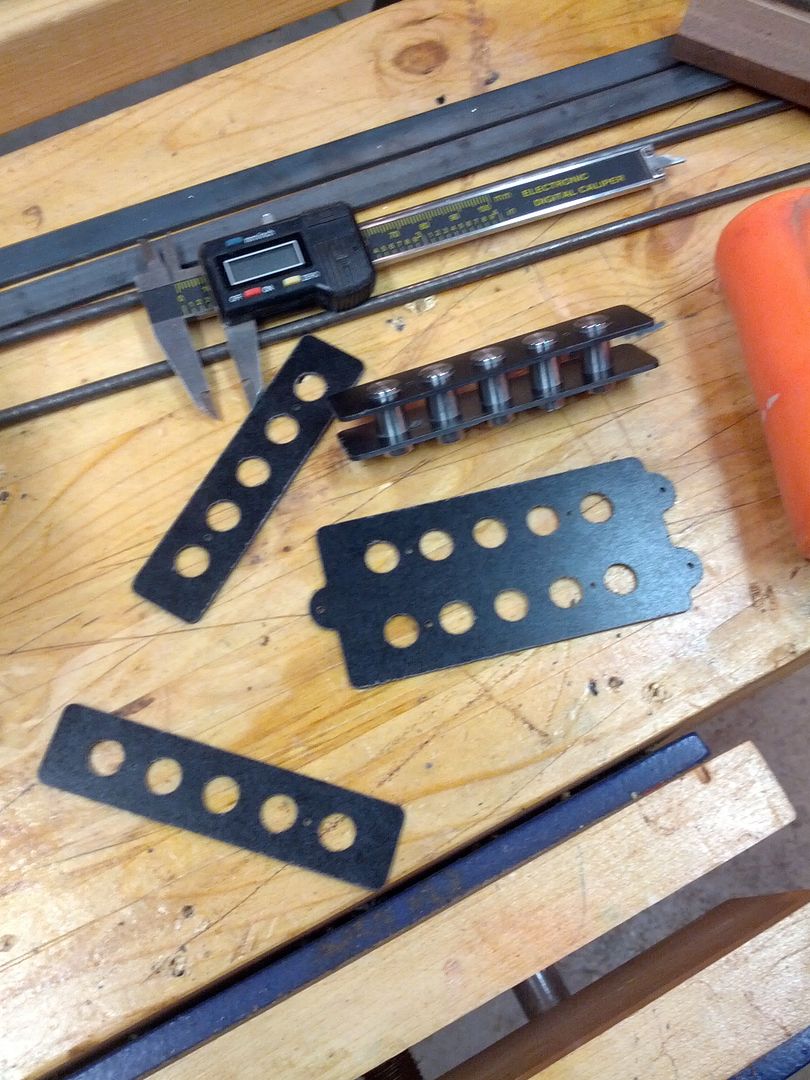
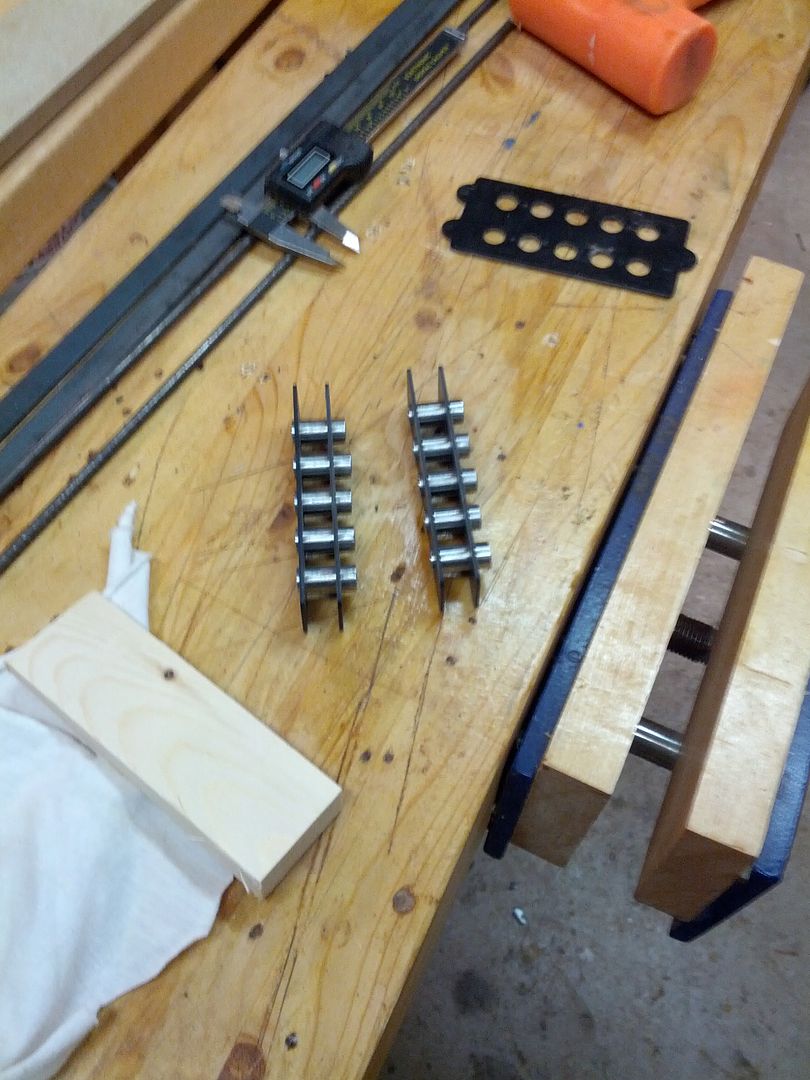
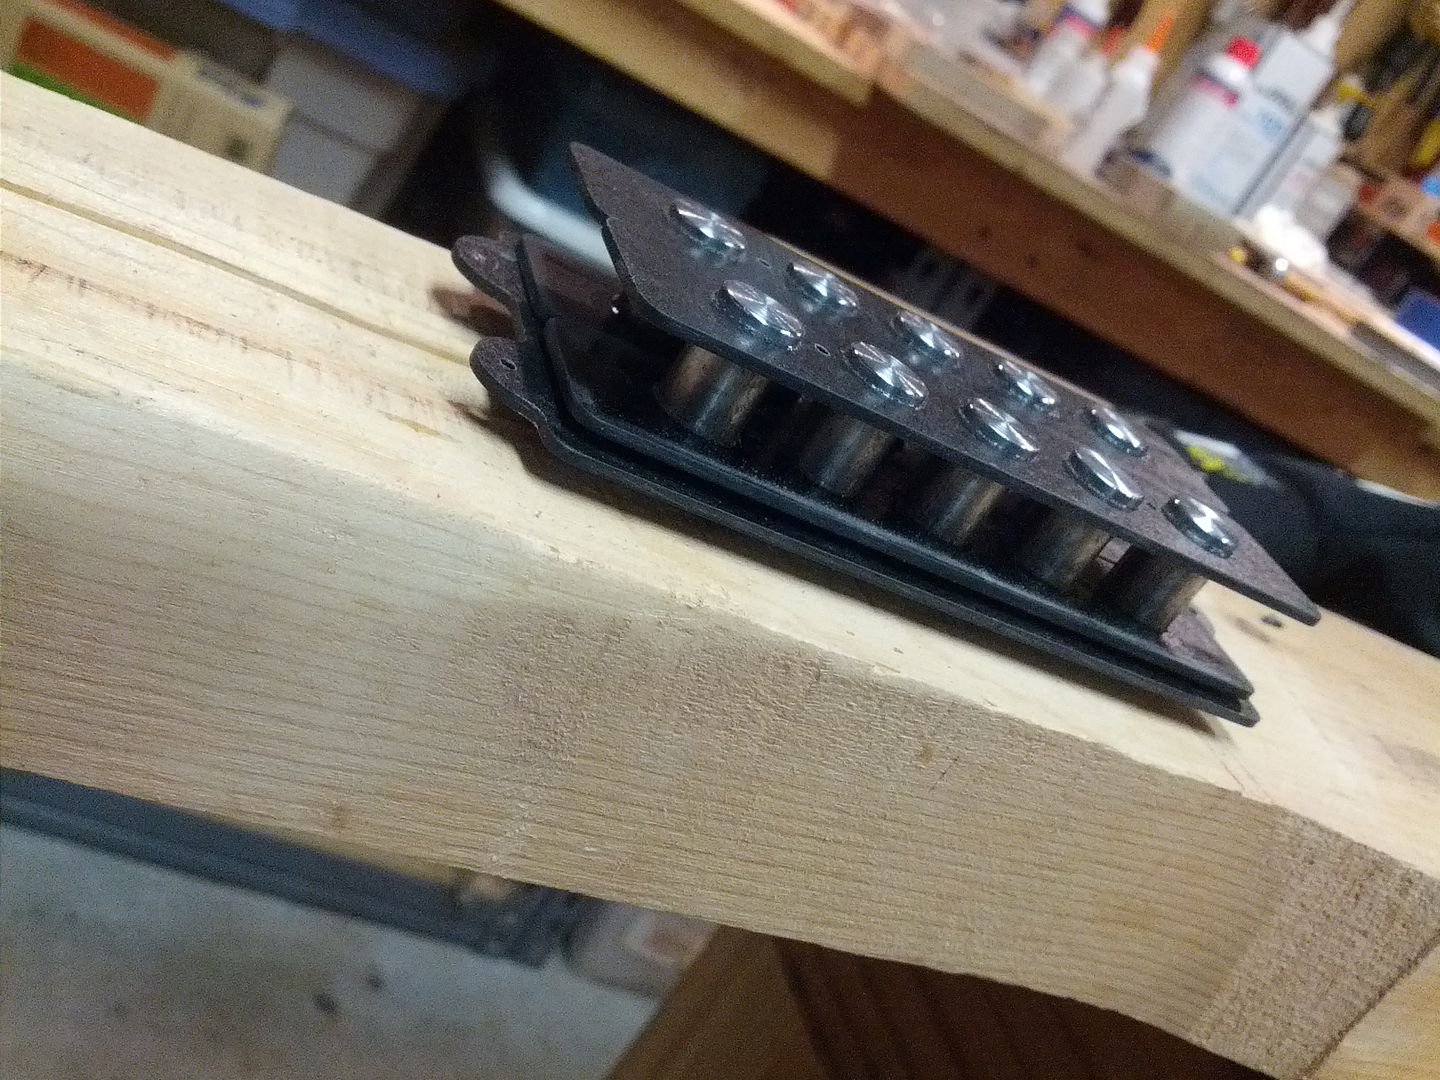
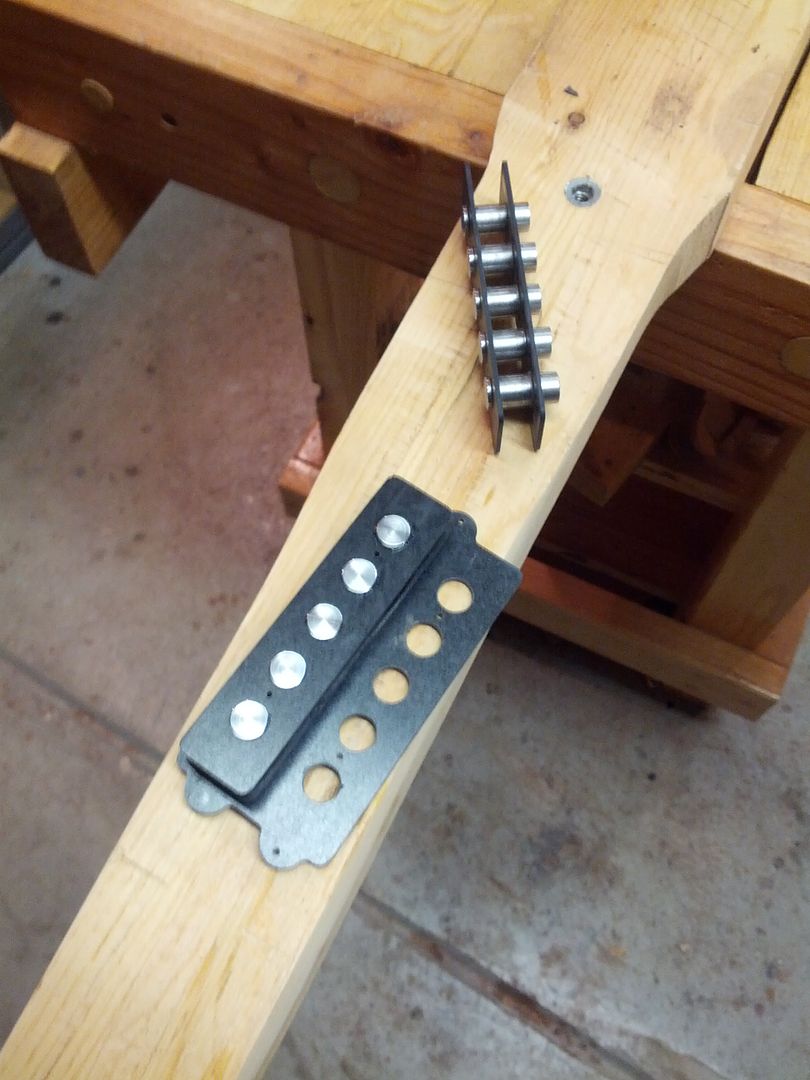
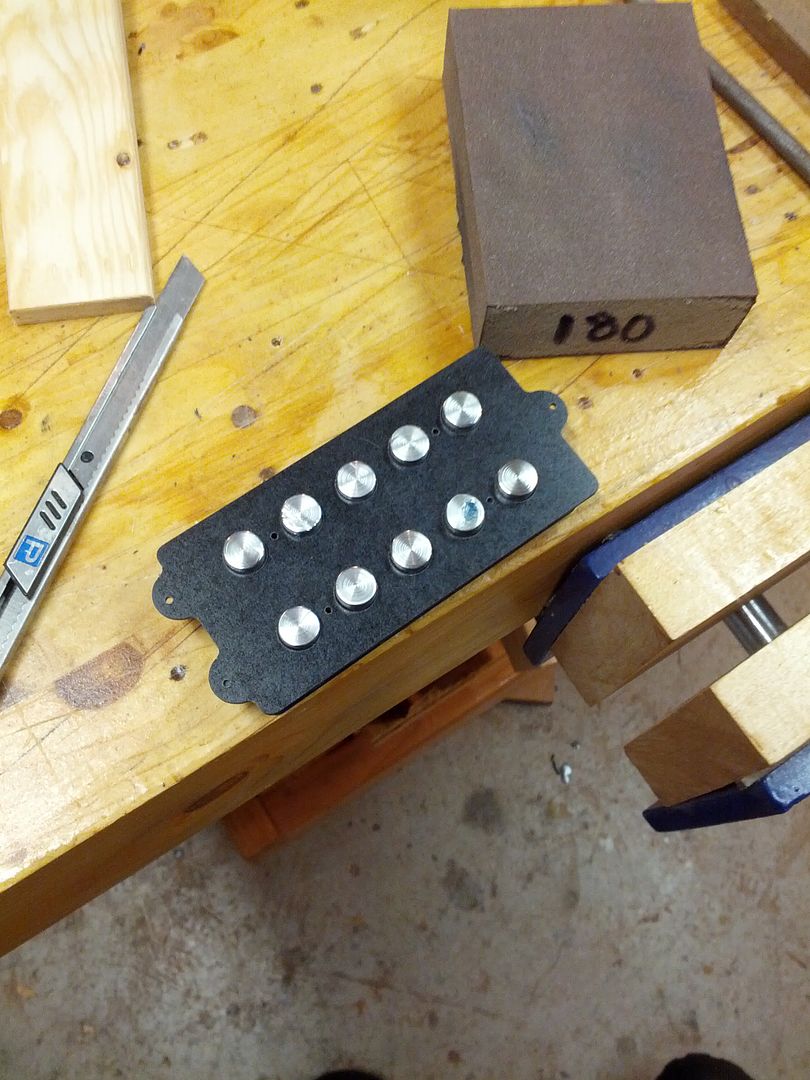
Blades cut from steel and bobbins assembled.


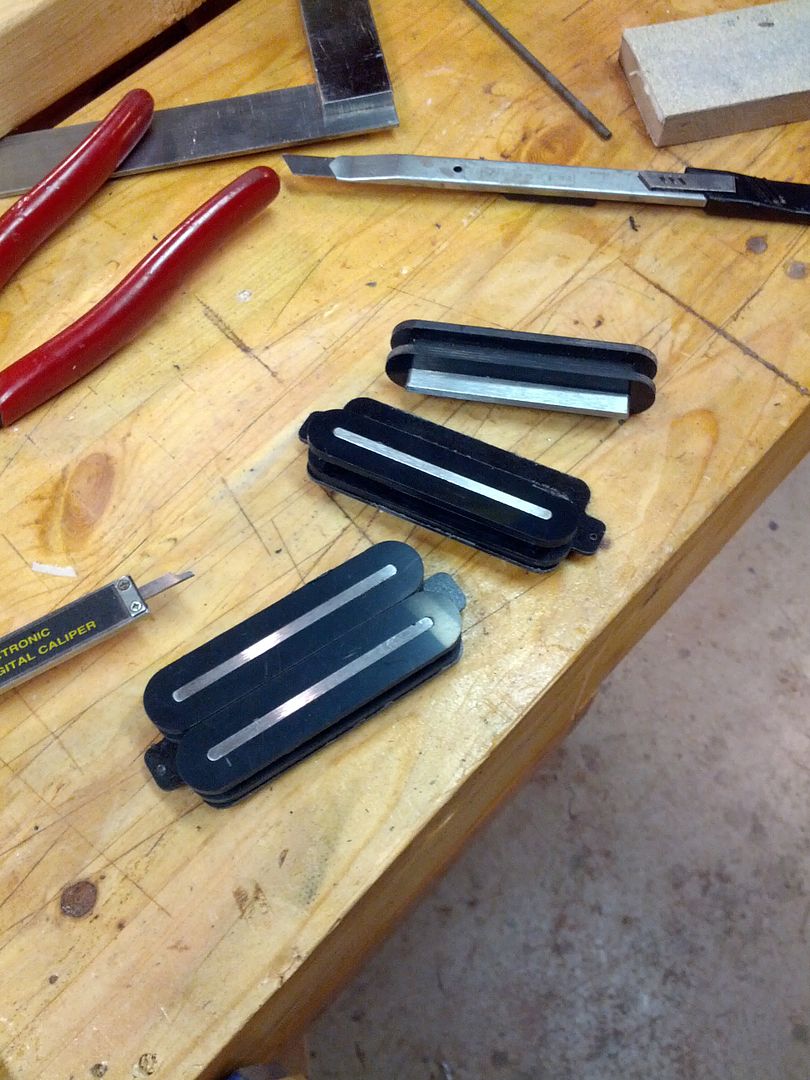
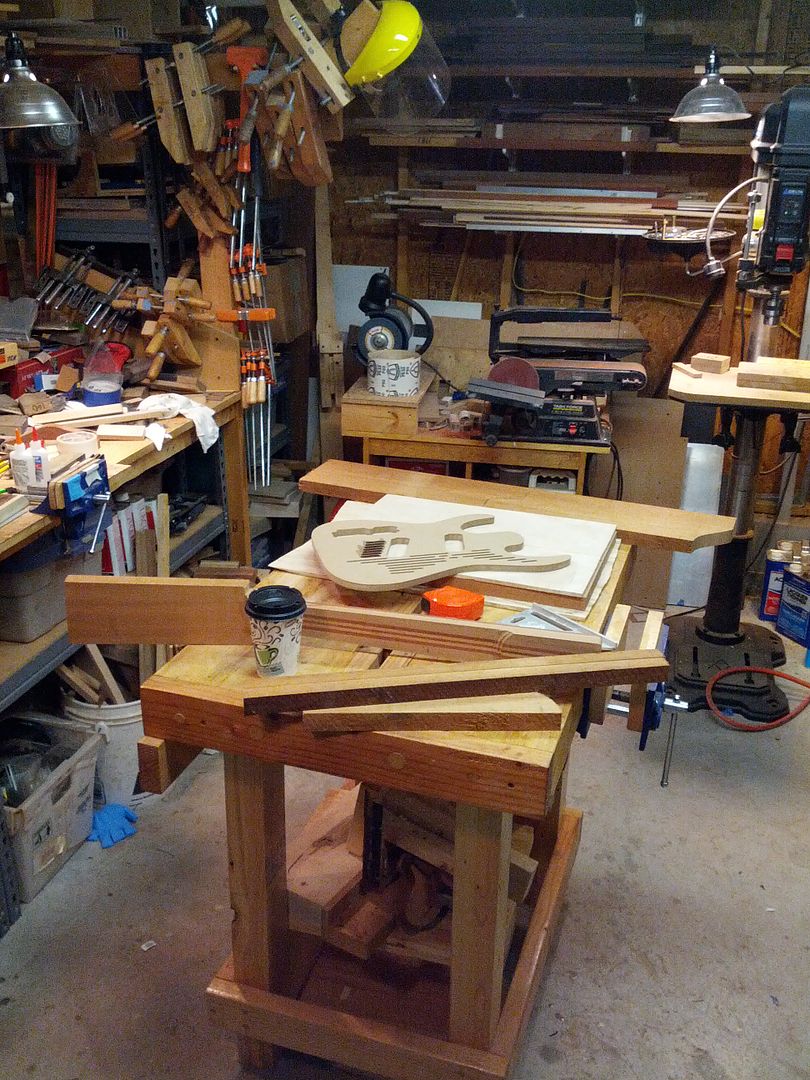
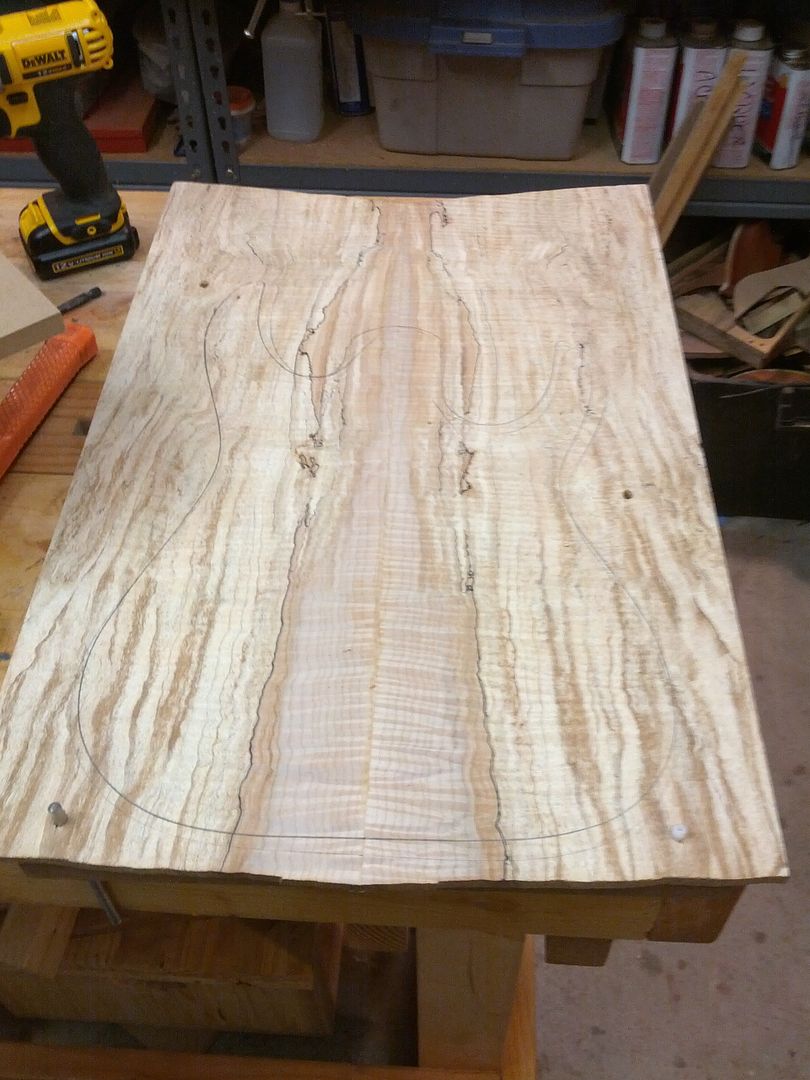
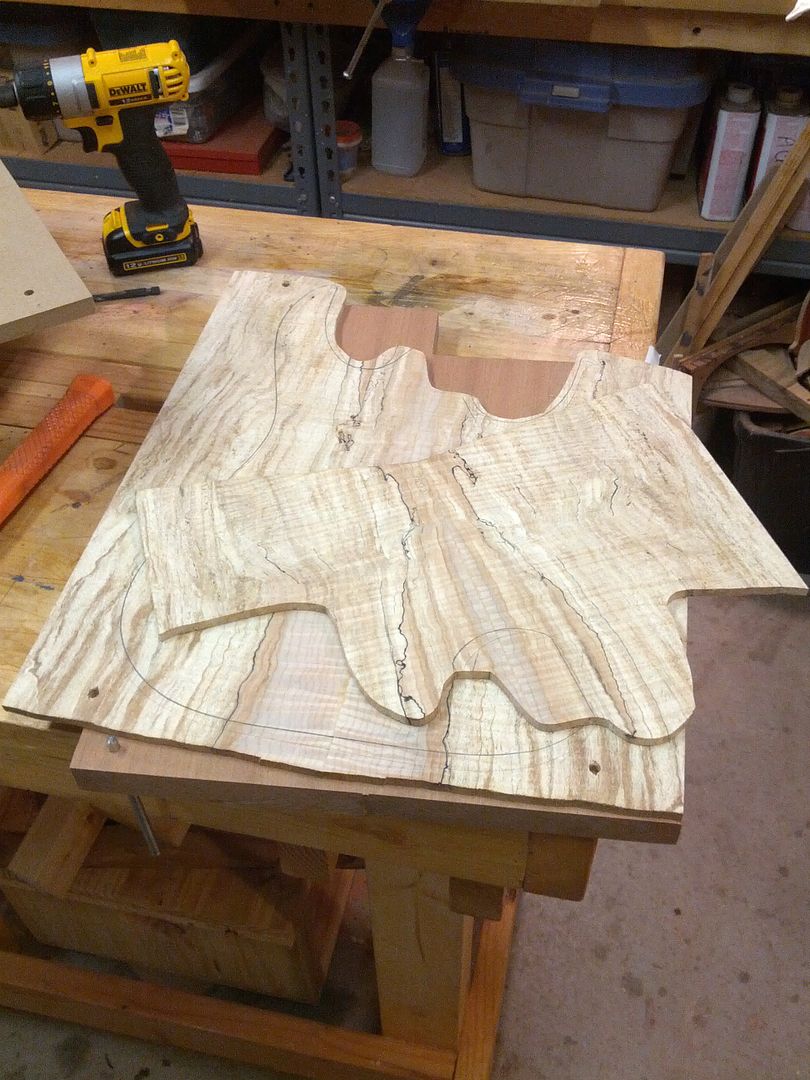
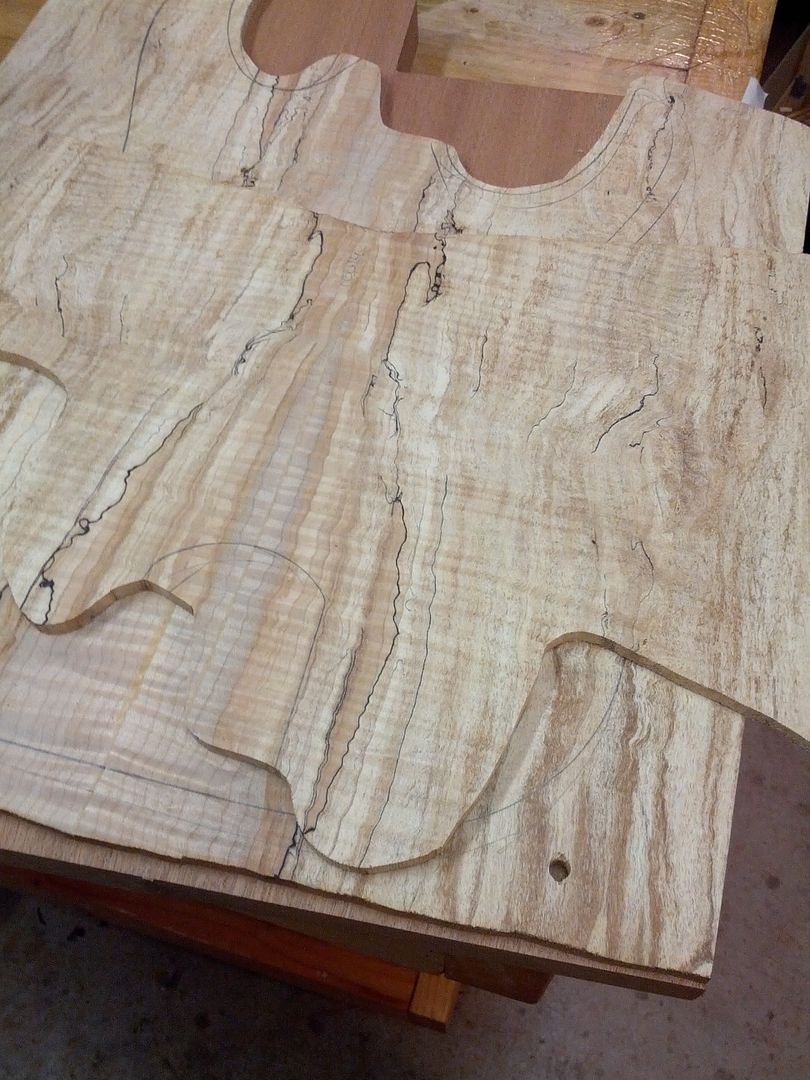
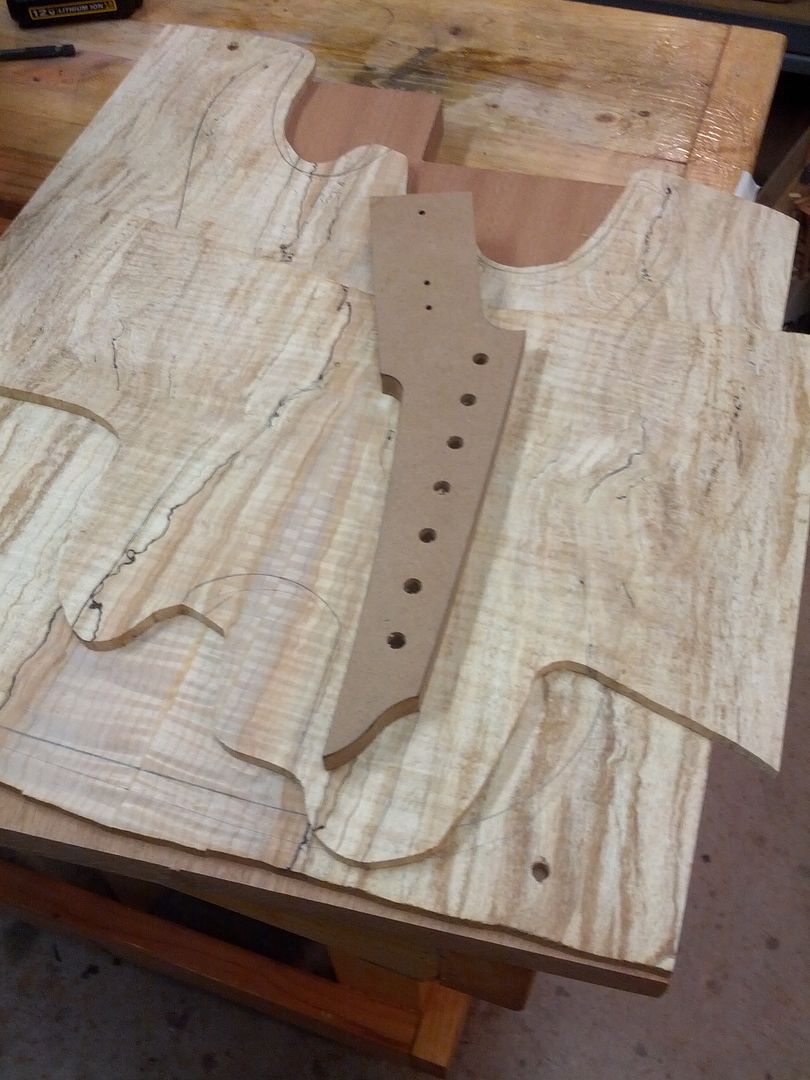
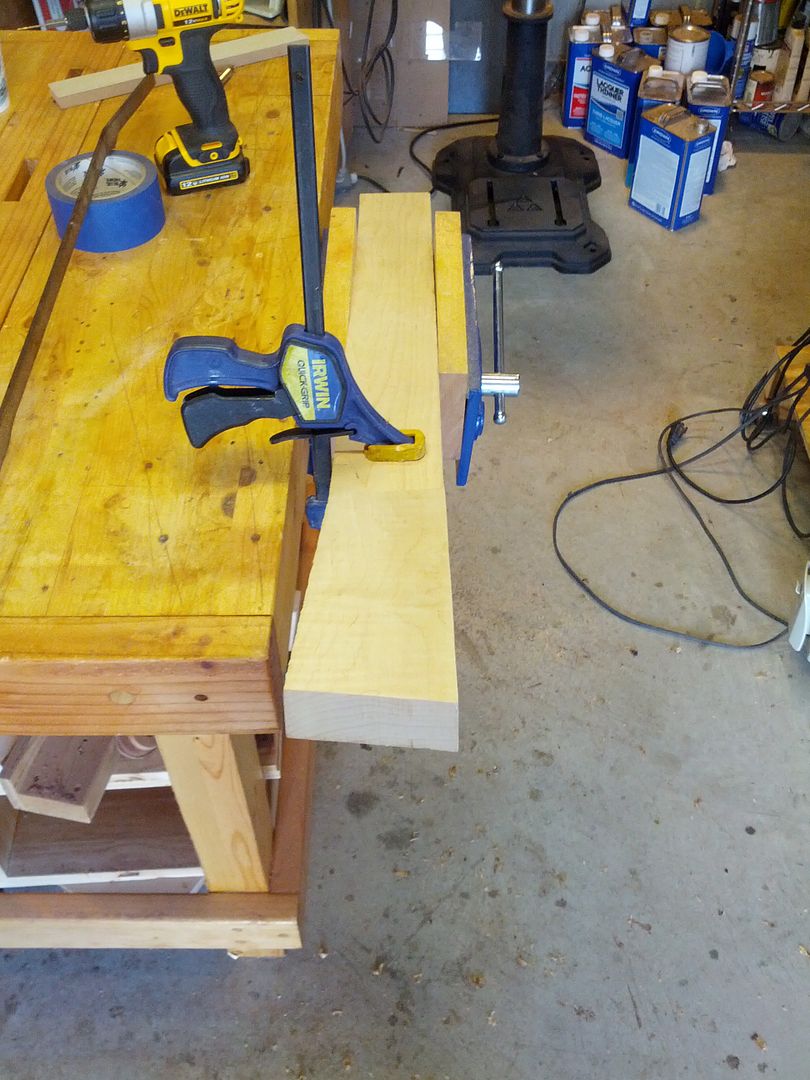
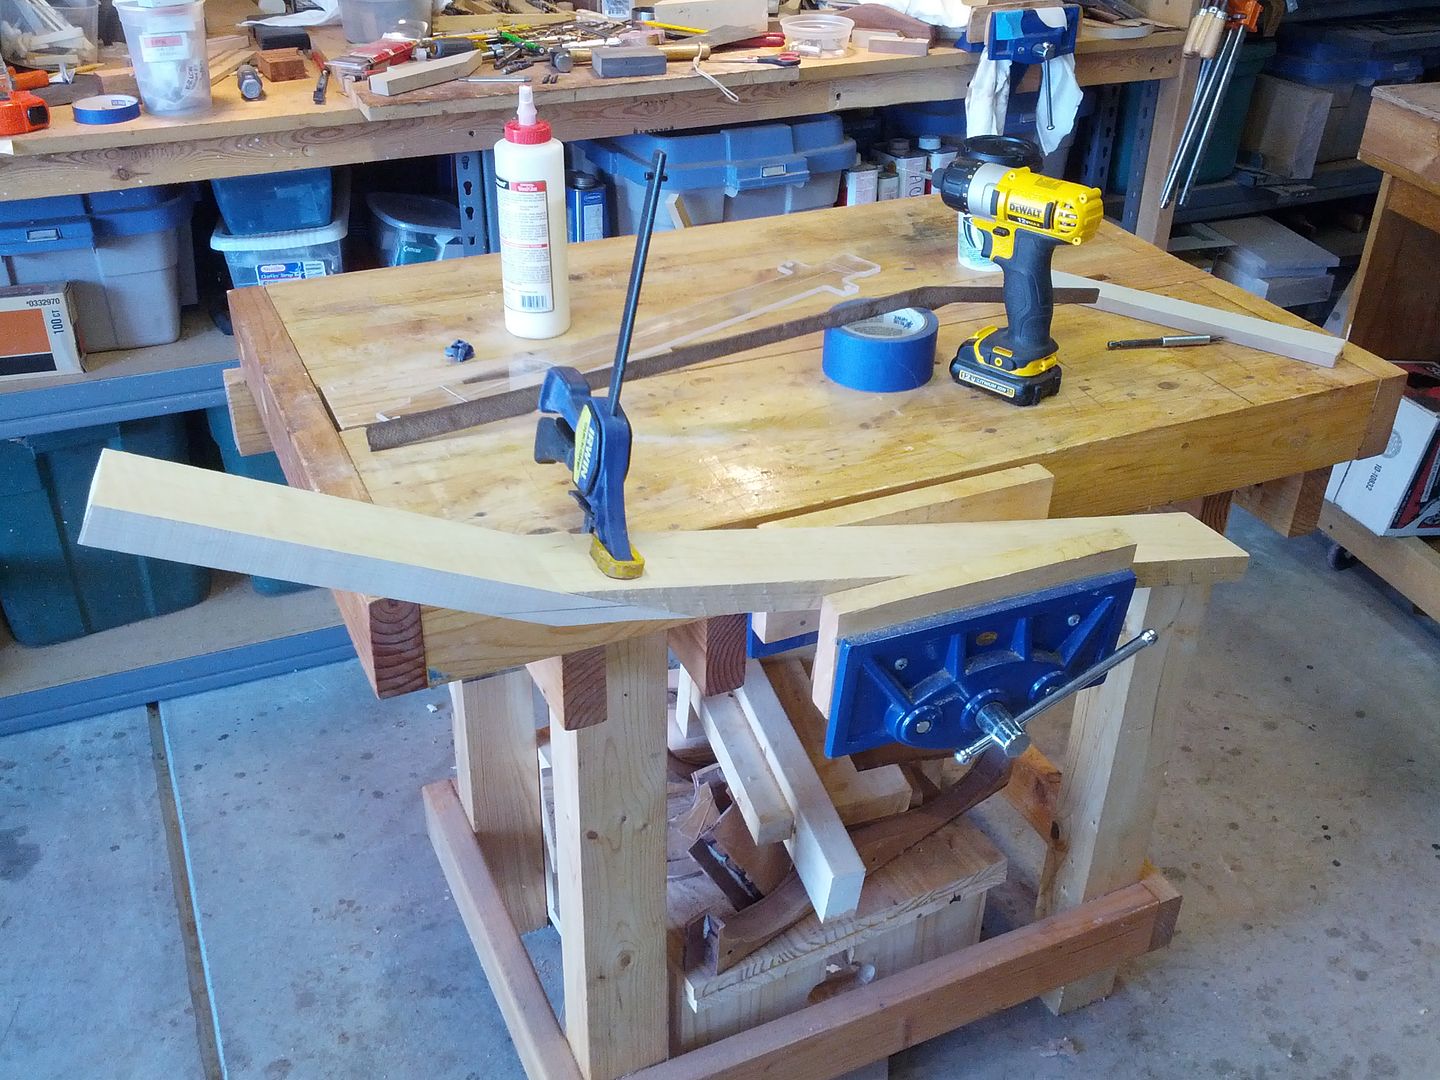
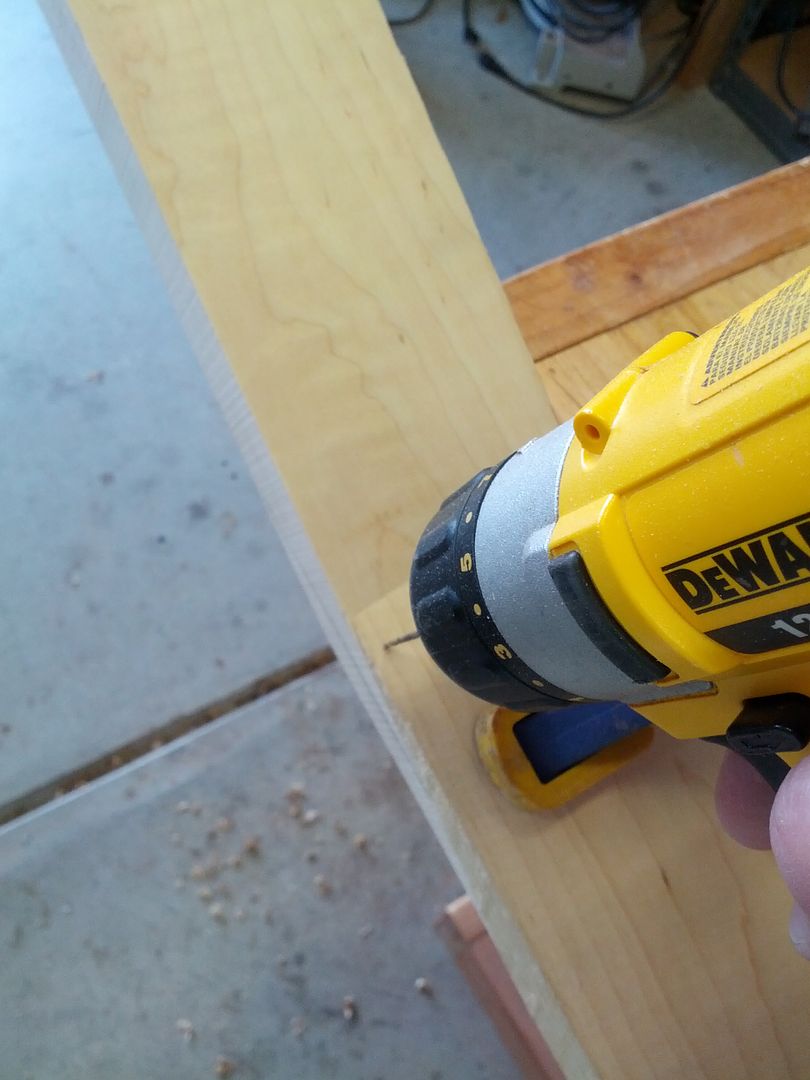
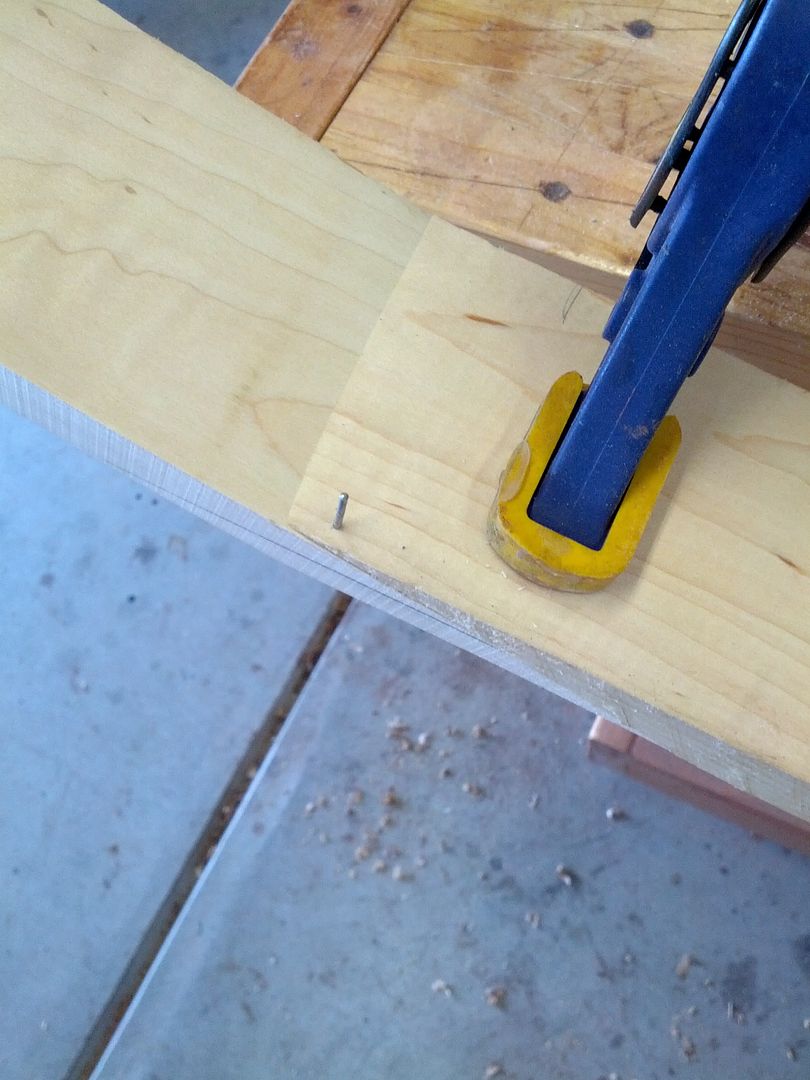
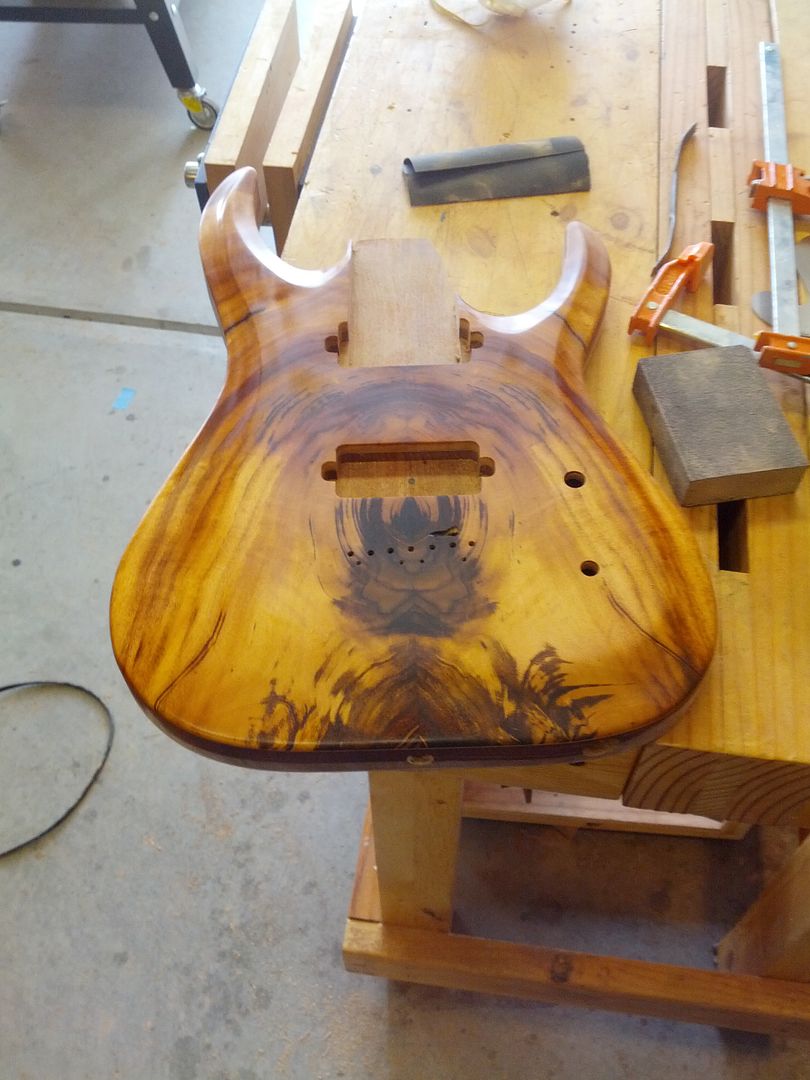
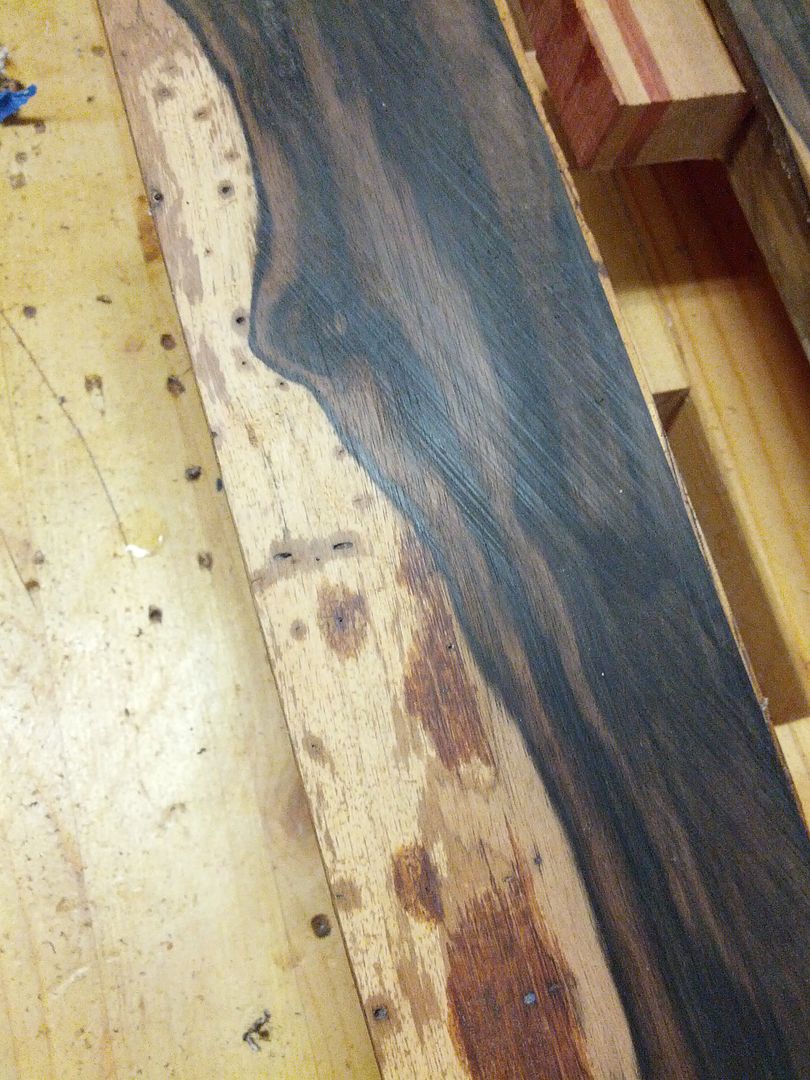
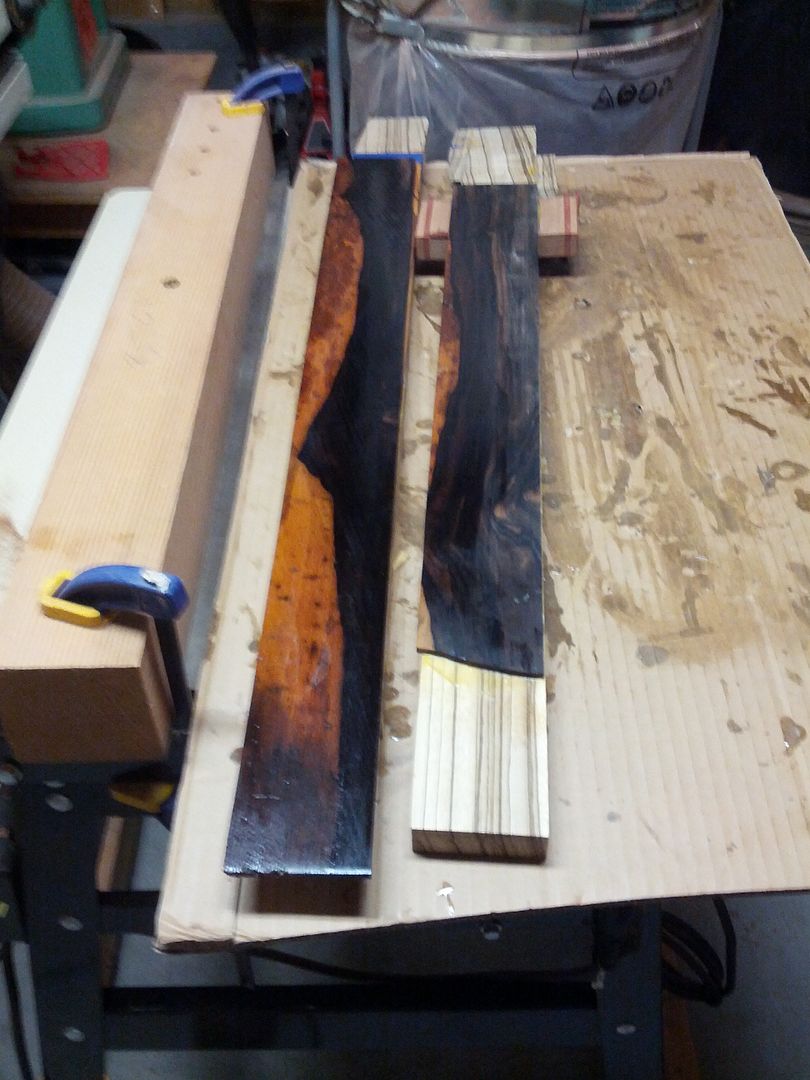
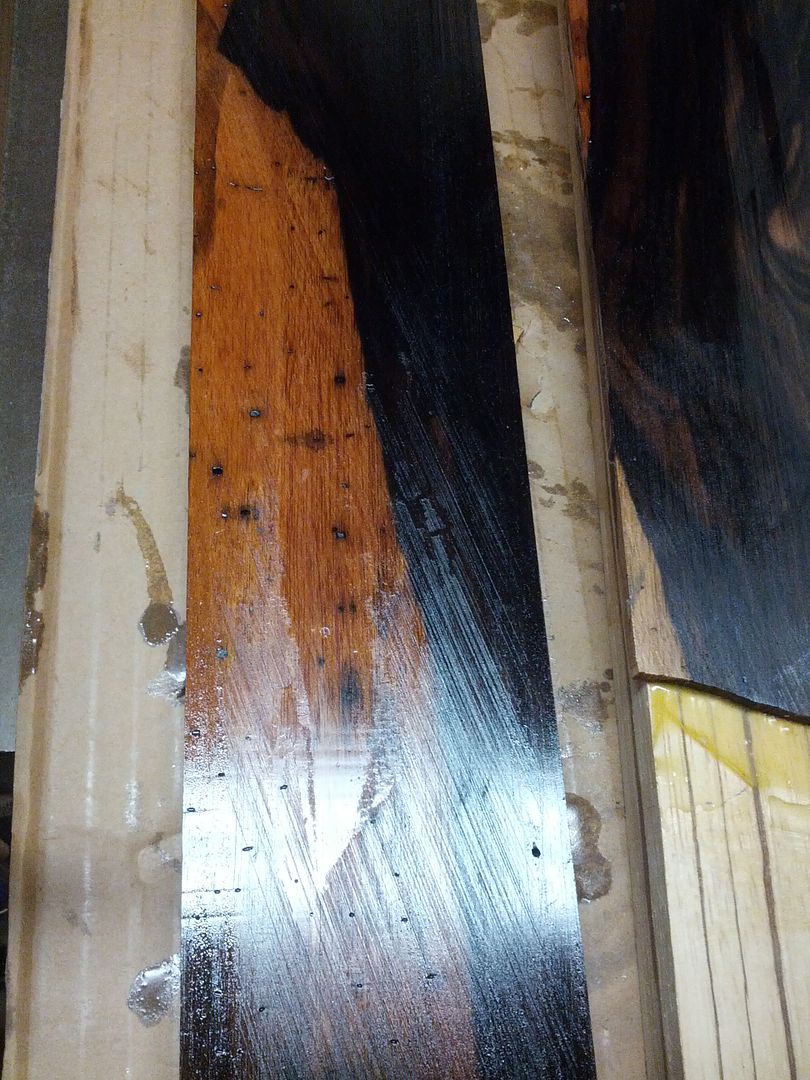
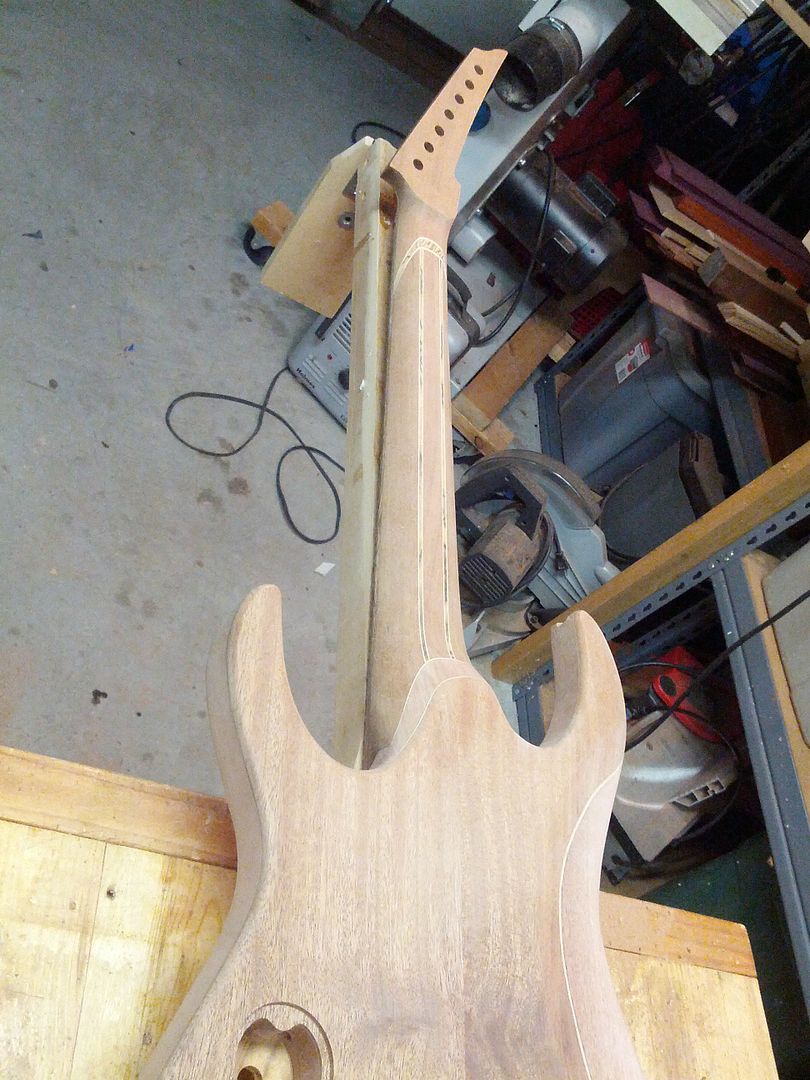
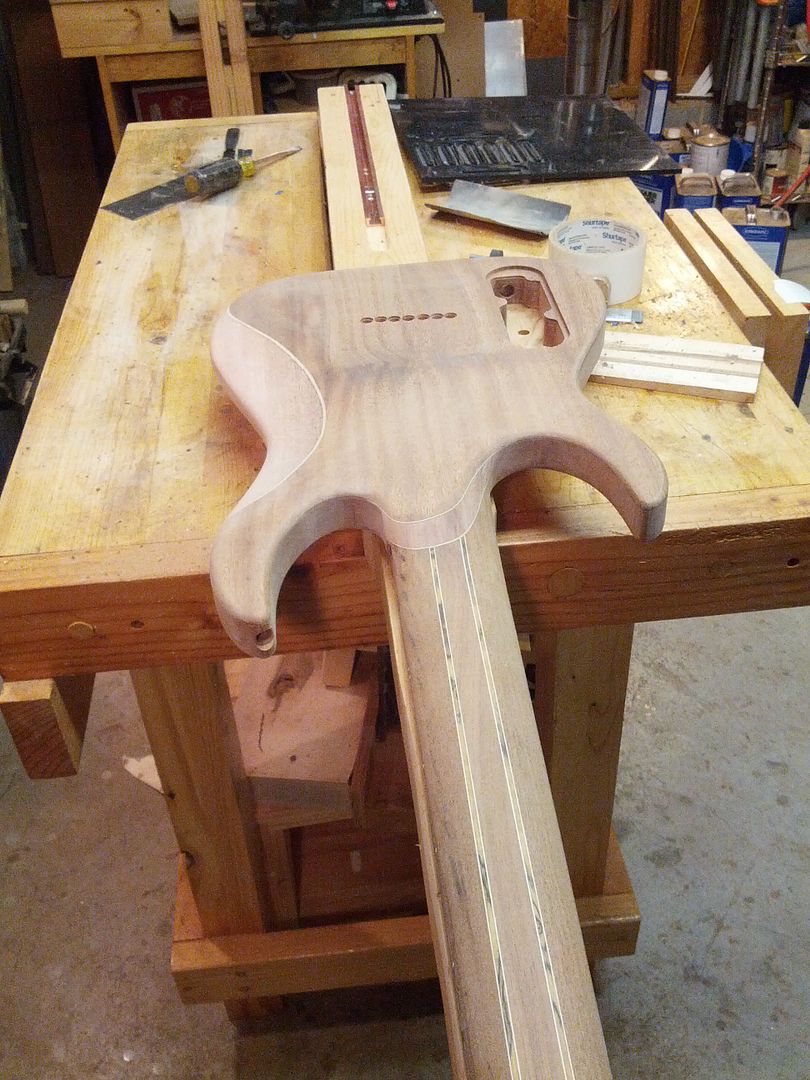
After all the pickup work time to get some stuff done. Trying to never waste wood I get enough out of a 48 x 8 x 4/4 piece of African Mahogany to get a neck blank and a body blank. Then I trim the top to get a headplate from the top as well.


Thursday, March 27, 2014

Stabilize the punky wood...

Why did I not make the headstock wide enough to begin with?

The other zebrawood neck gets a fretboard. I used epoxy on this one for the fretboard, and the top, headplate, and the neck joint. Other one is using titebond for all the joints. Since the two guitars are twins I can give a report on the differences between the glues when they are done. I hope it is impossible to tell.

Do to recent tone "voodoo" findings I have decided that mojo is as important as materials. So I am attempting to channel the mojo. I am starting with a one piece flat sawn 2A figured piece of maple. I am going to add a 2A piece of birdseye for the fretbaord and head plate. I know what you are thinking why? I have all this 4A and 5A wood laying around on the shelves. Well the reasoning is that the wood will try harder knowing it is not as pretty as the others. It will have a better personality... I call it the "Wing Man Theory".

I use some small 1/16" pins from McMaster-Carr to hold the scarf while it is glued. It is always best to place these pins outside the actual neck ;) Of course not too far outside the neck. See where I put these? They pulled through and split when I clamped the neck. Forced me to add 2 more down farther into the scarf.

Lots of clamps. Maple loves to leave glue lines so the joint has to fit perfect before gluing and the pressure has to be even and firm. Since maple is harder than say mahogany it requires more pressure to get a seamless joint.

Joining a top for the 8 string. Another prototype another 3A top. "Wing Man Theory". You really should never use a blade on figured maple so I am preparing the edge sans jointer.


No line visible.

Carving up the wookie. Tigerwood is strange. It acts like figured maple when you hit it with a blade sometimes and others it is like rosewood. After roughing in with the sanding disk in the 3/8" drill I ended up doing a combination of hand scrapers and hand sanding to finish.


Tigerwood holds a very nice edge. I removed some of the edge as it would be susceptible to damage.

In the sun.


Huge belly carve to trim some weight.

Time to set he neck

My new finish option. Blue tape.

Ready for the CNC

Time to fix the punky boards. The one on the left needs some help. I did place the board so as I cut the radius I will reveal more solid ebony sanding away the punky pith. But what I need now is System Three Clear Coat and a heat gun. I heat the epoxy mixture on top of the board to get it to soak in better careful not to burn anything. When I am done and it starts to gel I wipe all the excess off because sanding it is a PITA.


New 7 string blade pickups in the works.


Neck is set on the Wookiee so time to carve the heel and clean out the neck pickup pocket.