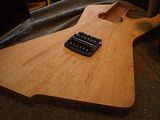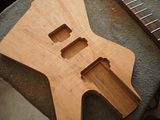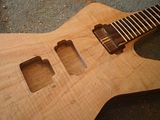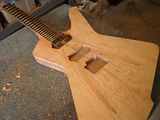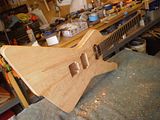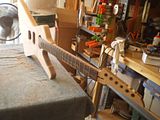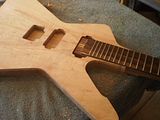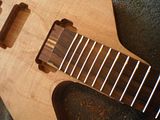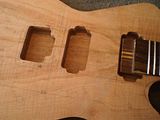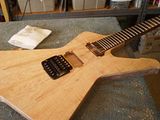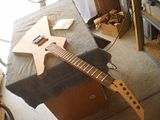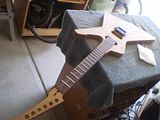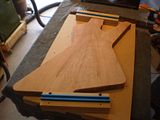
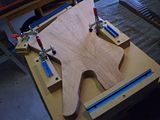
And here we have the Kahler for the first D5. First thing to do is remove the trem block from the frame so we can position the bridge and plan the route. I am sure there are premade templates for all this but I want it done this weekend so I am going to just do it by hand.
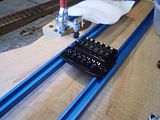
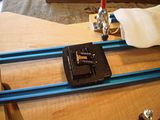
I take the block out so that it will sit flush while we are measuring the scale and angle.
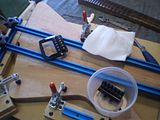
Checking the angle of the neck. I plan on slightly recessing the Kahler so after all the calculations this looks right. This is not an exact measurement I just want to verify that my calculations look right.
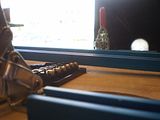
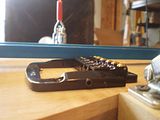
After checking the angle against the base plate it is time to setup the dust collection. And get started. I drilled a couple of holes to give the router a place to start (because I don't use a plunge router). I take a lot of really small passes and try not to load the router.
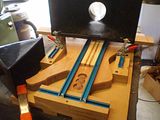
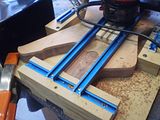
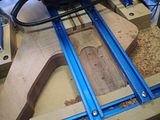
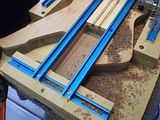
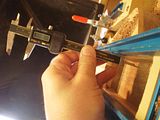
I want the bottom of the fretboard to be flush with the top of the body at the 24th fret. Take a measurement on the neck and lock the calipers so that I can check the depth easily (no reading the output).
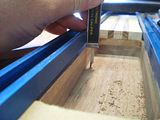
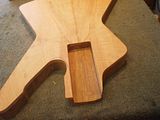
That is all for the routing. Turned out pretty well. Now it is time to square the edges of the tenon. I started doing this a few builds ago and love the simplicity. Putting a 3/8" radius on the neck tenon is a lot less precise than just squaring the corners on the body mortis.
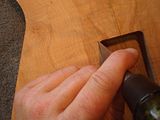
I start with a very sharp wide chisel. The first cuts are important as they act as guides for the next few cuts. After the first cuts I back off and take much smaller cuts. Once the corner starts to take shape you can put down the hammer and just use the chisel to finish shaping it.
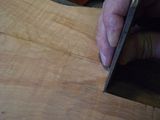
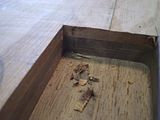
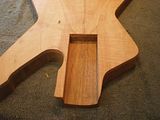
I had a little tear out but that doesn't matter too much as the neck pickup route will remove almost all of this wood. I finish cleaning up with a little sandpaper on a block.
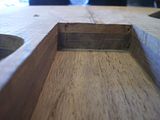
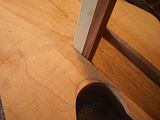
Ummm... yeah I missed a hair. So the neck pocket is not deep enough. Back to the jig and drop the neck pocket a few and return.
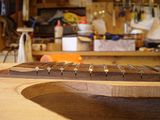
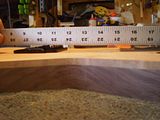
Now that it is better.
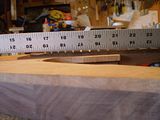
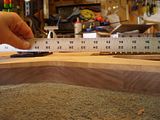
And like this.
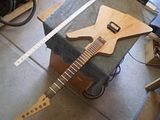
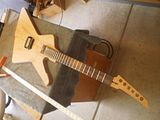
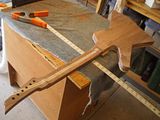
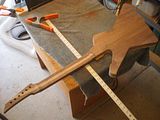
Neck pocket is really tight. I had to clamp the neck in. But I can lift a full Destroyer sized body with no glue. I will sand the pocket a bit and make the joint press together by hand.
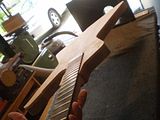
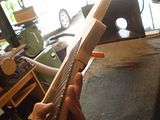
A look at the front.
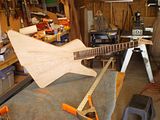
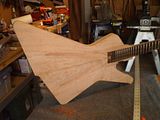
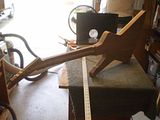
A look at the neck angle.
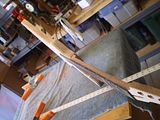
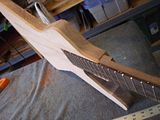
A look at the back.
Finding the center of the Kahler was a chore as everything is offset and asymetrical. I ended up using the center of the saddles spread to there farthest point.
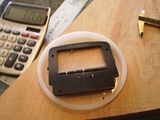
After making a template for the Kahler it is time to route.
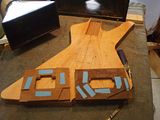
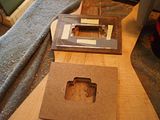
Finito.
