Thursday, October 7, 2010

NTD -- new tool day

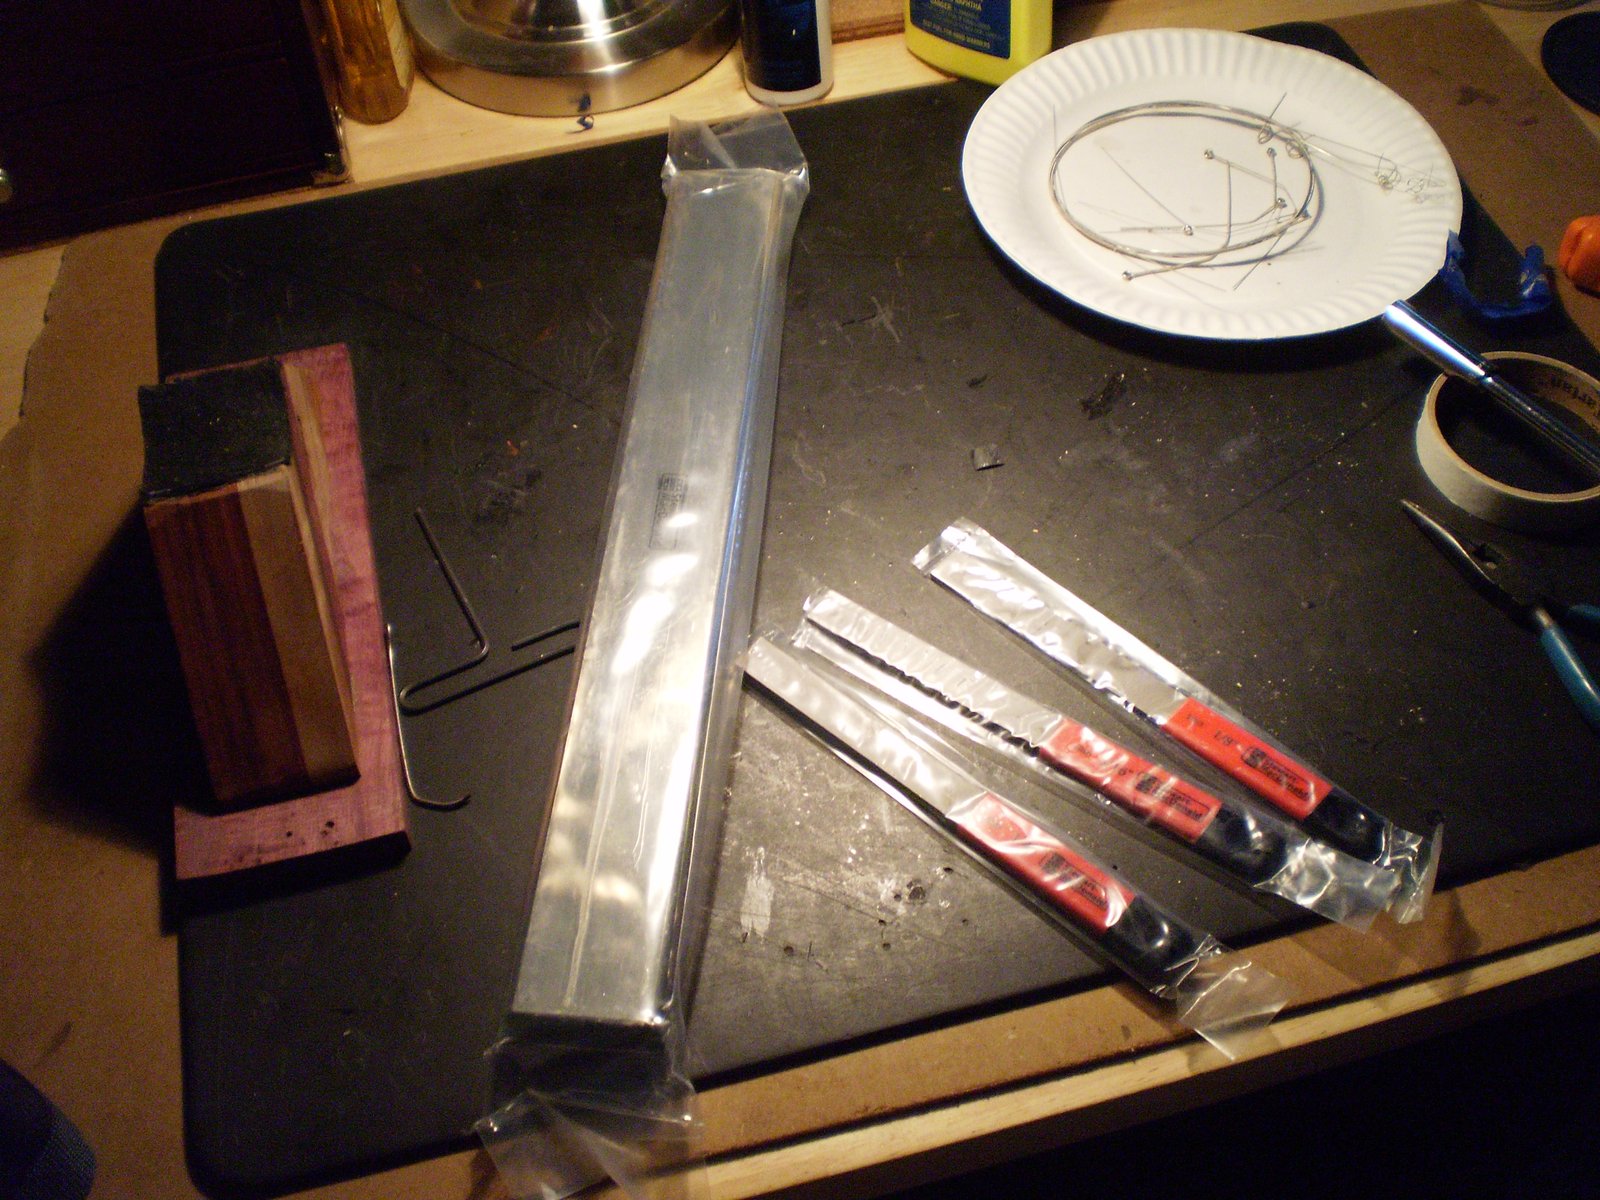
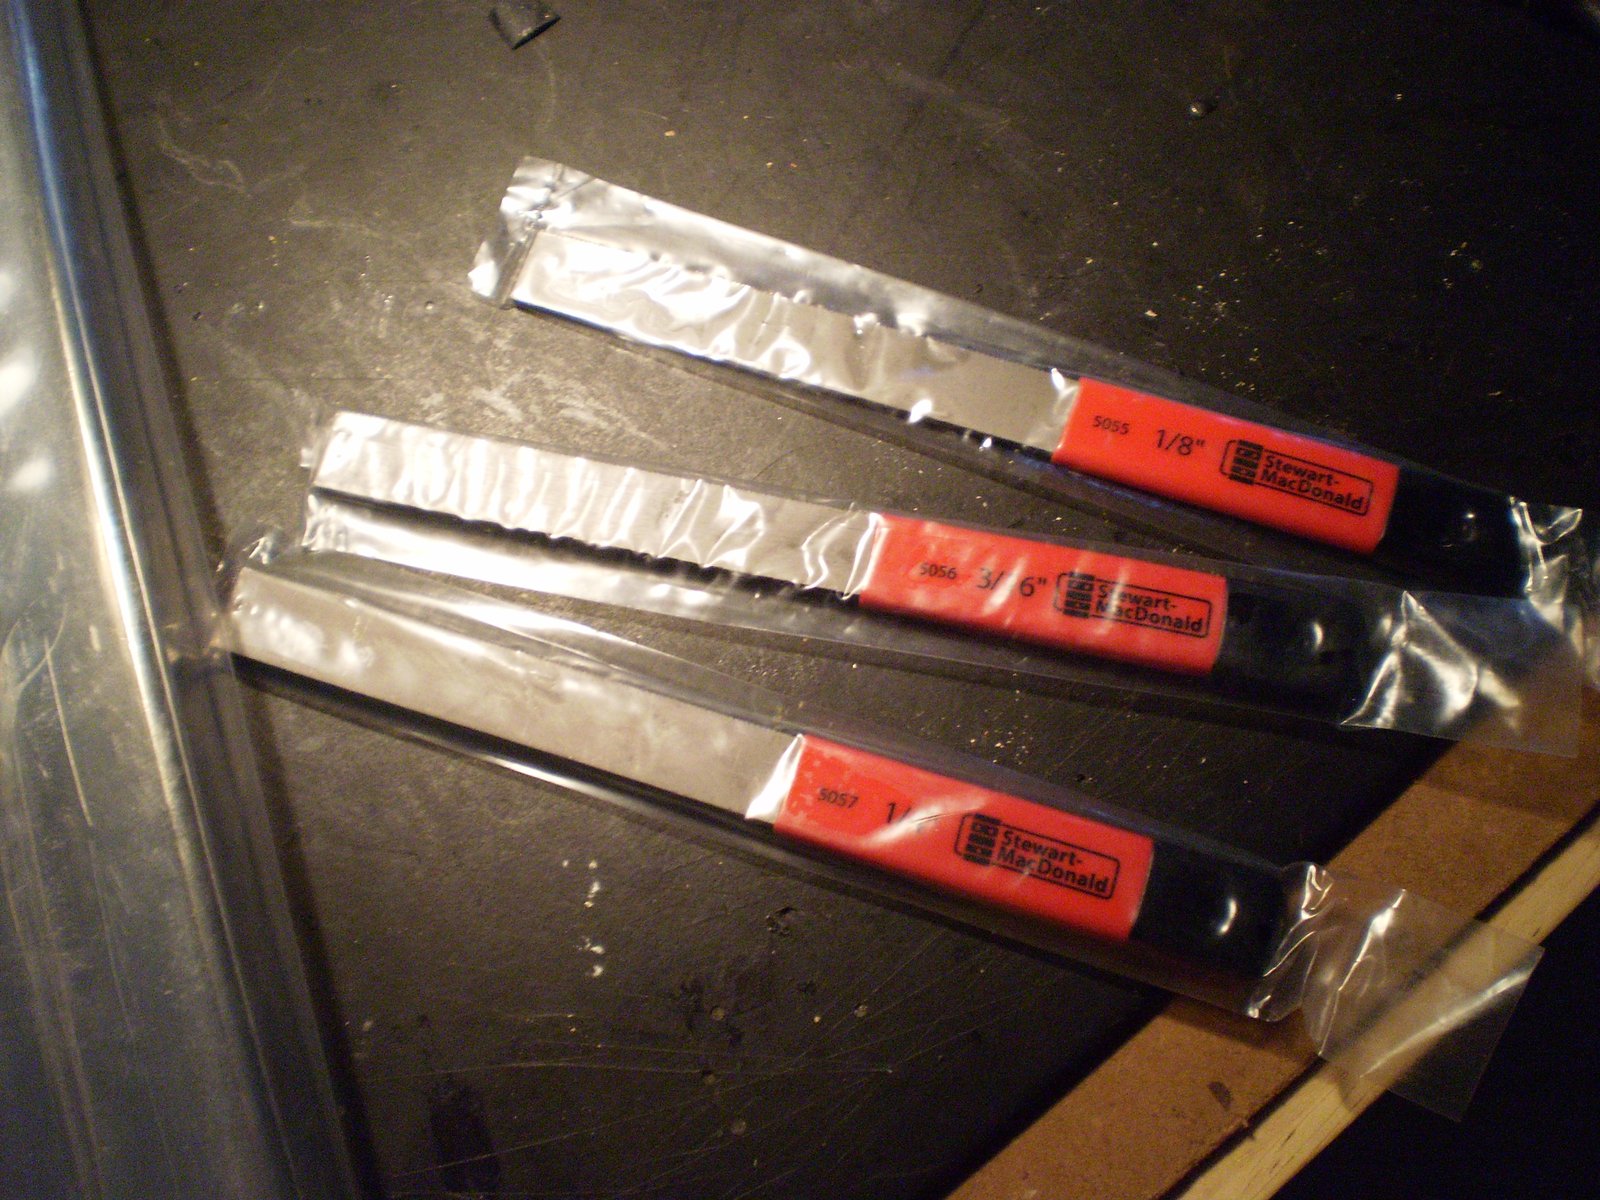
NTD (New tool day)... So I have wasted about $325.00 trying to find a fret leveler to replace my trusty old file. New files Nicholson are never straight (I could by some Grobets I guess). I have 4 diamond coated sharpening plates, a Stew Mac Aluminum Radius-sanding Beam, several different mill files, and now I have a new Stew Mac Fret/Fingerboard Leveler (impulse buy). I also finally broke down and bought new nut seating files.


Lets go over how to install a nut. First I use my newly acquired 1/4" nut seating file and lay it against the front of hte 1/8" fender style nut slot. I then mark the outside edge with a nice mechanical pencil.
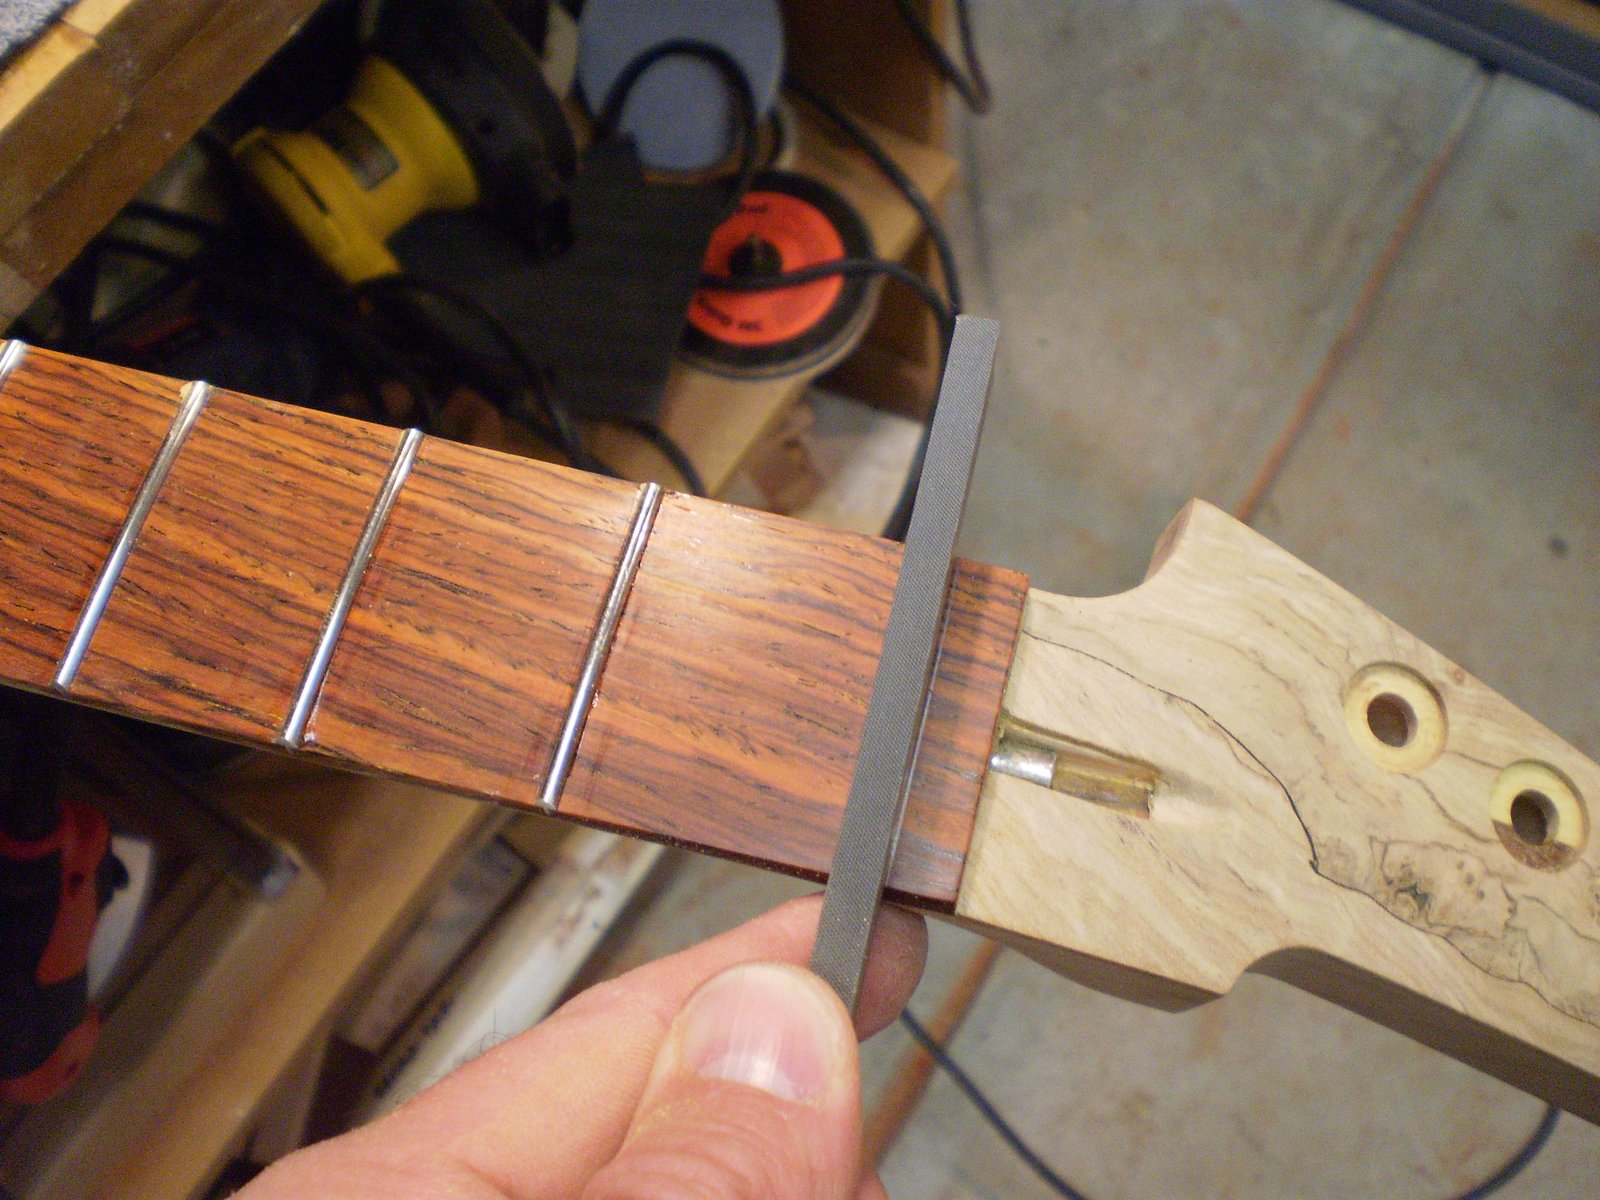
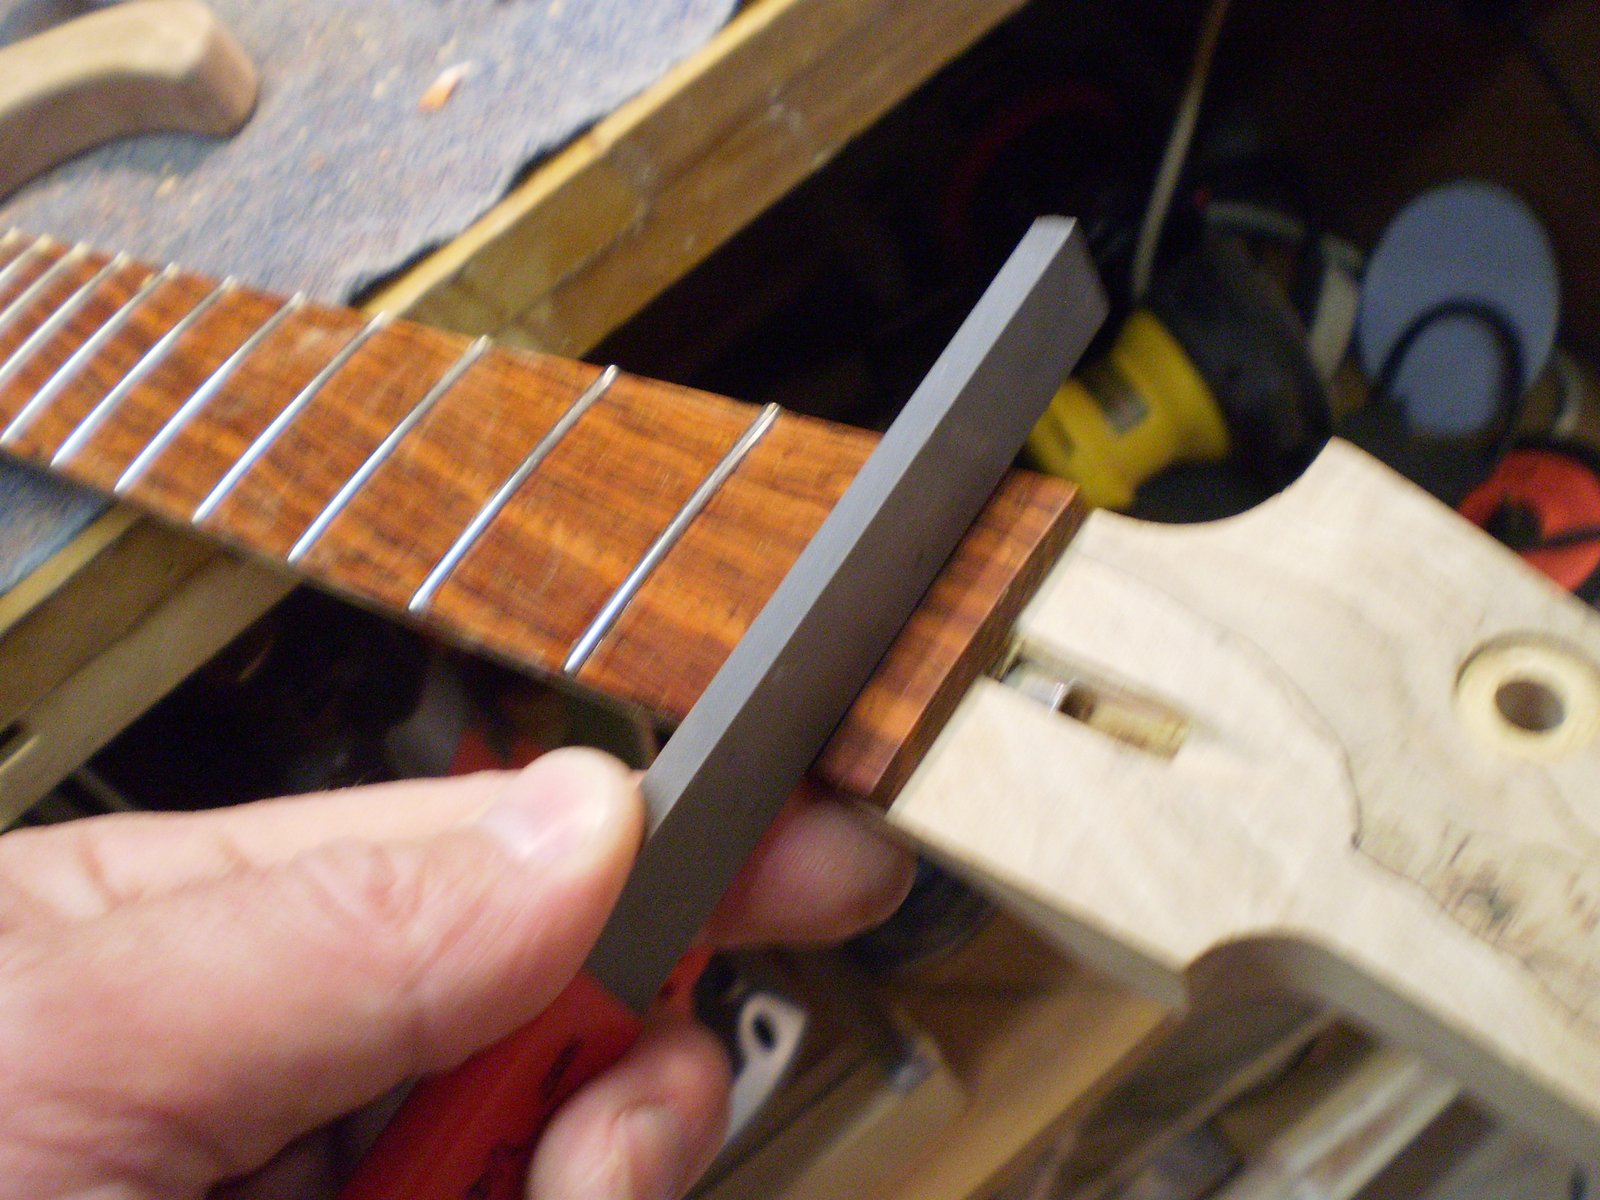
Next up we score just infront of the pencile line with a razor saw. I use an old radius block as a square. I cut all three slots the same depth.
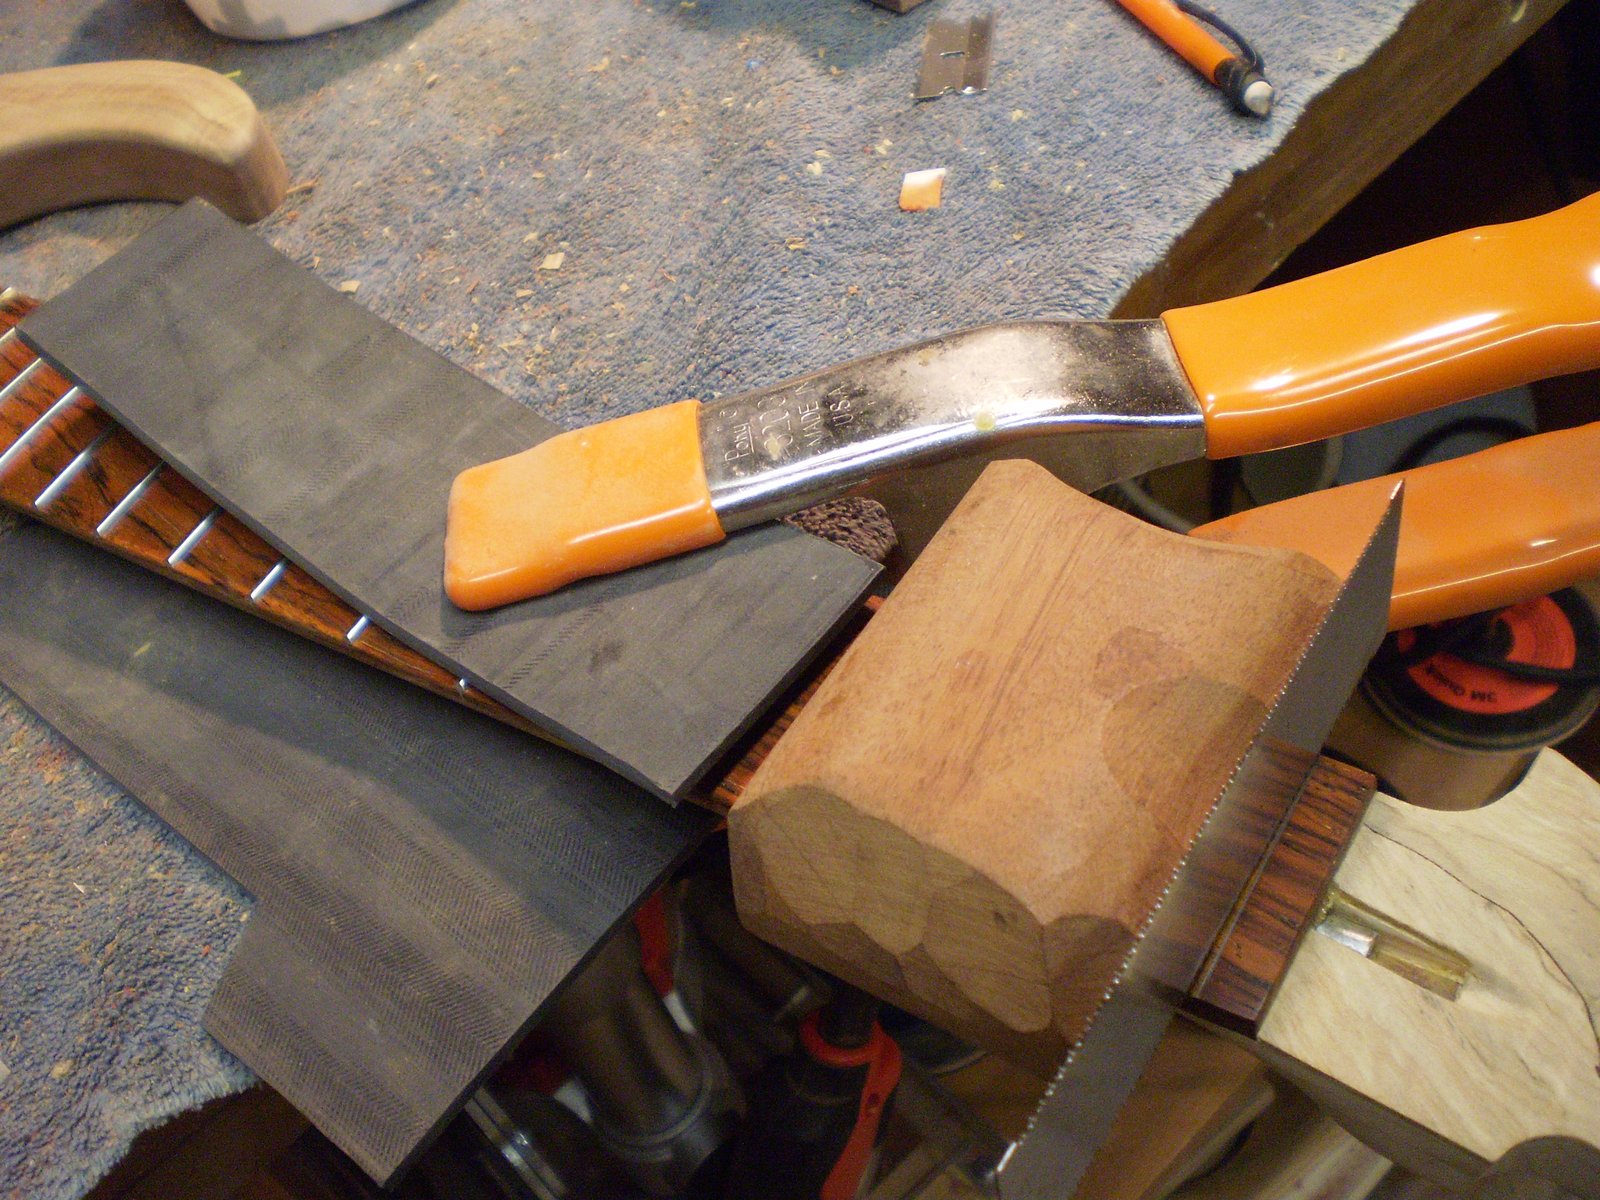
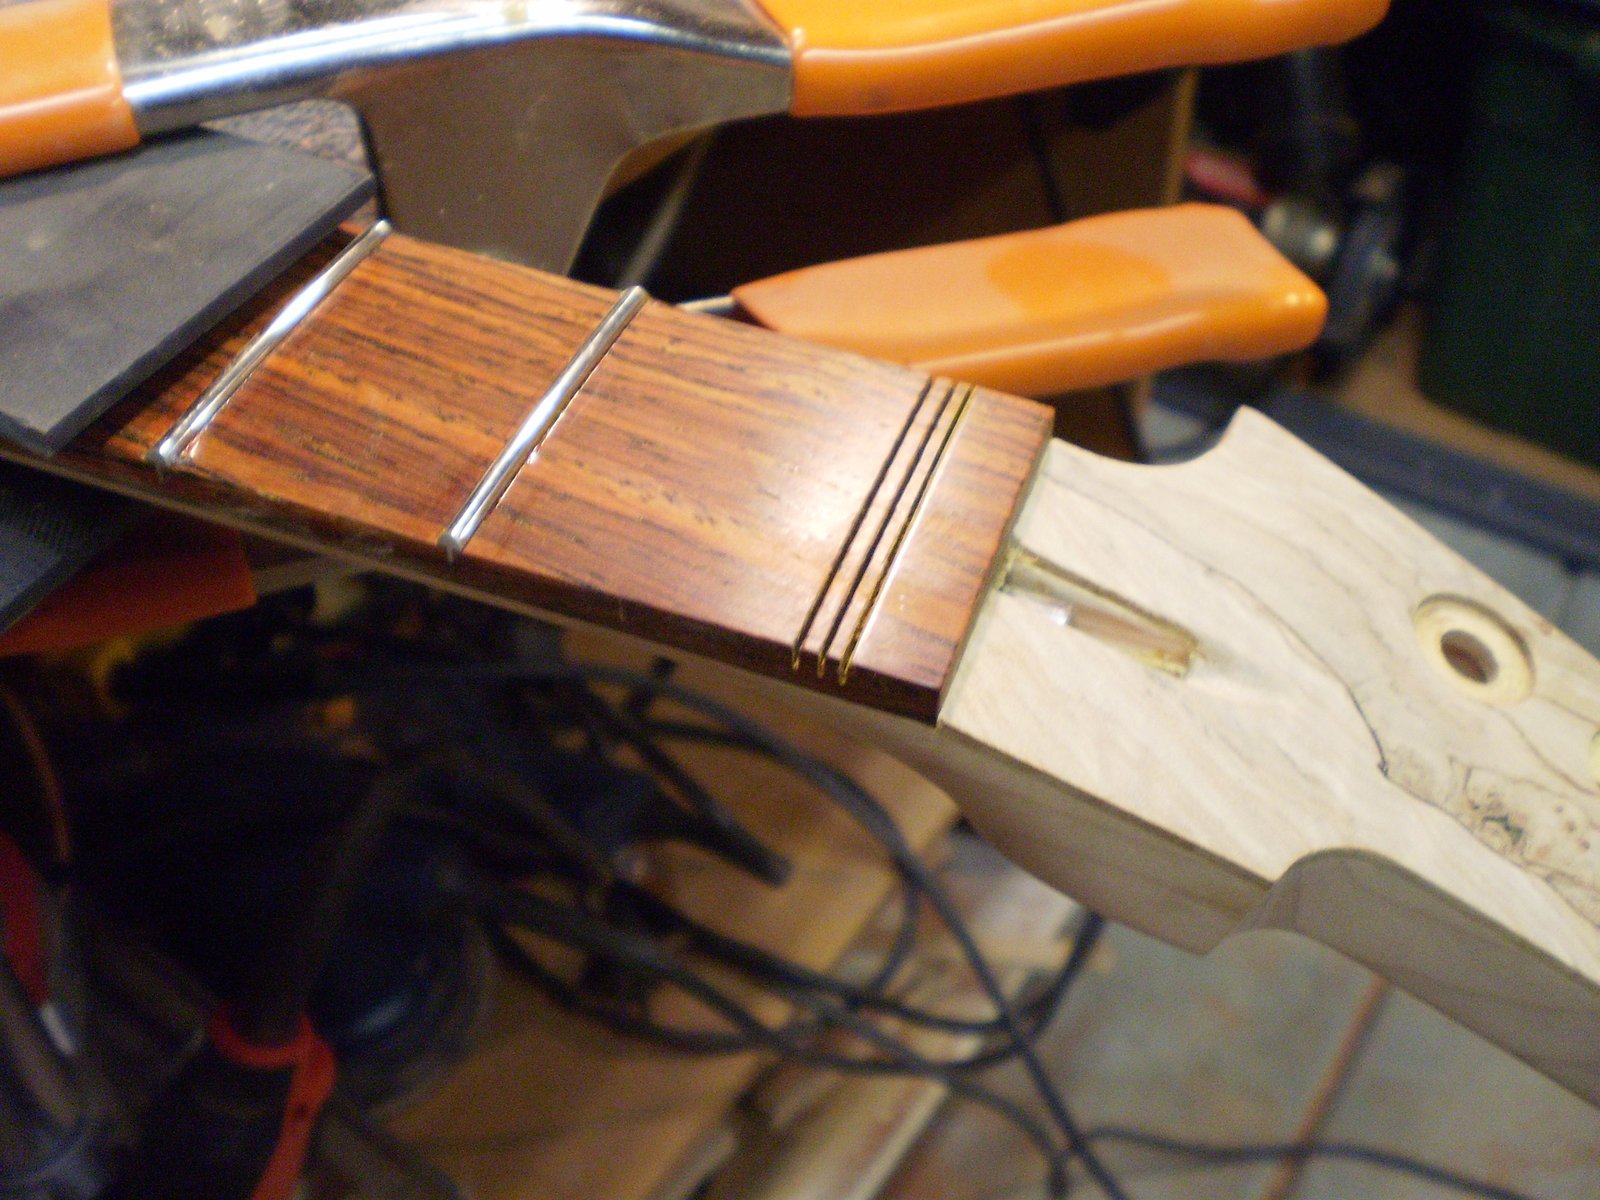
Next we take a chisel and carefully break the the center pieces out. I stay off the front edge of the nut so we don't mar it.
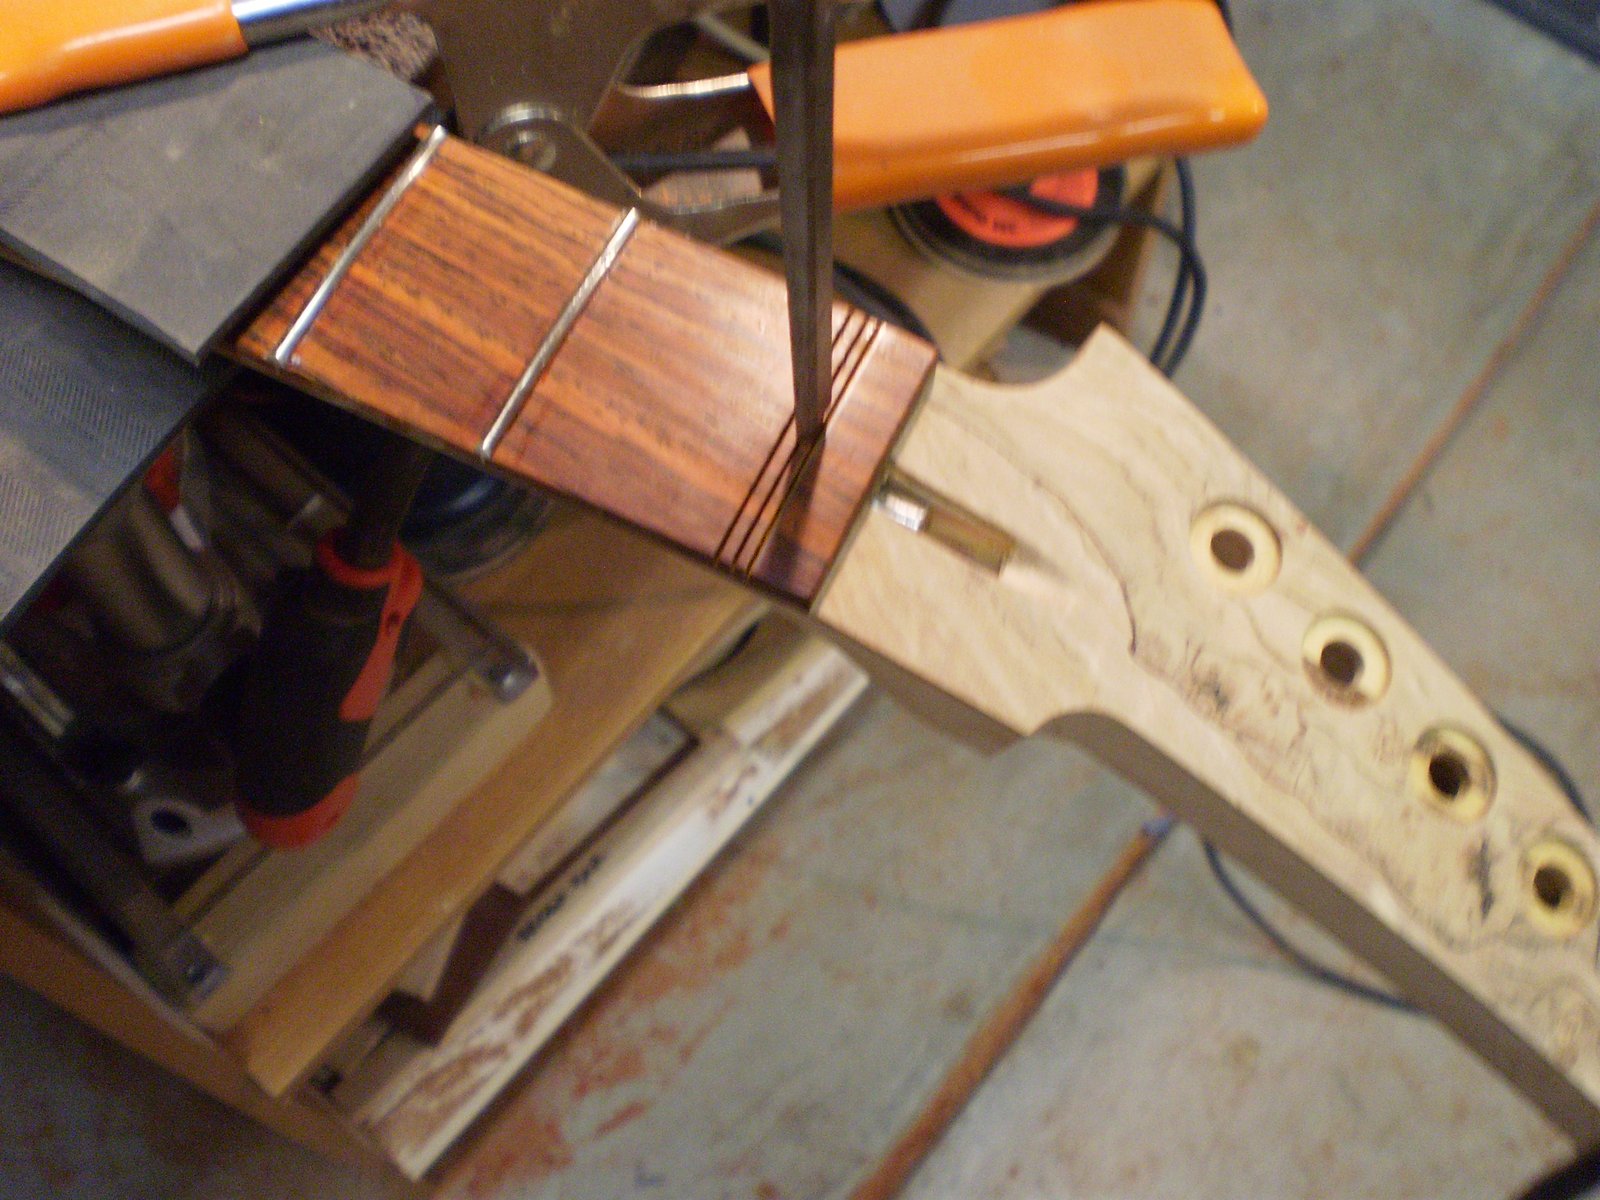
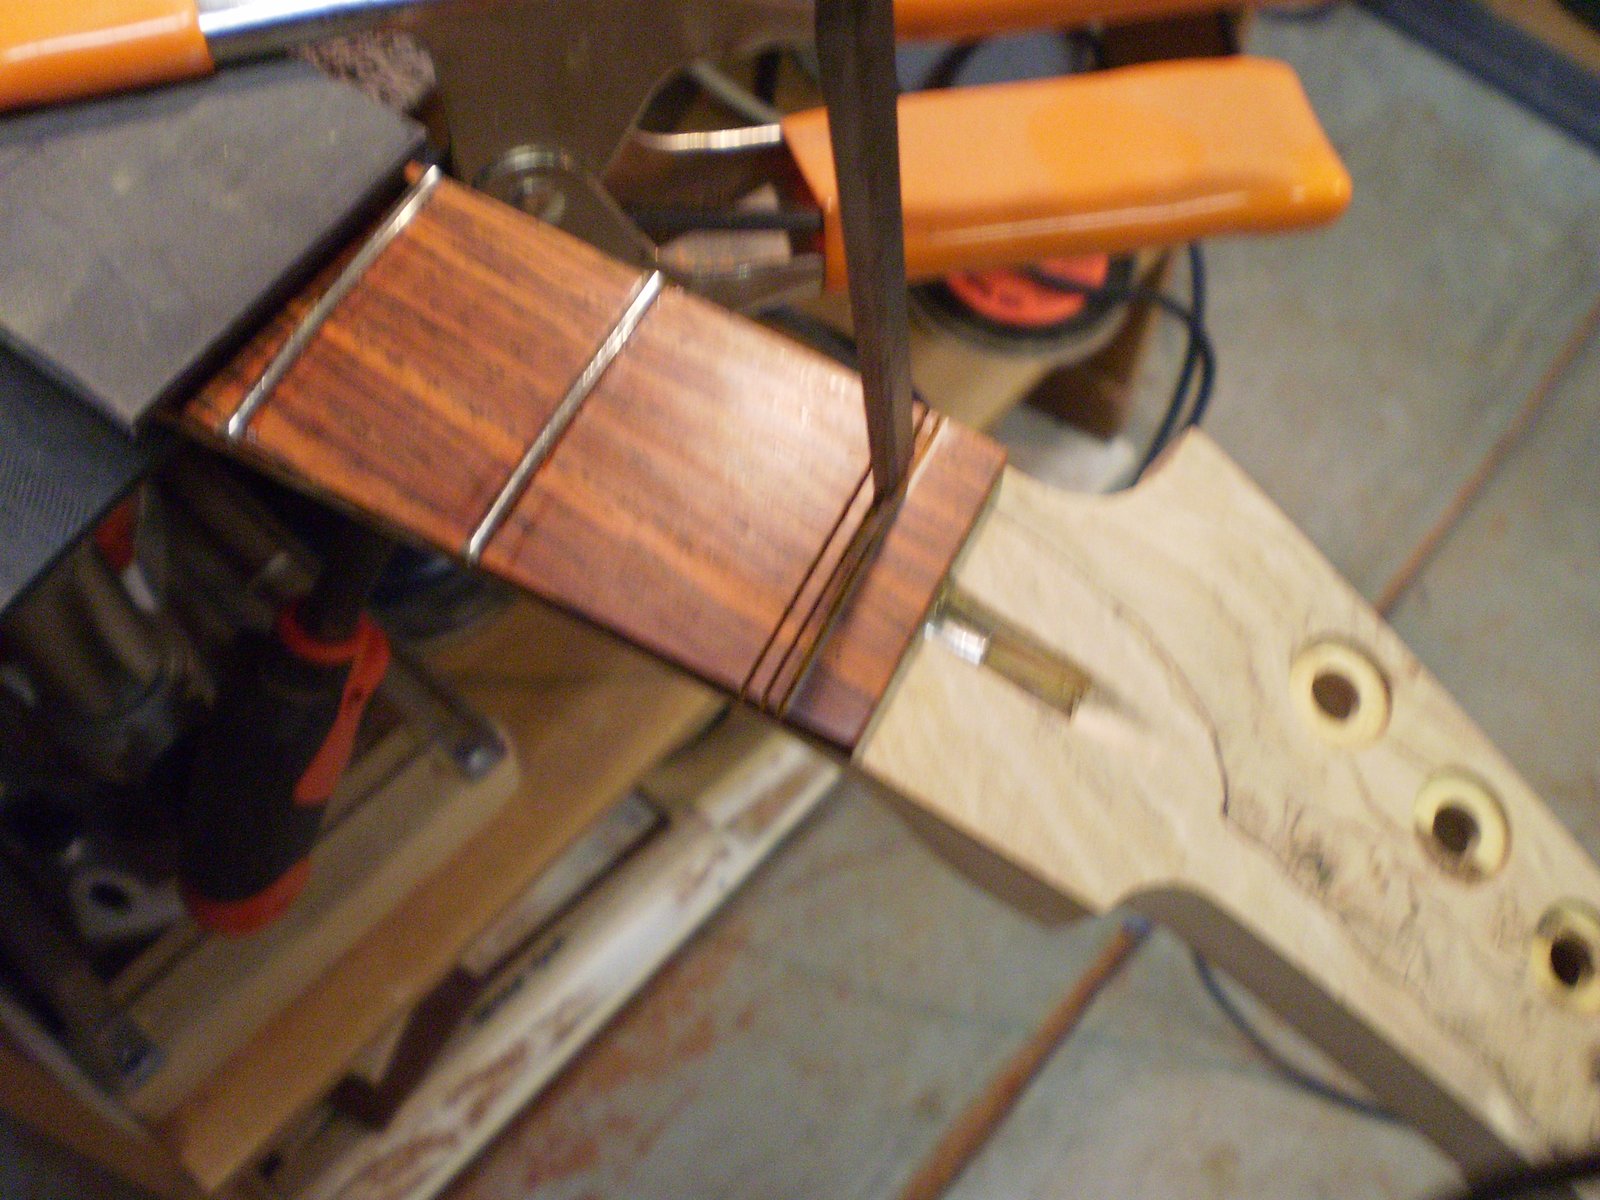
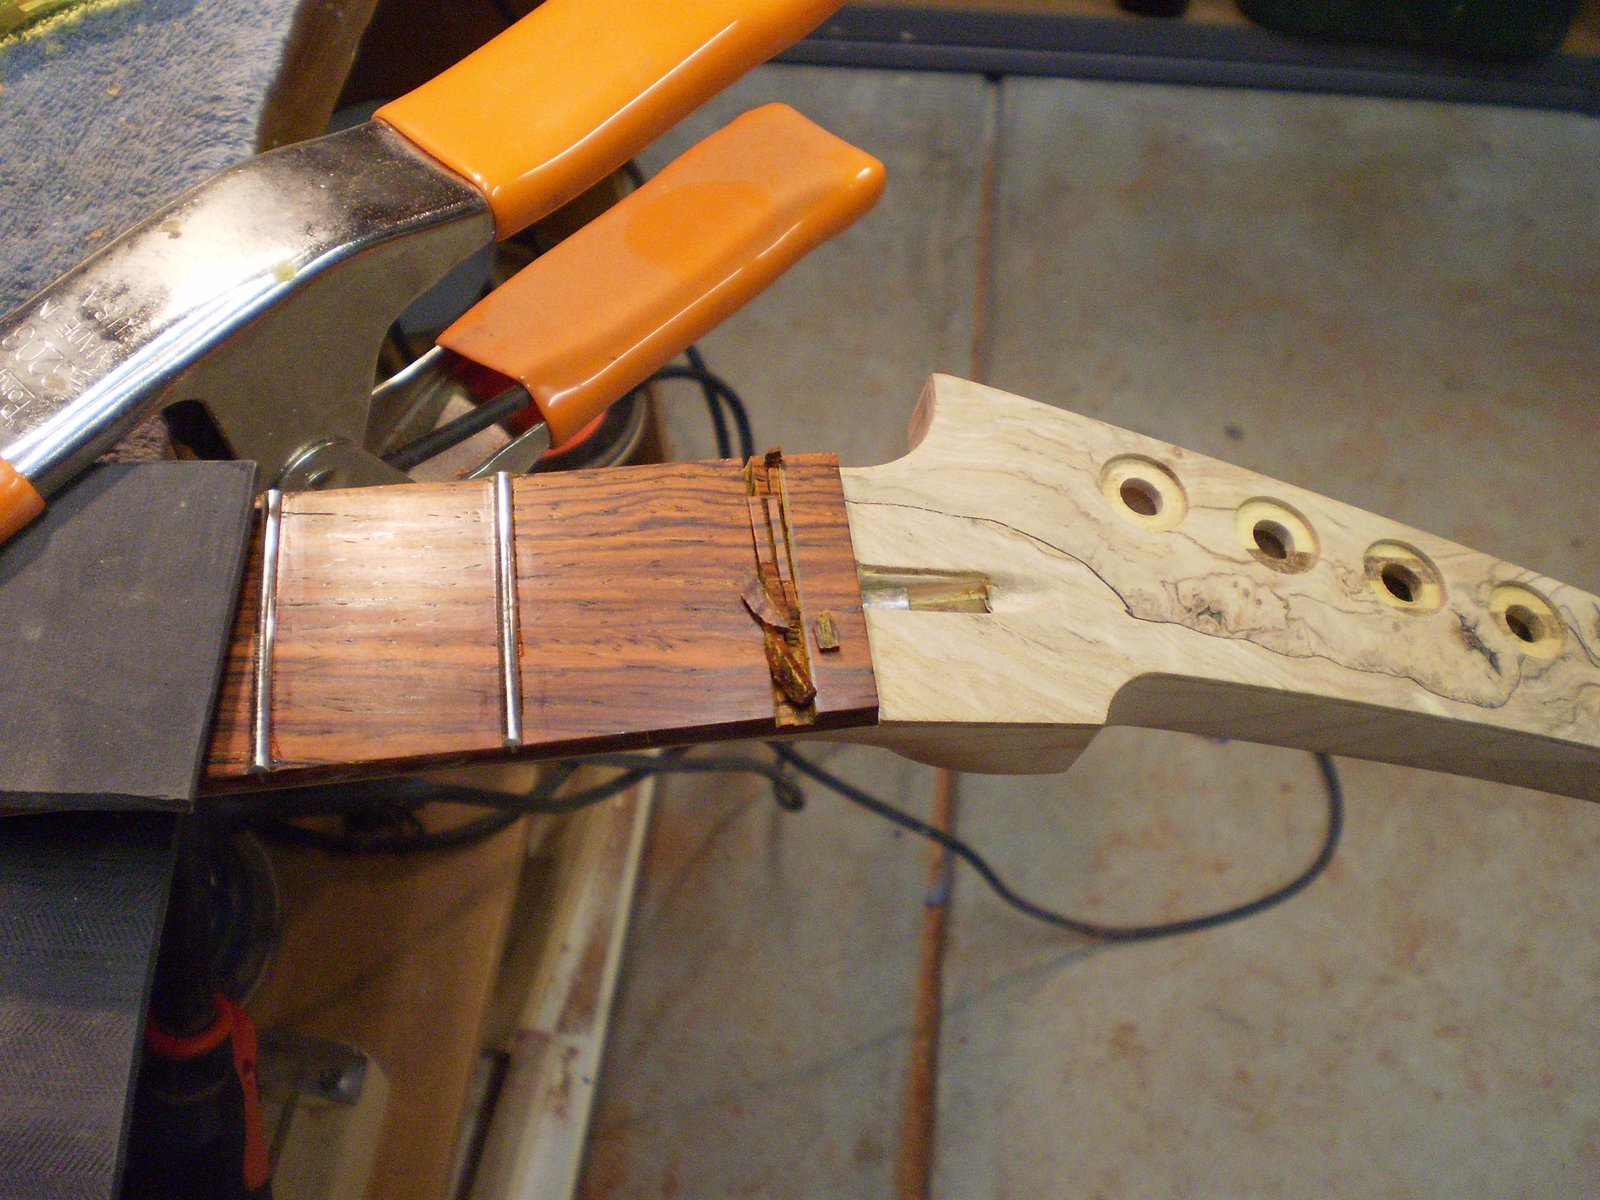
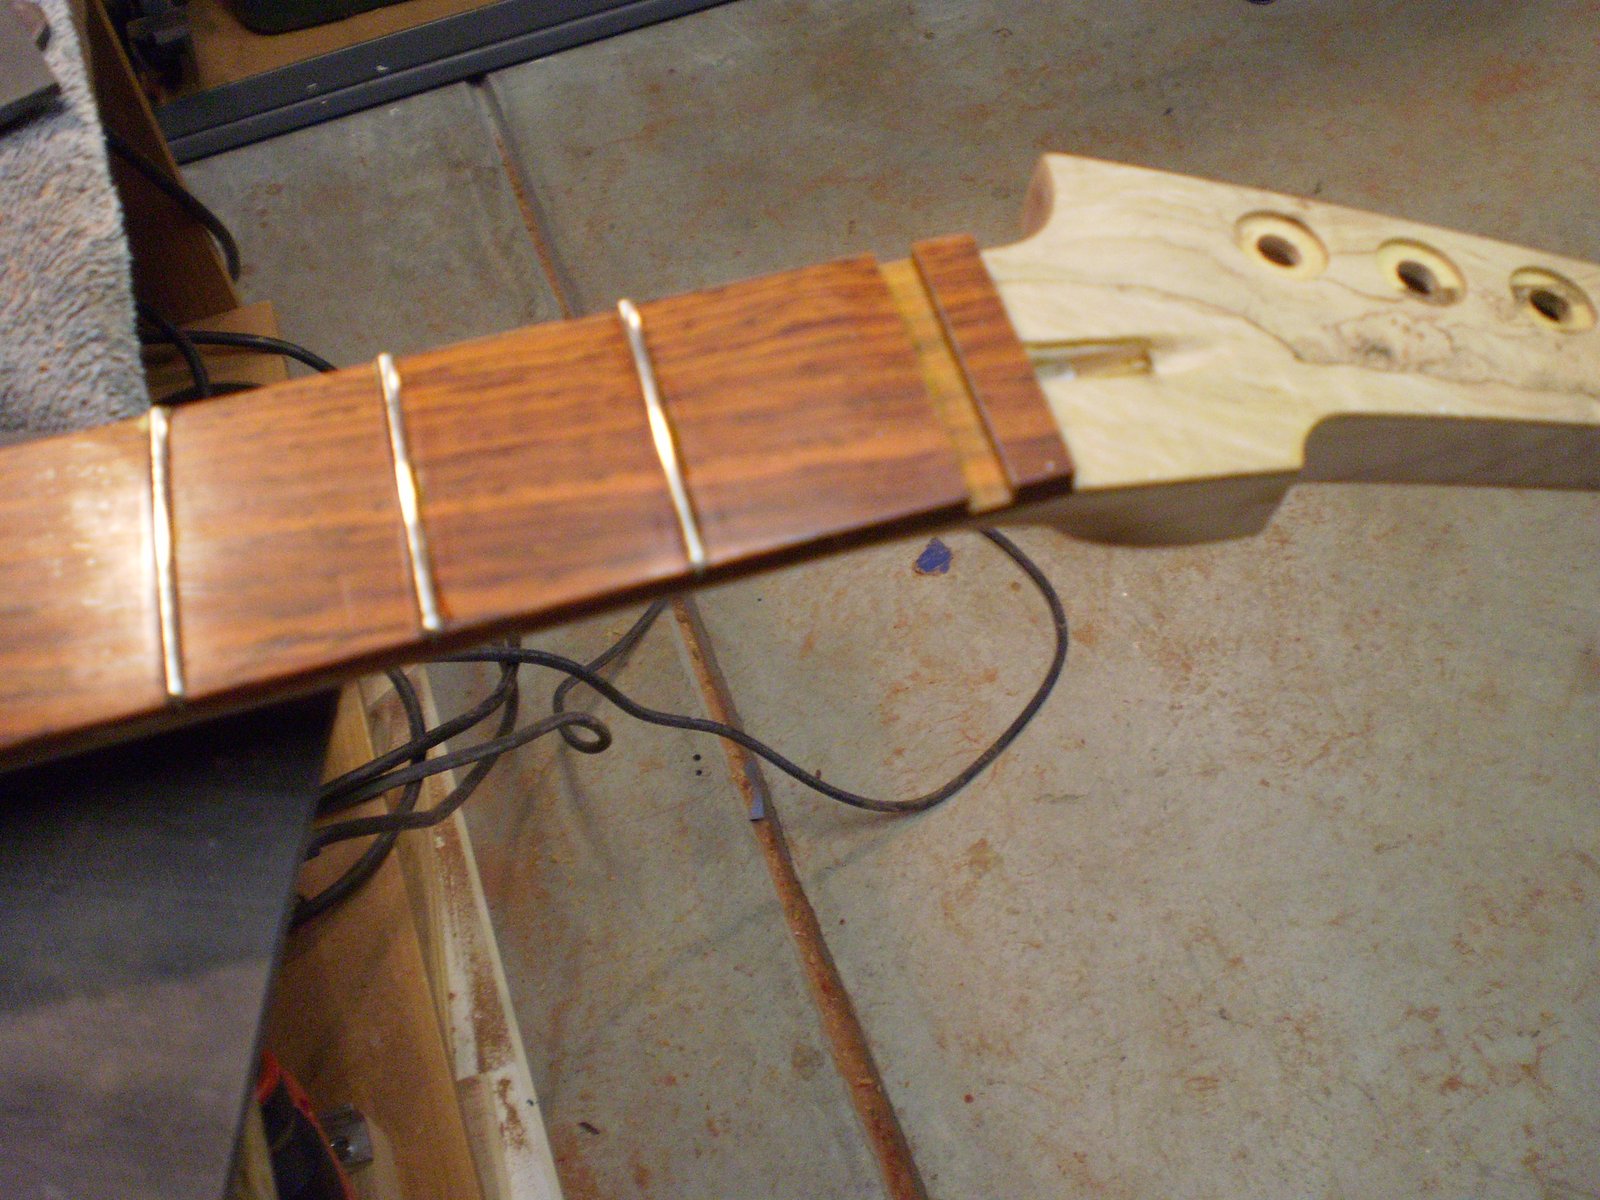
Then we get the new seating file and flatten the bottom of the slot. These files make this easy... they work great. The rough edge makes short work of the slot. After that we profile the piece of bone on the belt sander. Get it close to fitting but a hair proud. Then use a nice mill file to smooth the surfaces until it fits nice and snug. Careful not to chip the fretboard as you pull it out. Next take a pencil and flatten it on the belt sander. Lay it across the frets and draw a line on the nut. This will be what you cut down to.
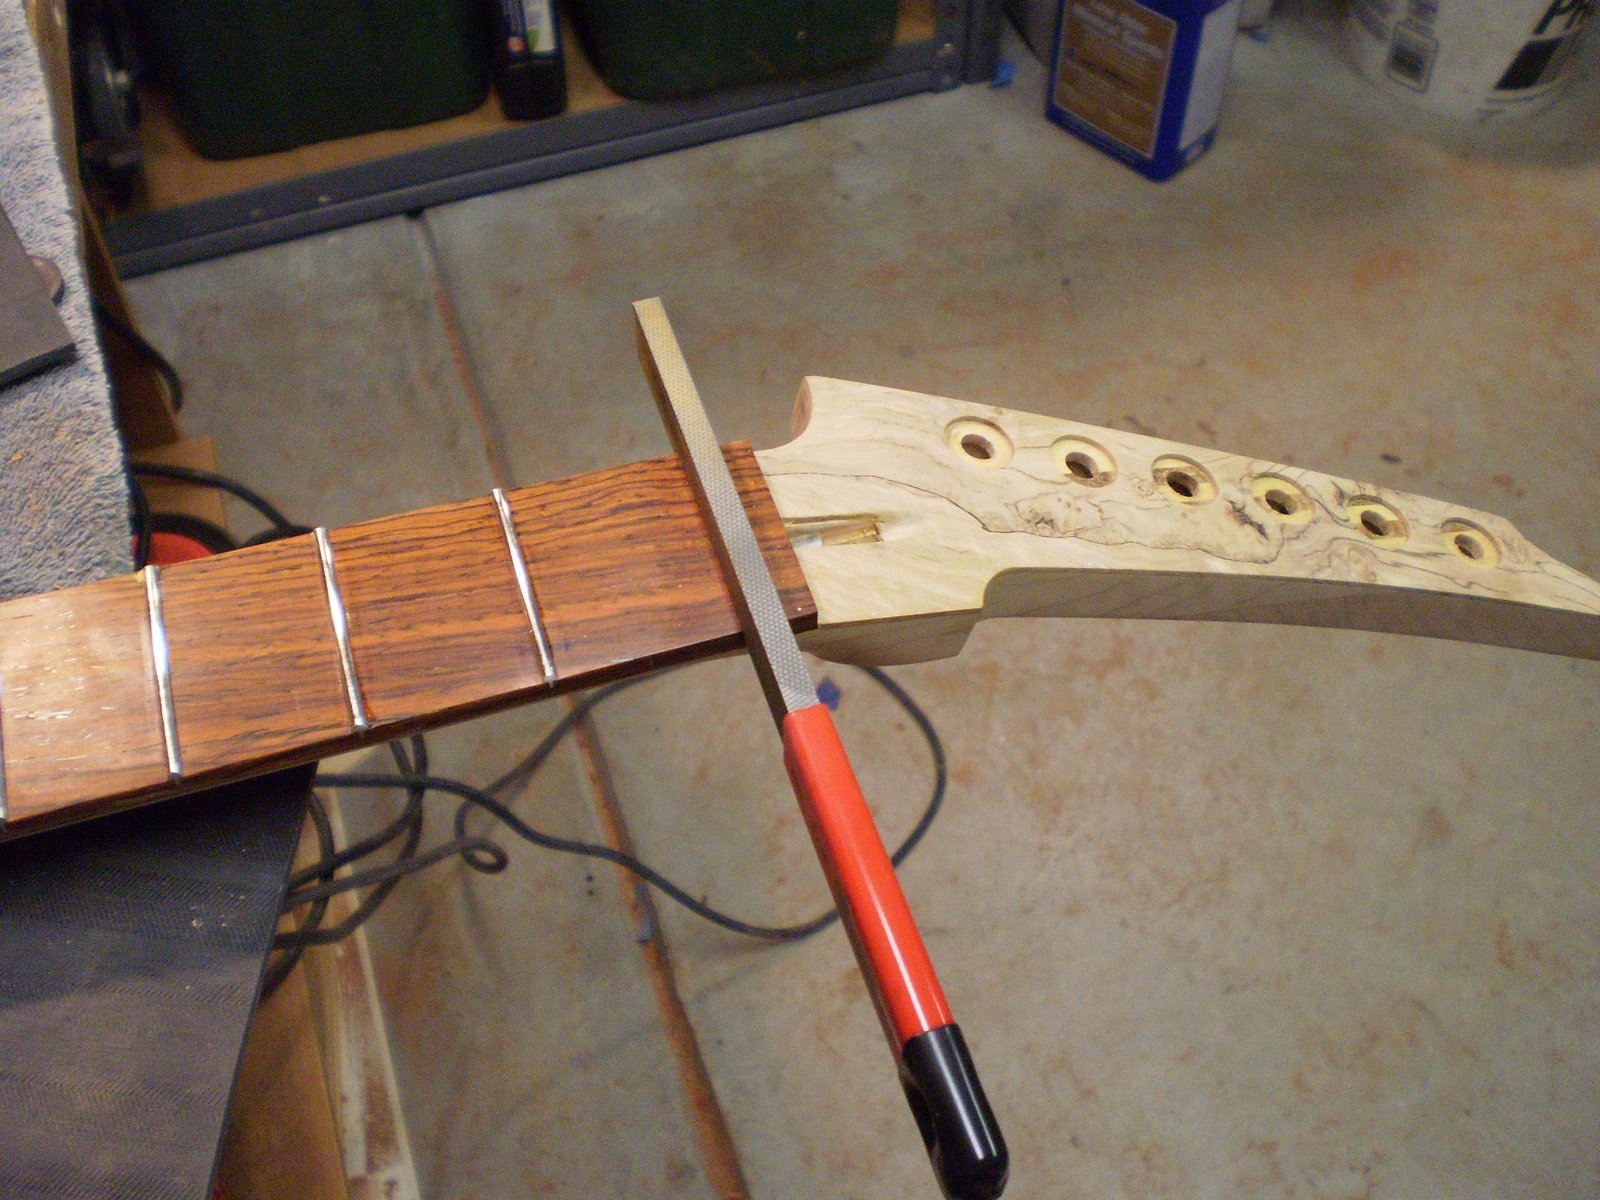
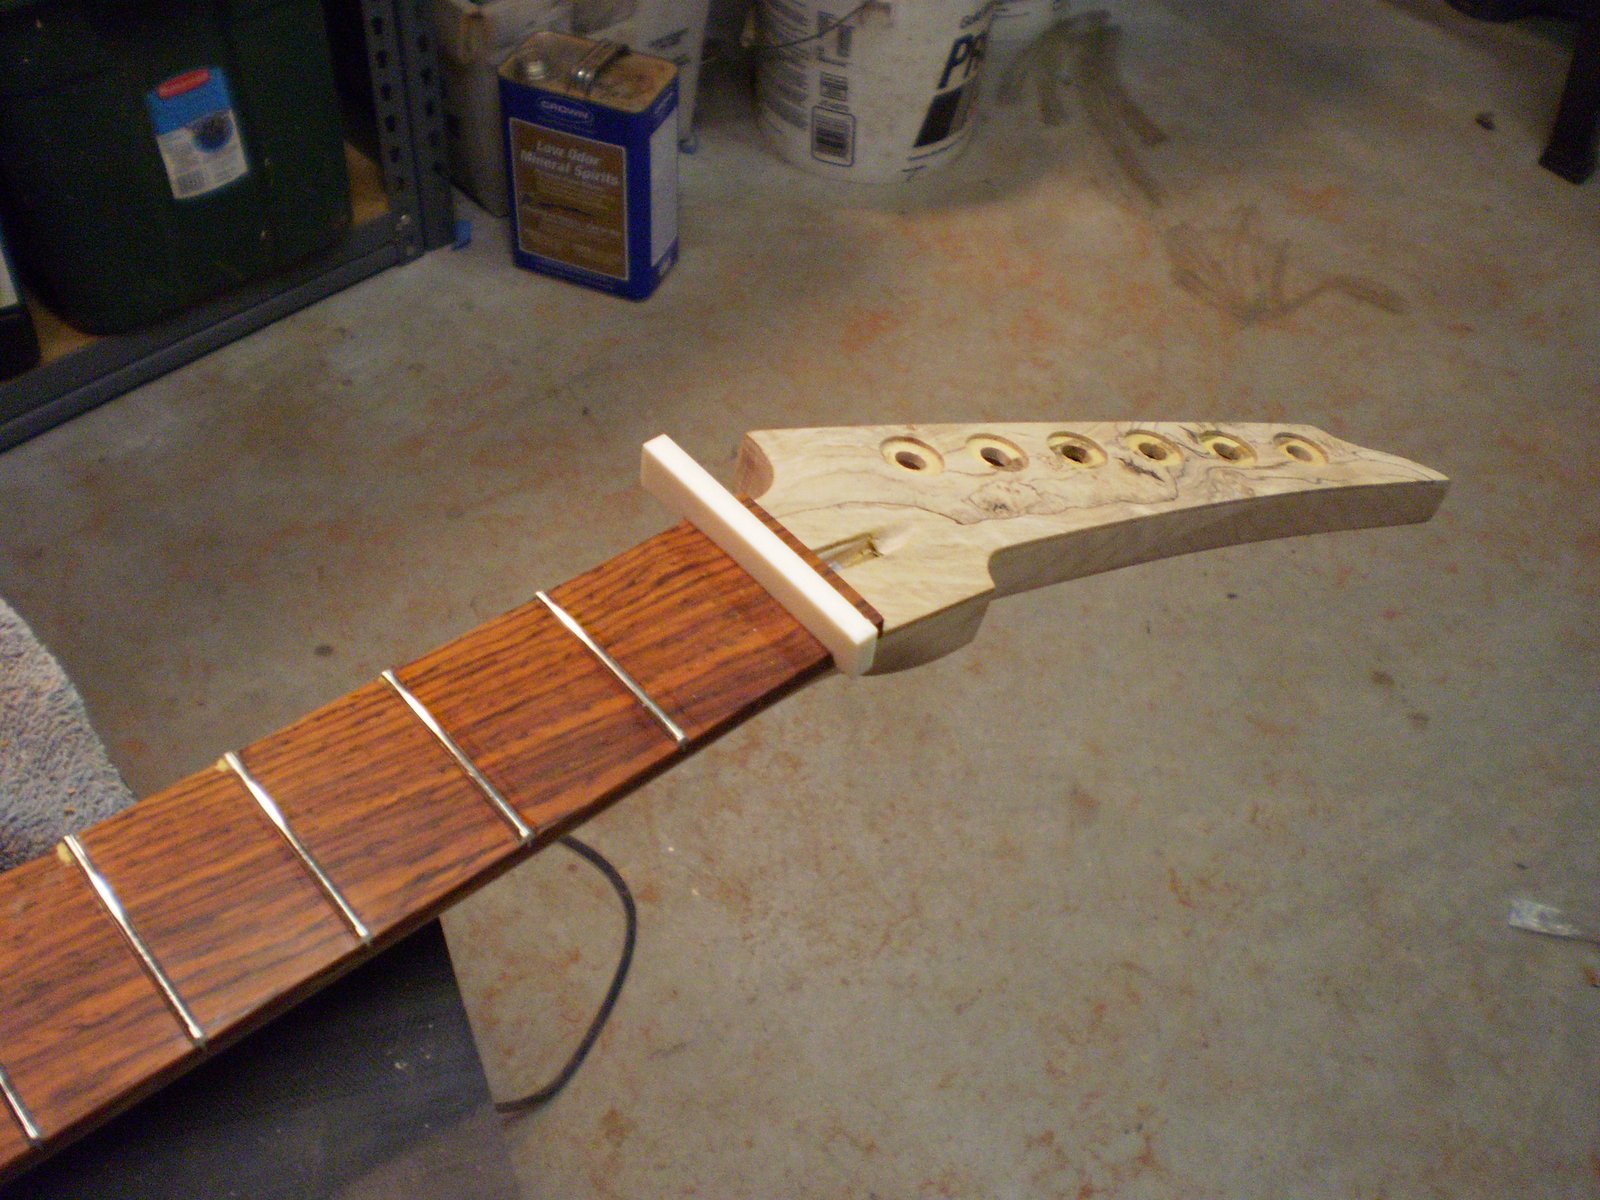
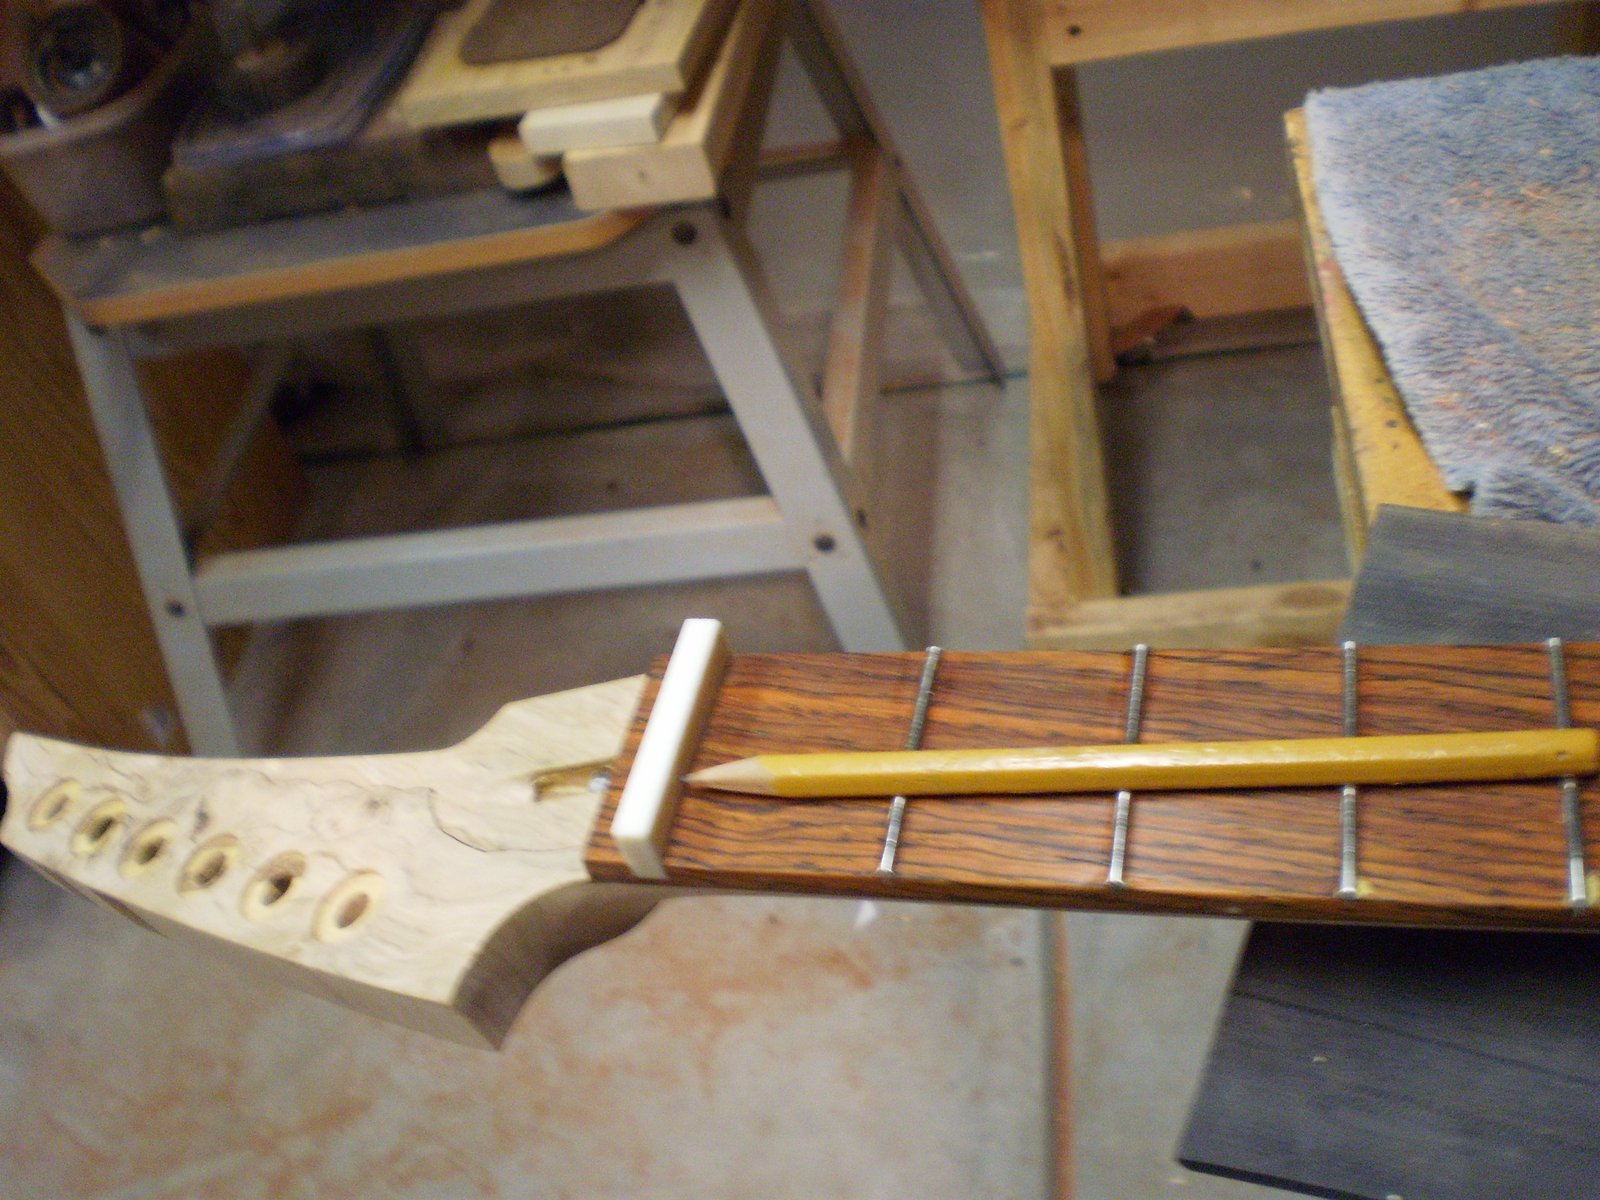
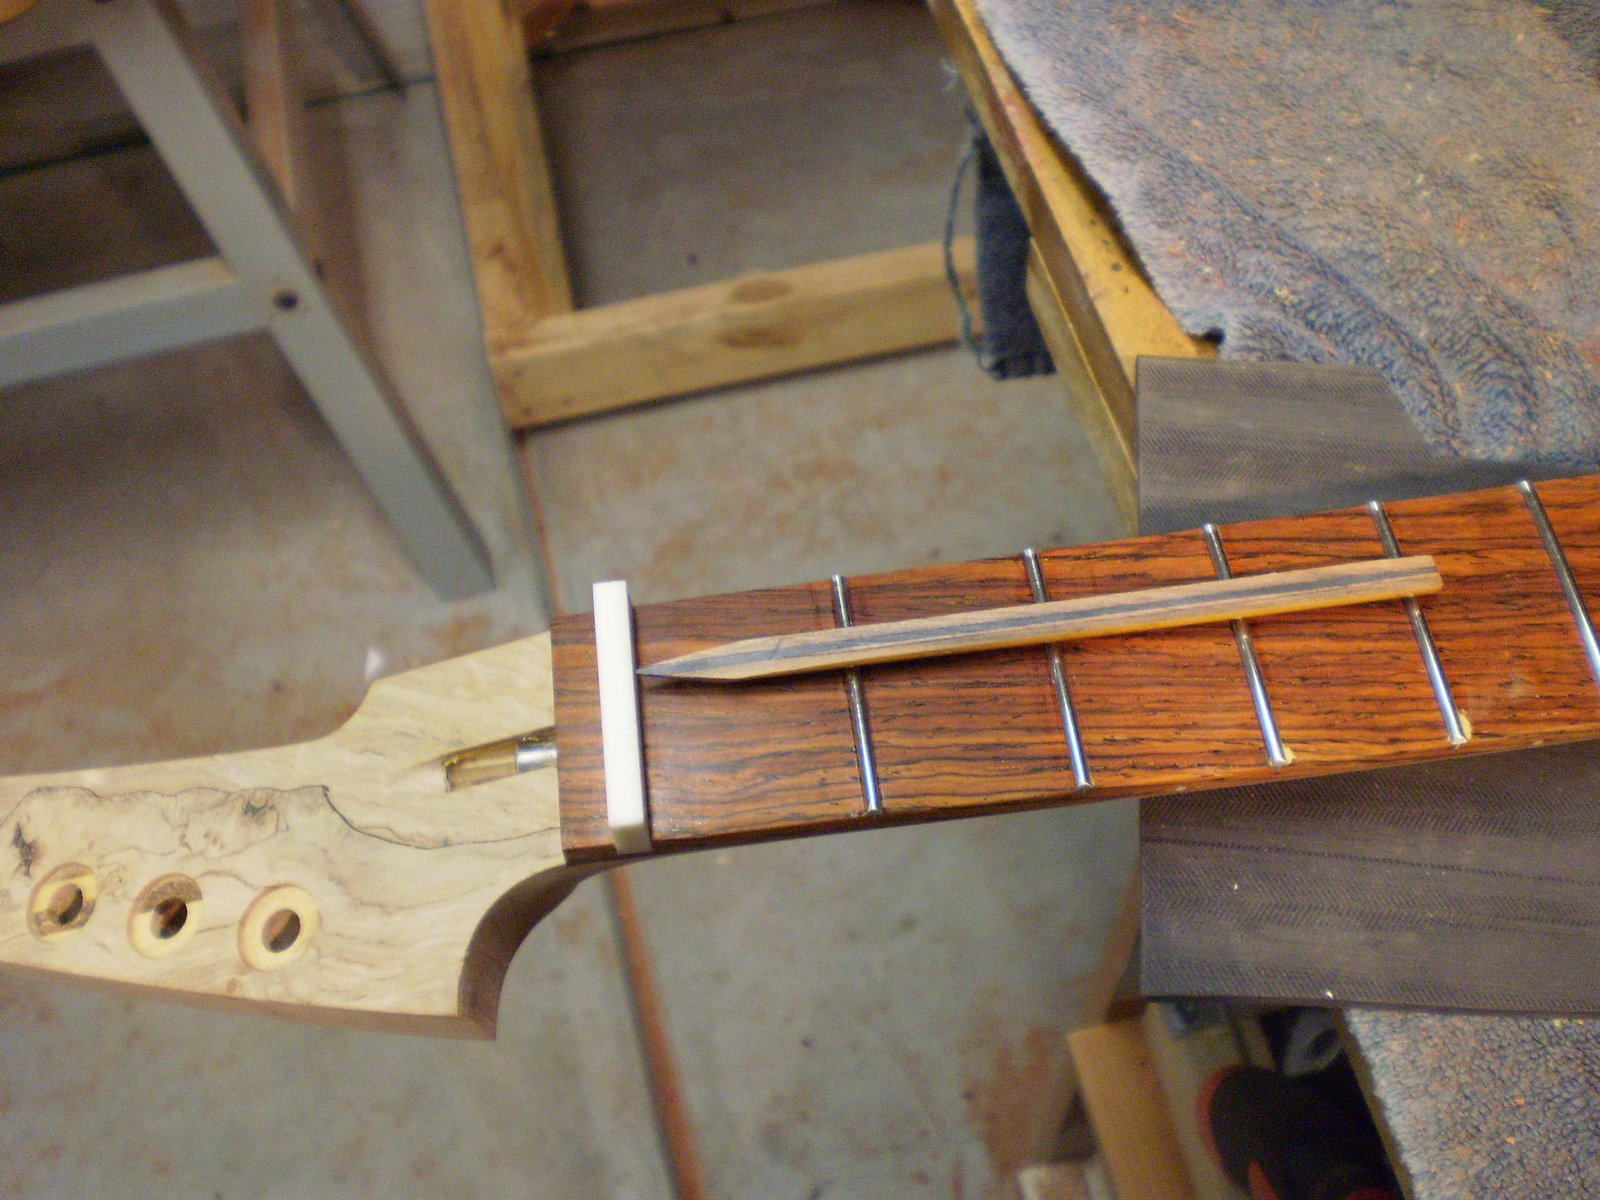
Finally cut the top of the nut down to about 1/16" off the line with a slight angle towards the headstock. I will glue it in tonight with a few drops of liquid hide glue (makes it easier to remove). After cutting the grooves we can finish lowering it.
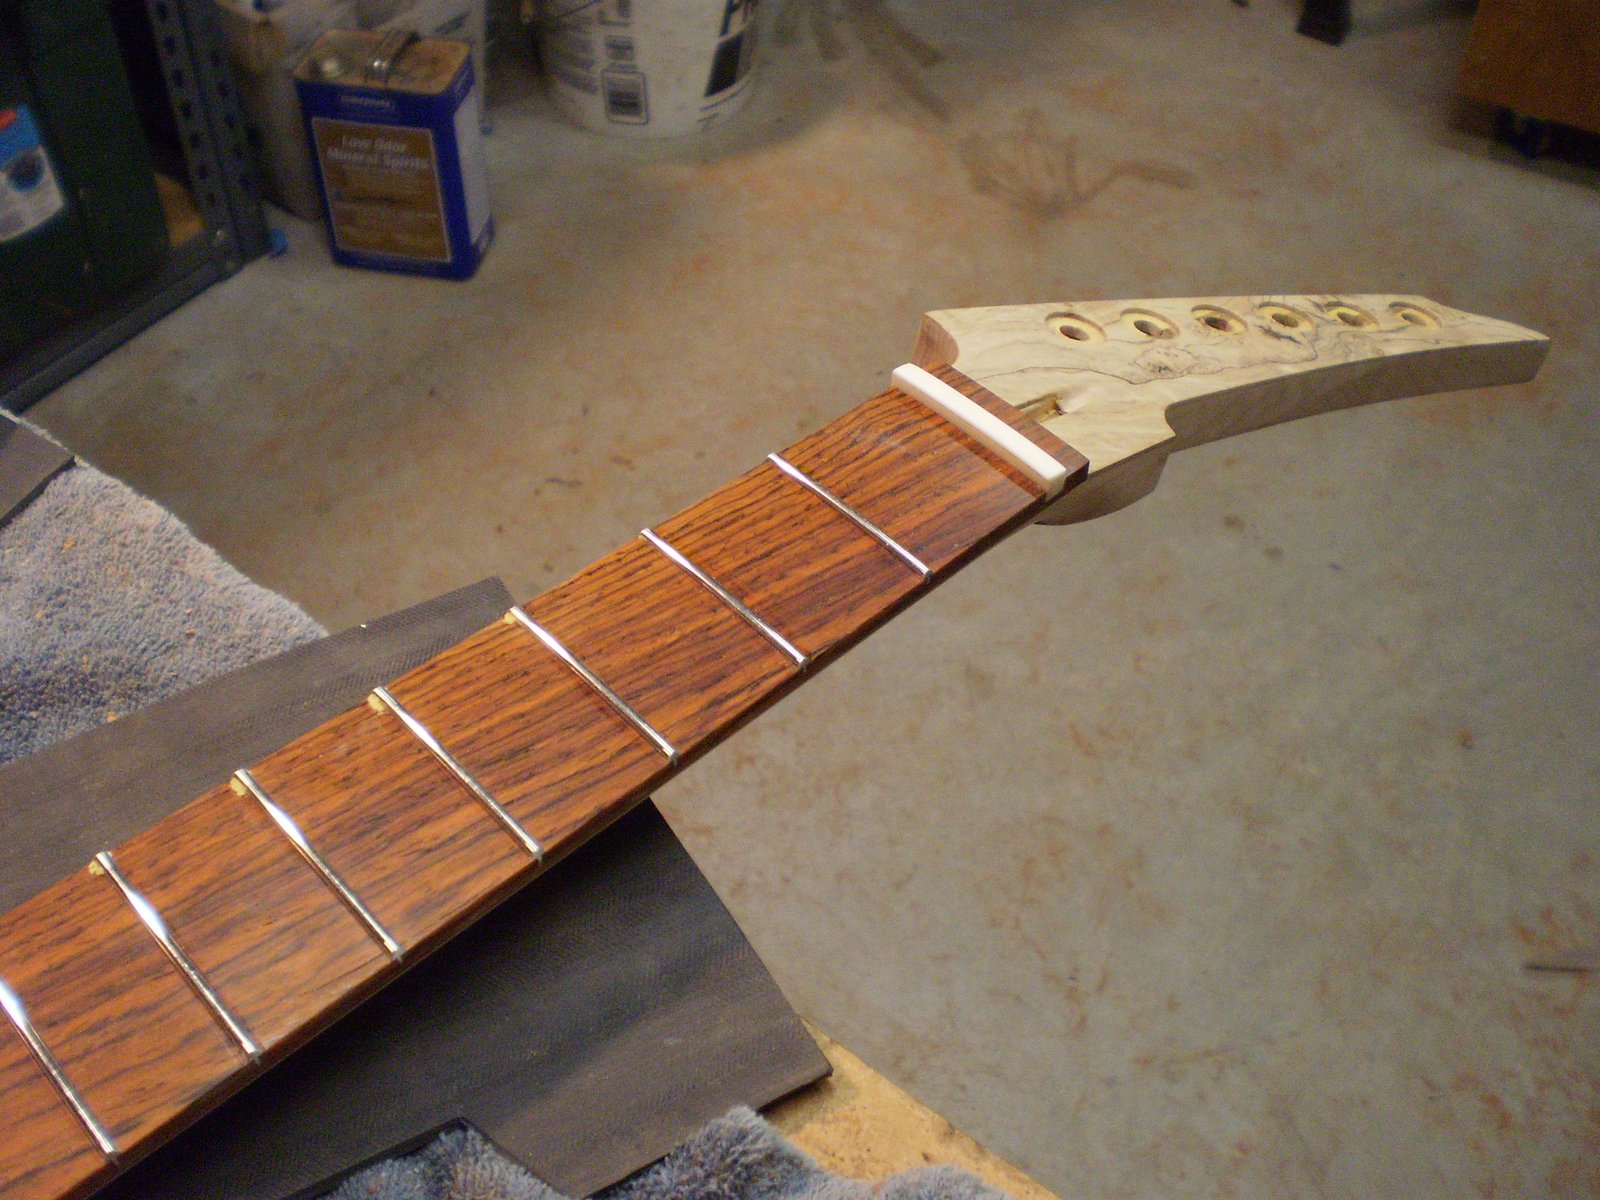

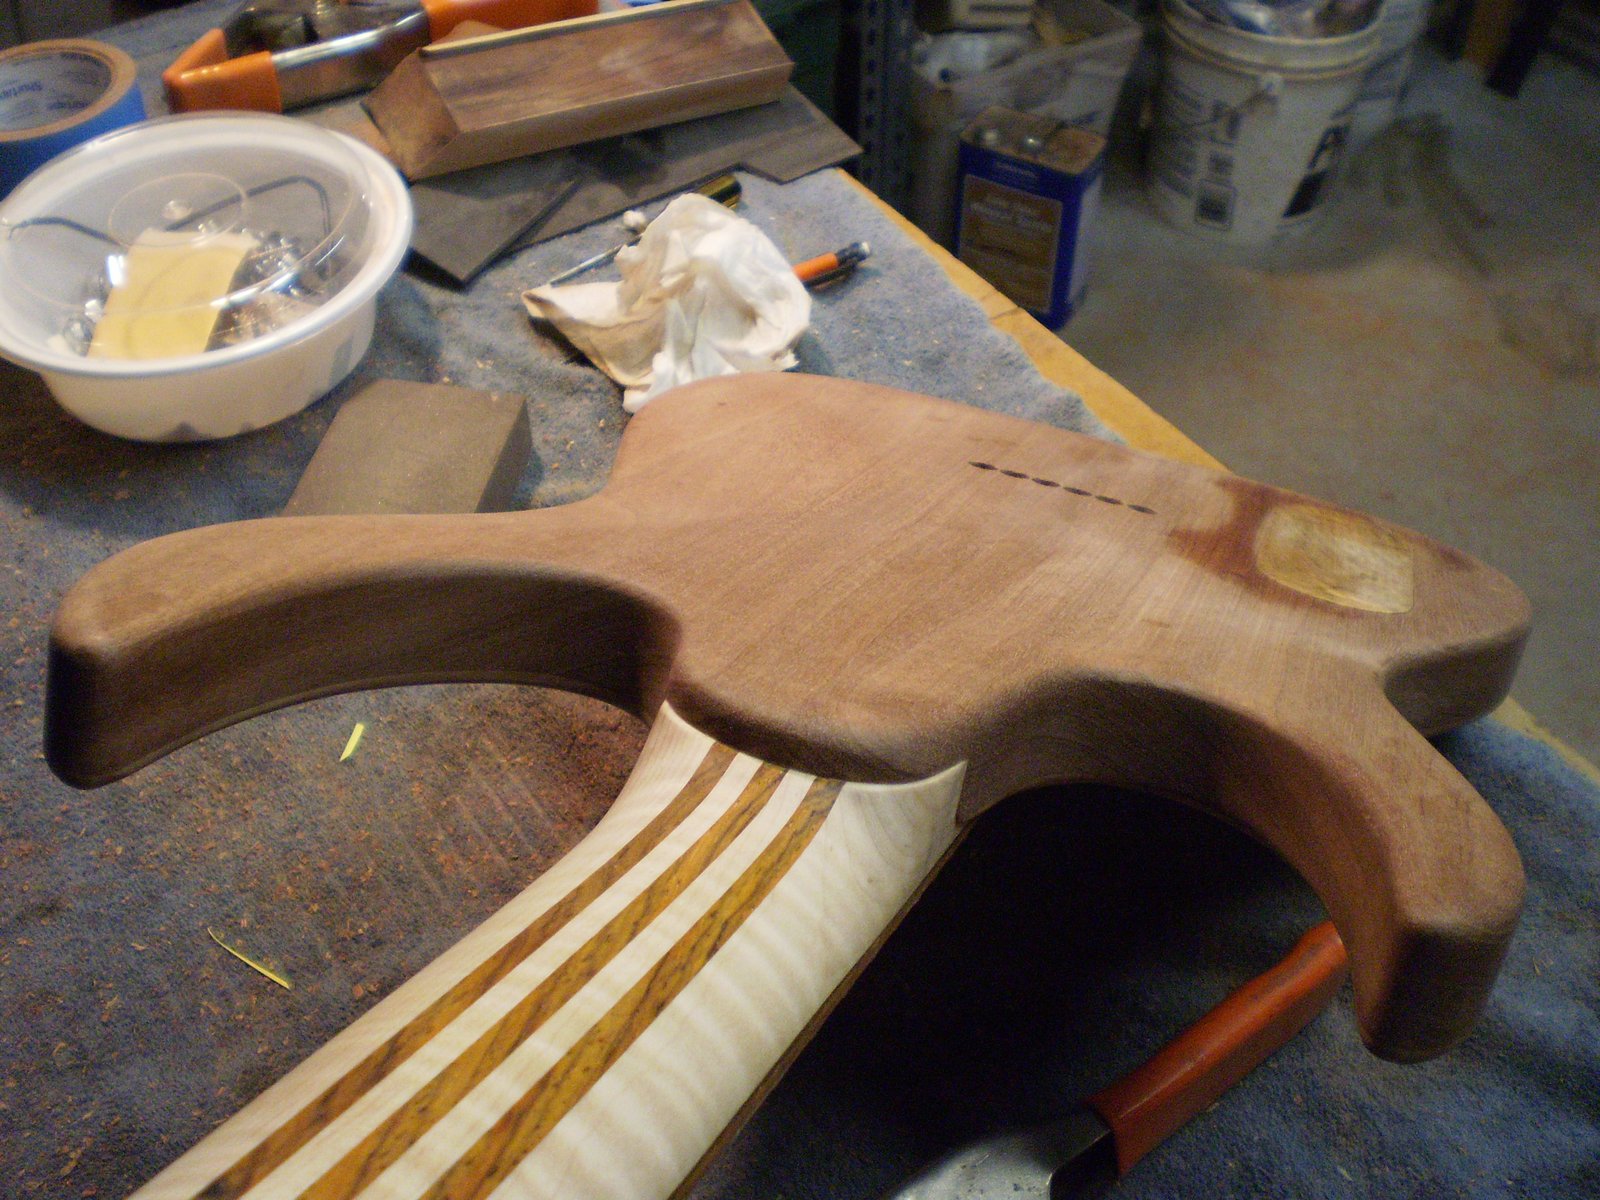
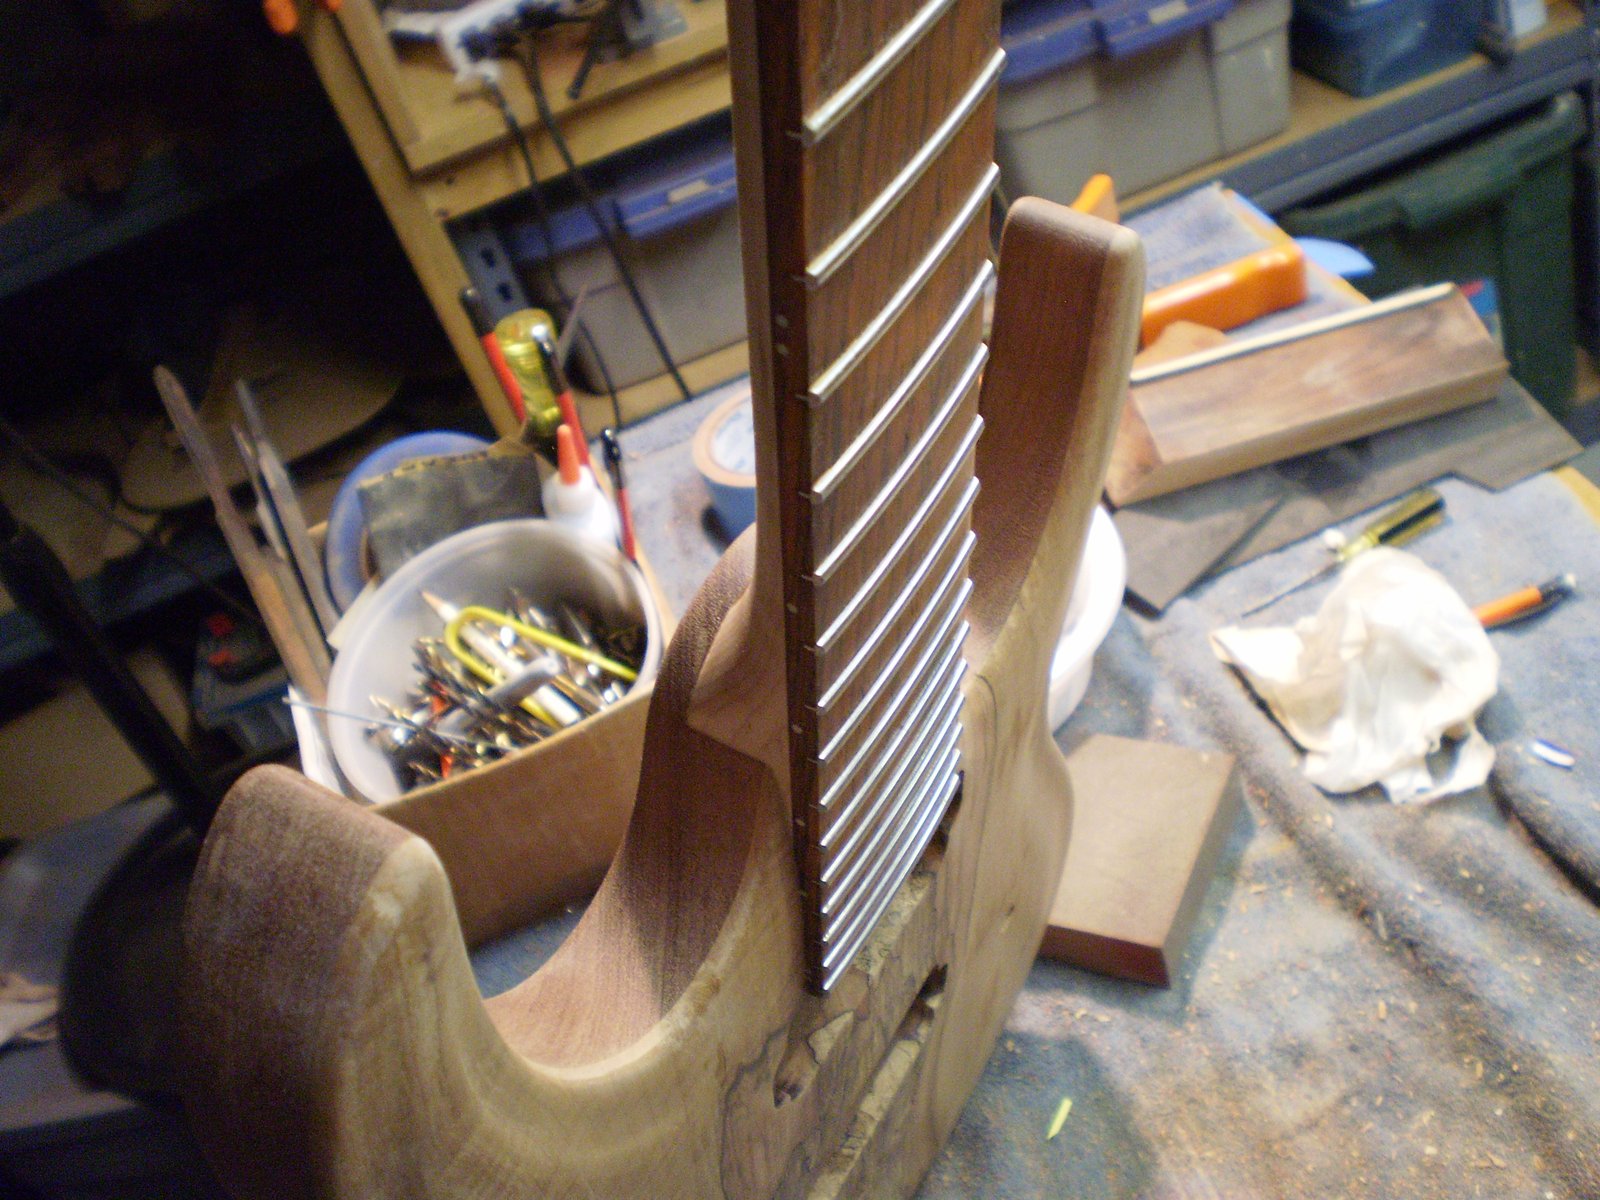
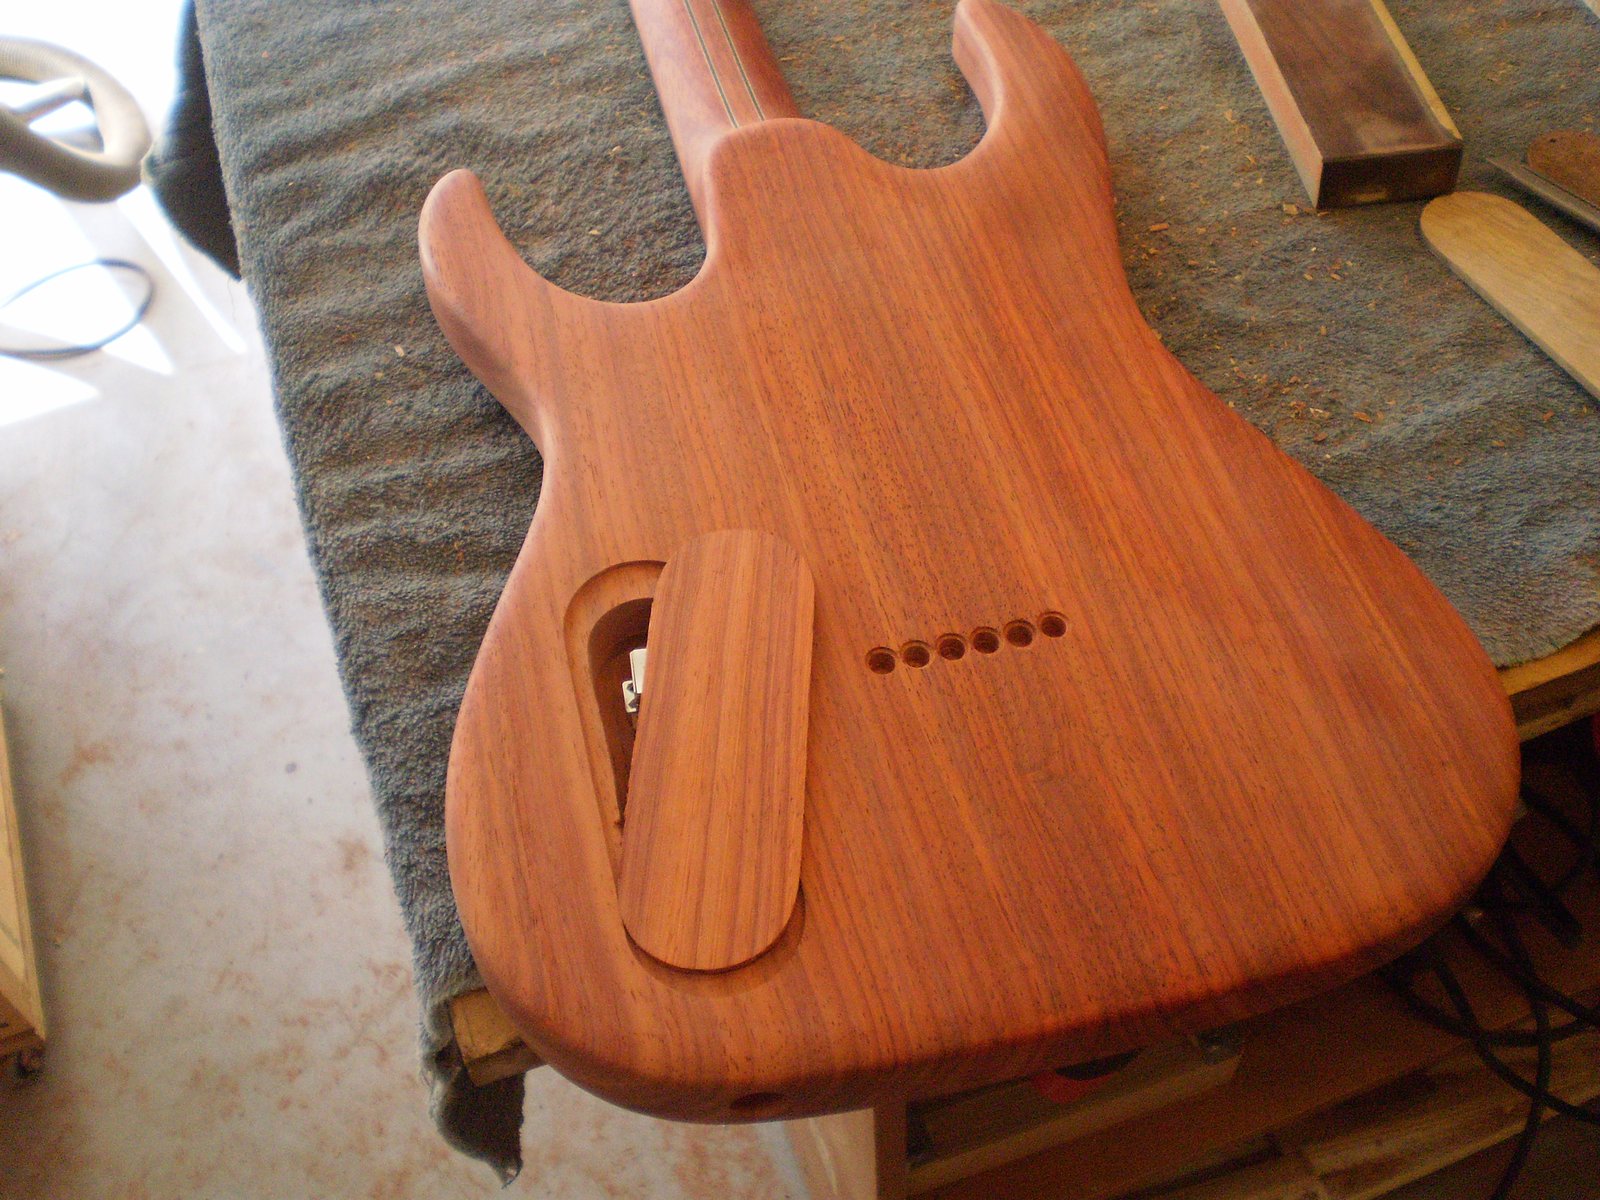
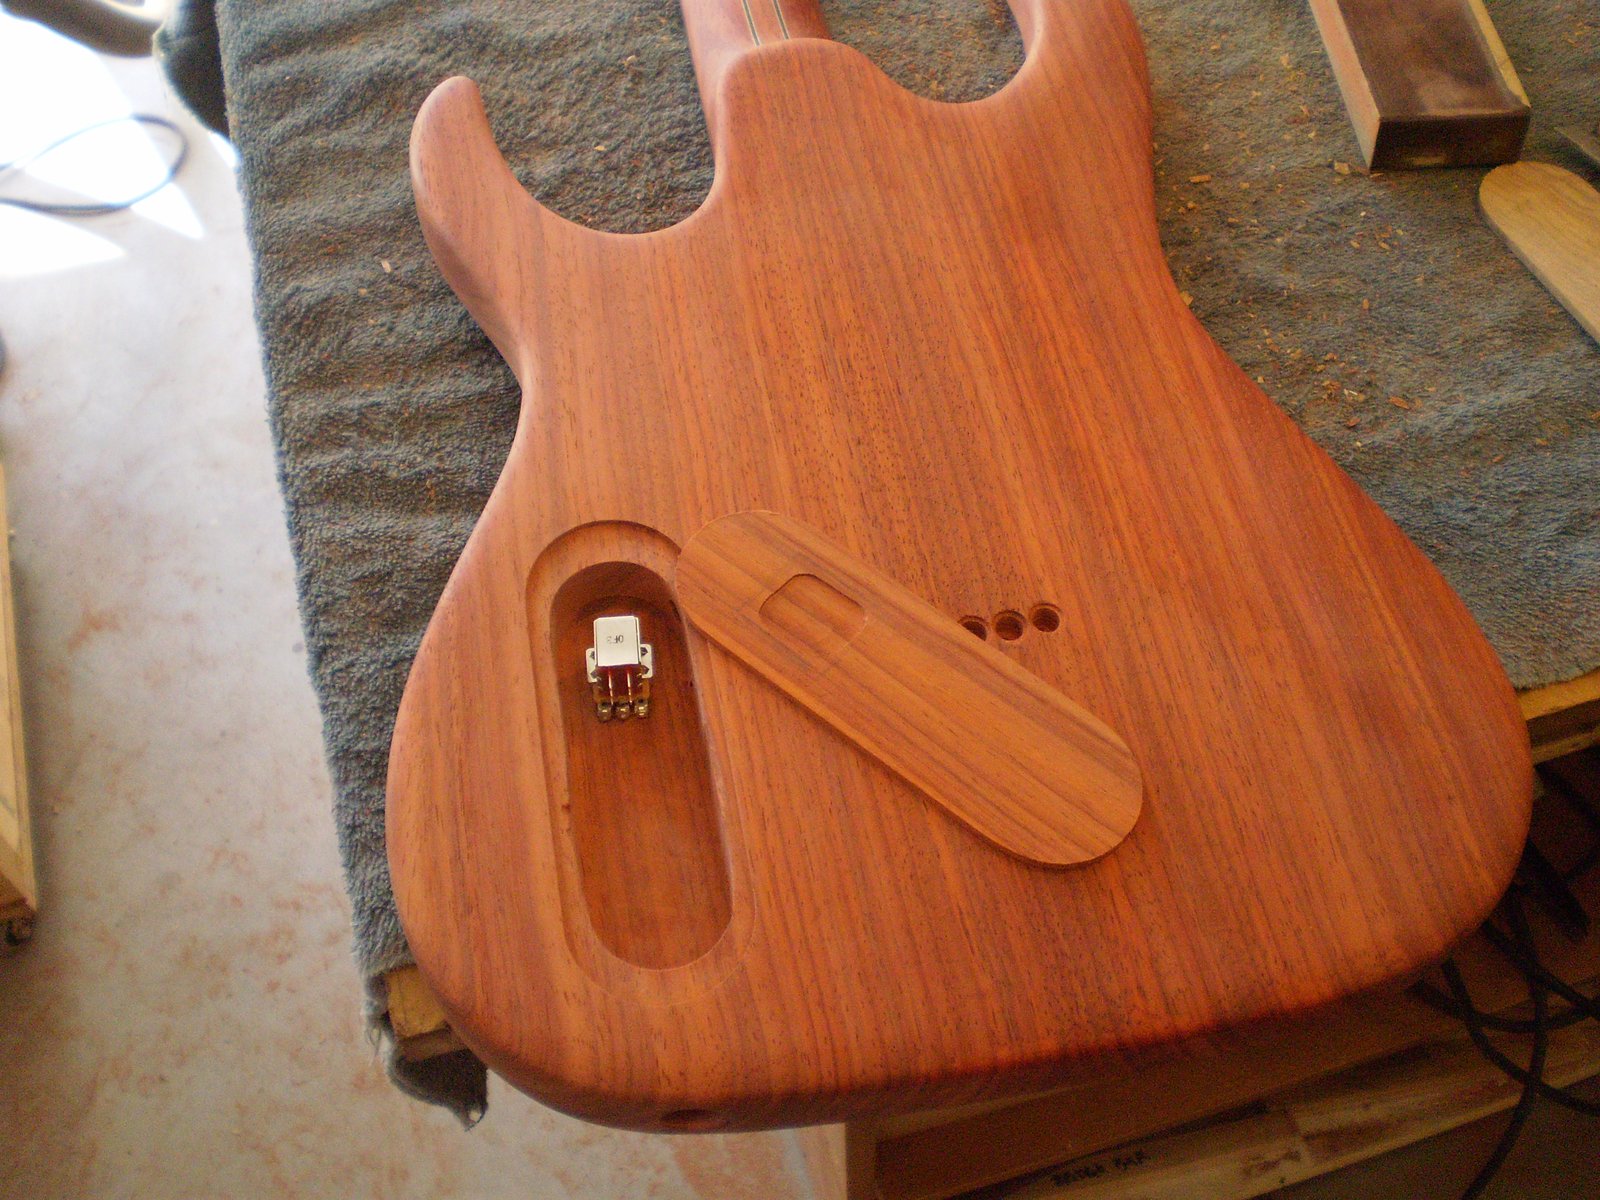
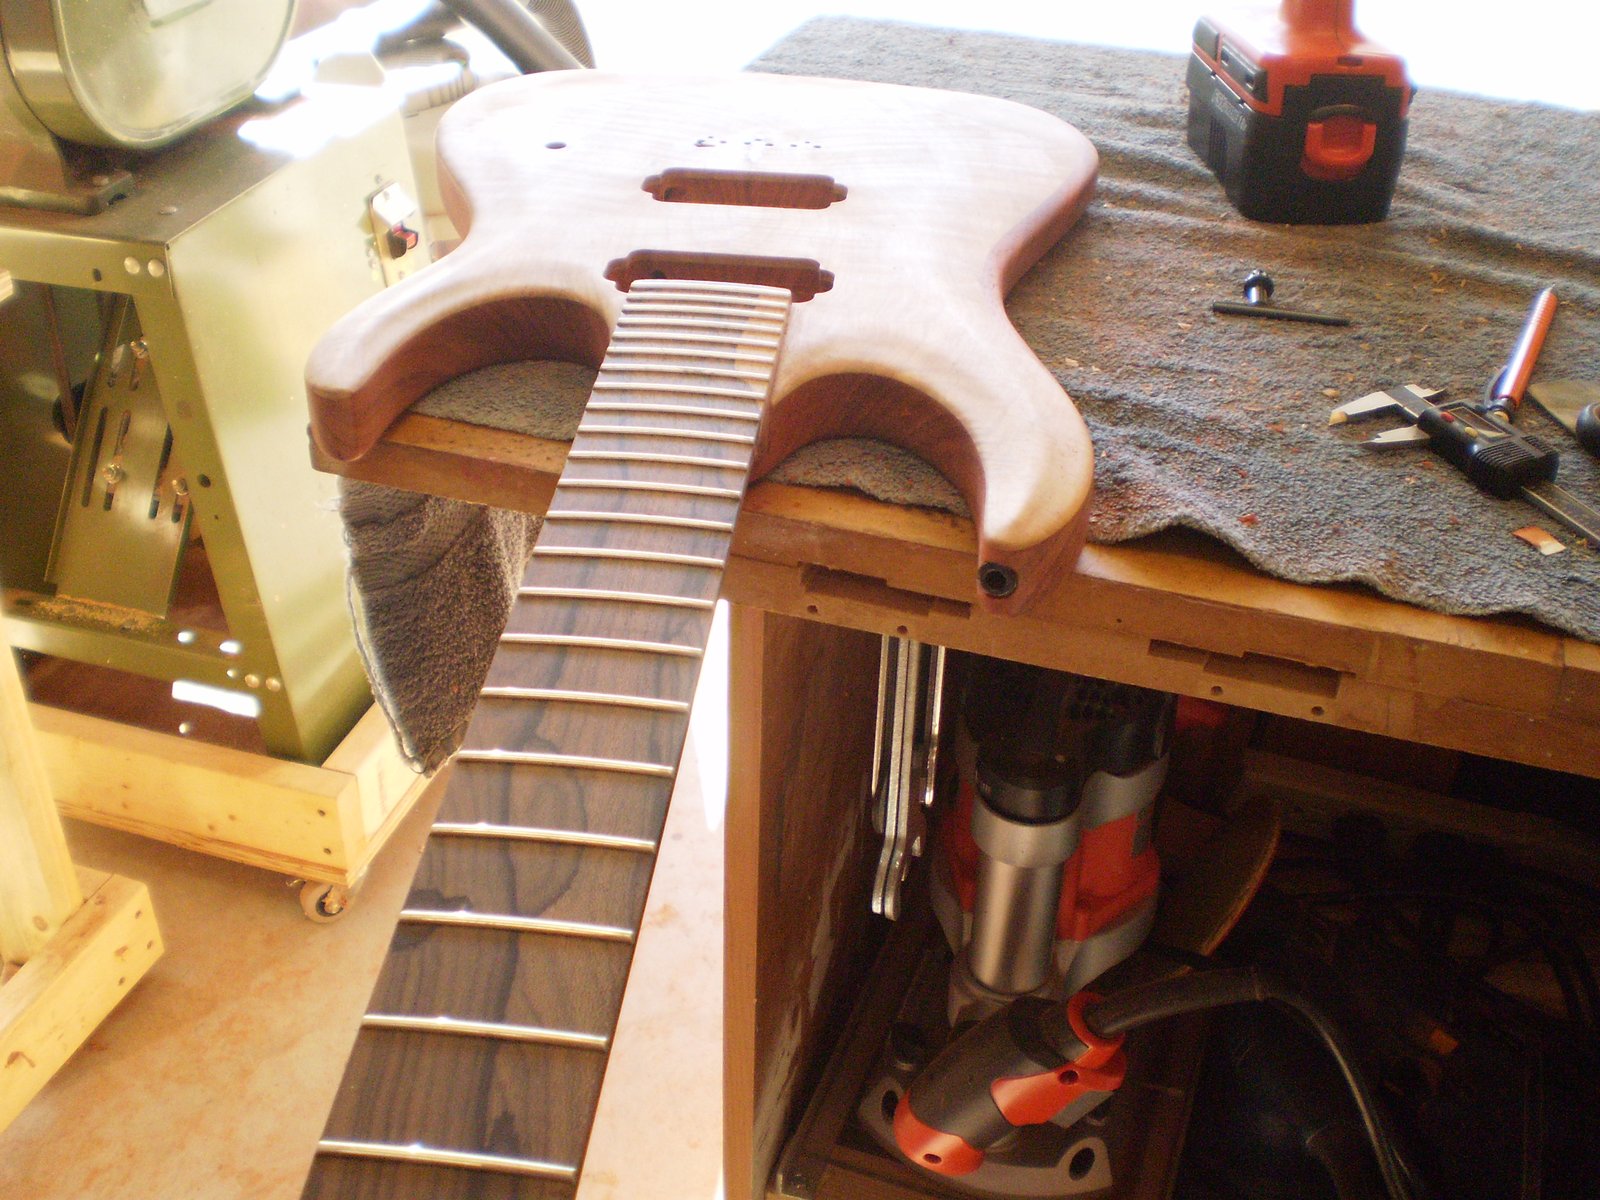
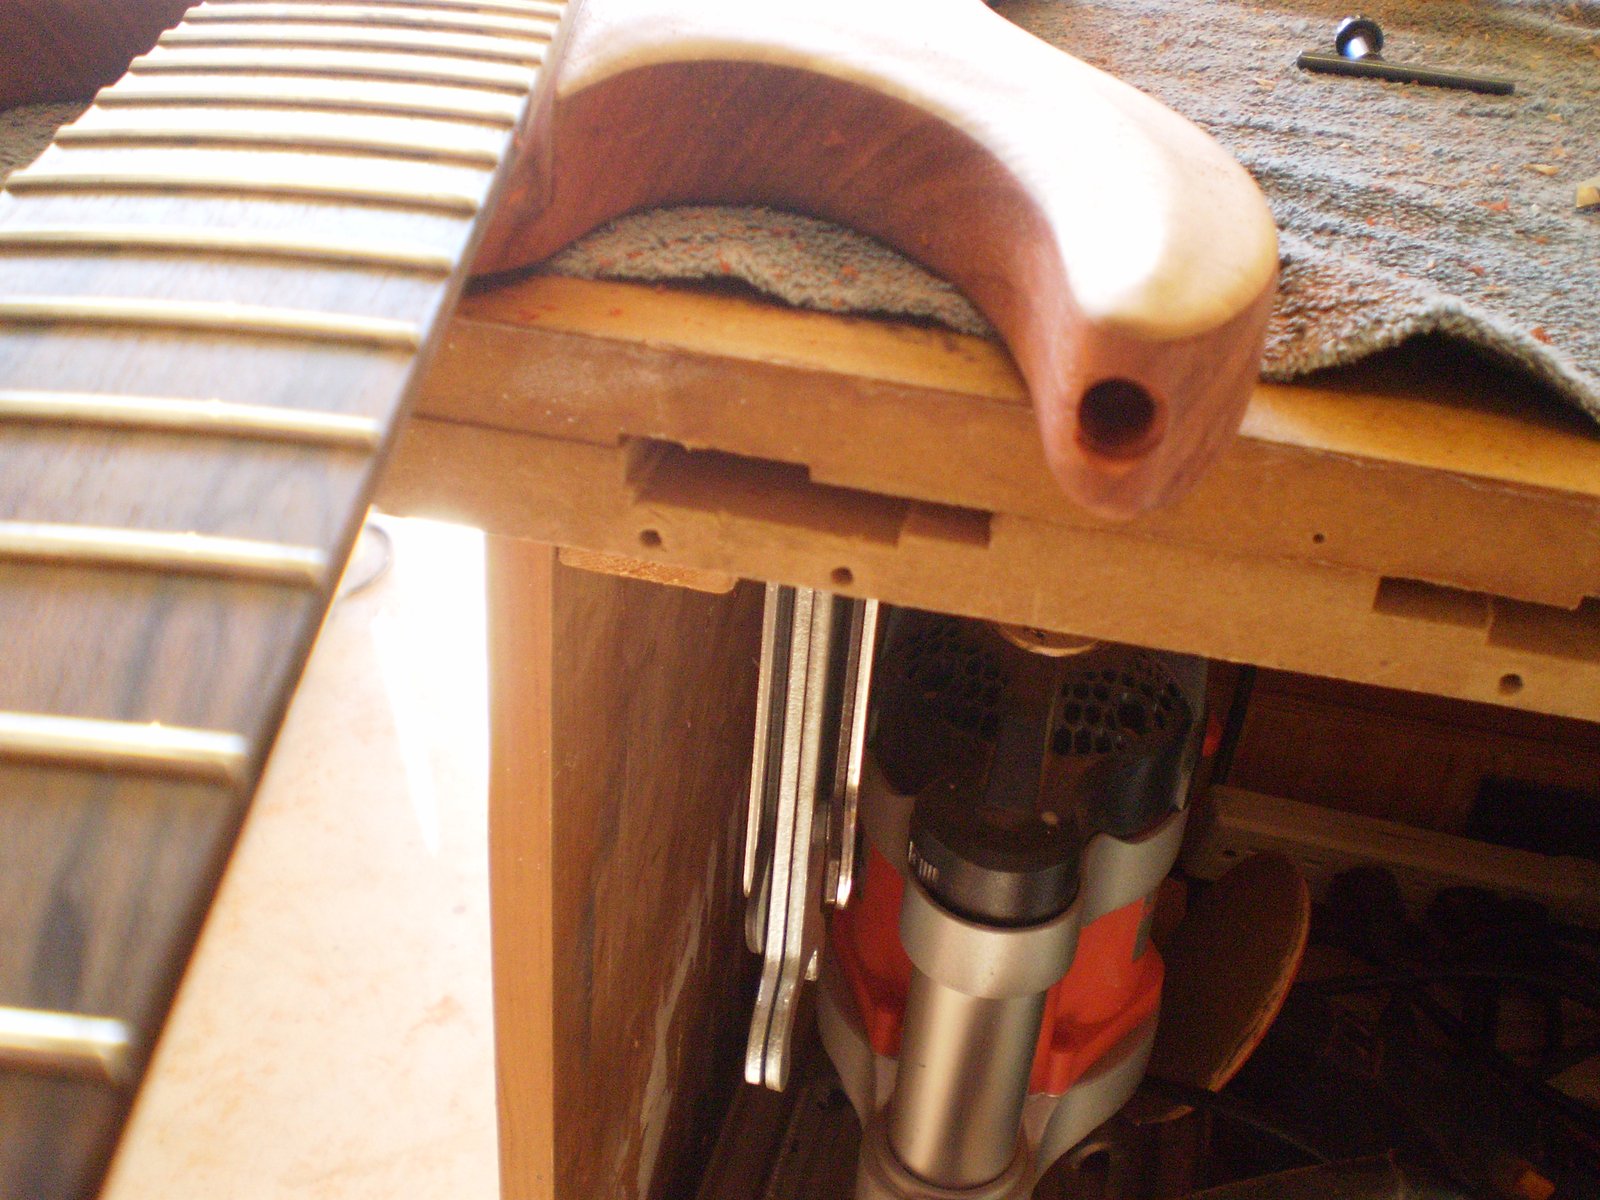
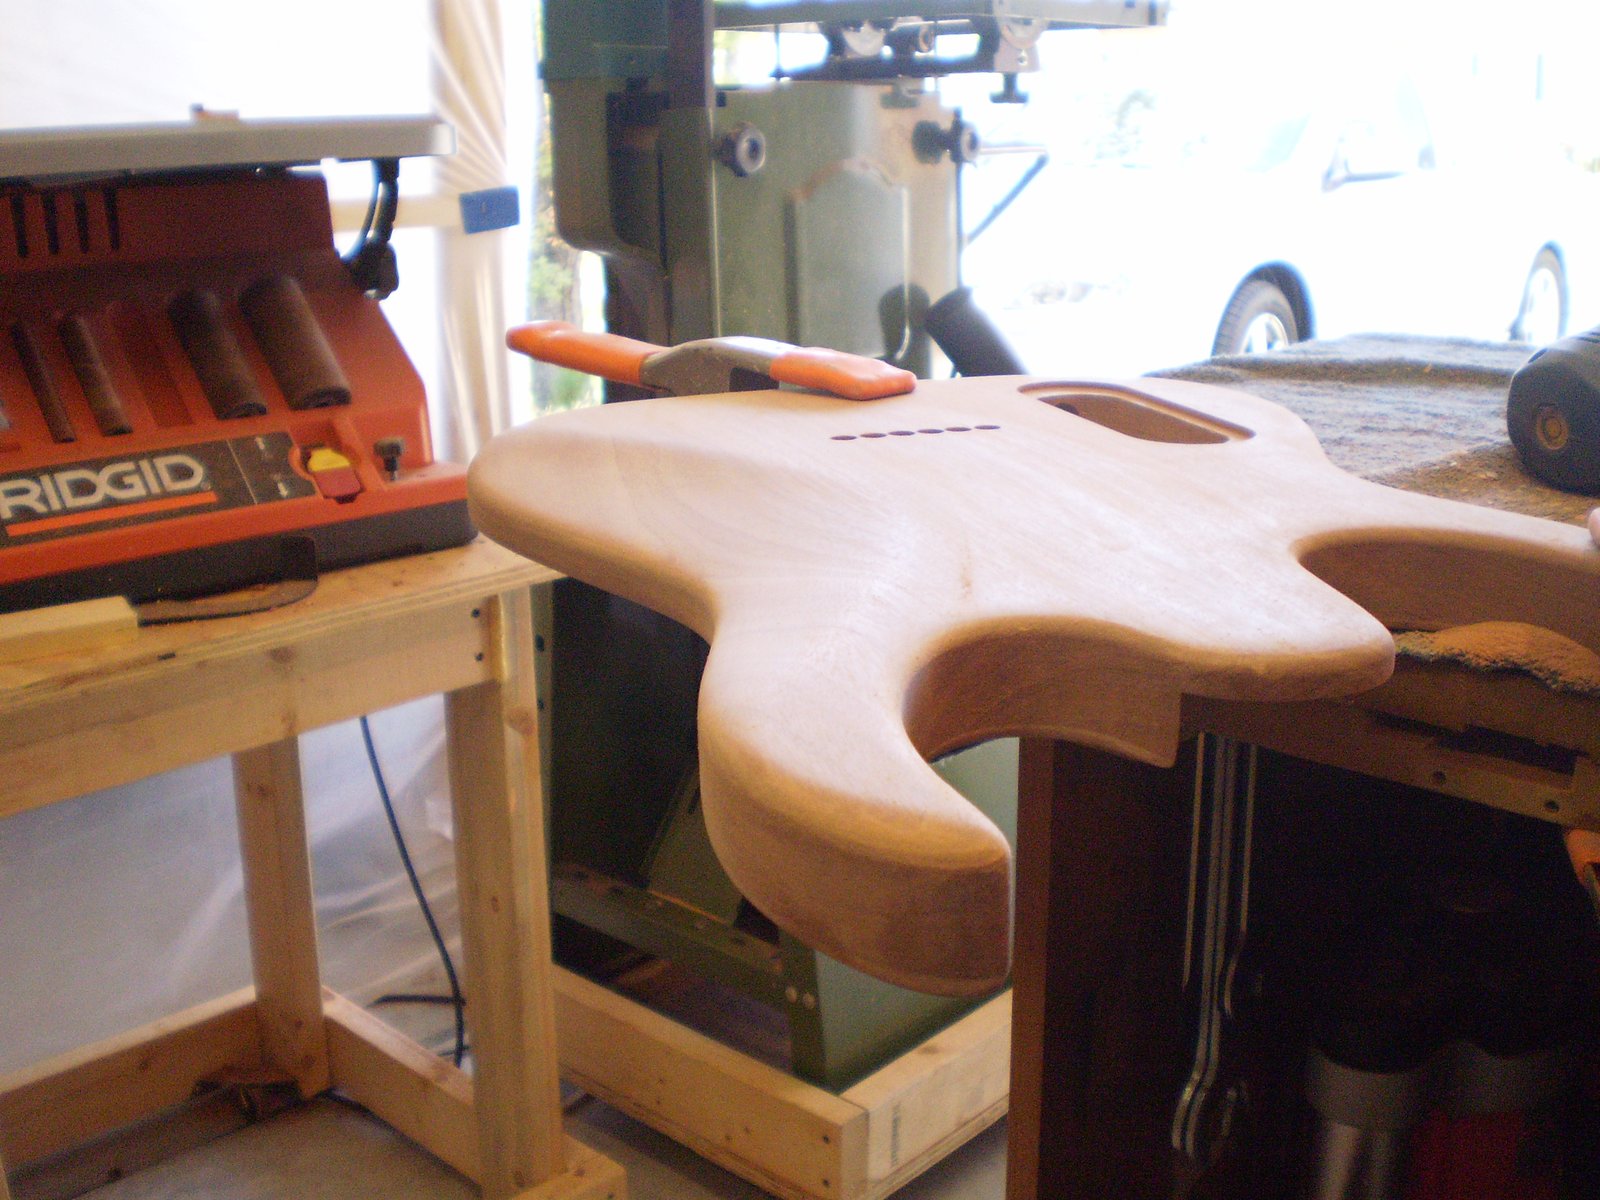
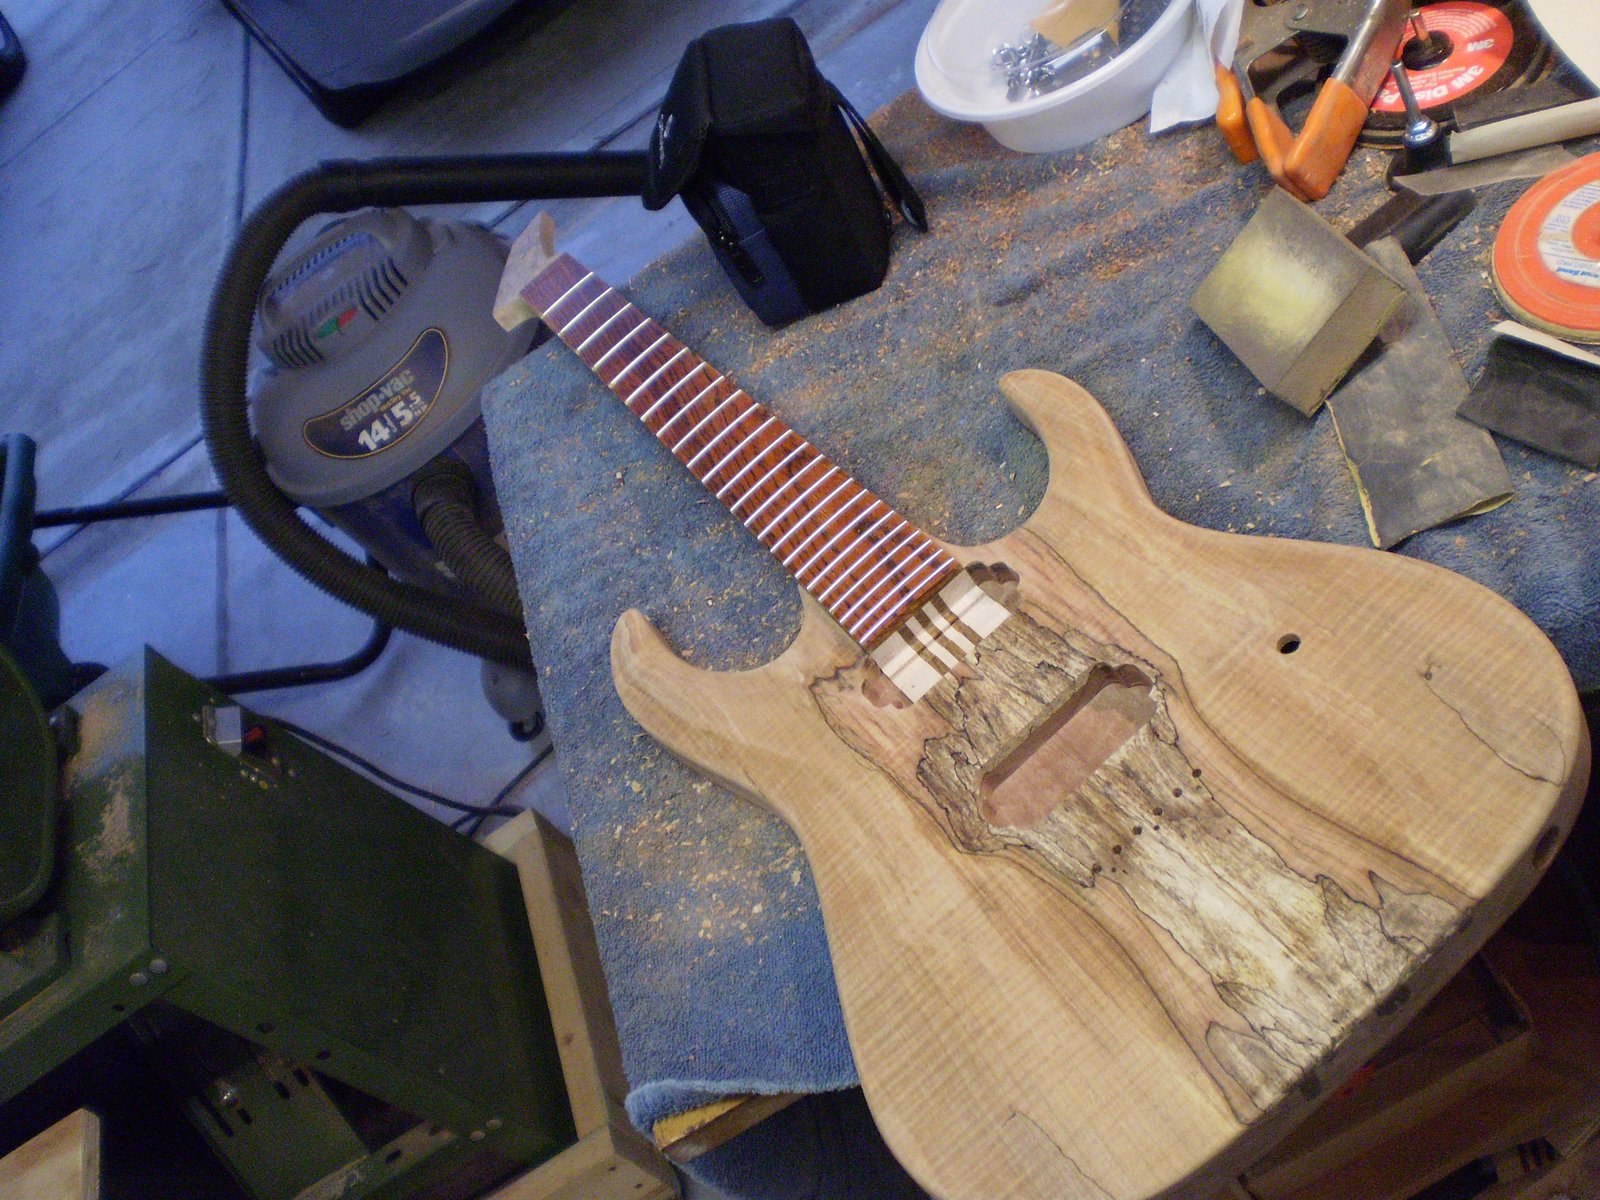
Rough fit the control plate. And a look at the neck joint cleaned up.
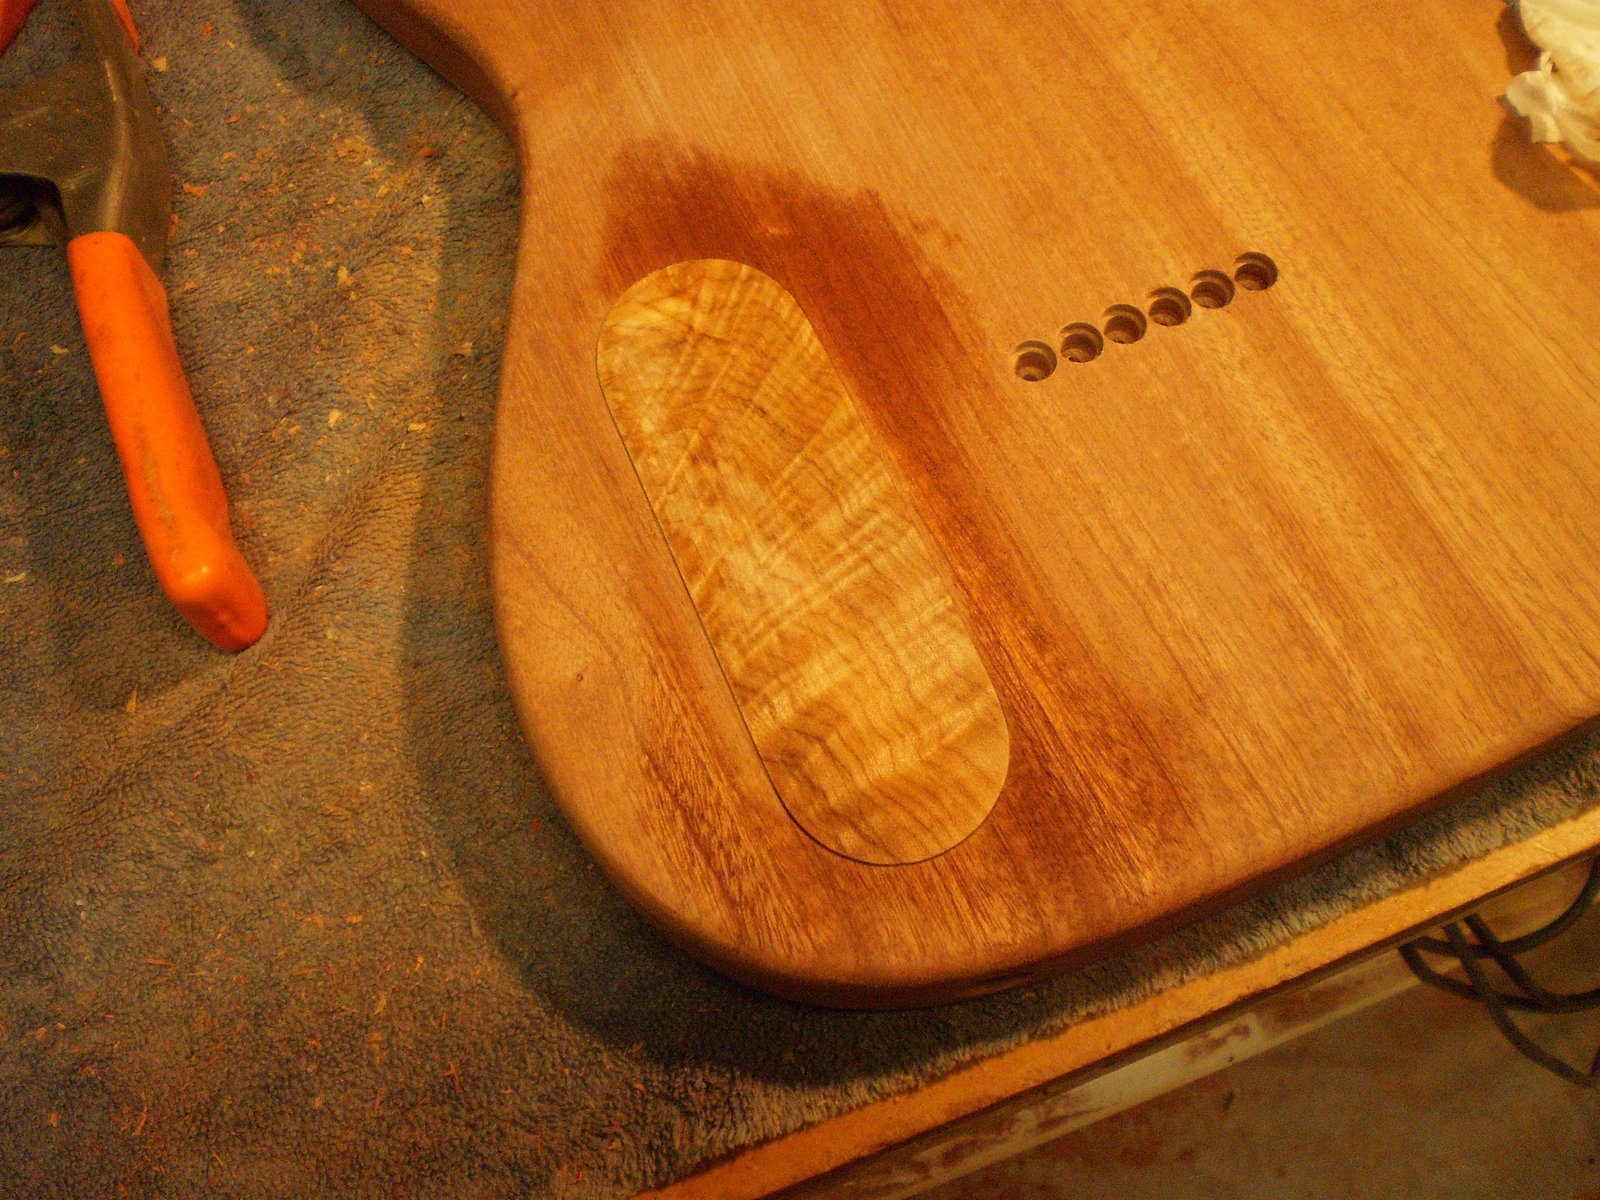
S907 #2 Control plates

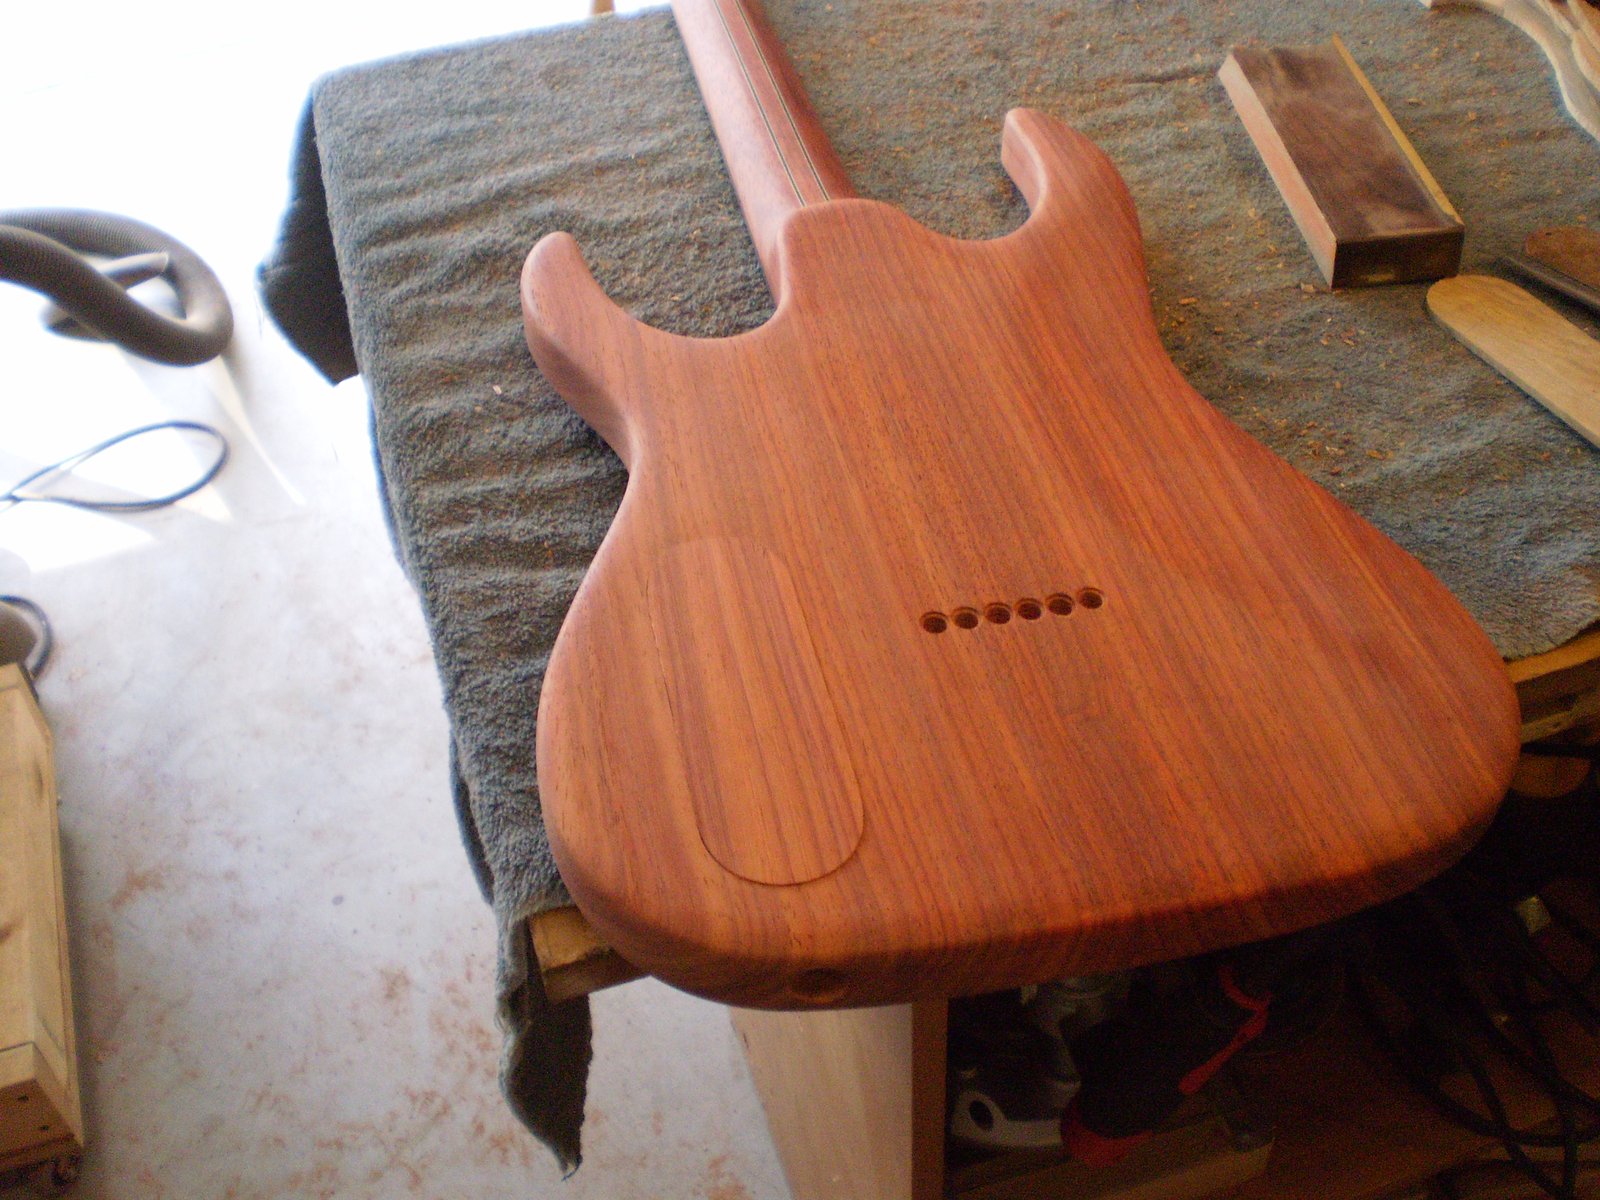
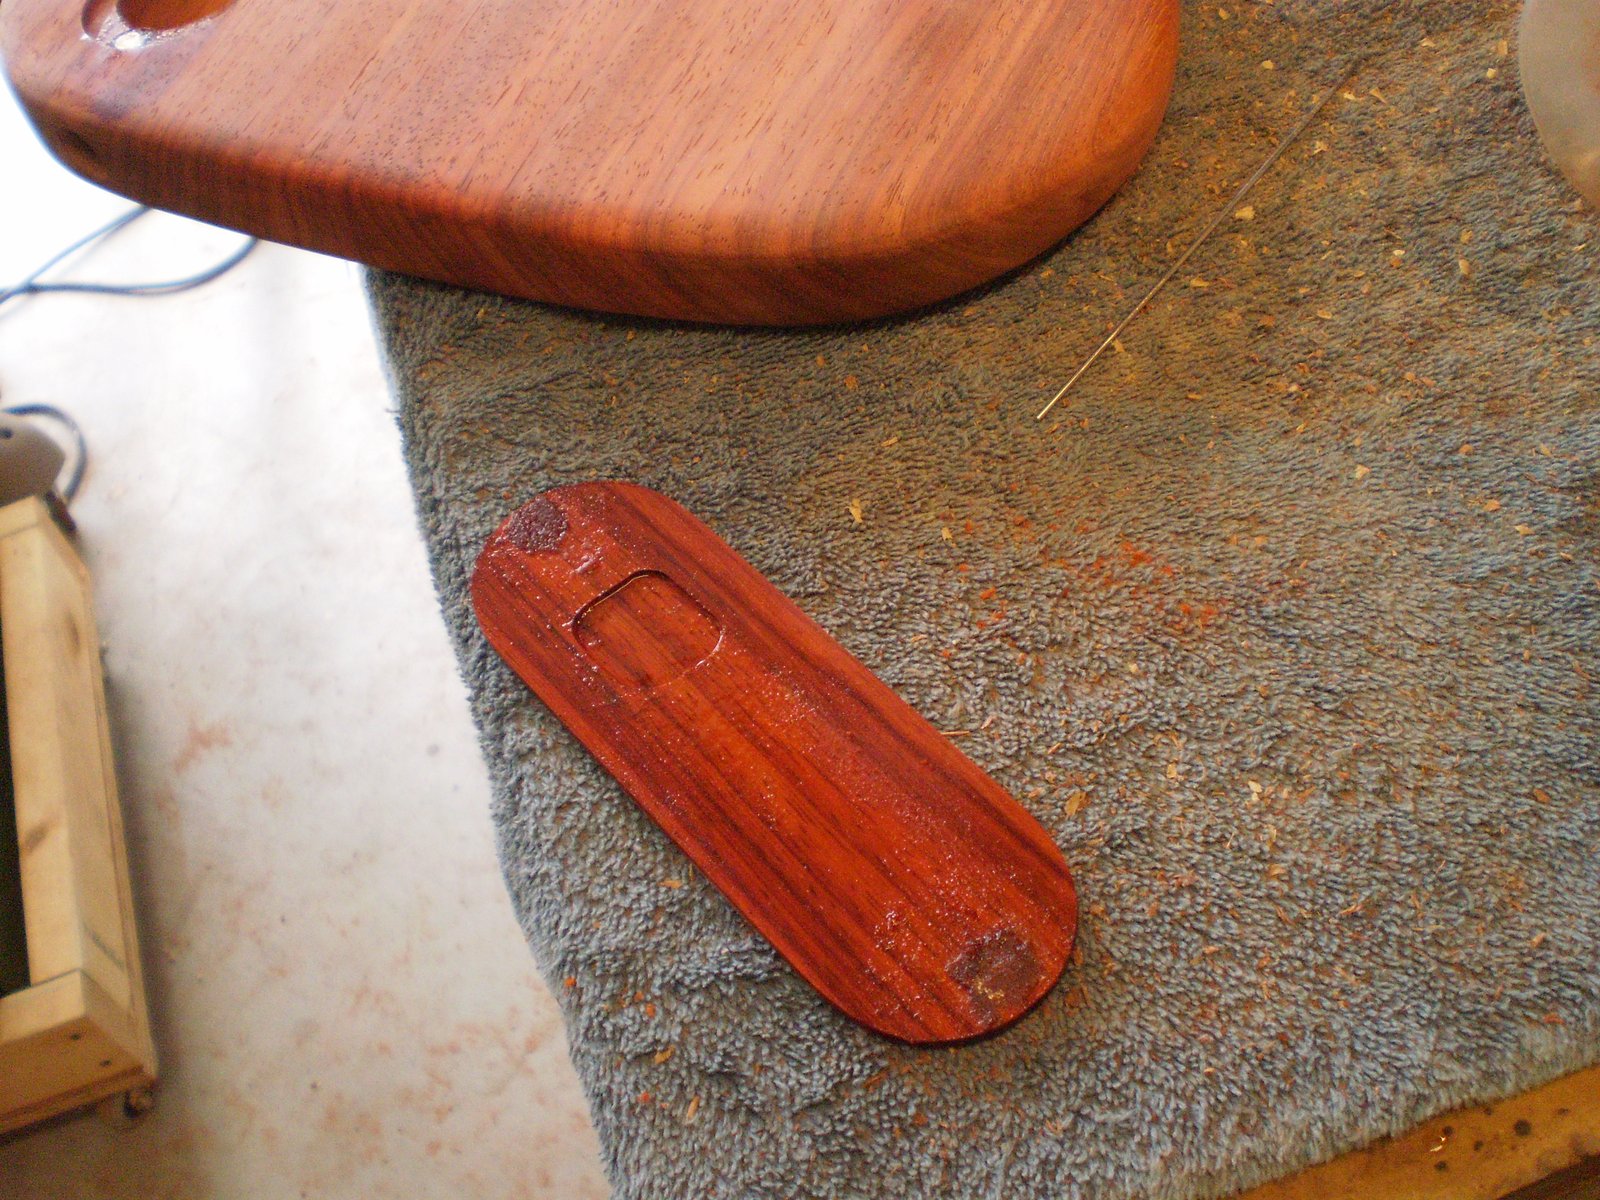
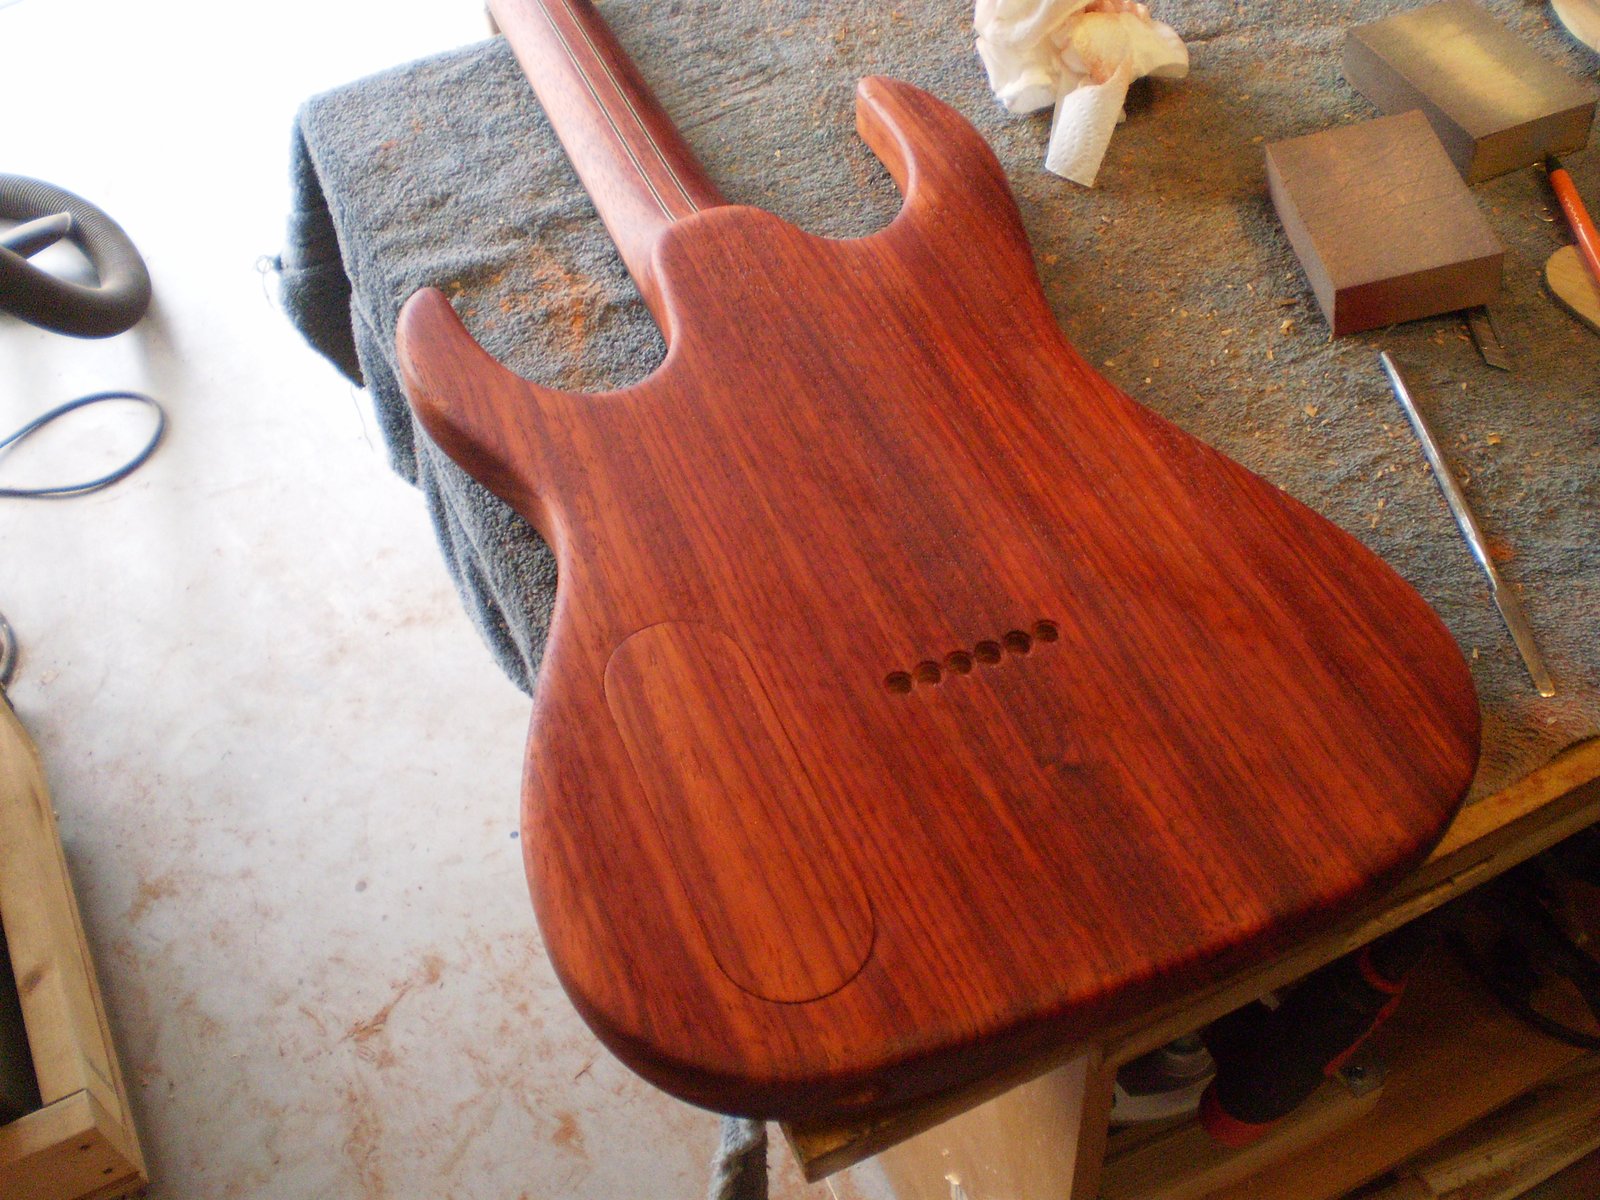
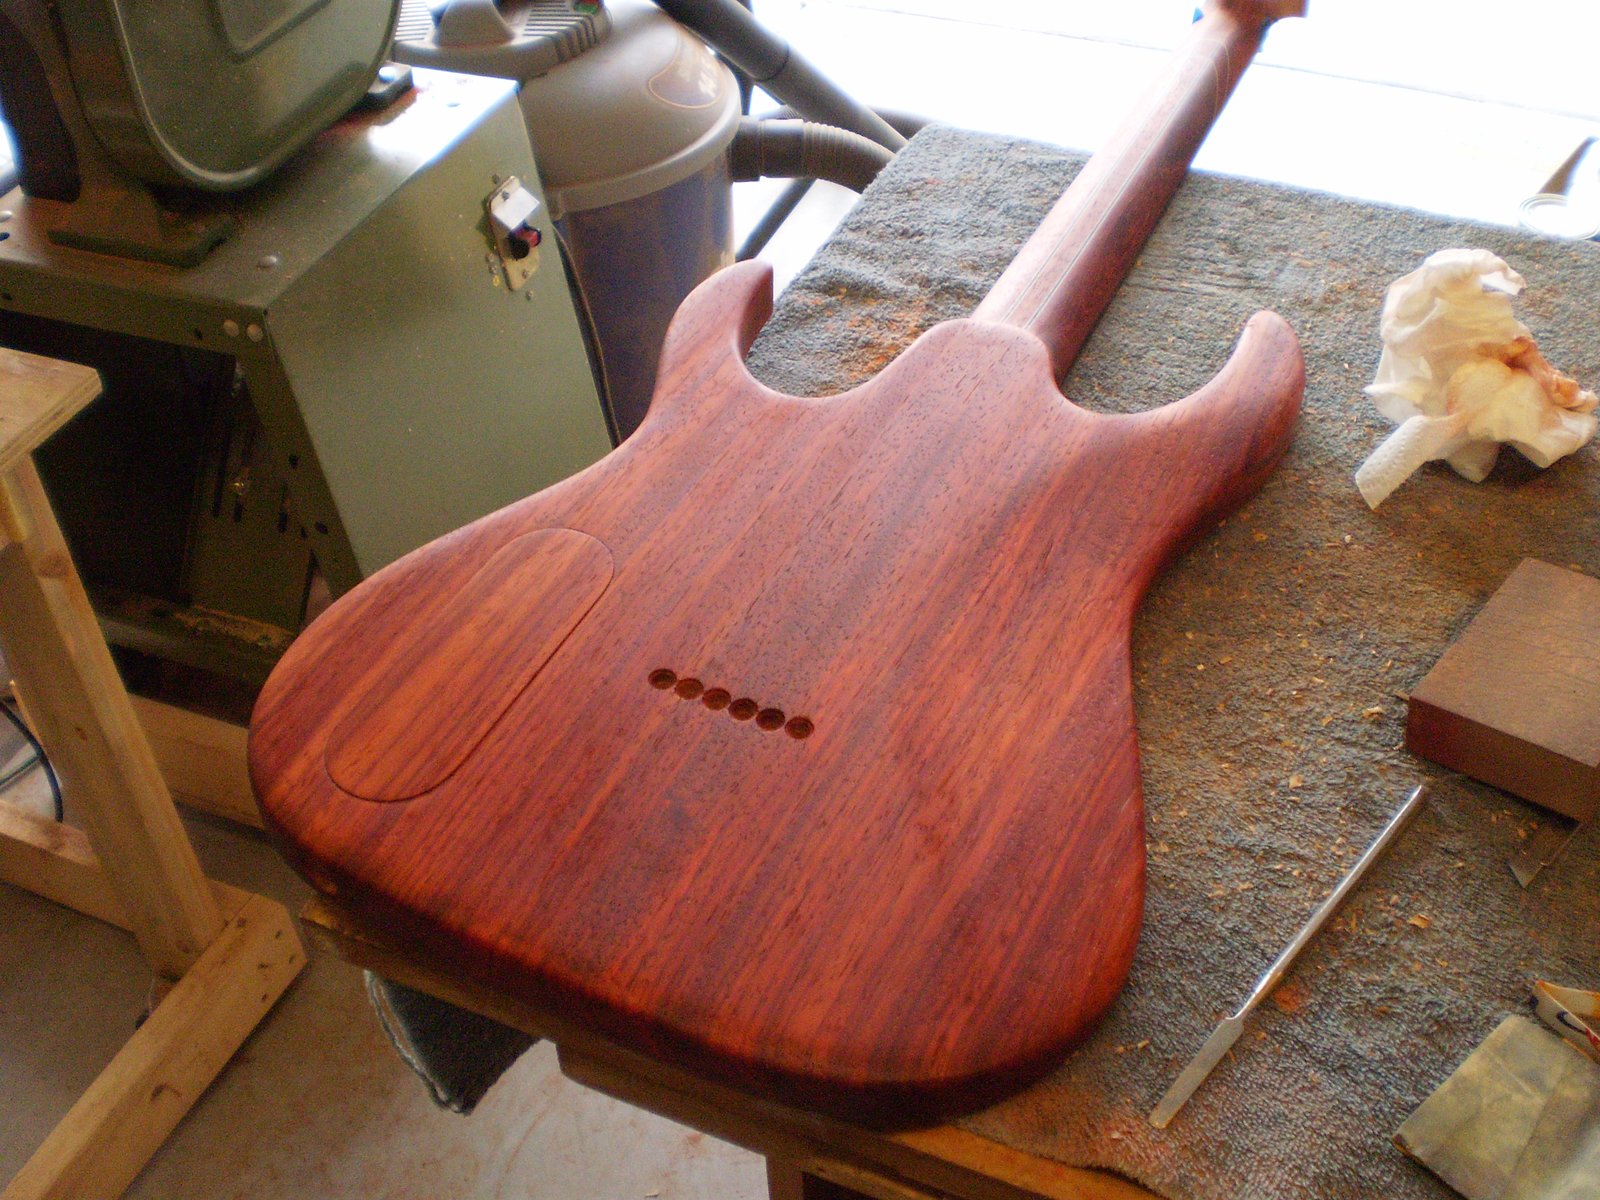
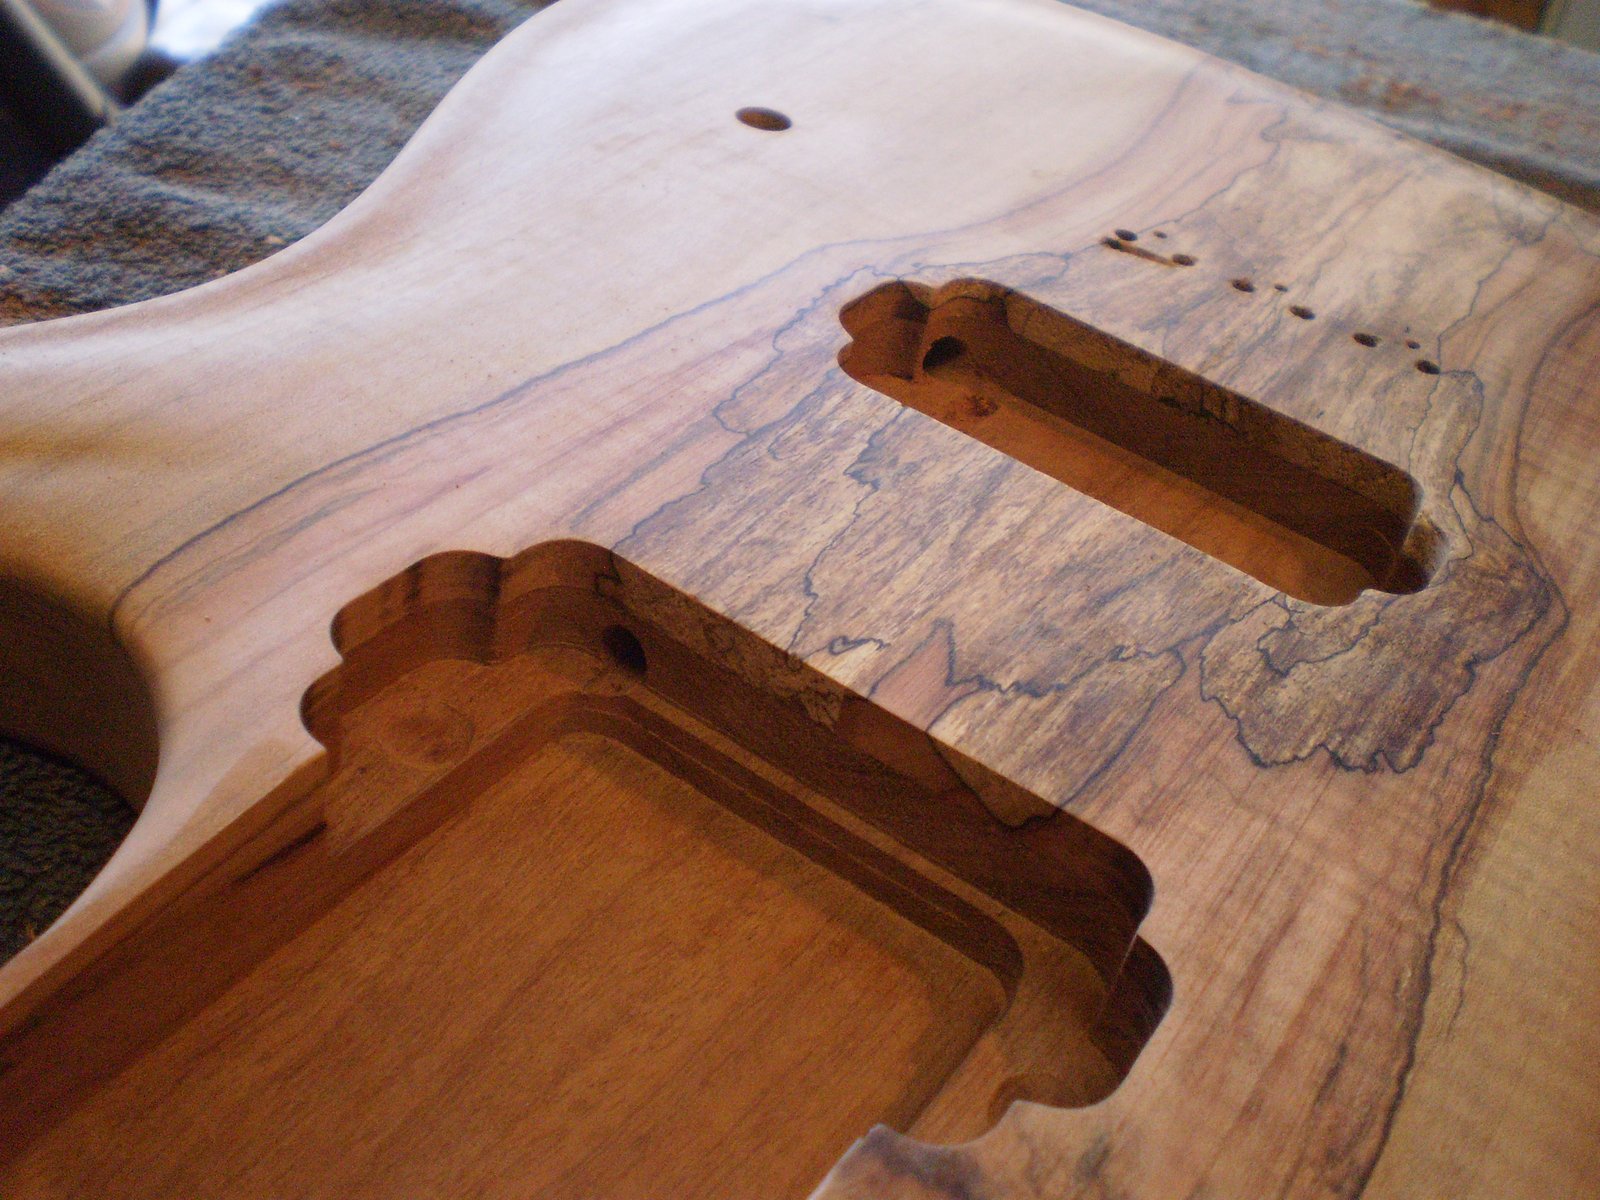
Time for the electronics control plate. I decided not to use anything that sticks out so padauk and a bit of grain match is in order. Since I am running a push/pull switch volume knob I have to put a little recess in the back of the plate.


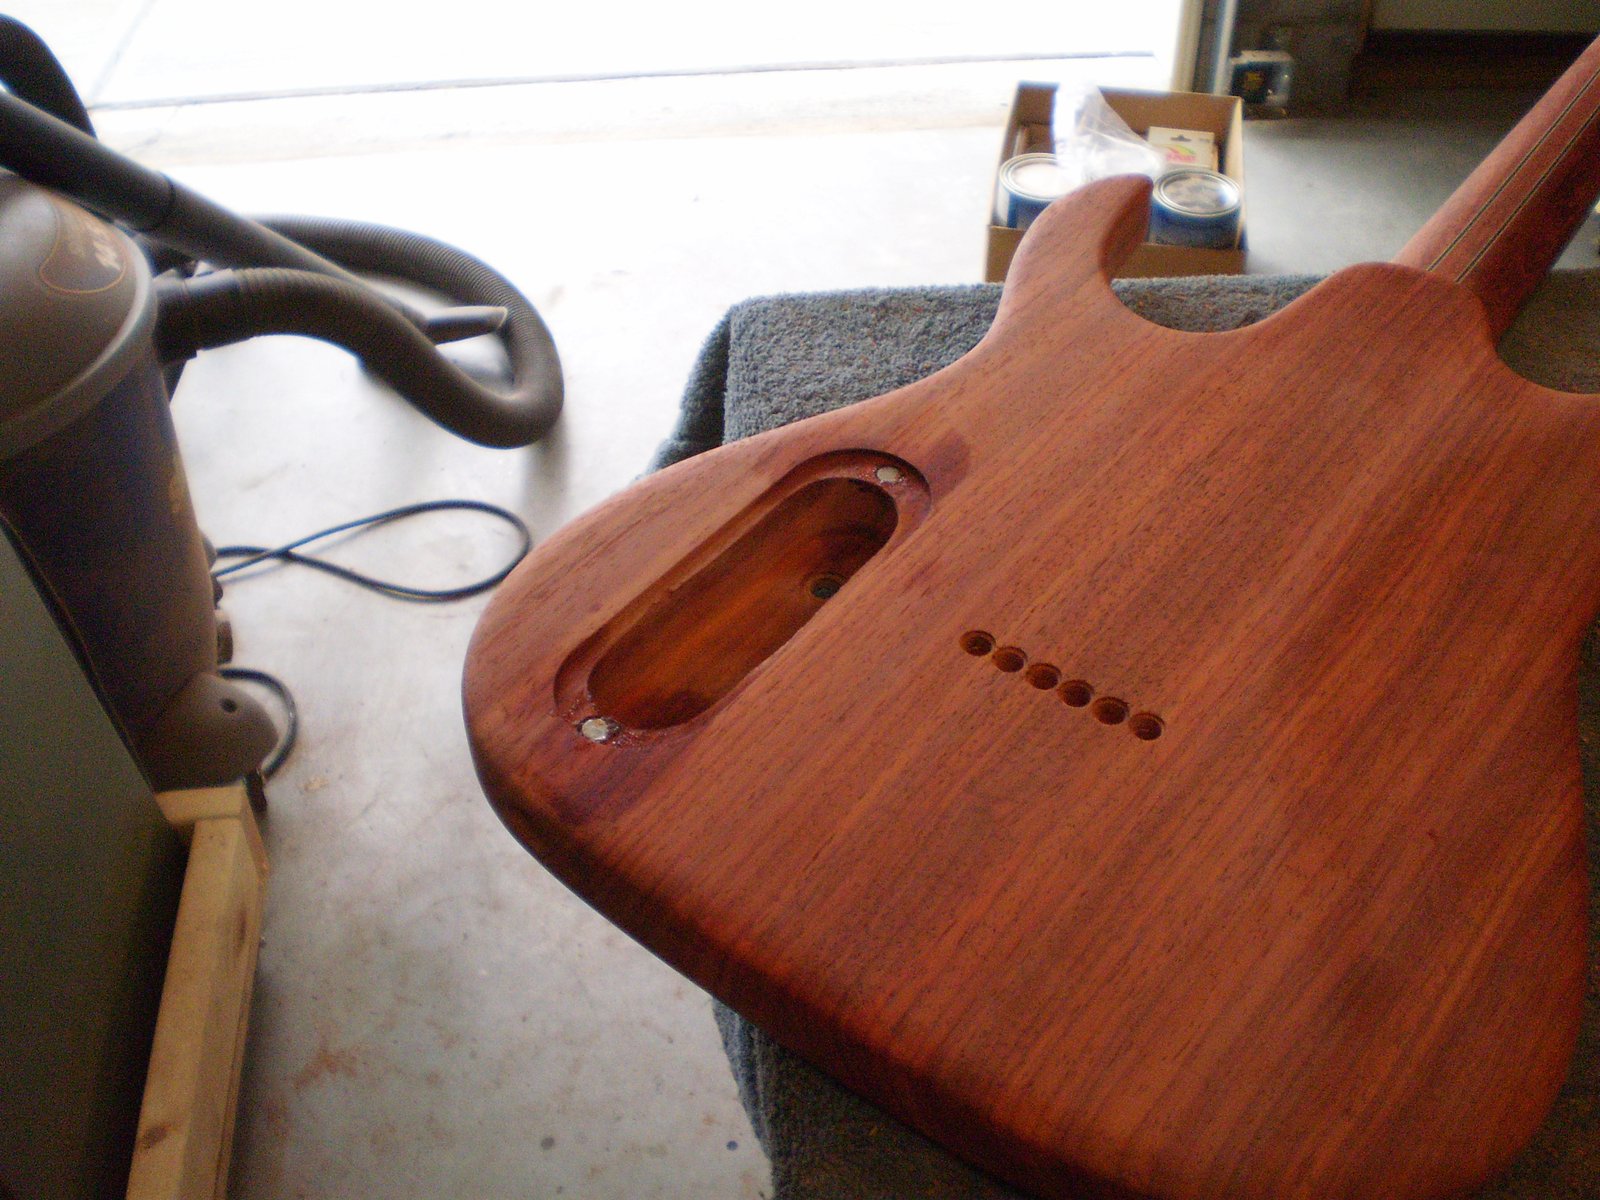
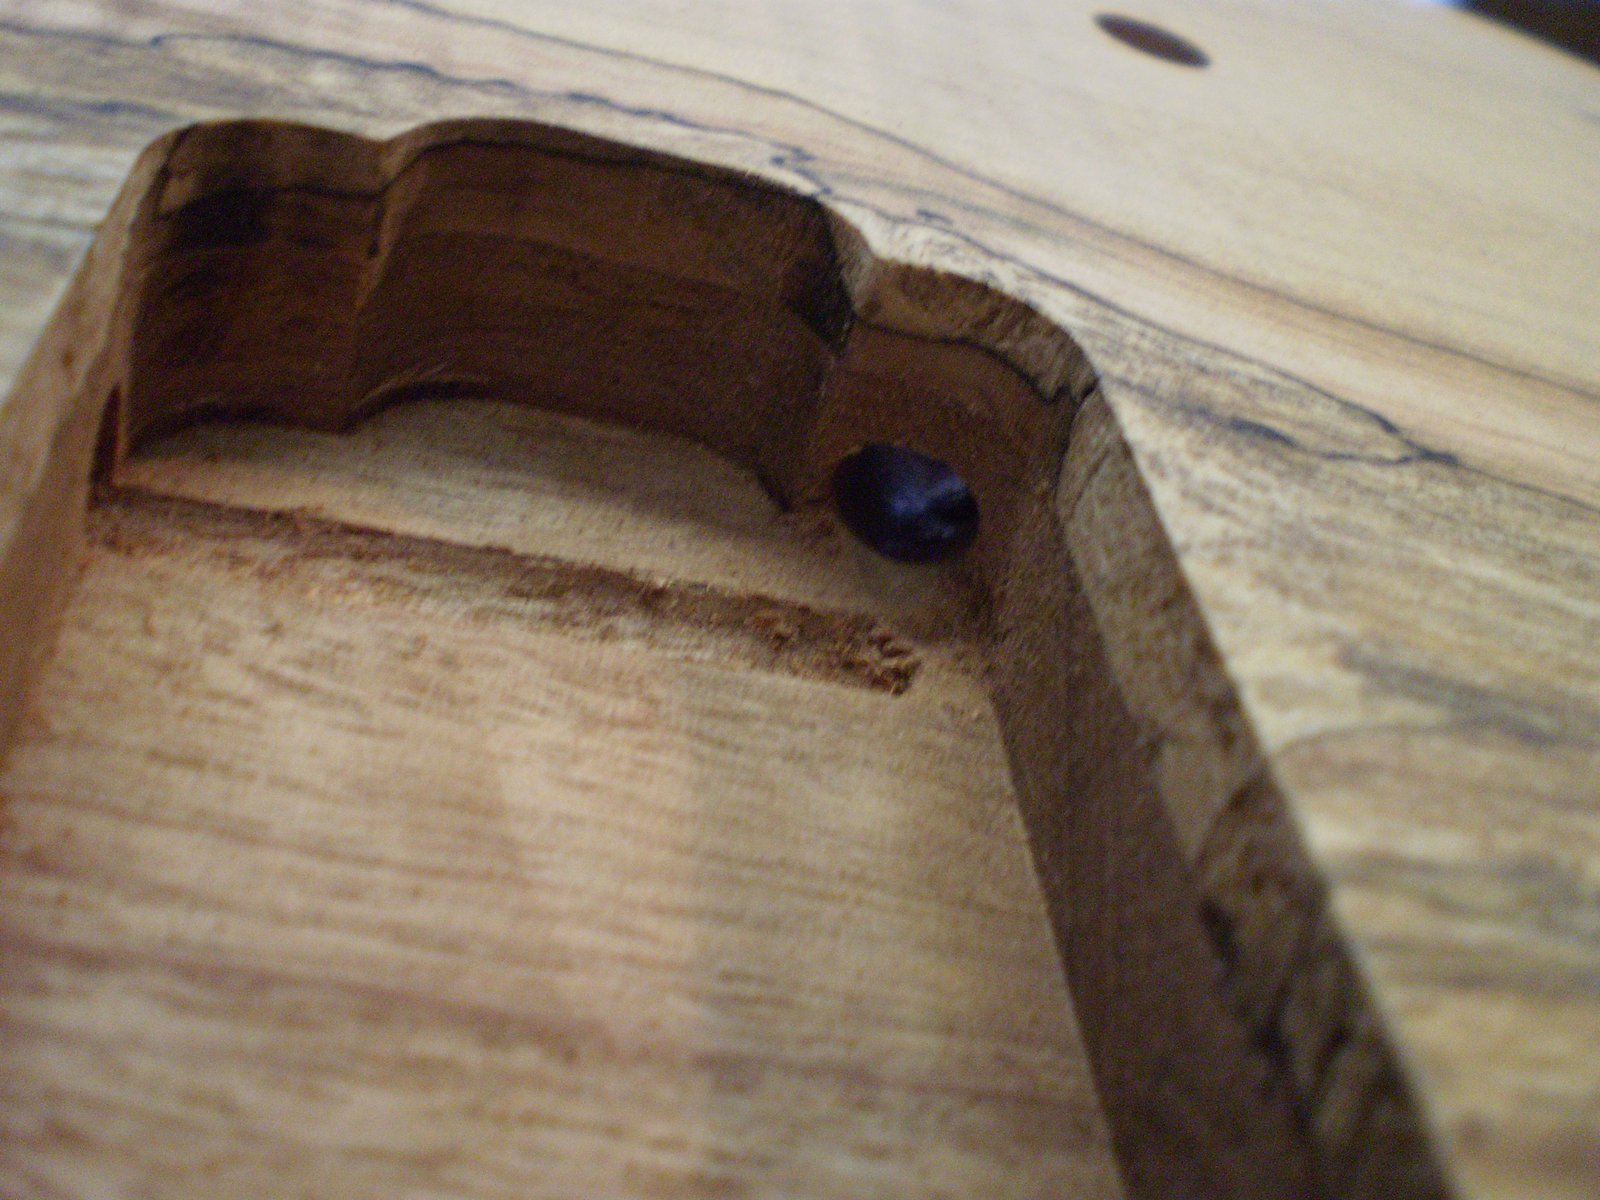
Add magnets to the body and washers to the plate.


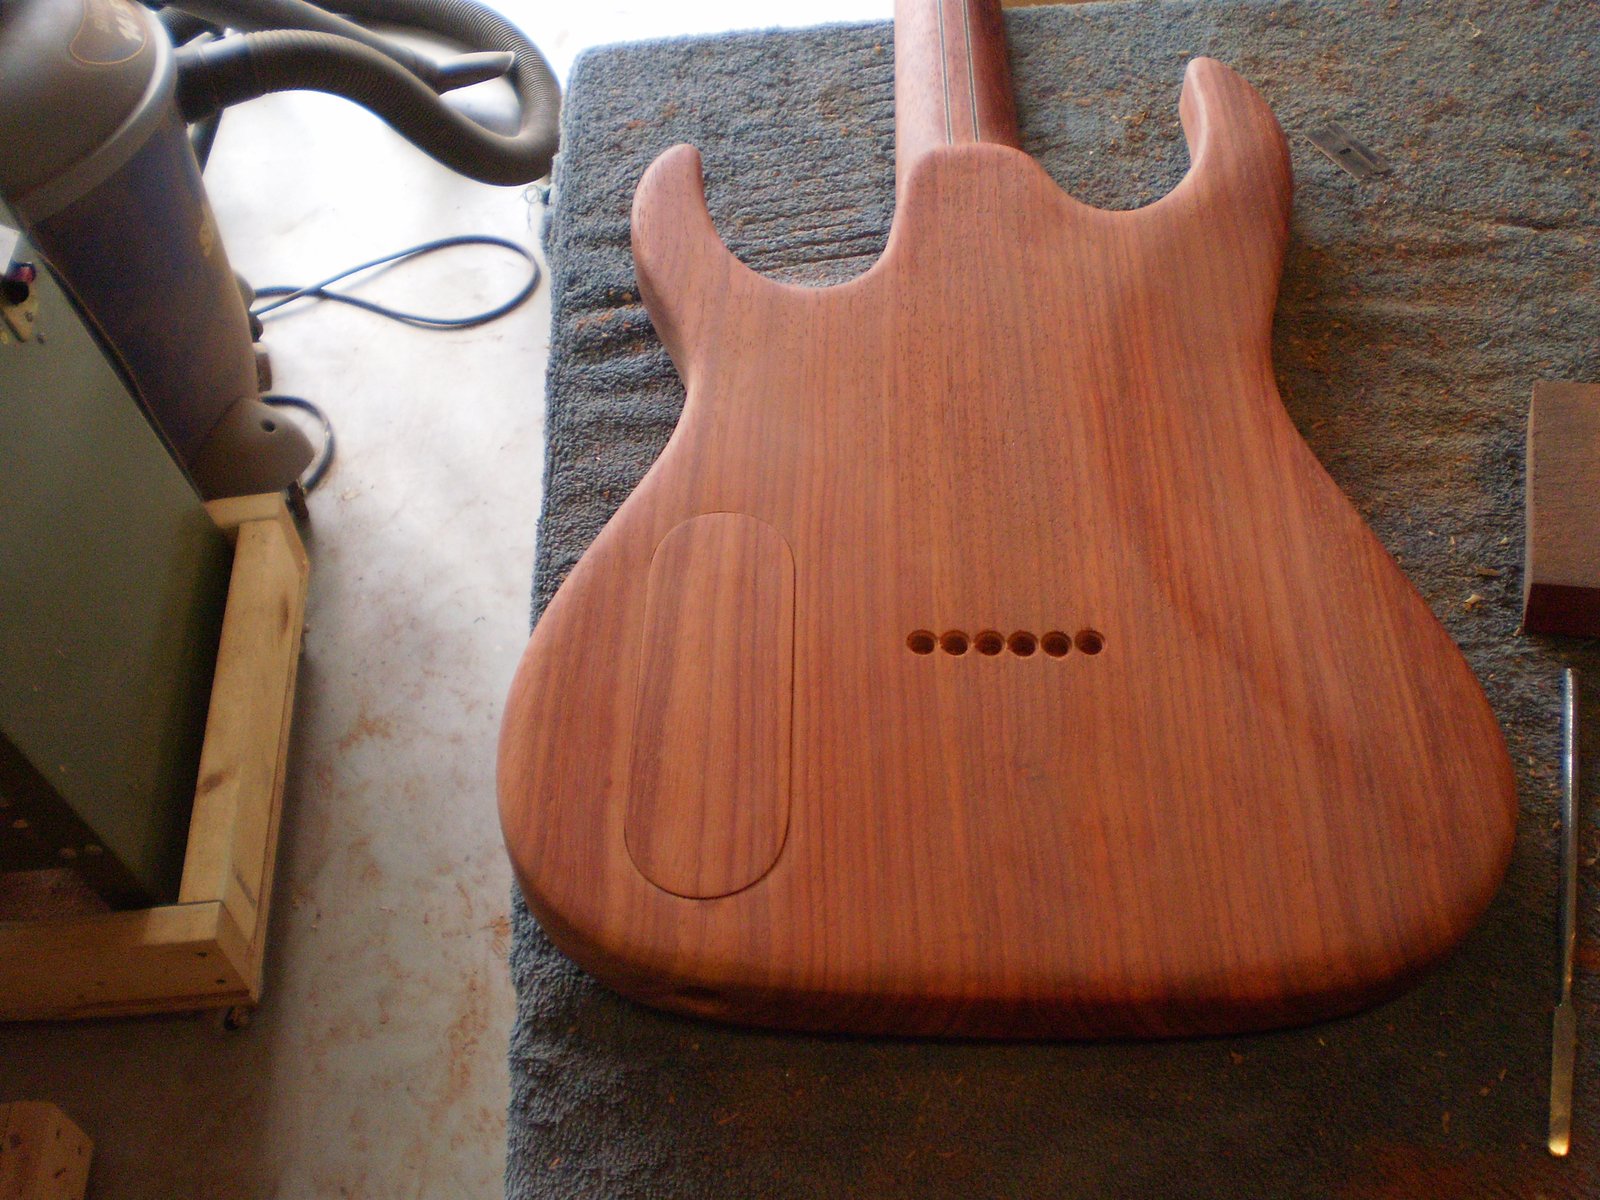
This is what we are left with. I left it a little proud so it is easier to remove. I think it blends in nicely.


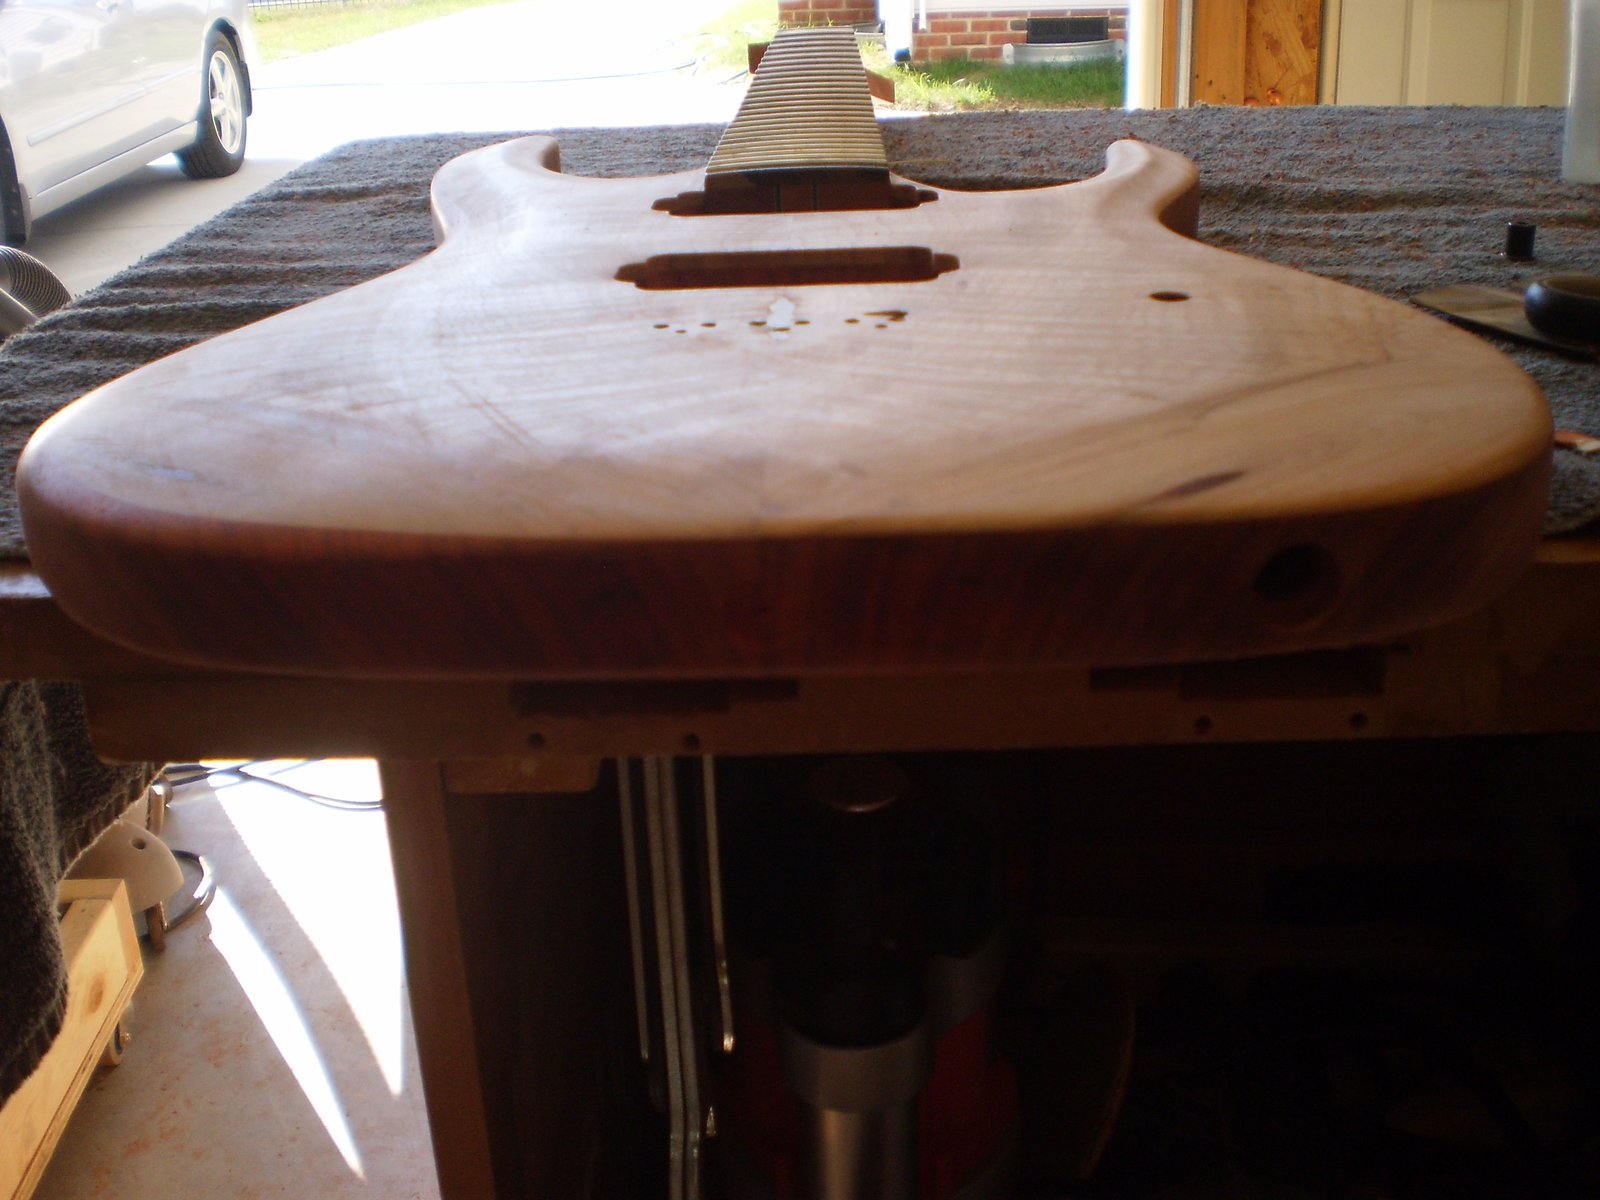
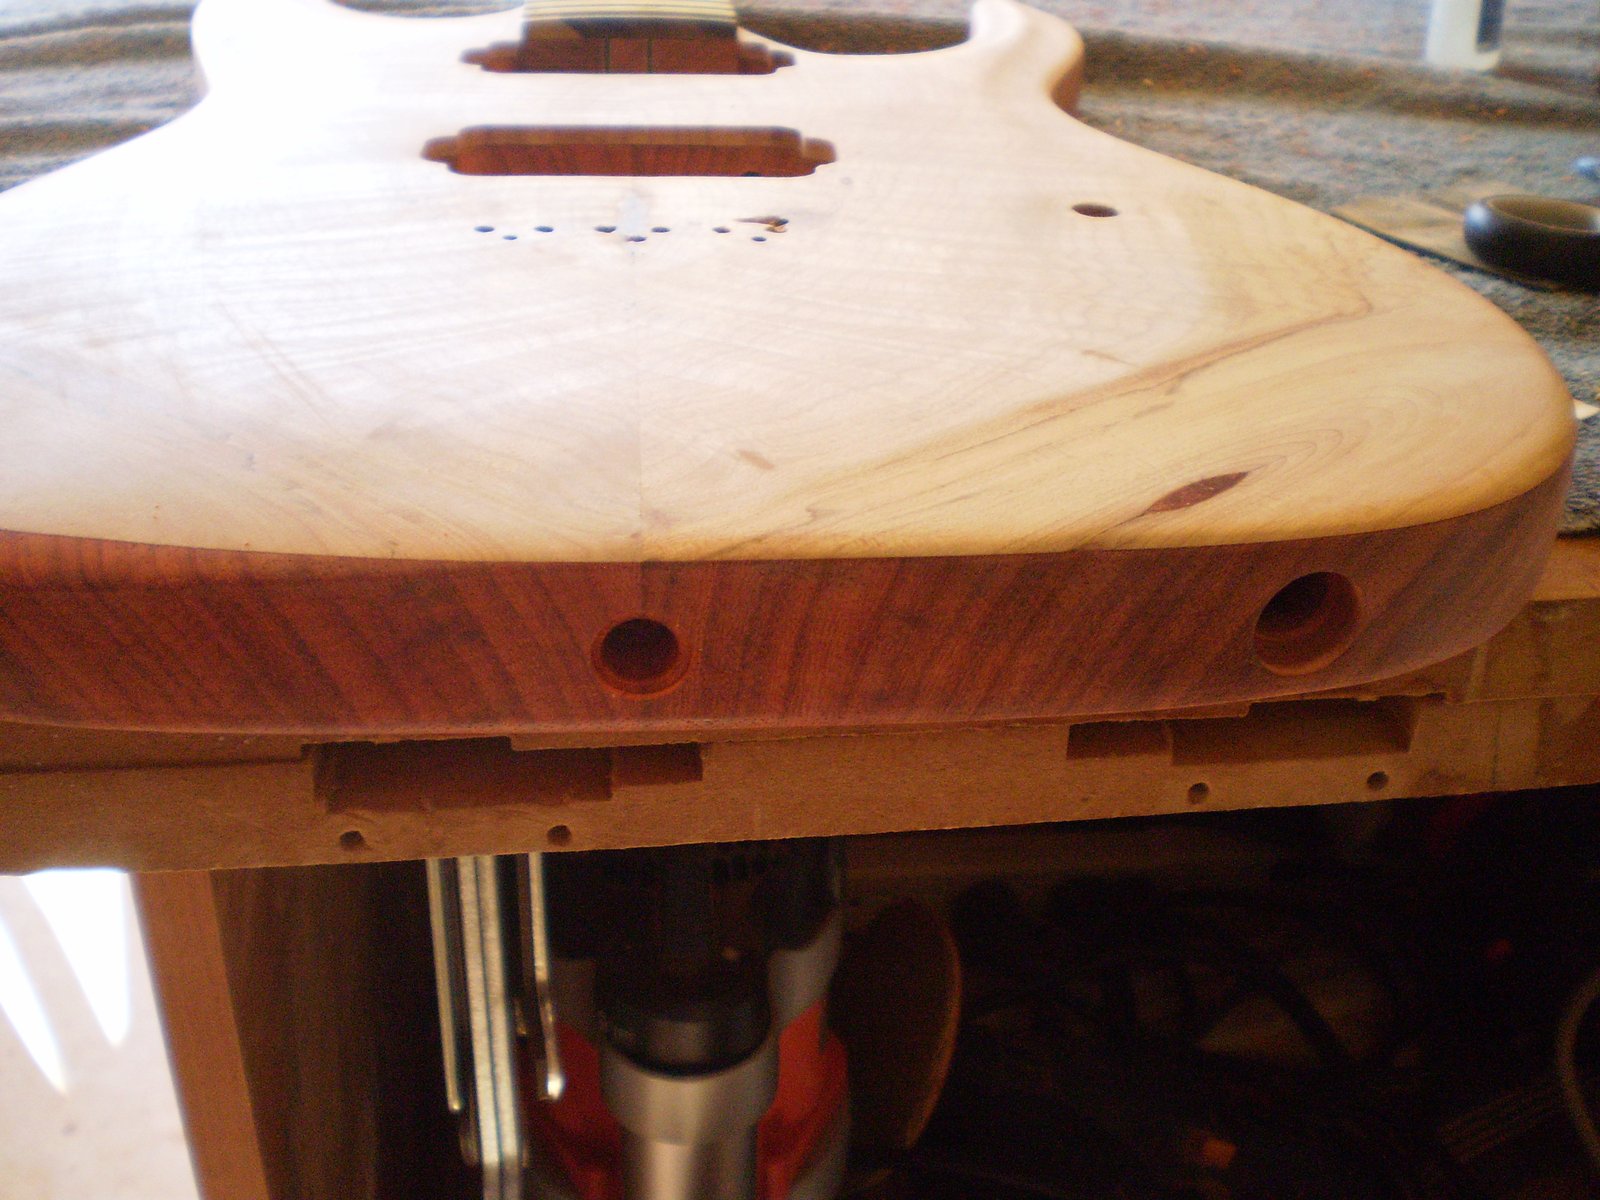
Moving on to strap jacks. I am recessing the locking strap jacks on this one since it will probably be a workhorse at some point. Pictures say it all.

S906 neck set

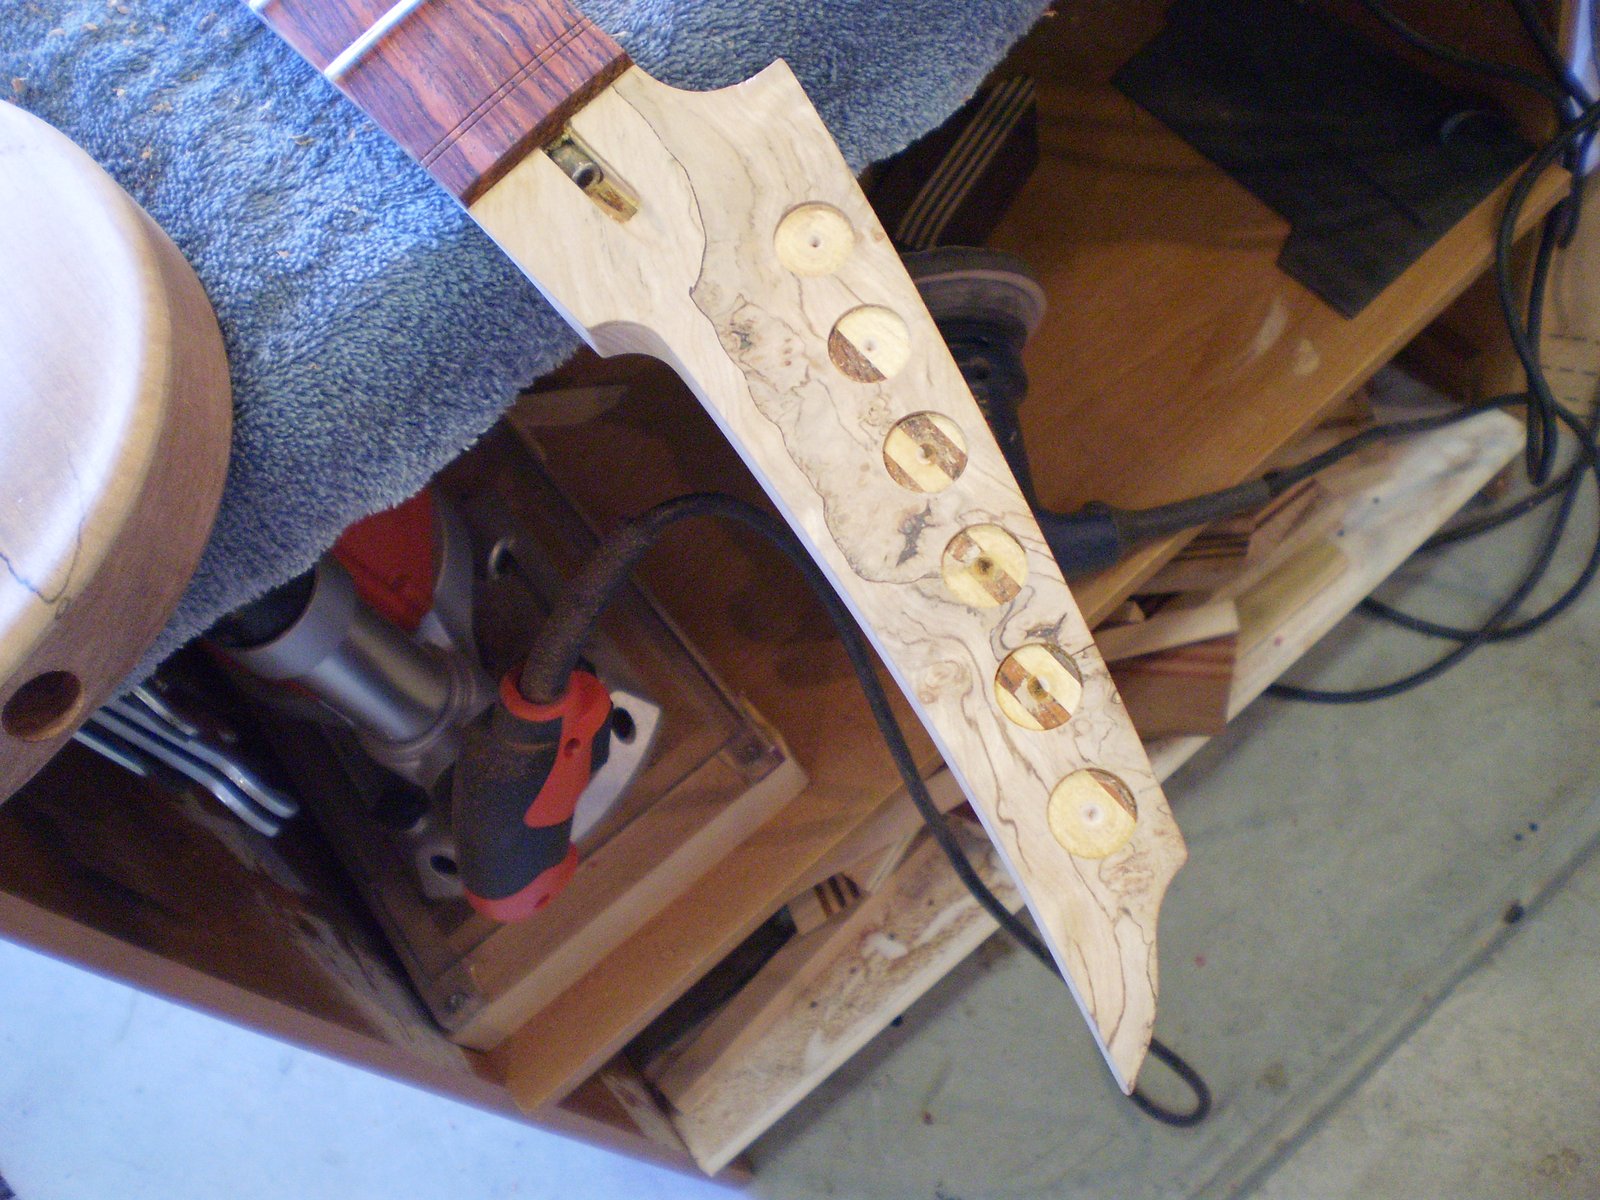
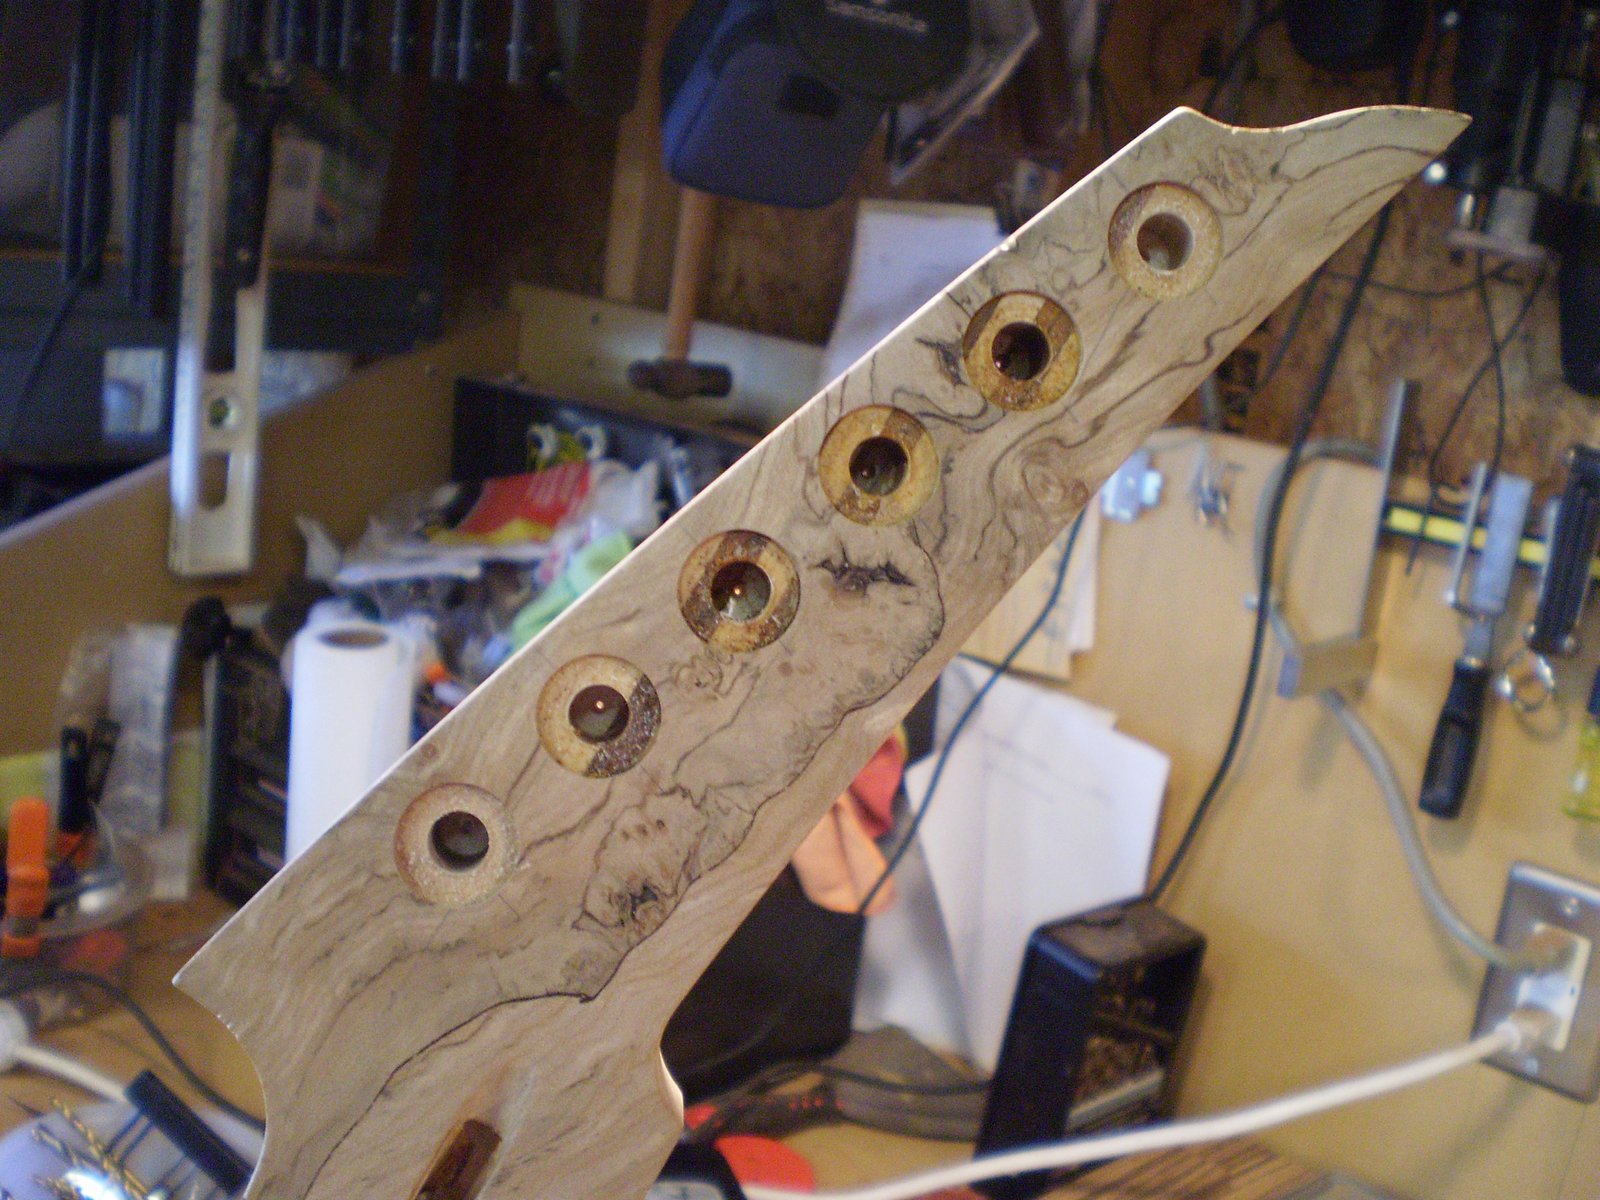
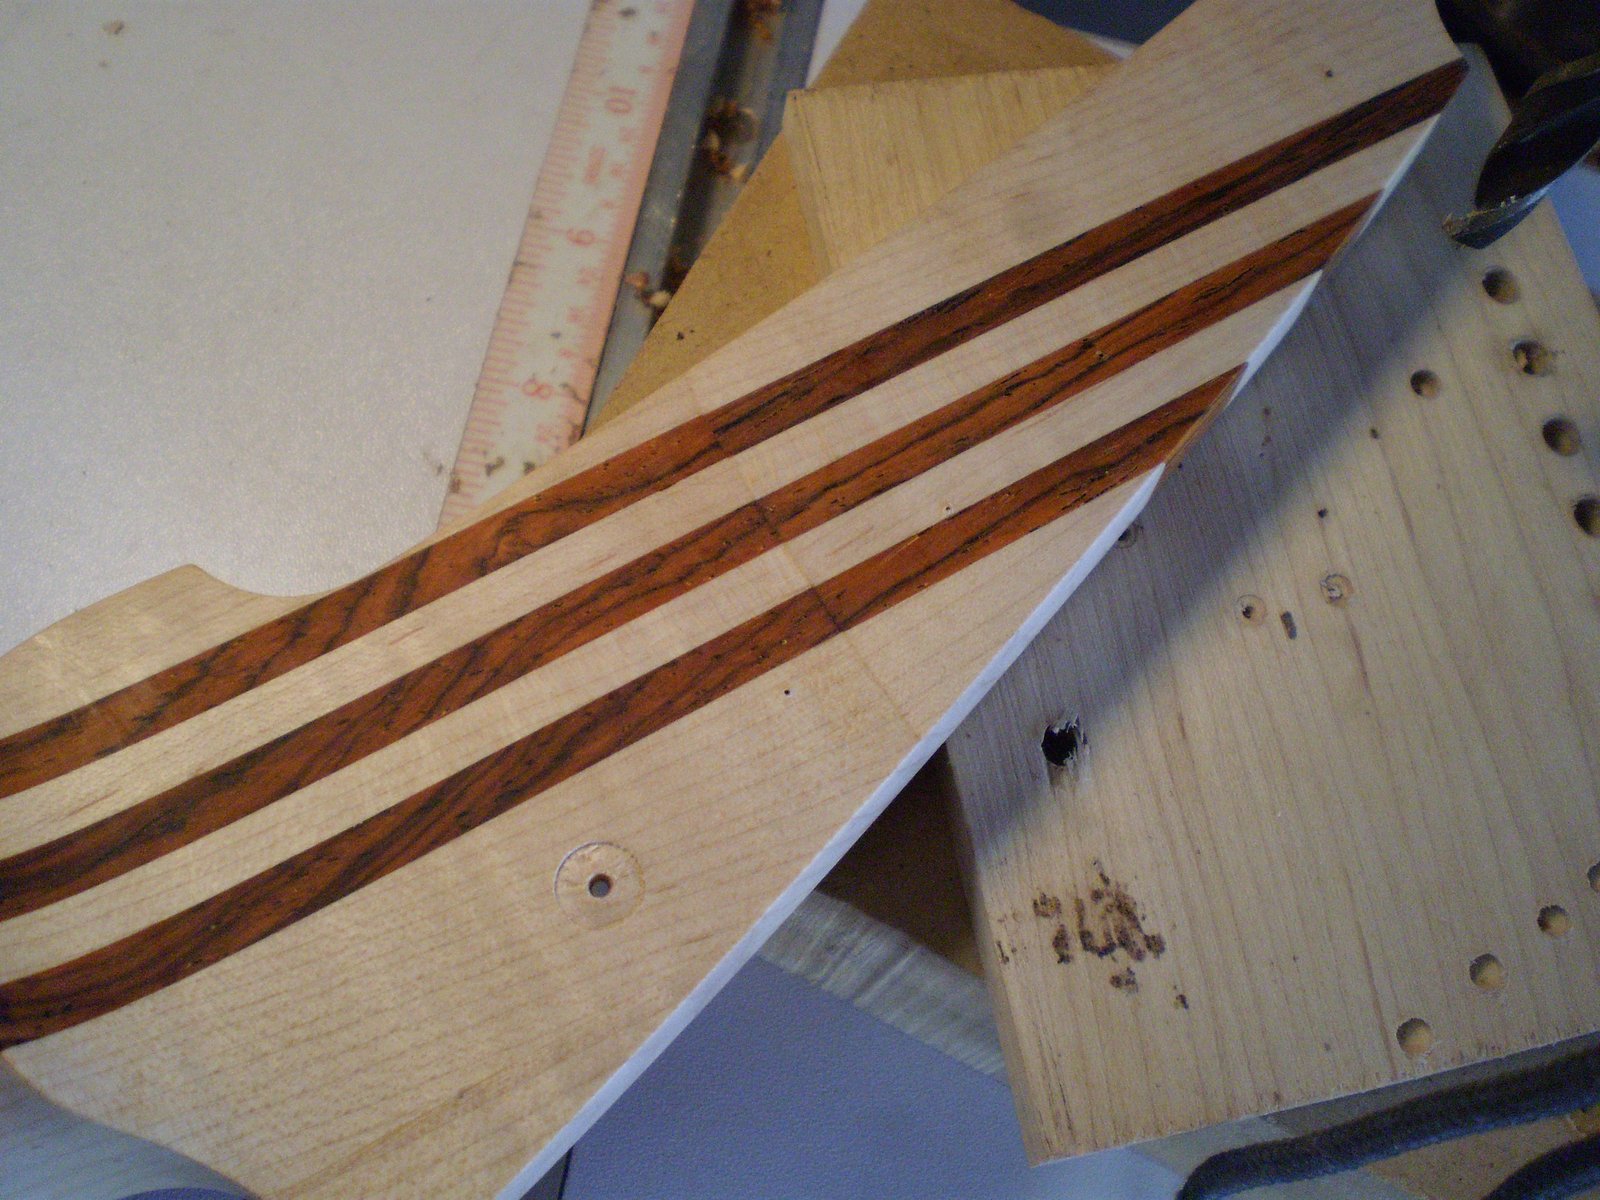
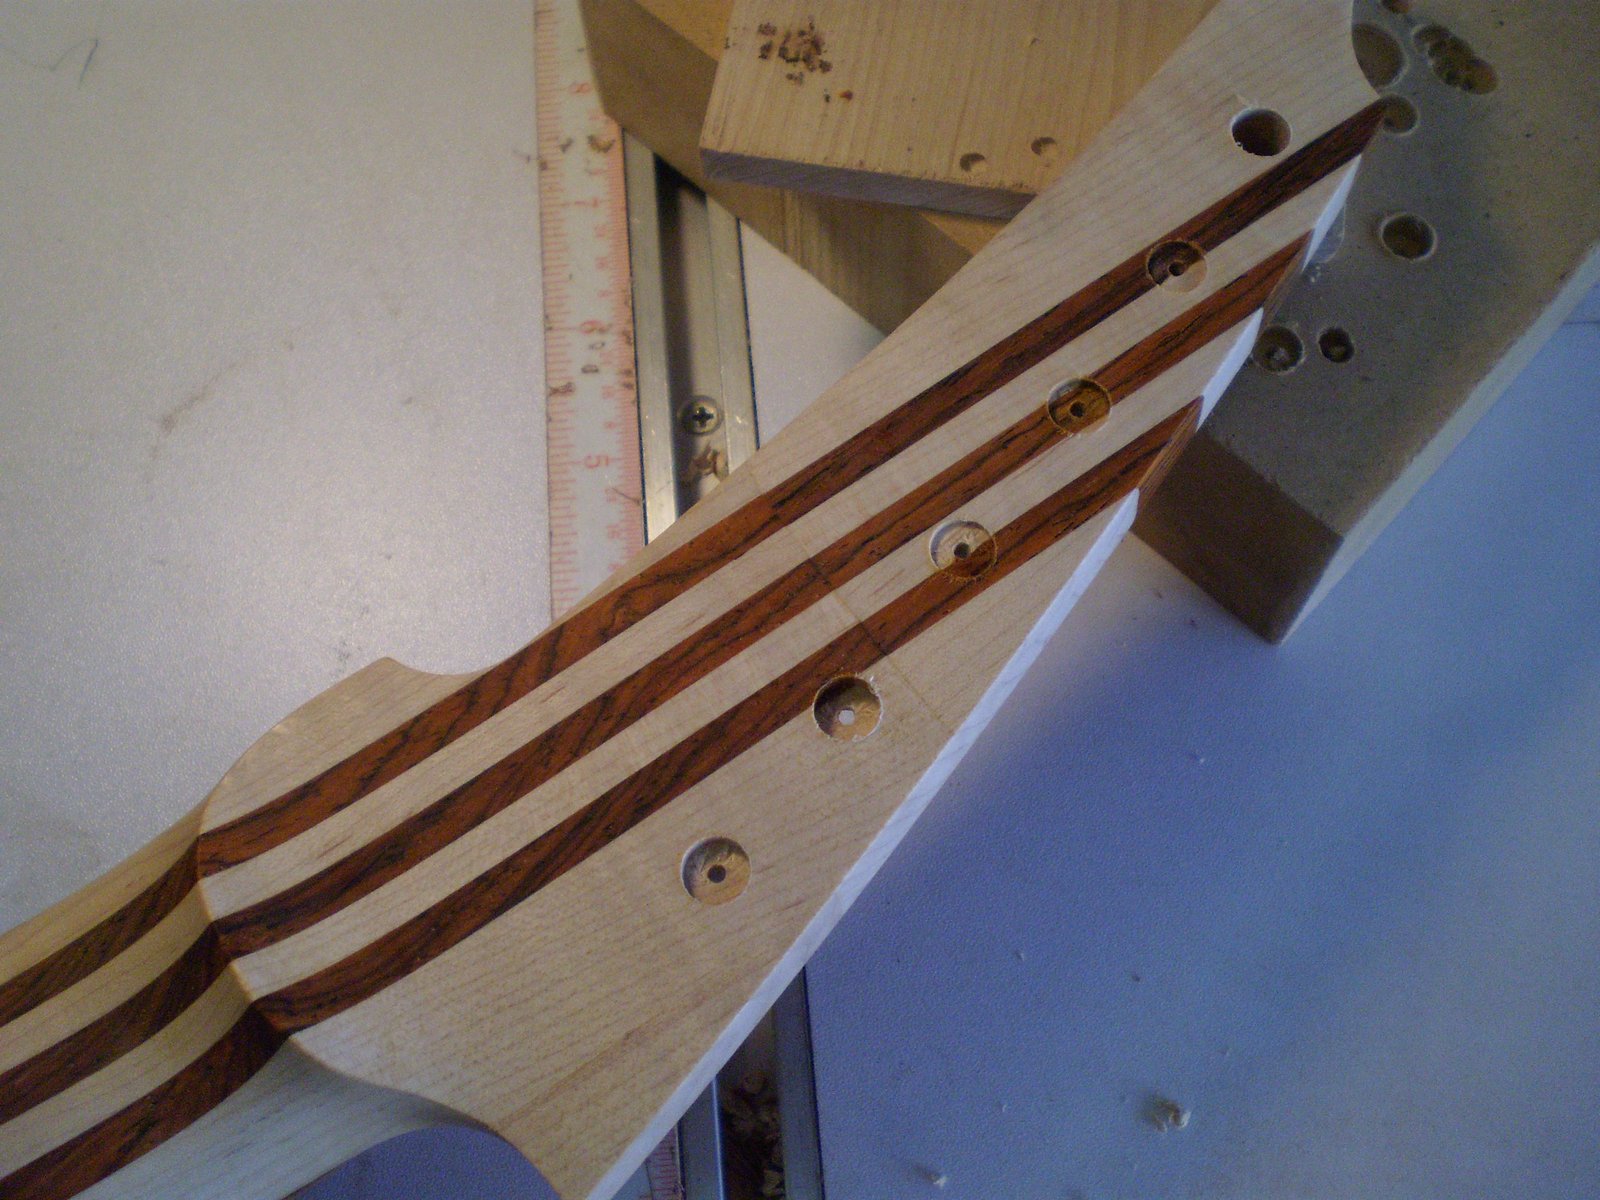
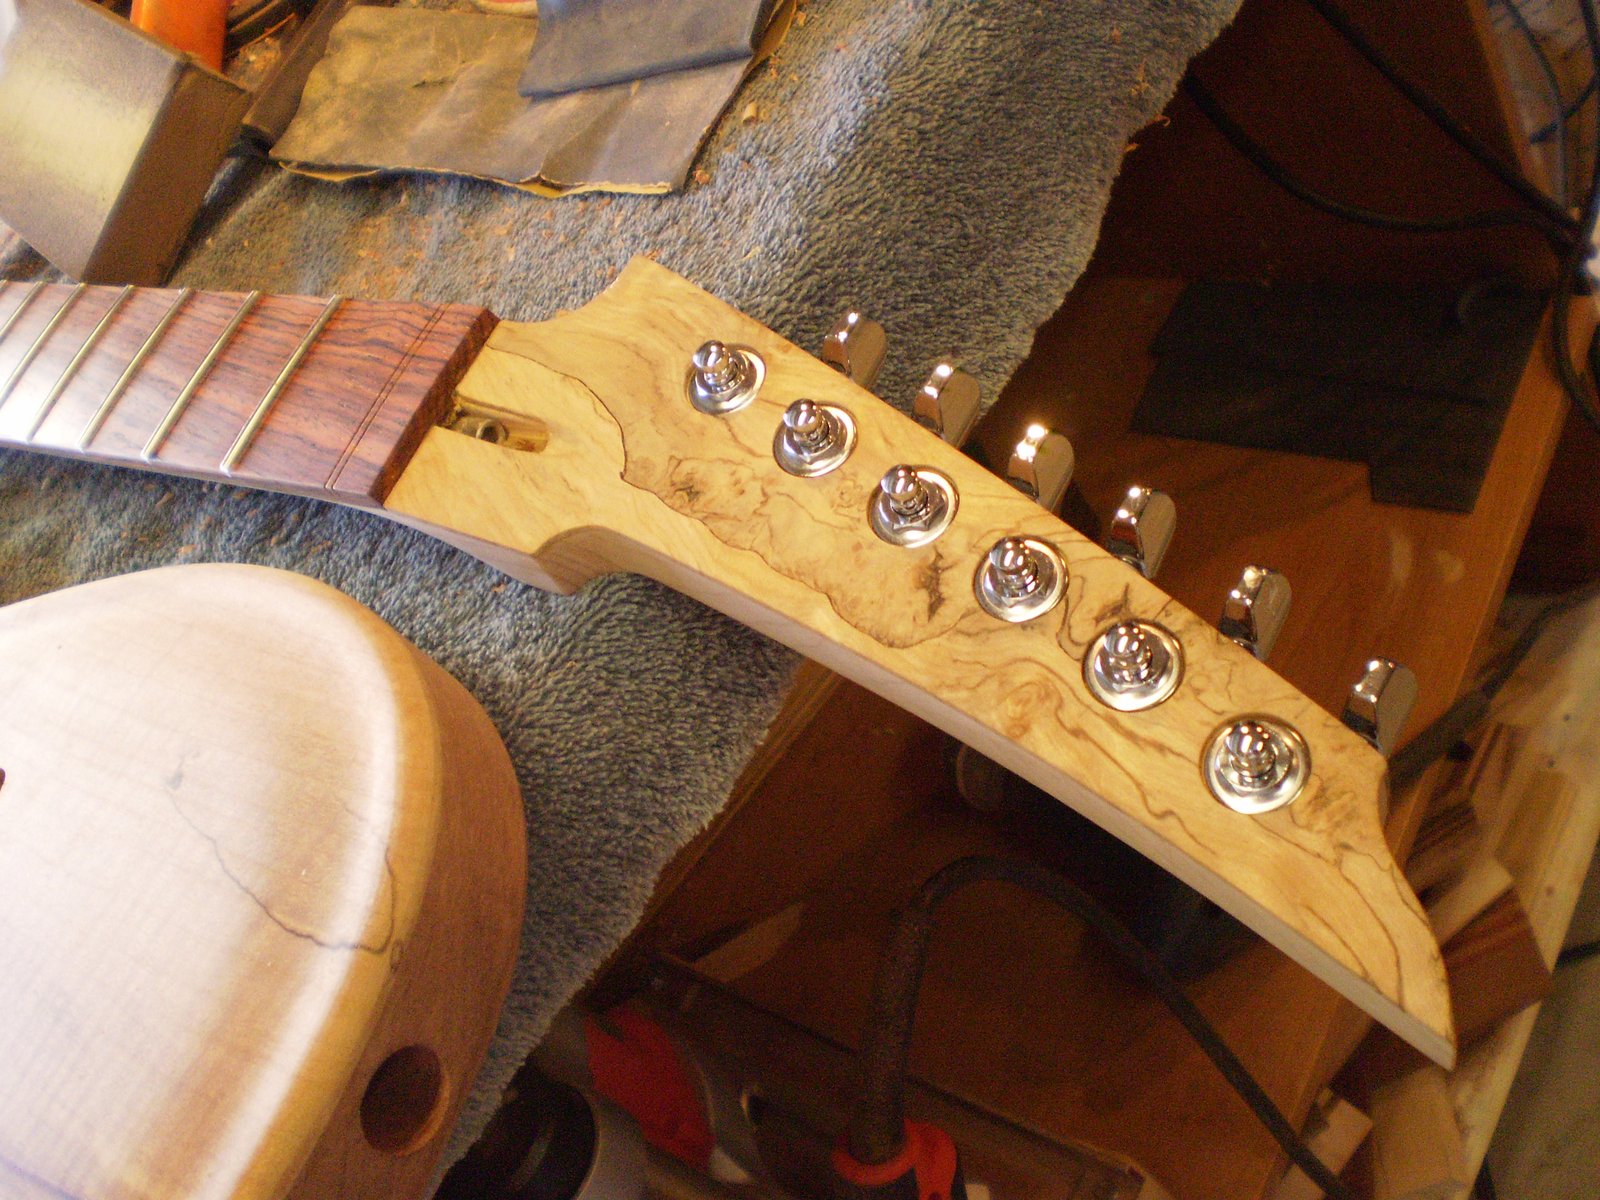
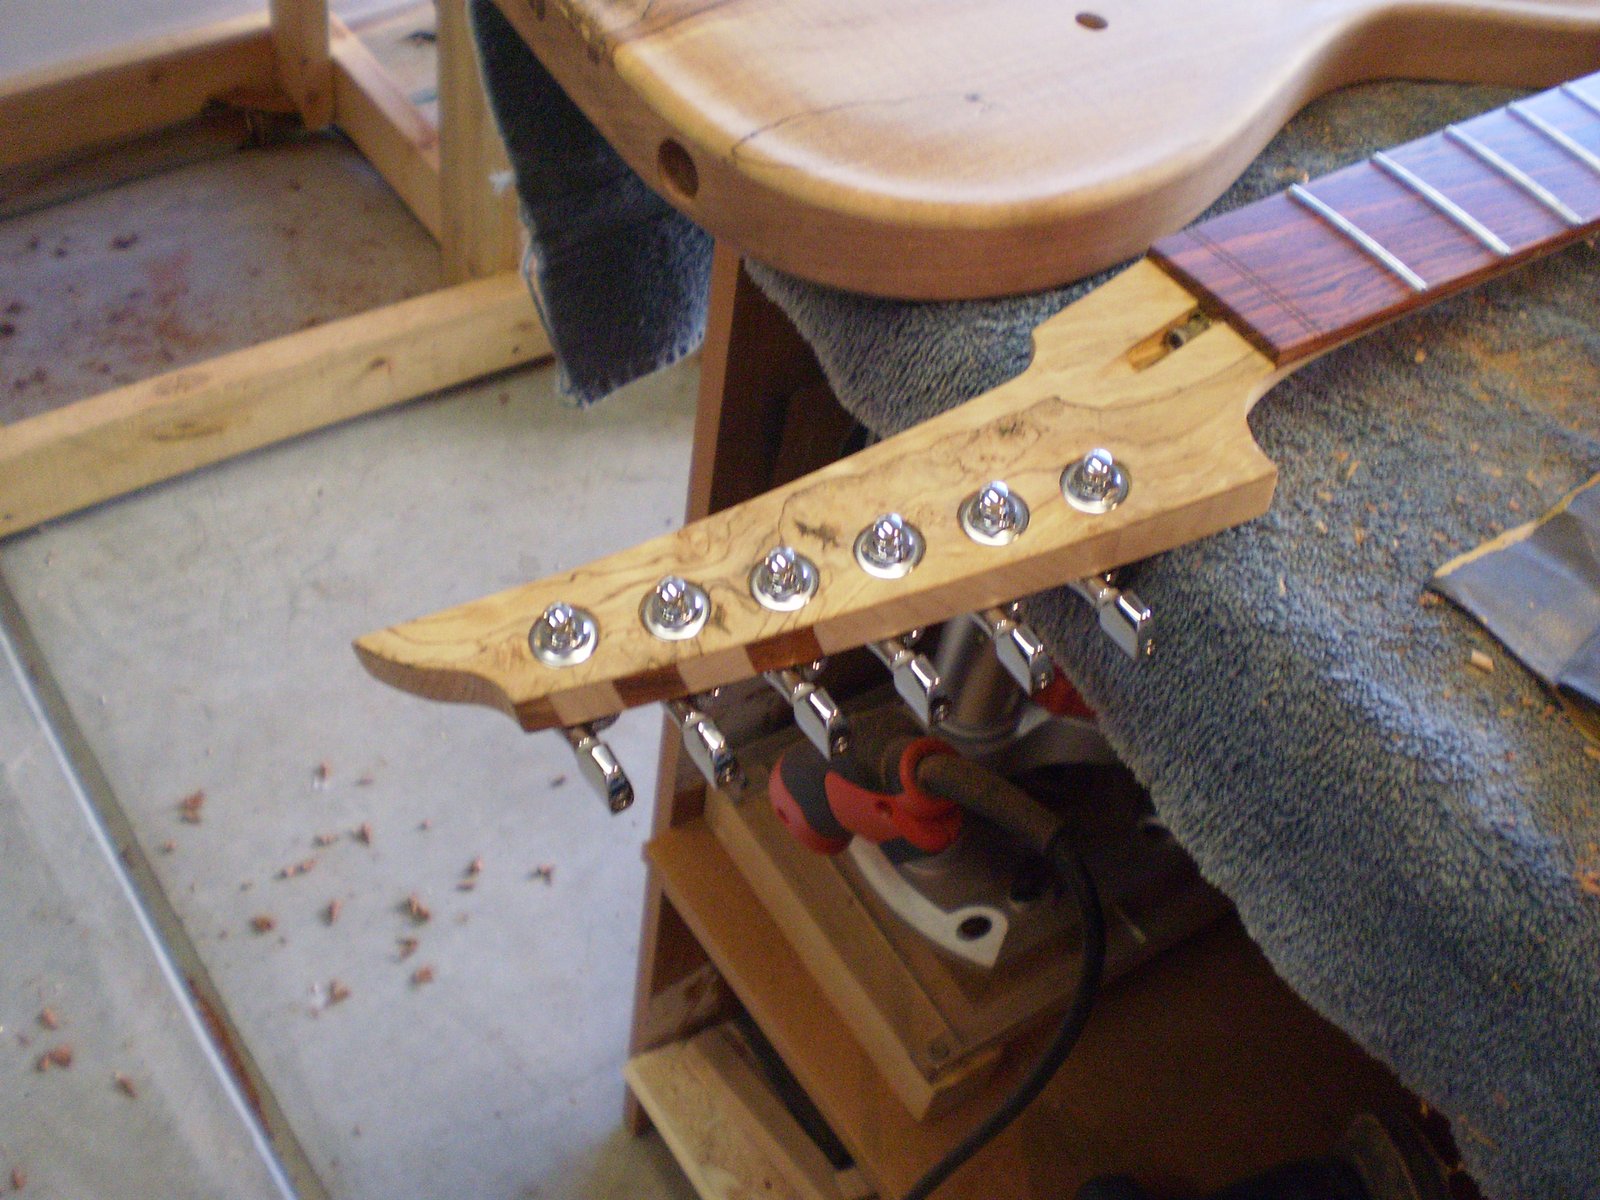
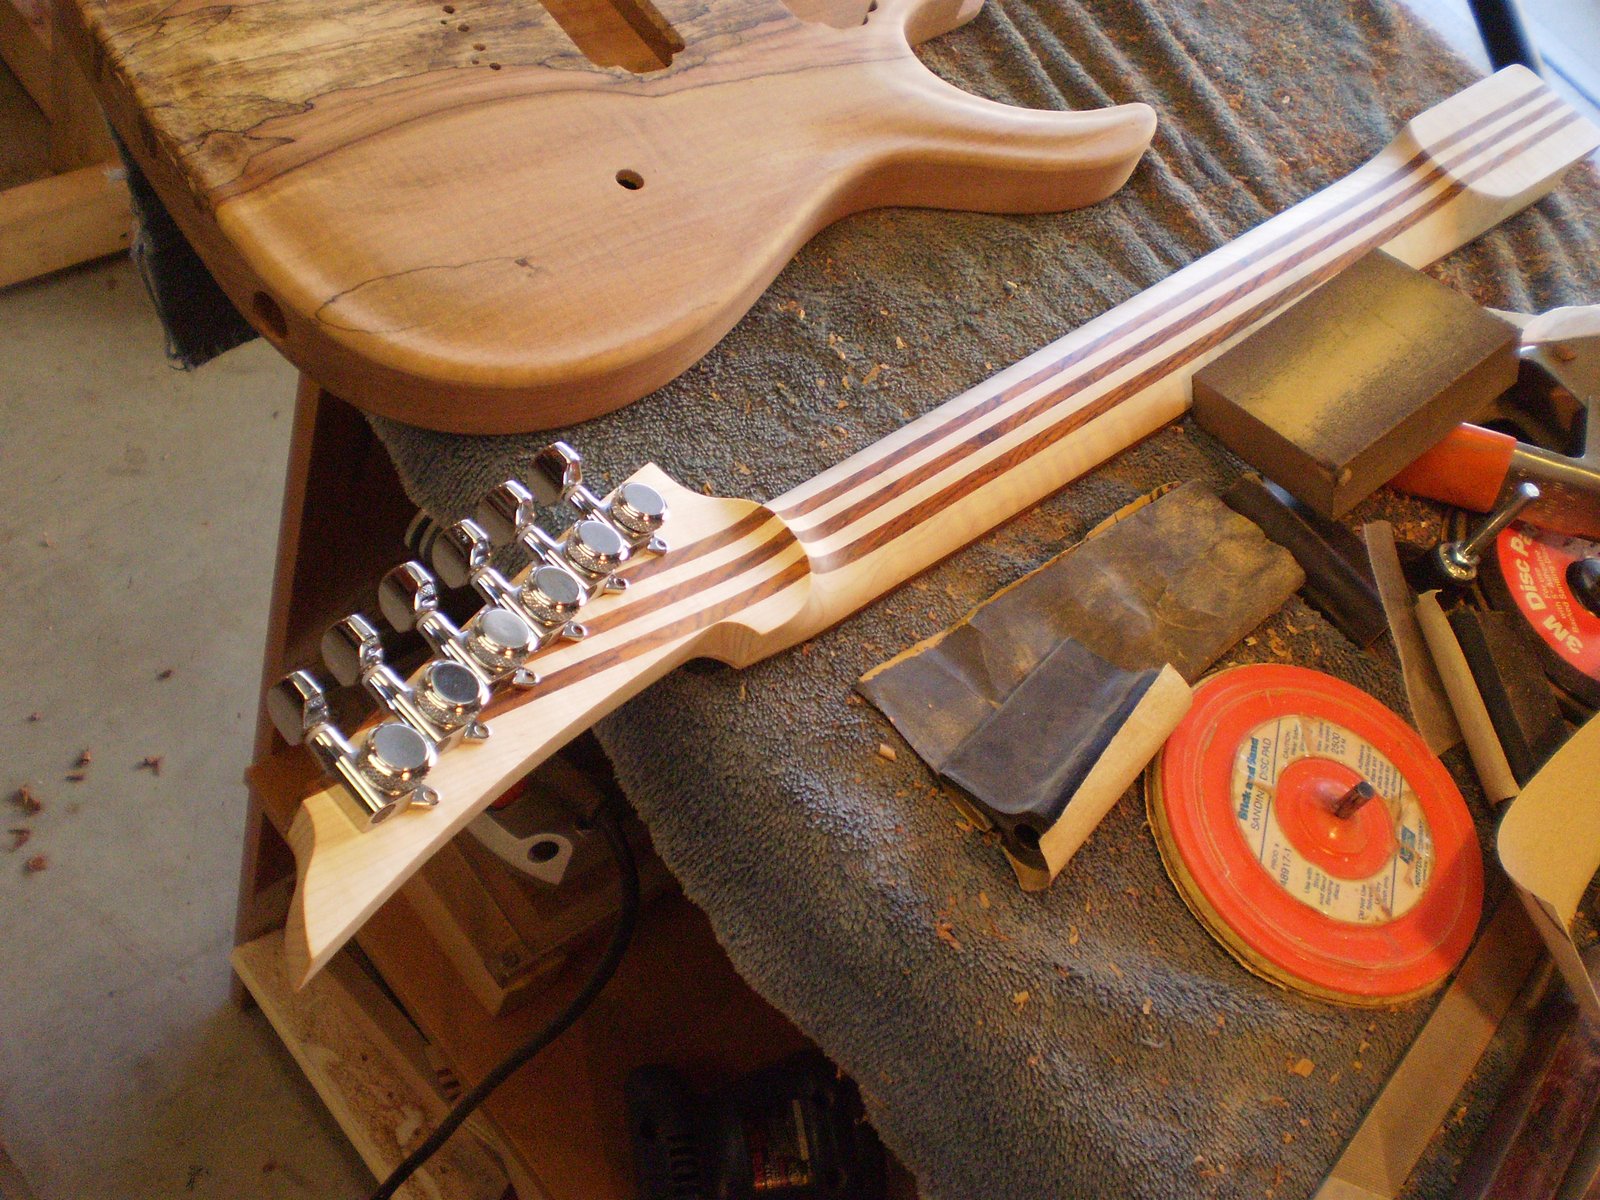
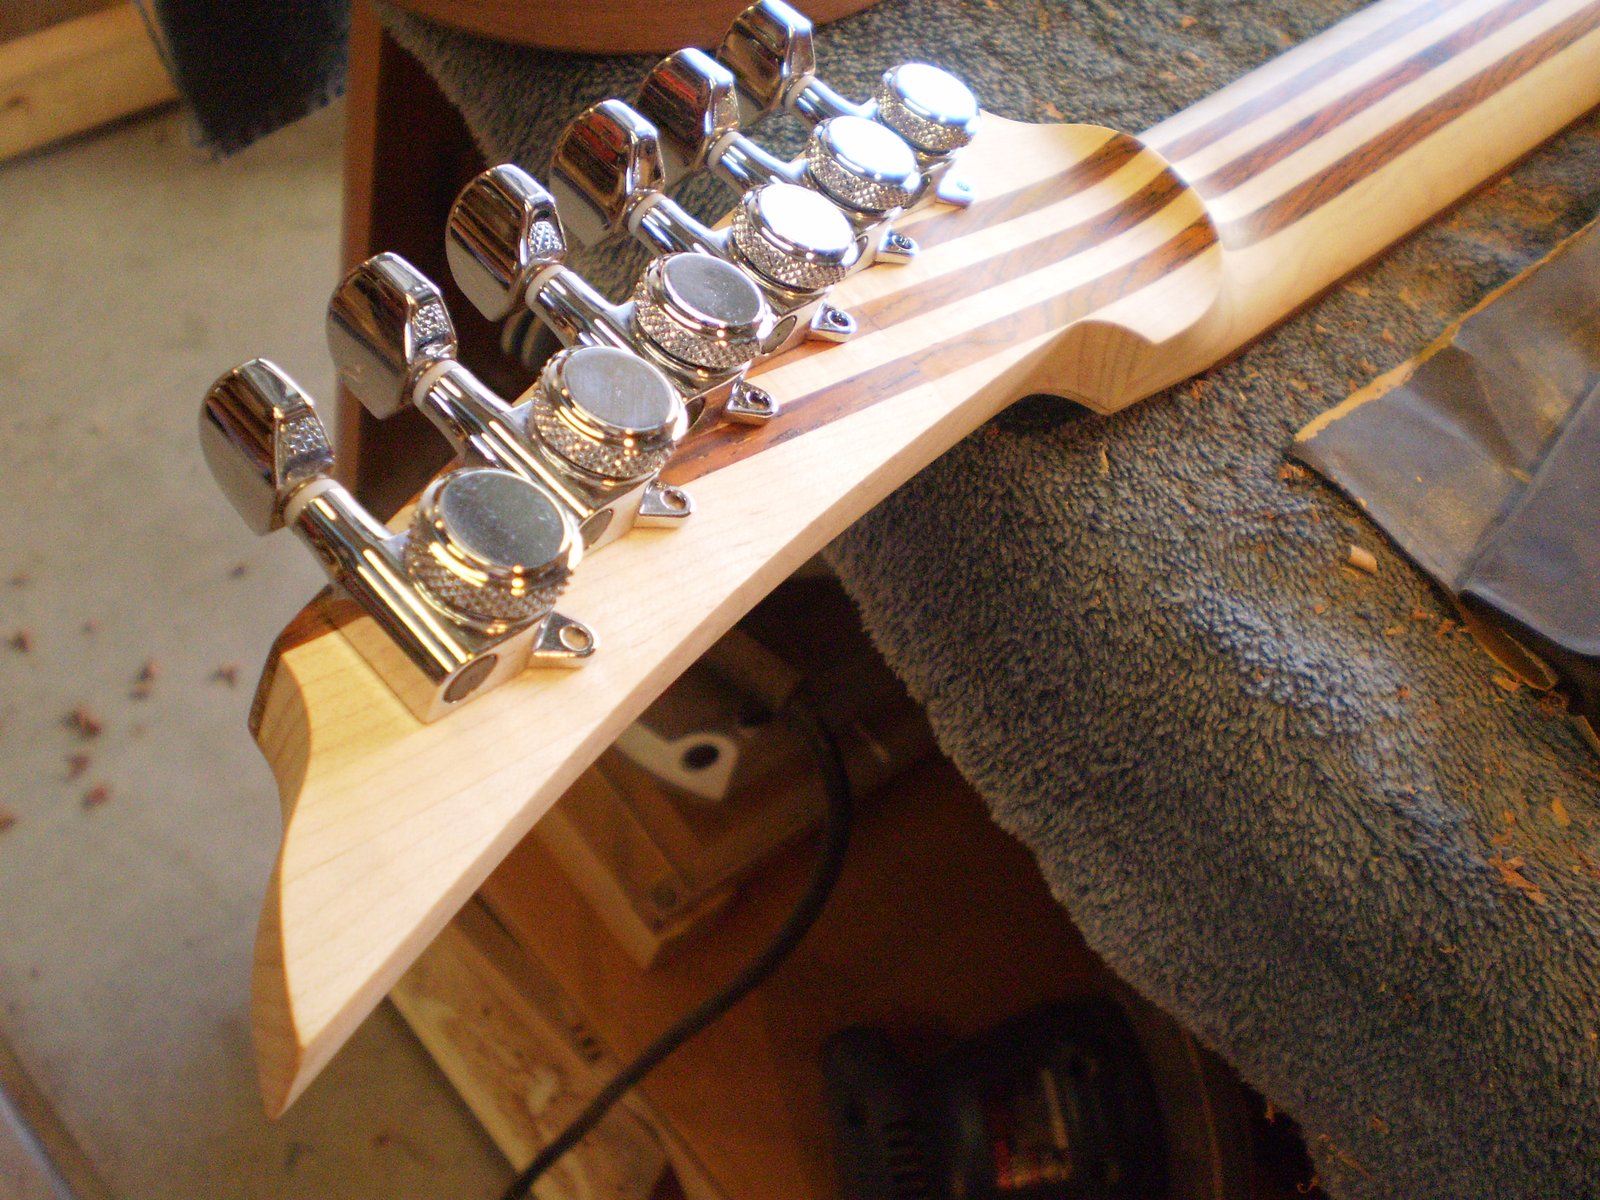
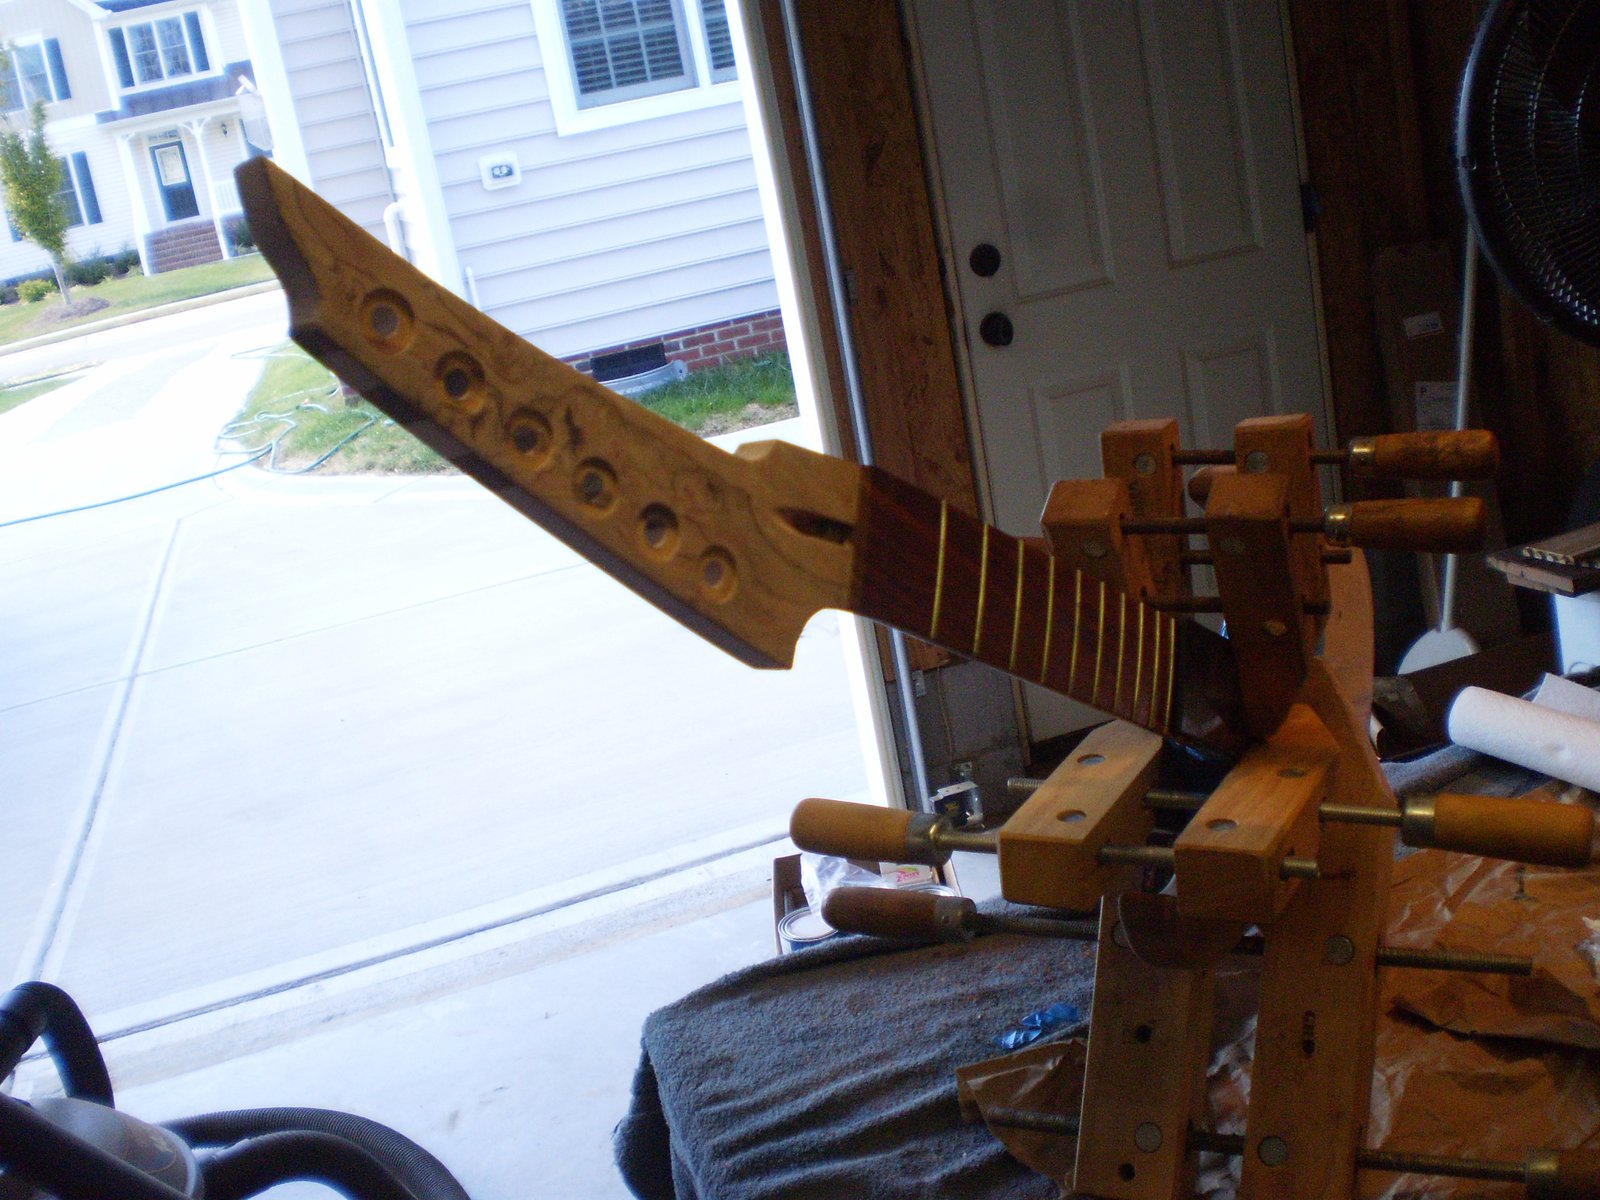
Time to get the tuners recessed and installed. So when you are recessing on the cheap drill the recess first. I use the appropriate sized forstner bit and just cut through the head plate. Then we switch to the 5/16" brad point. This time I am not drilling all the way through. I am tired of tear out on the back of the headstock... even though I come back with the mill bit and widen the hole I am going to practice not making a mess on this one.


As you can see I stopped where the tip of the brad point starts to show. I then flip the headstock and drill through from the back. Like this...


And the results...


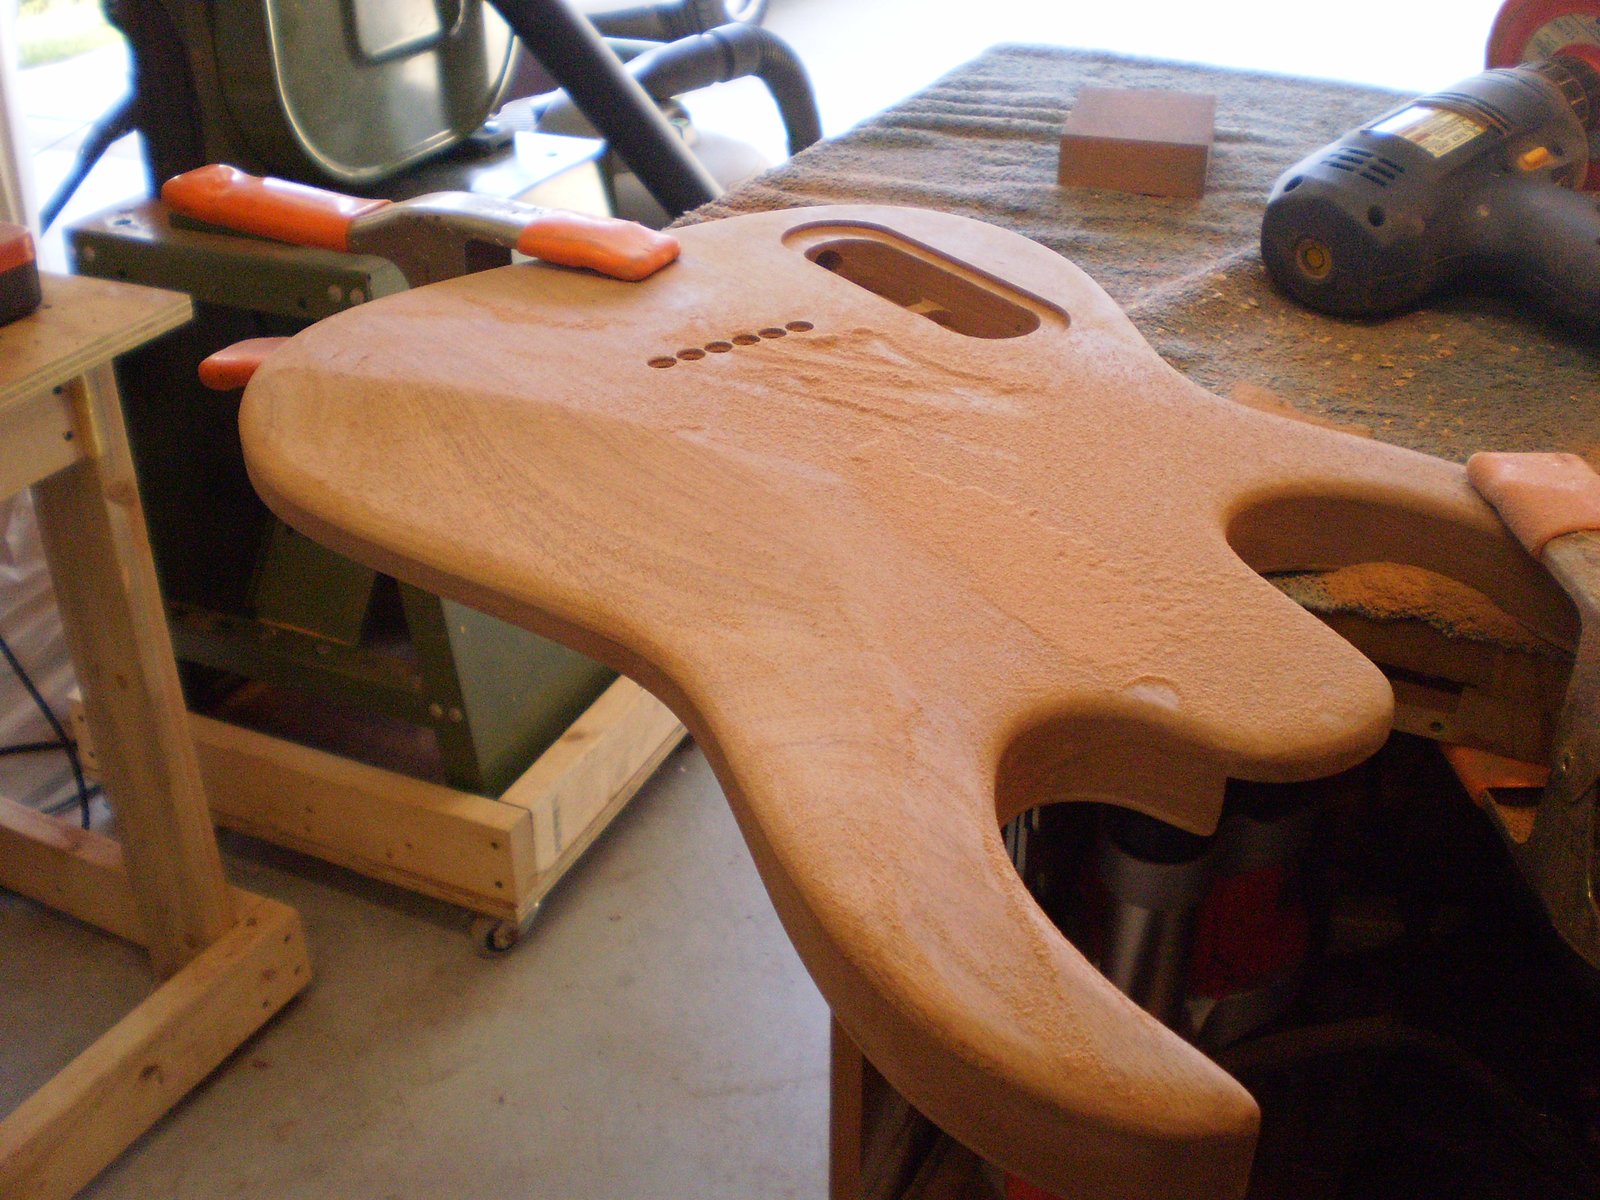
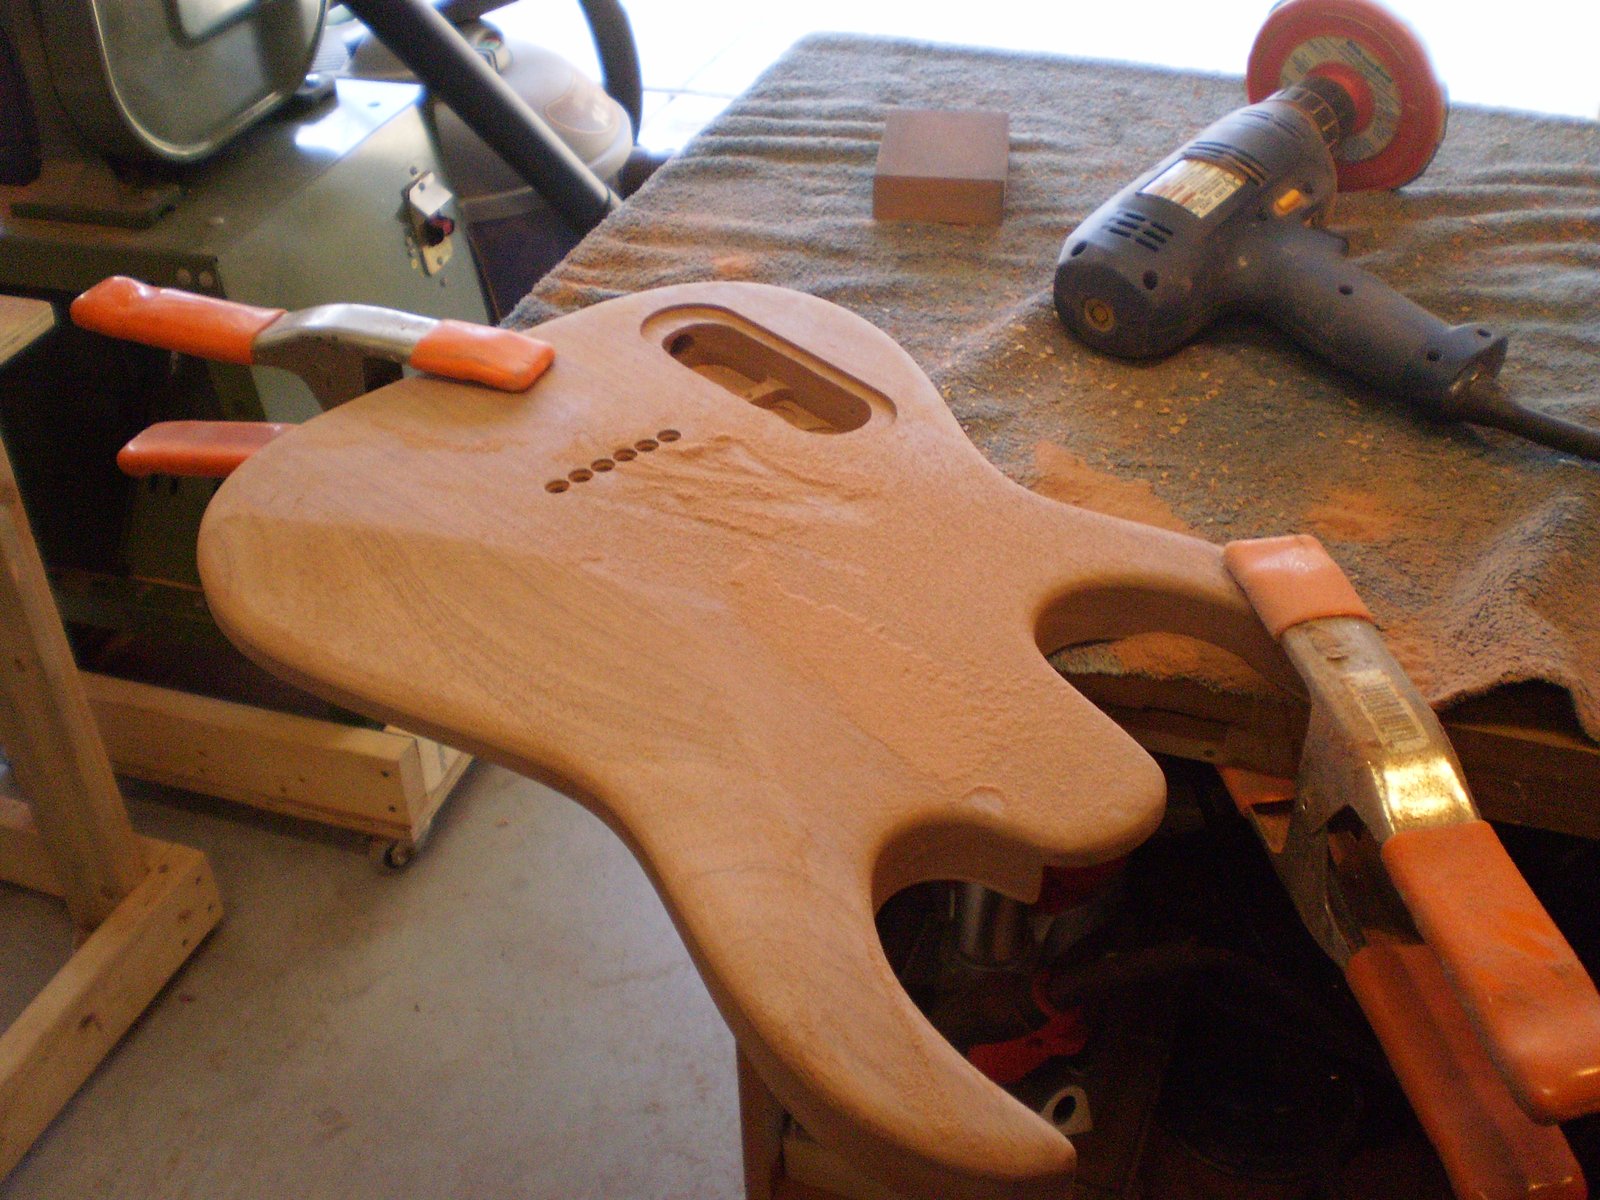
Time to carve the back. The initial carve is done with a 5" 40grit sanding disk in a hand drill. Sapele cuts like butter so this works... on harder woods I use the big grinder.


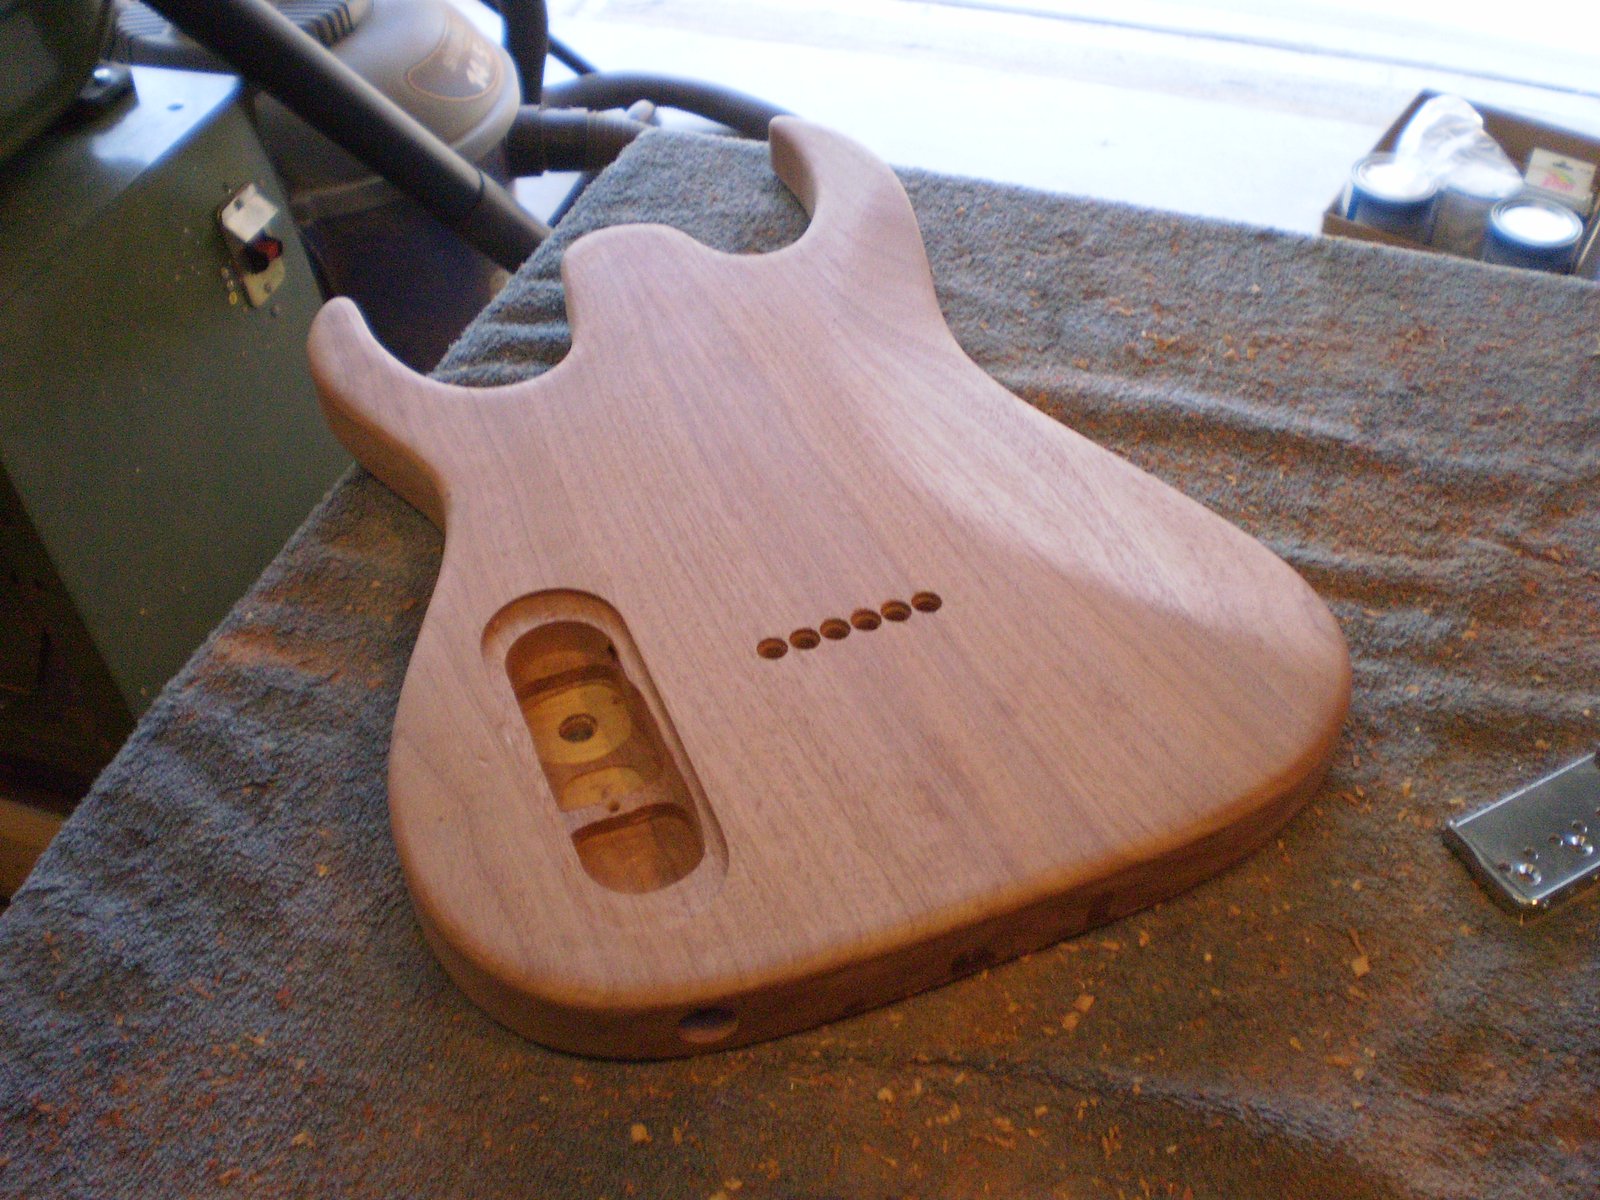
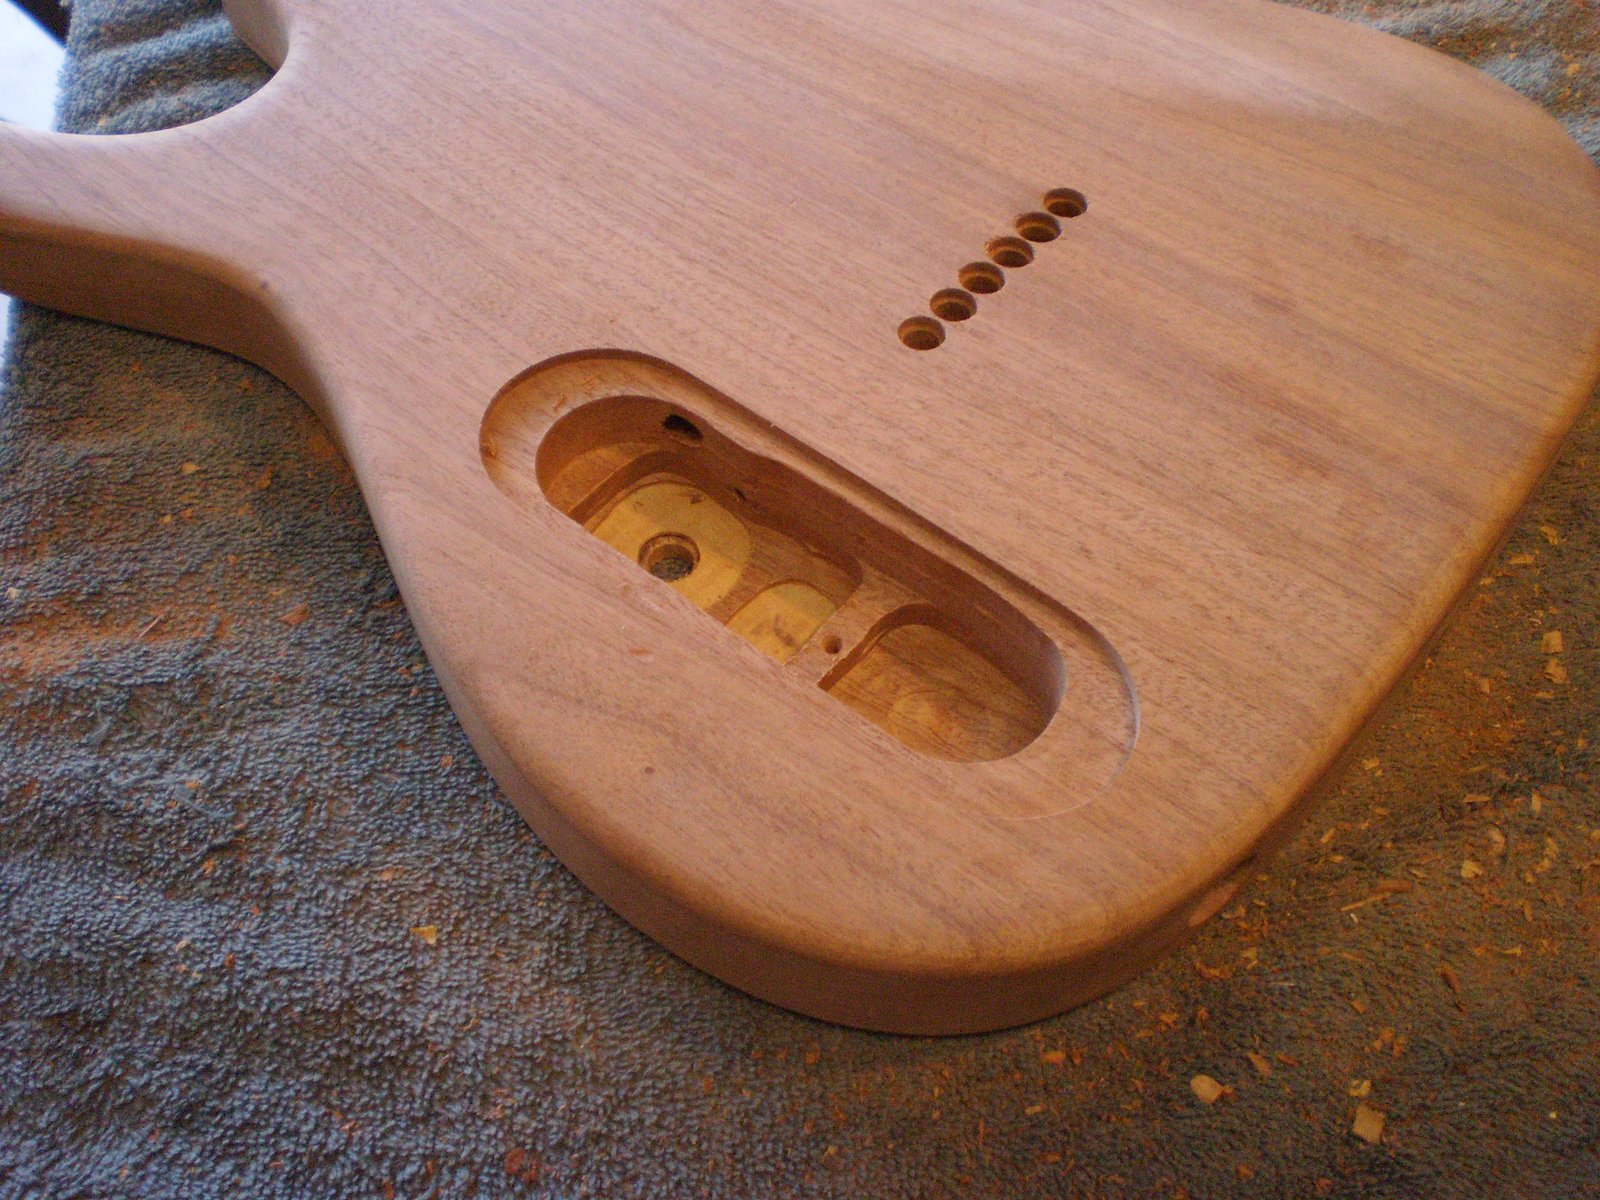
Drill the electronics holes... Almost forgot that one. That would be a bad thing...


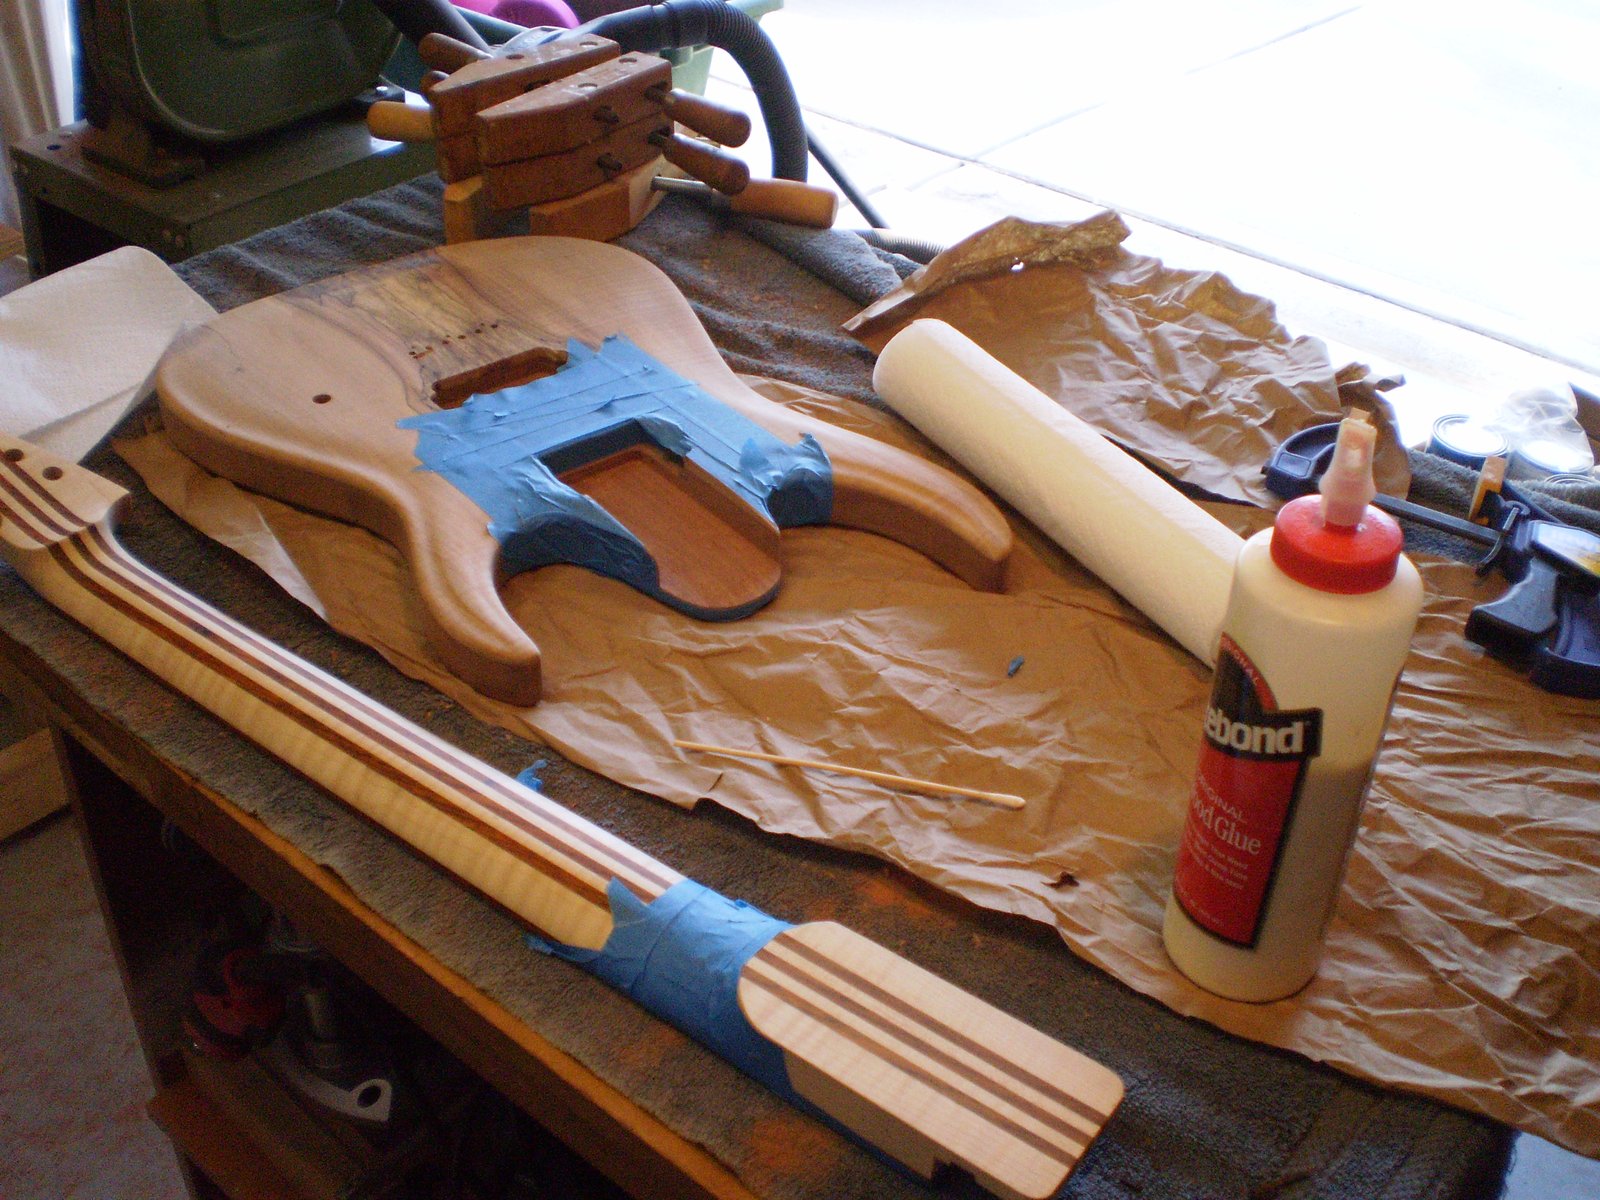
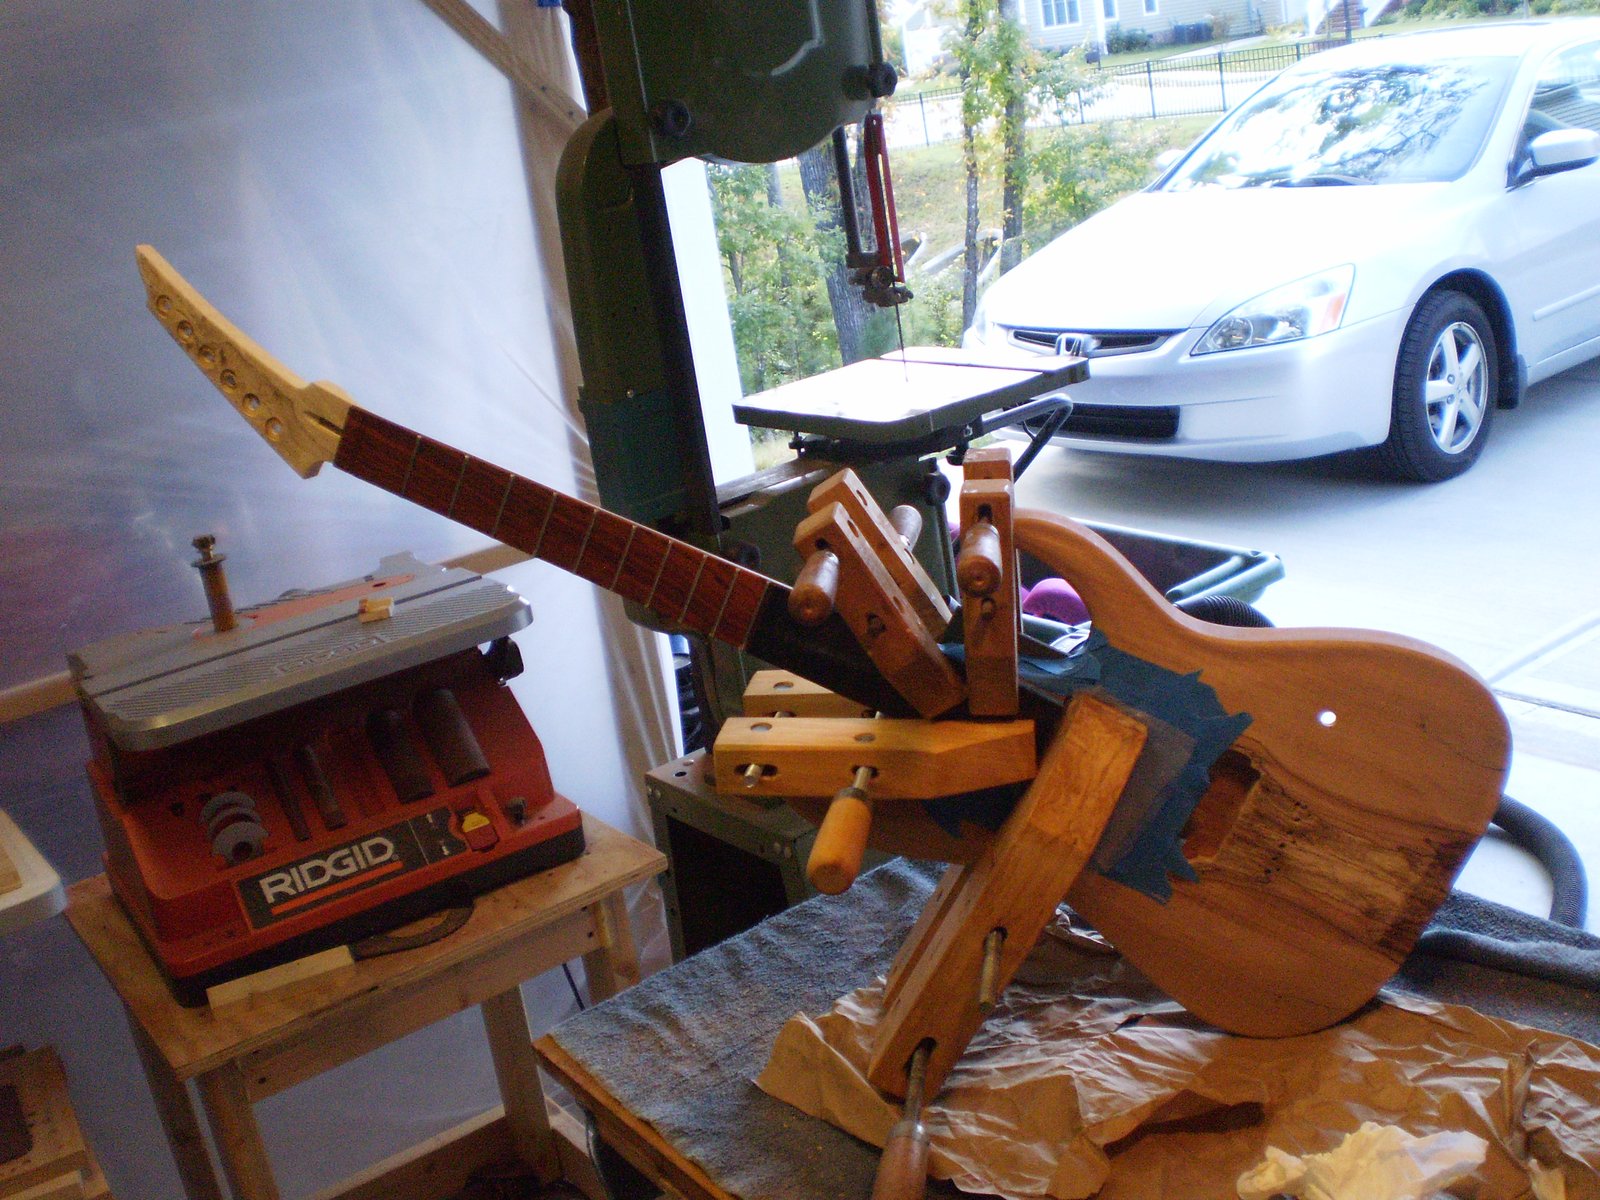
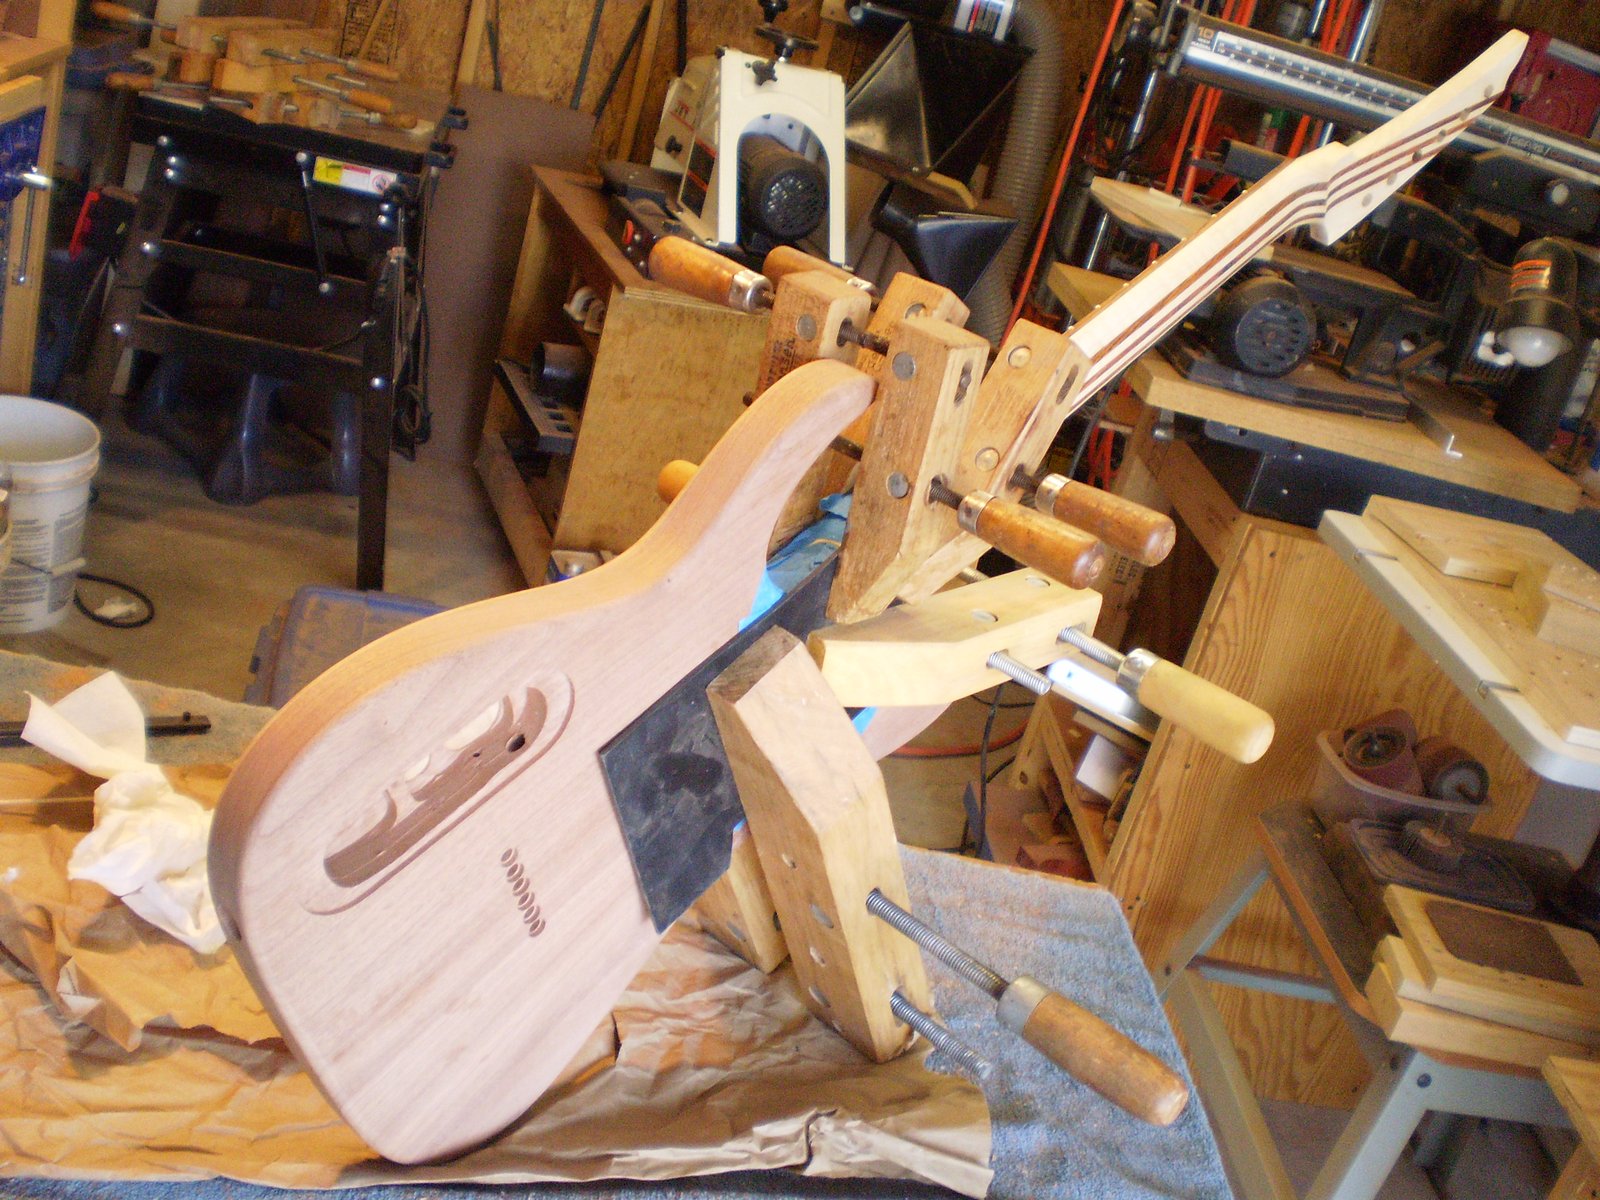
Lastly glue the neck in. No rocket science here. We sand the joint to create a fresh surface for gluing (a must for PVA glues). We tape off everything within 1/16" of the joint being careful not to get too close. Apply glue, temporary clamp, wipe off all the excess glue, then put the big clamps on.

Friday, October 1, 2010

Pickups for the S907 #2

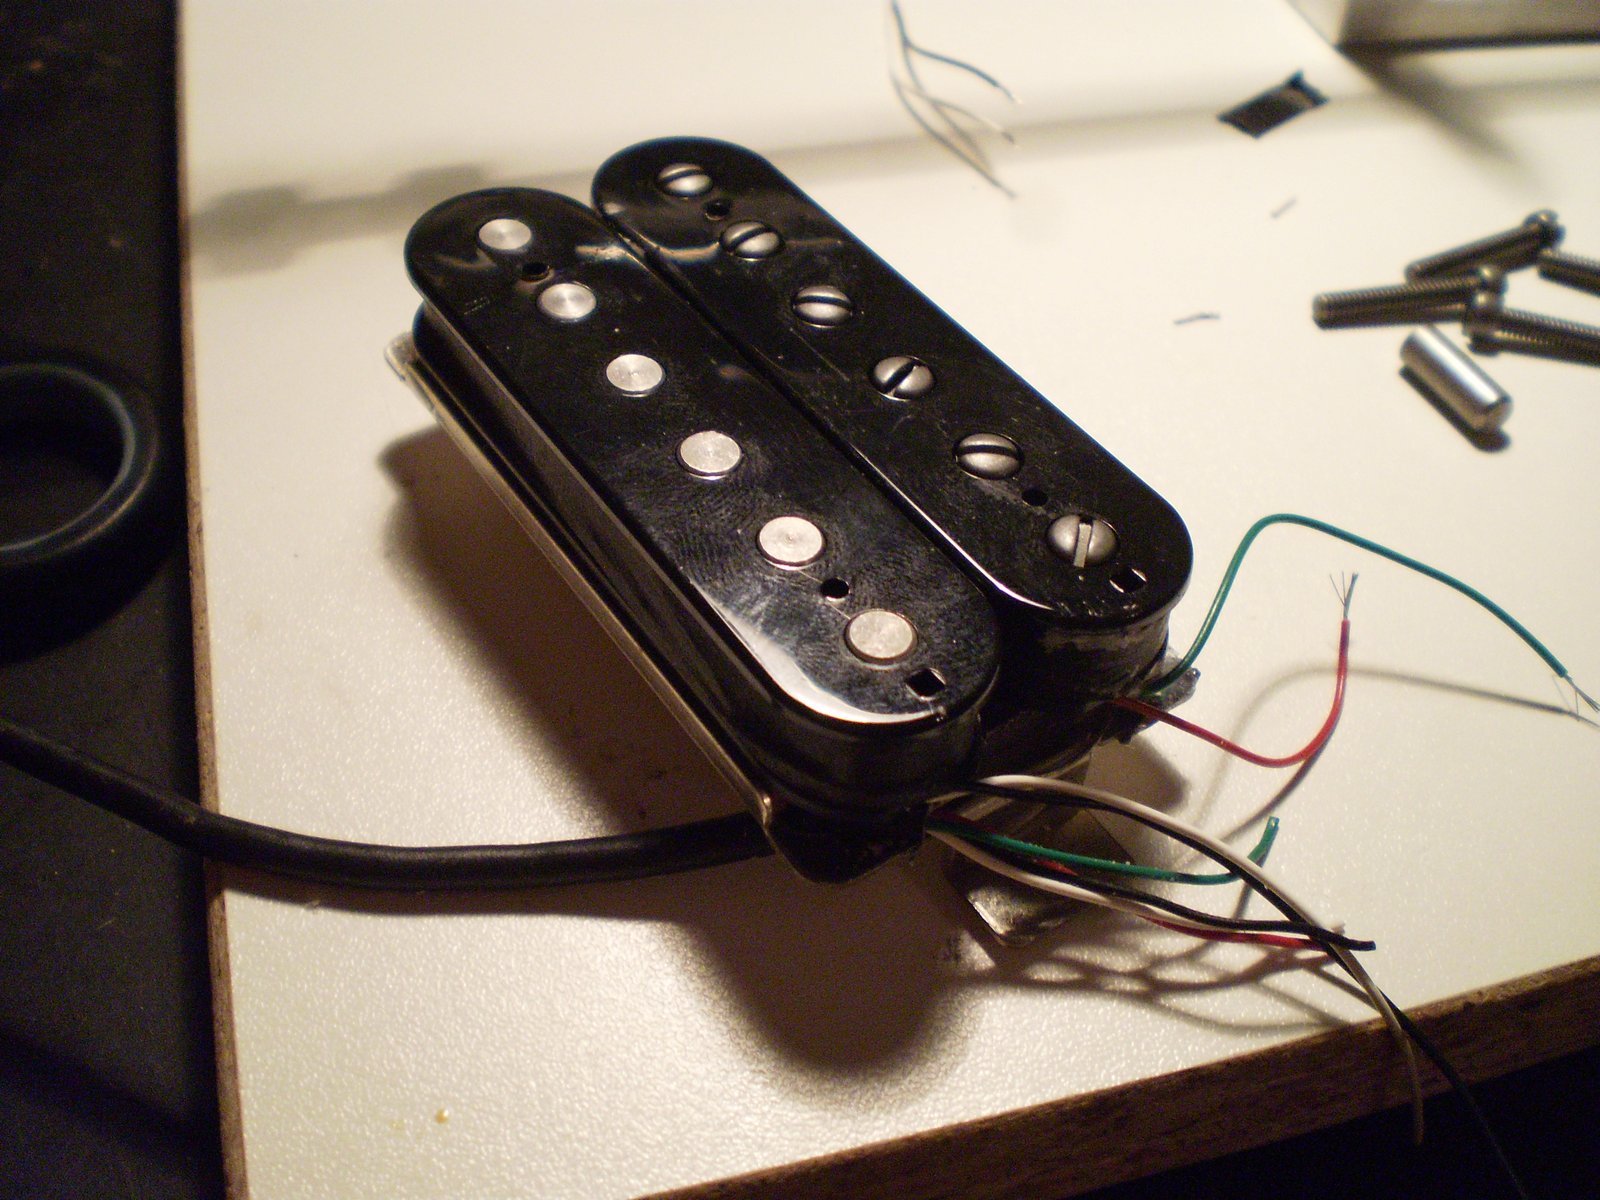
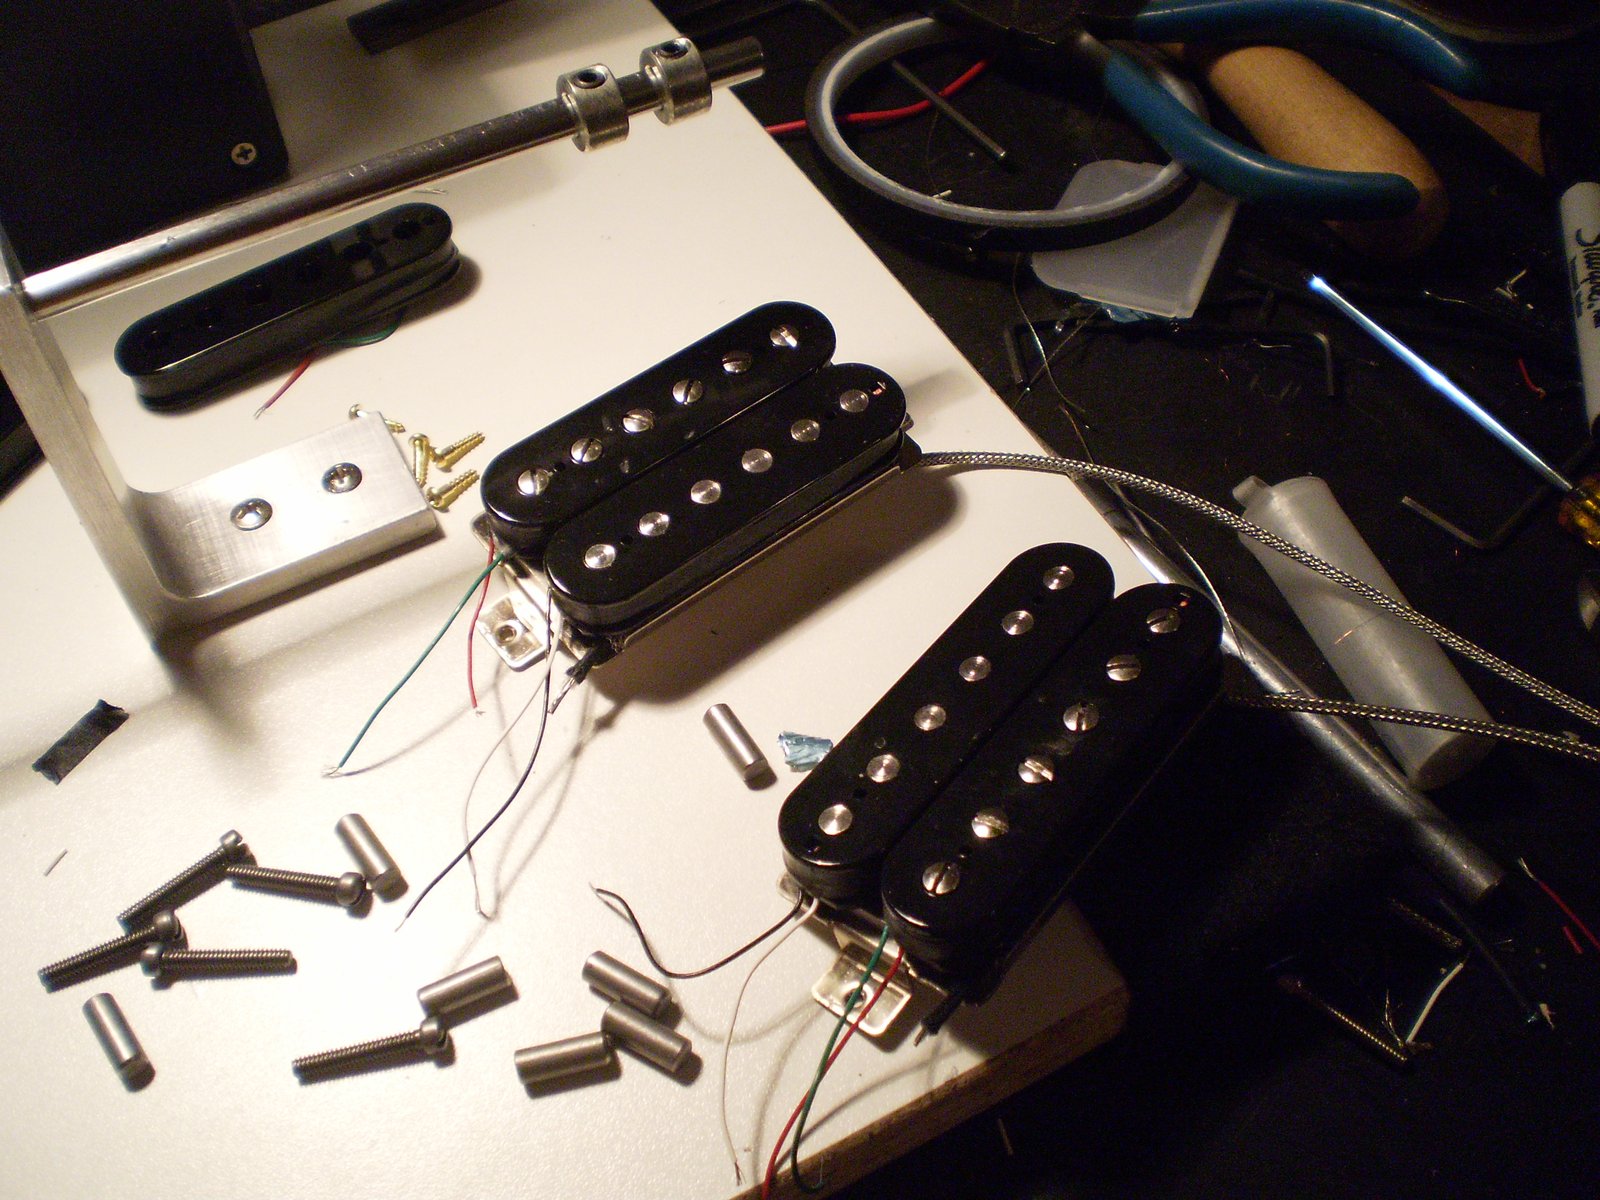
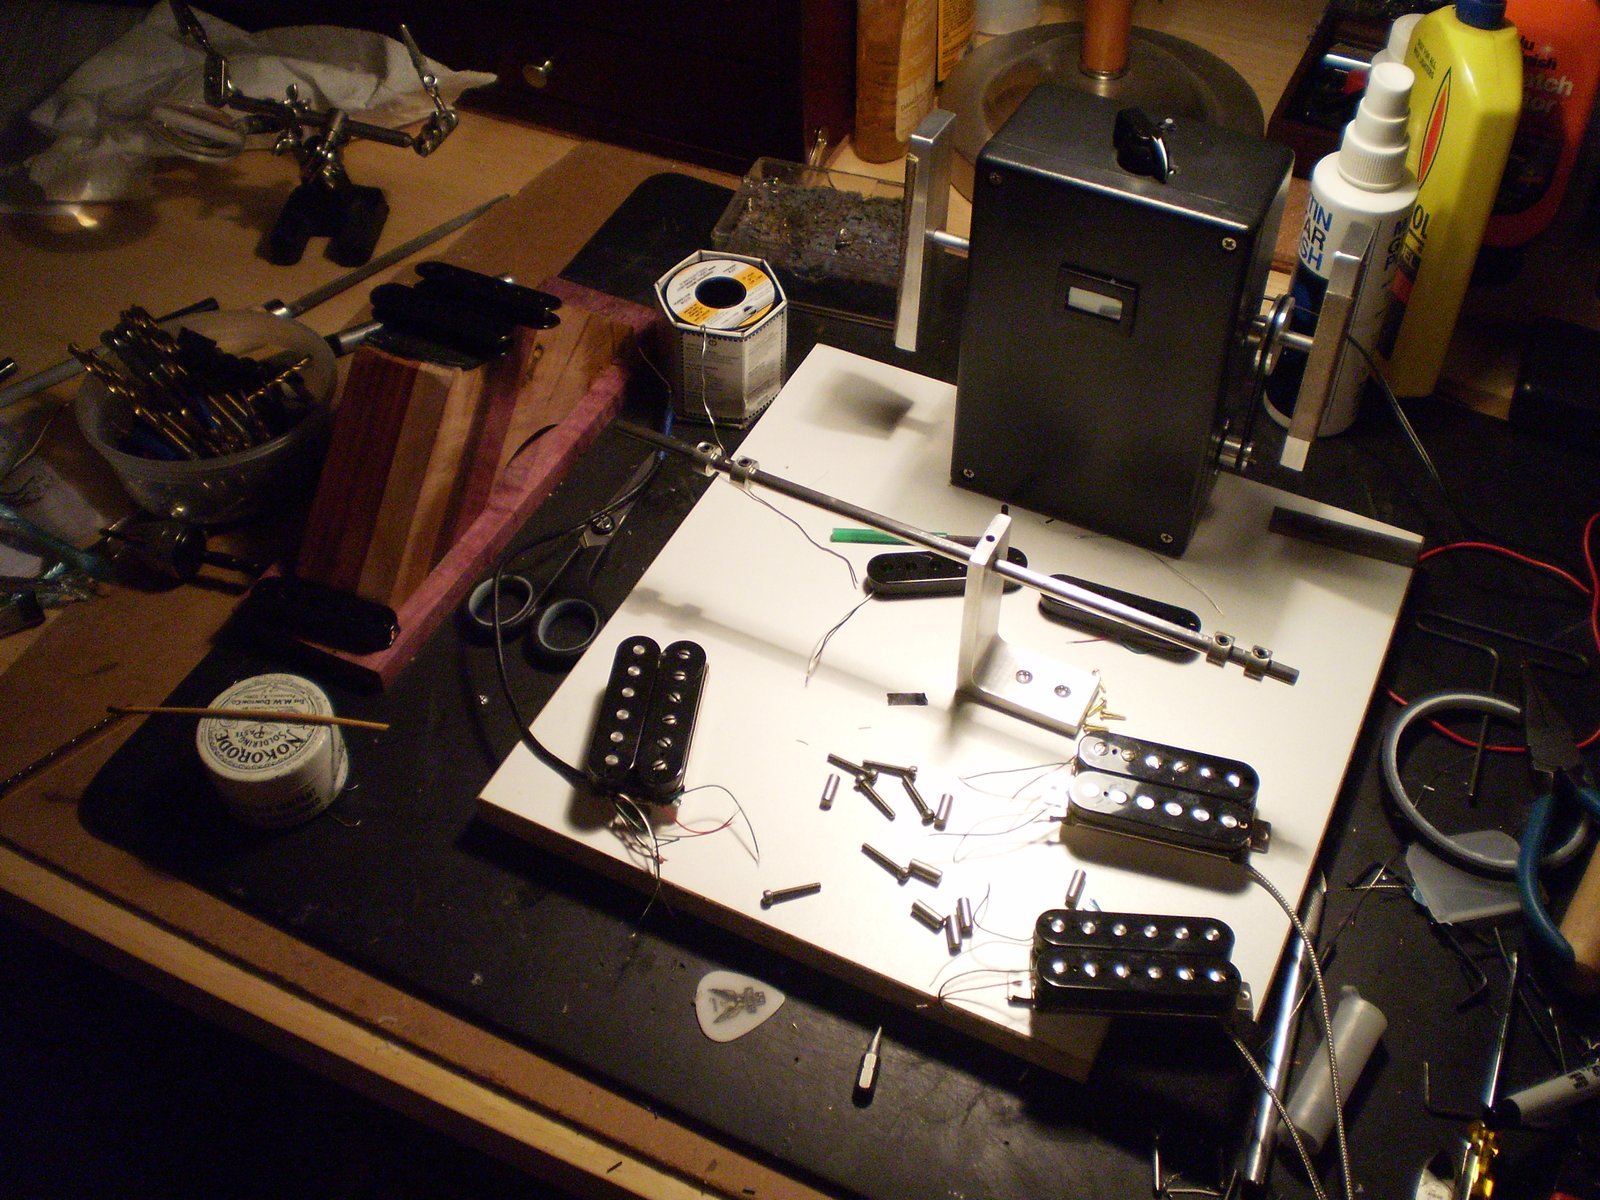
Here are some shots of the pickups for this build. I am going a complete opposite direction on these from what most people would think is a metal pickup. Lower DCR with a cleaner smoother output. I plan on letting the Mesa Boogie do the work for this one.
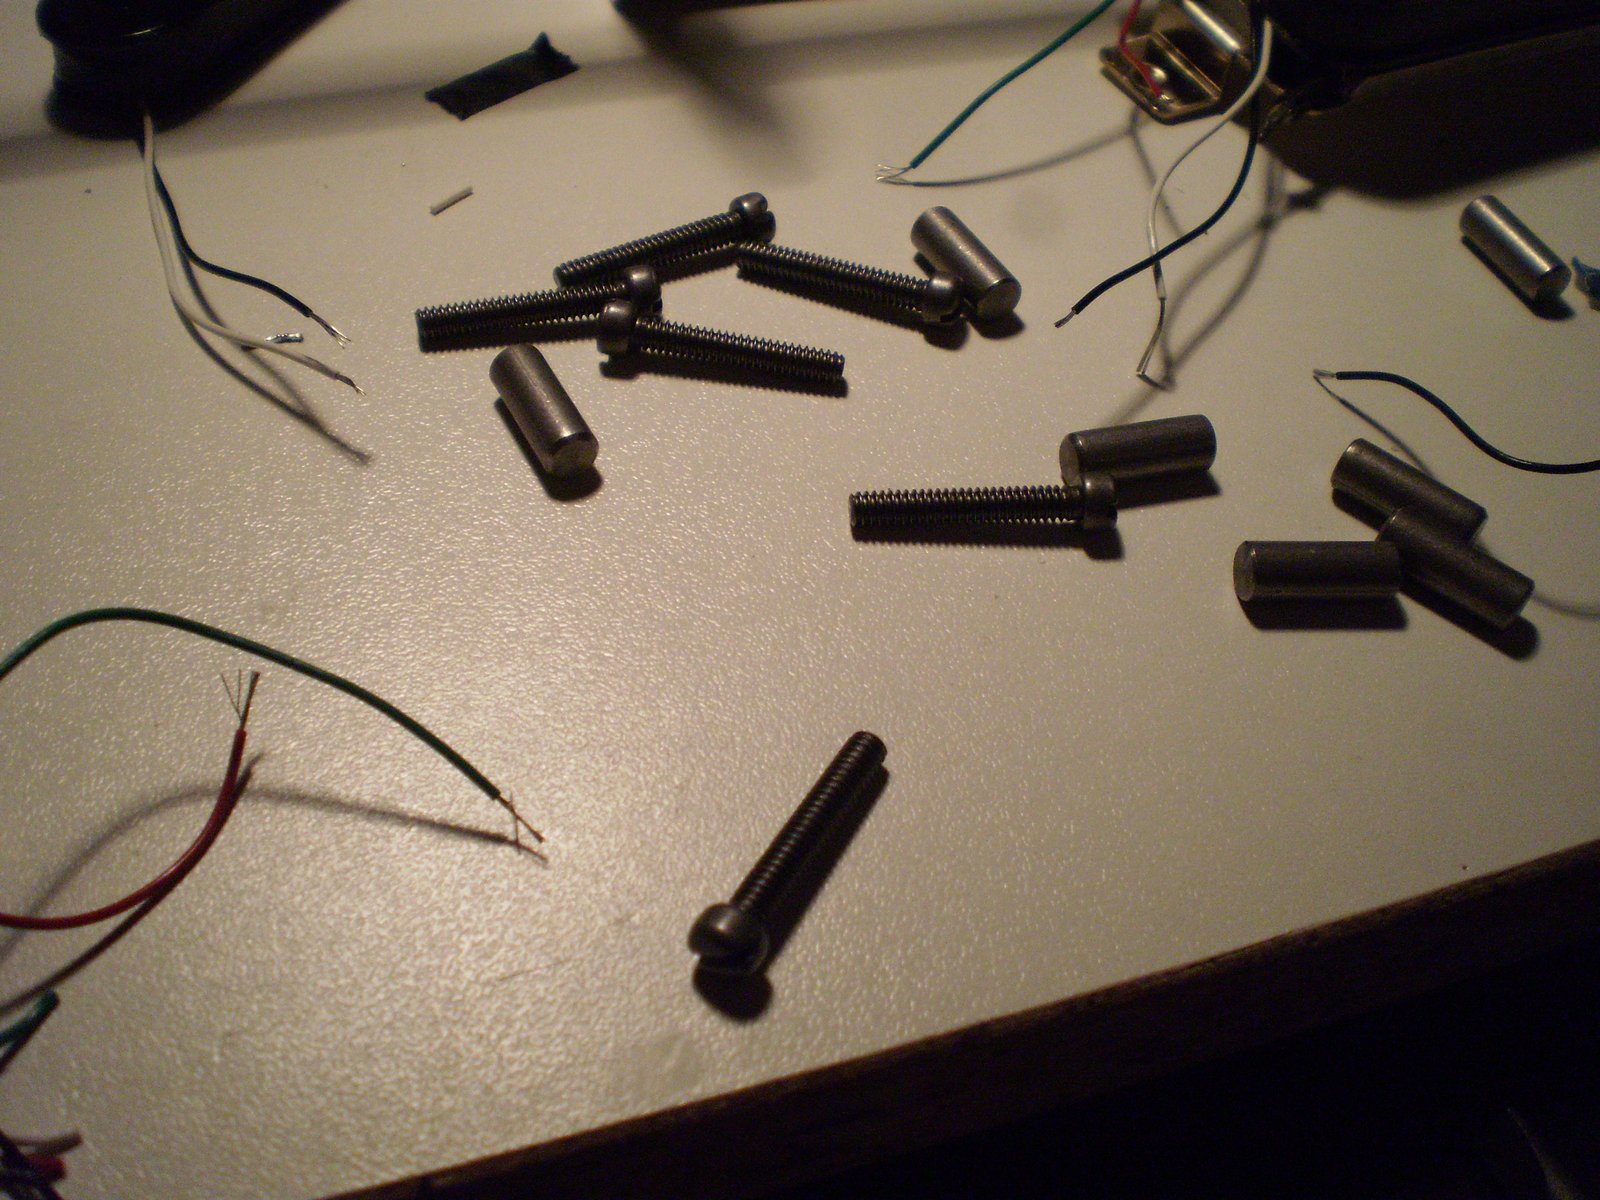

A few minutes on a Thursday

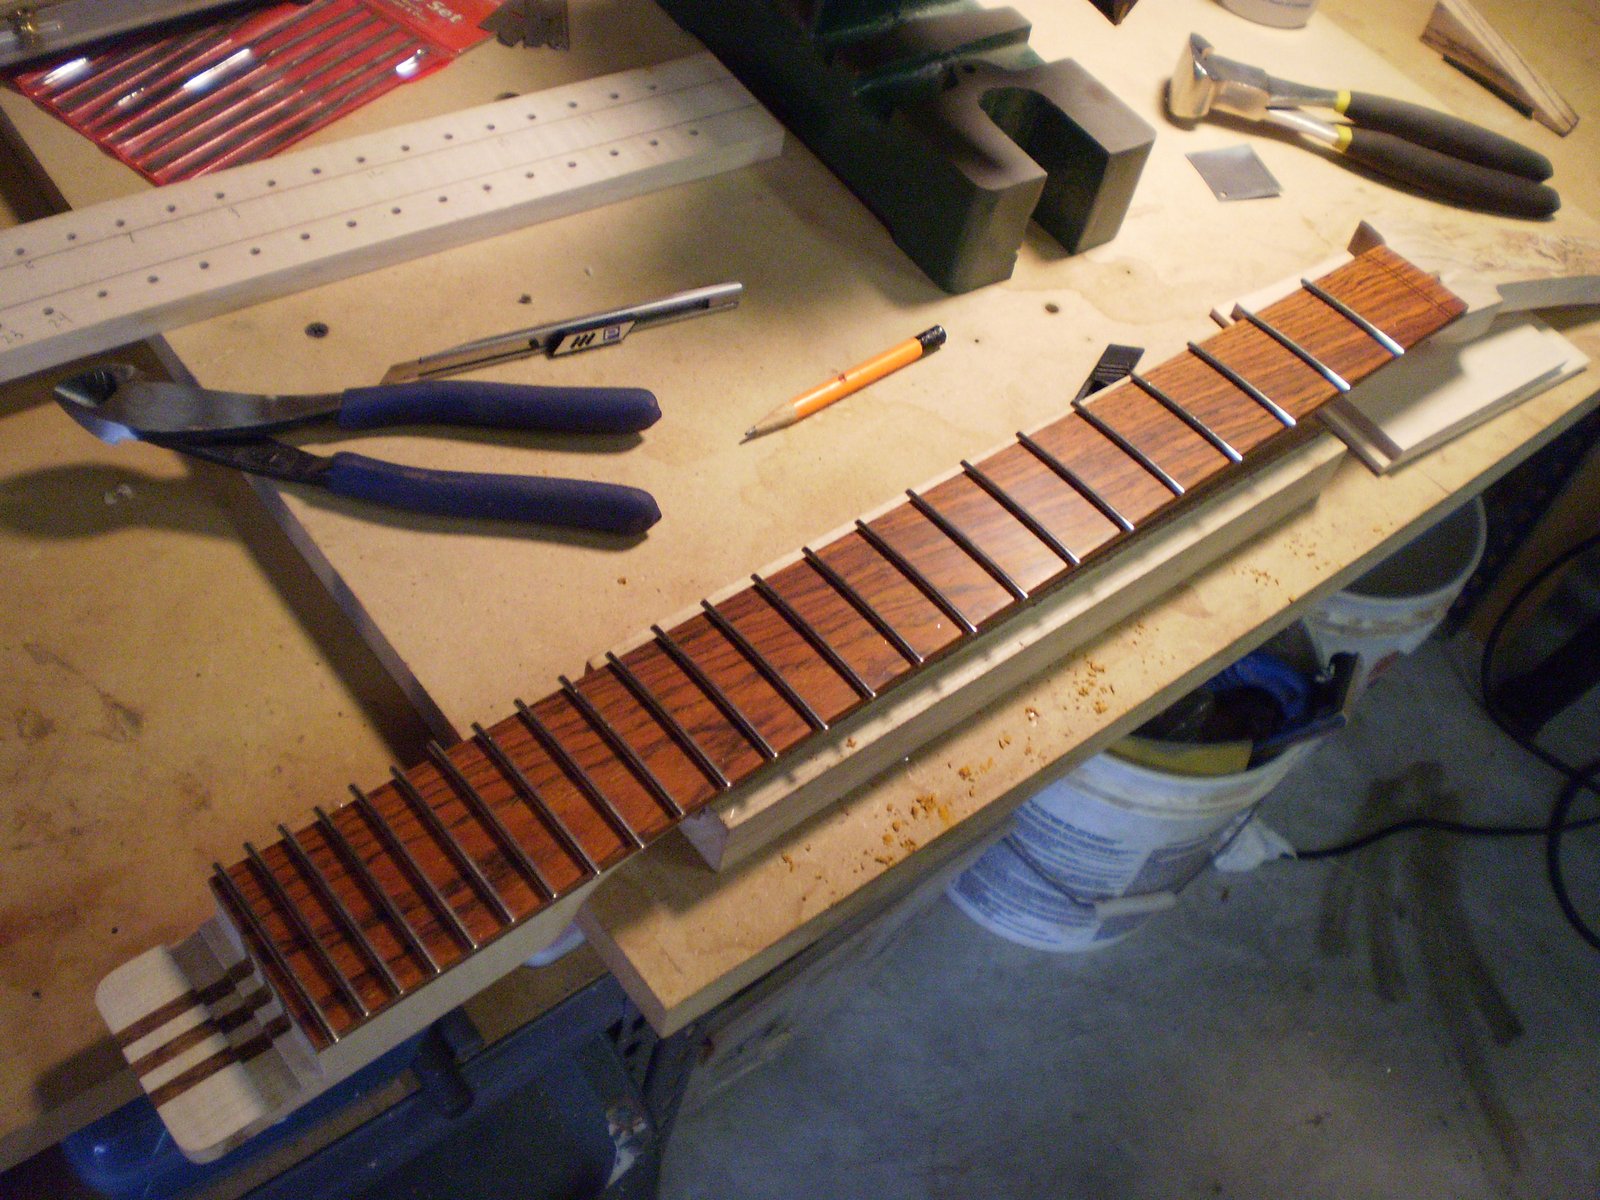
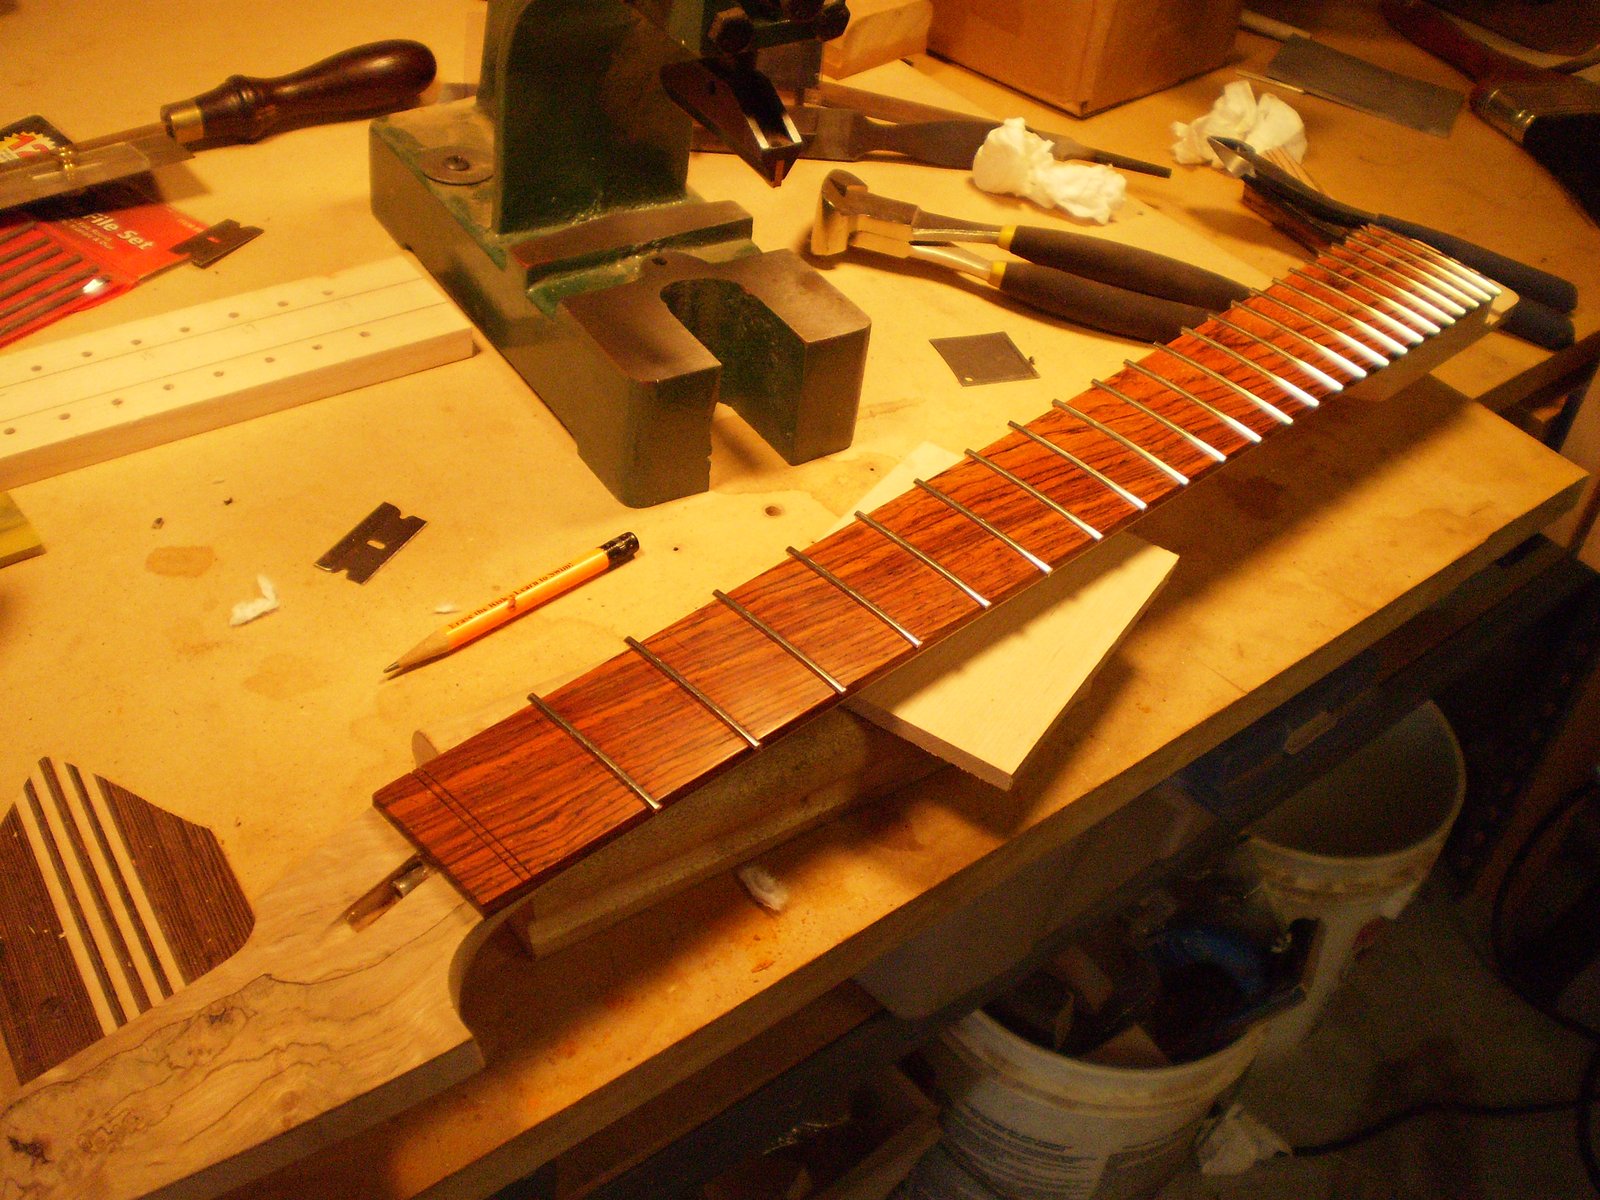
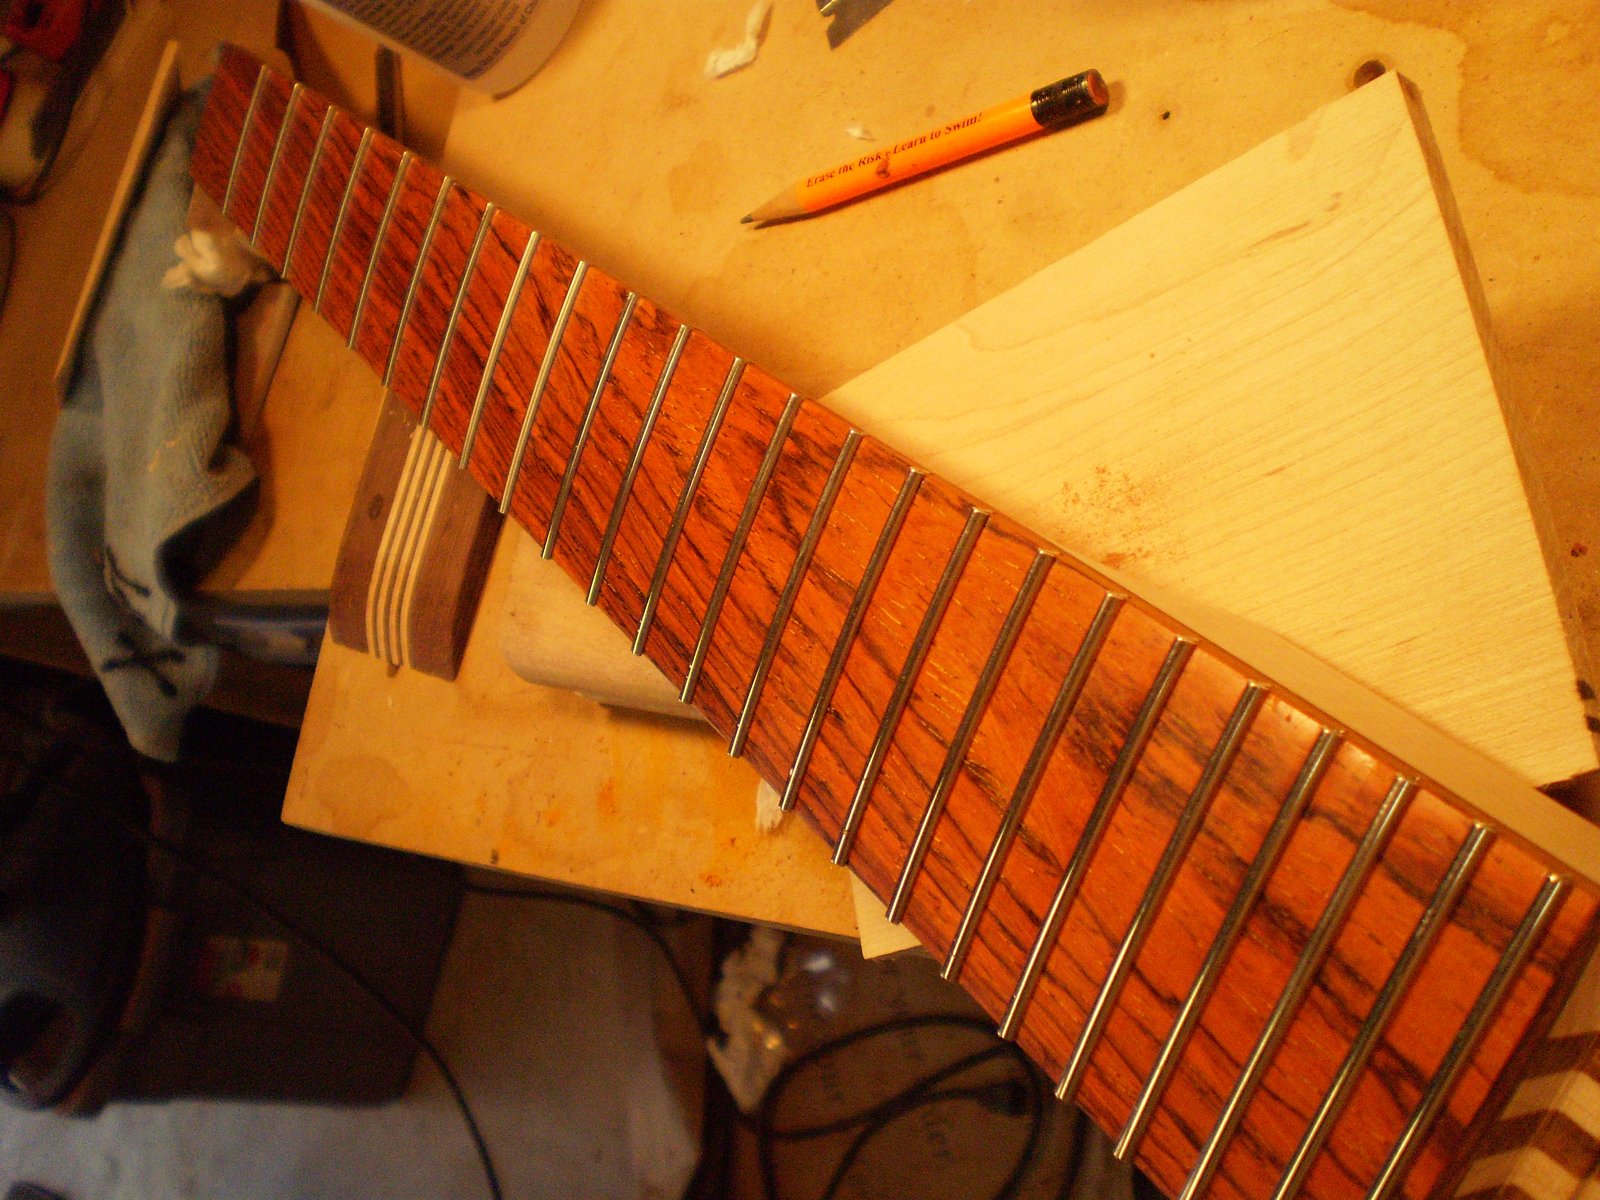
Fret work...


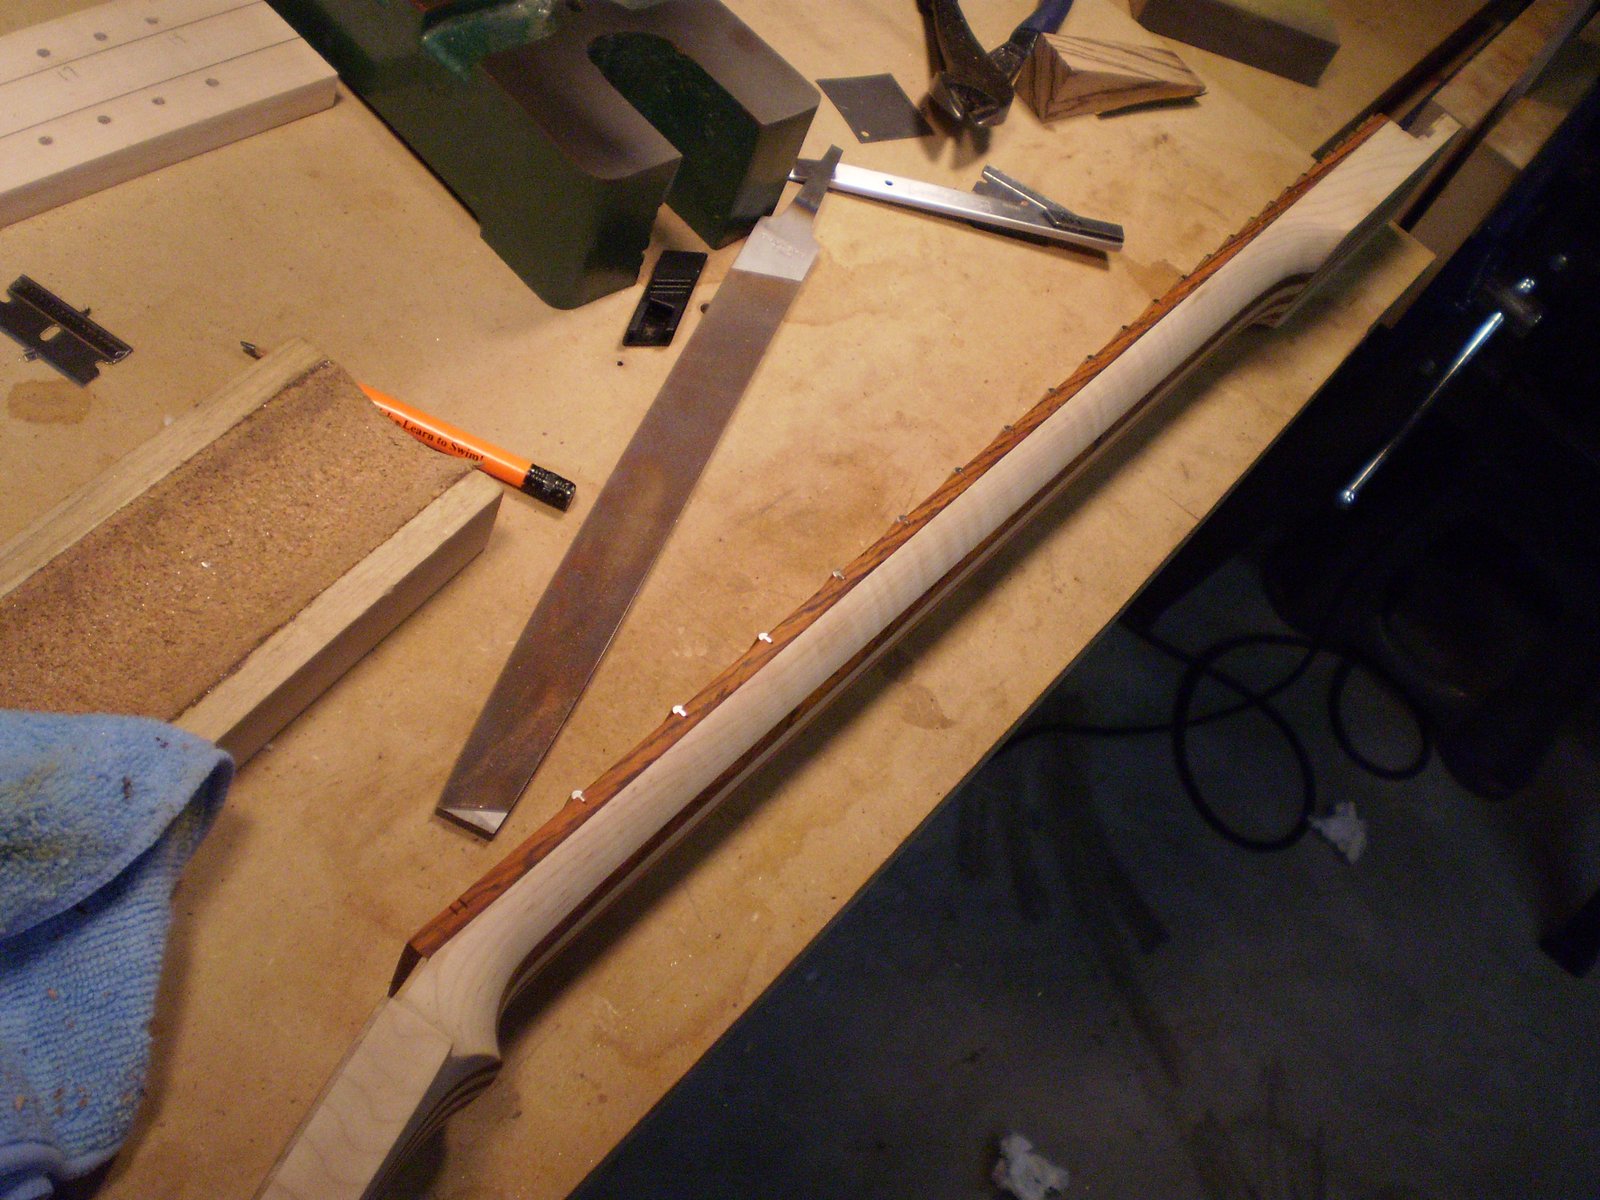
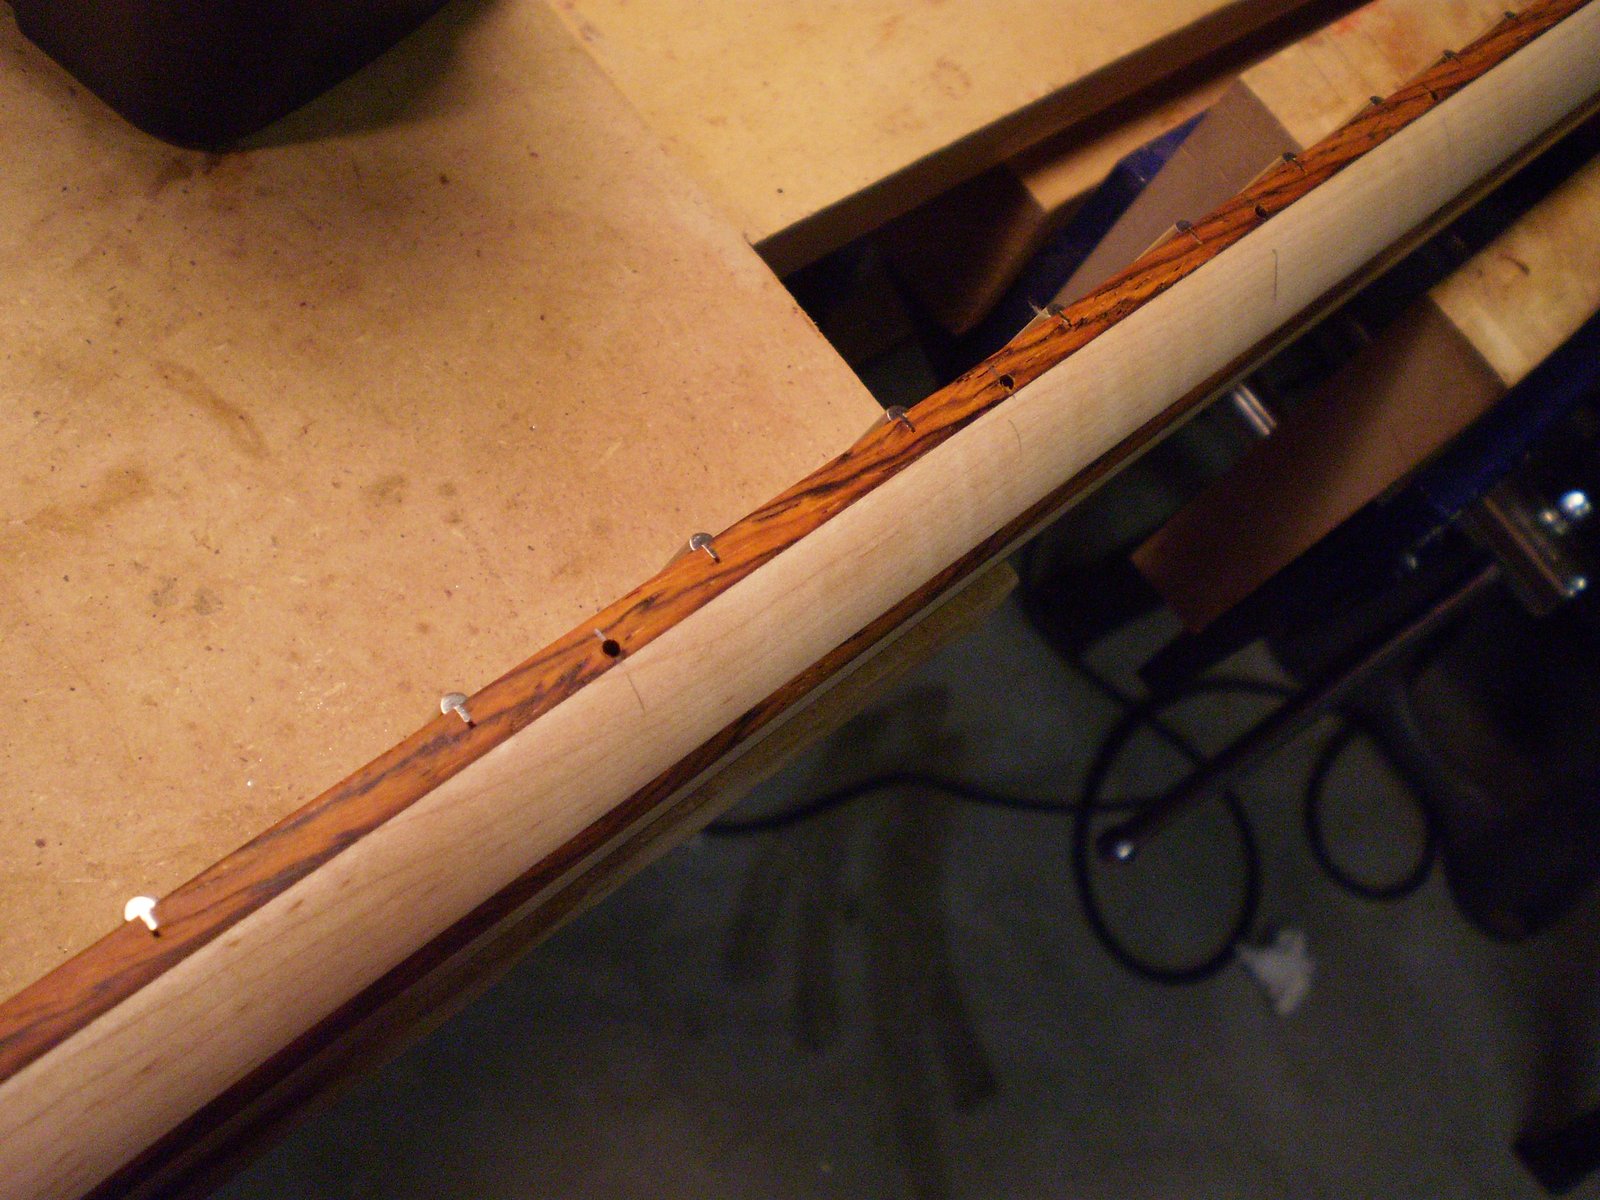
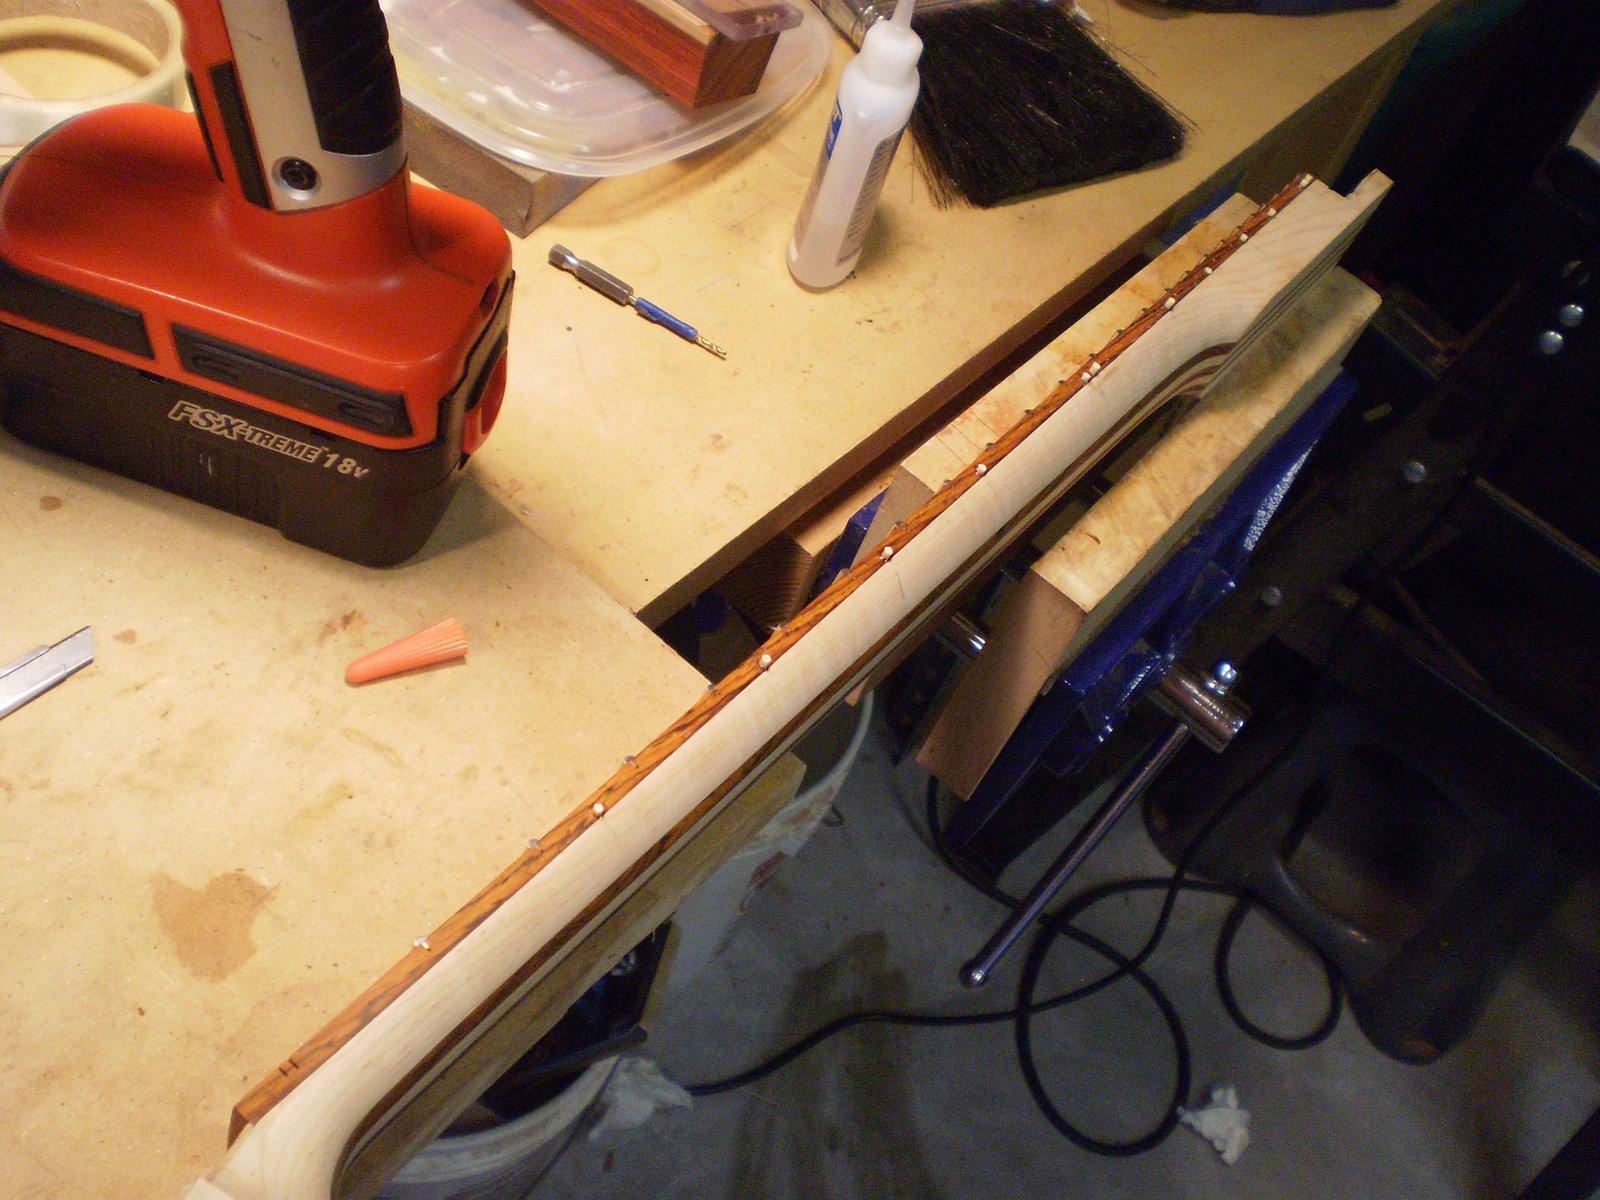
Side markers... and now we are closer.

Pickups for the people

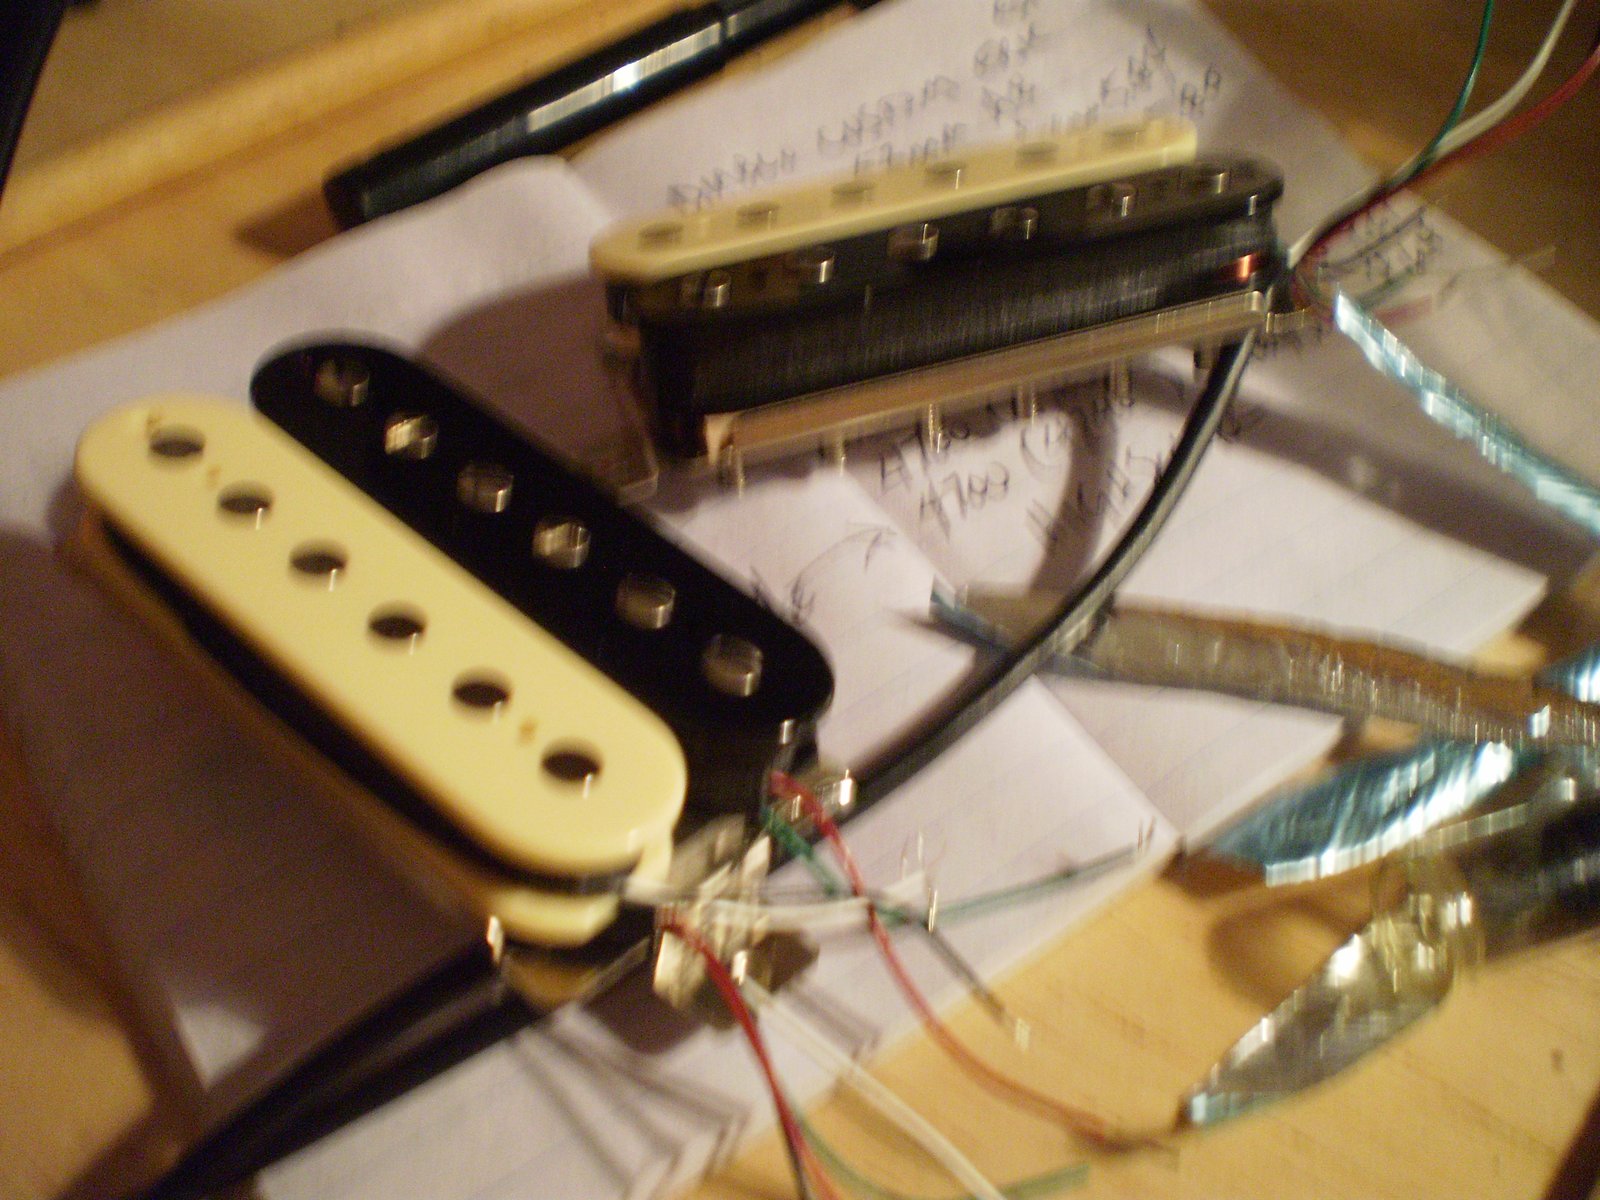
A set of Diablo Humbuckers and a pair of PAF style pickups I built this week. I enjoy the way a good PAF sounds more and more these days.