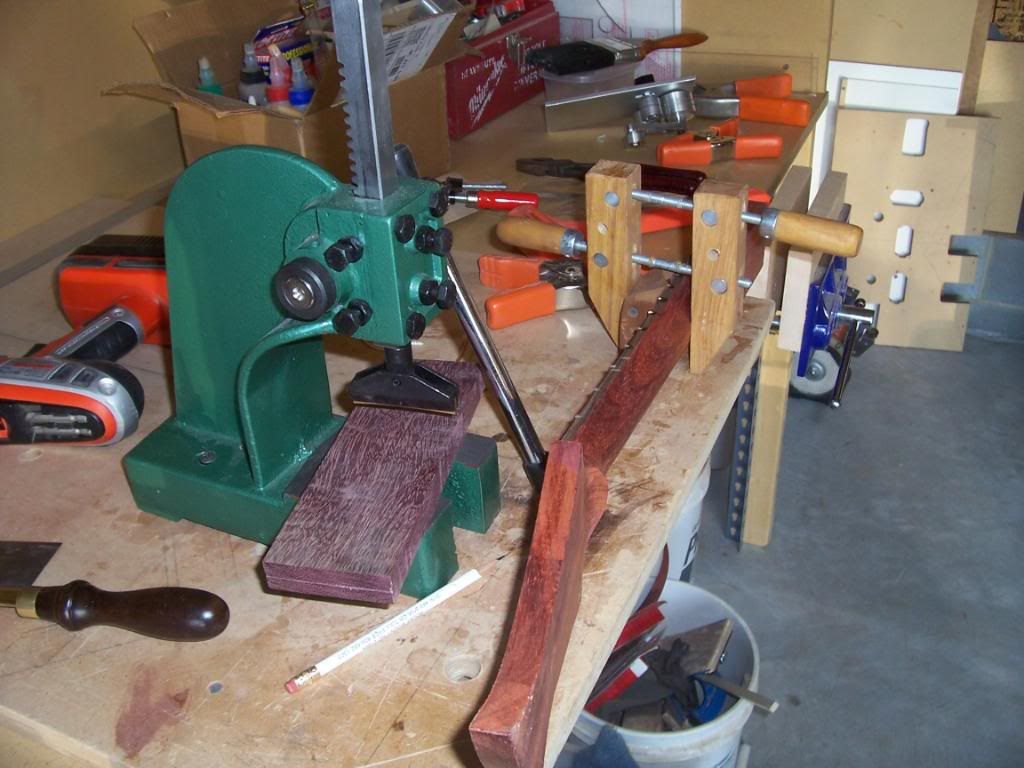
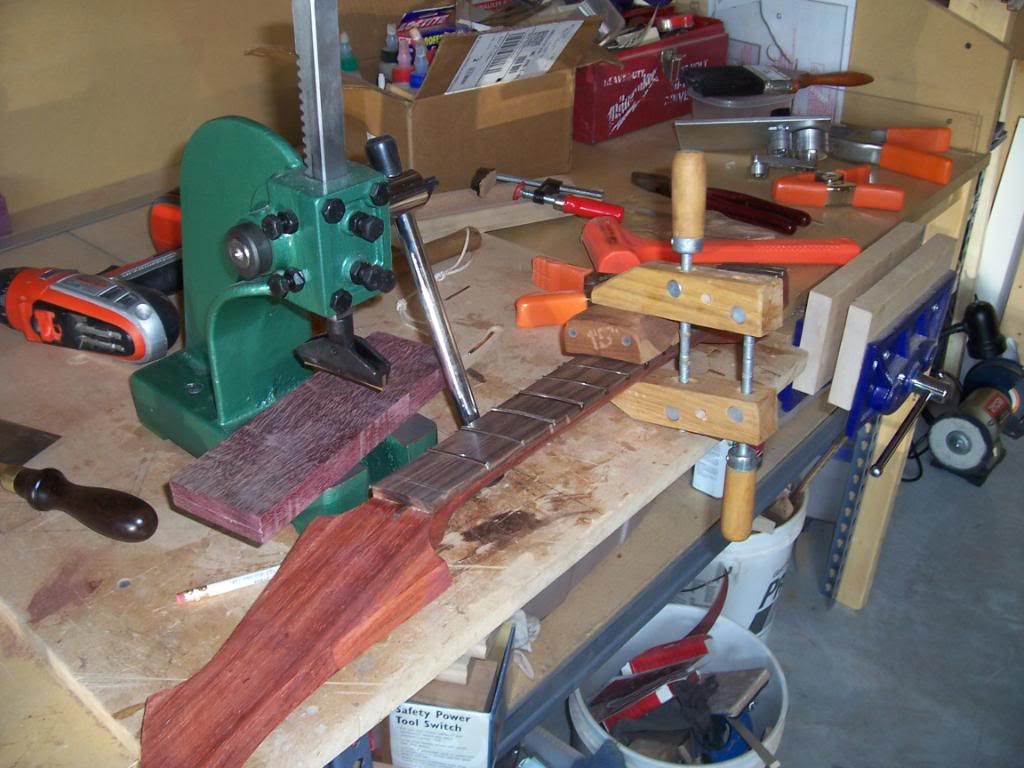
I haven't sat down and laid out my process for fretting necks yet. In the old days I used the glue in method for refrets and the hammer for new pre-slotted fret boards. Now that I slot my own fretboards and use a Fret Press I really need to get this process down. I had real procedural issues with this build. After putting the radius on the fretboard and polishing it with steel wool, I used the fret saw to check the depth of the fret slots. In the process I managed to leave the treble side a little short. So while fretting I had a few that wouldn't seat properly. This lead to removing the offending frets (about 4), deepening the fret slot, and repressing the frets. I made sure to move the fret slightly so the barbs on the tang did not sit in the same place from the first press. Of course I had some end pops. This lead to clamping the few stragglers that were sticking up. I use a mahogany radius caul, clamp down, then wick CA in the slot.
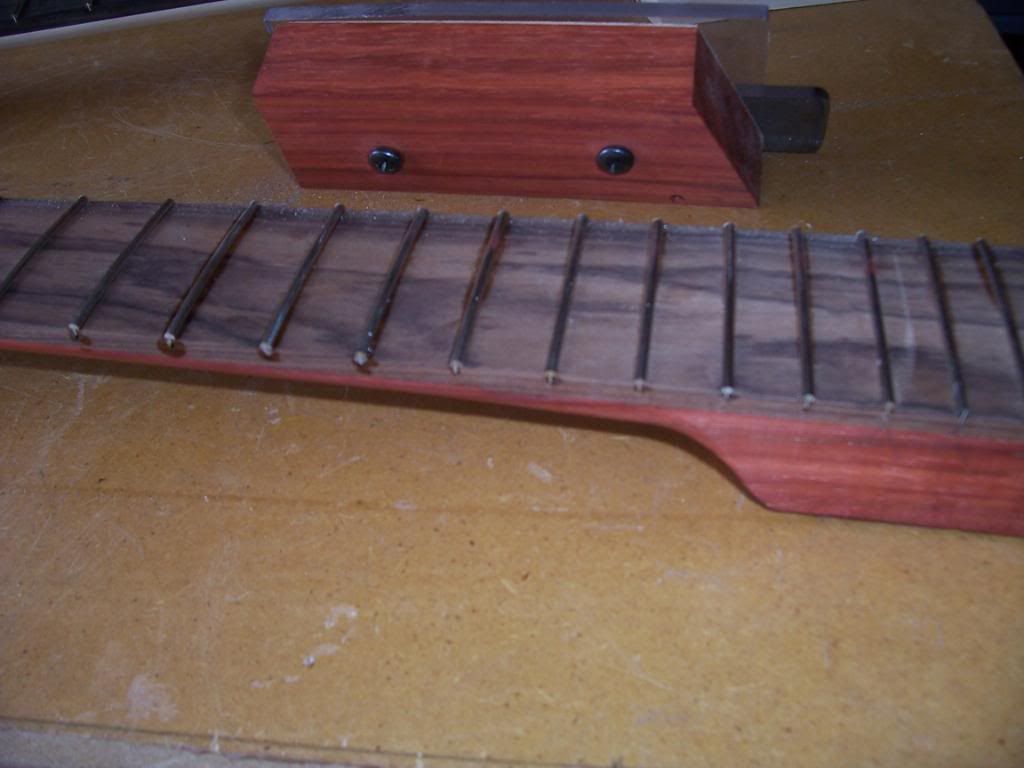
While doing this I managed to make a really nasty mistake. The fretsaw jumped out and slid across the fretboard.
The big scratch...

Currently my fretting process will be as follows.
Square fretboard
Thickness fretboard
Slot Fretboard
Glue Fretboard to neck
Profile neck and fretboard (at the same time since they are glued together at this point)
Radius fretboard
**Check fret slot depth** (This was out of order before. Have to do this before finish sand and polish)
Finish sand fretboard
Press frets
Trim edges
Bevel Edges
Level and Dress
I am seriously considering using some other procedures like the other guys on the forum. Maybe profiling everything seperate after radiusing.
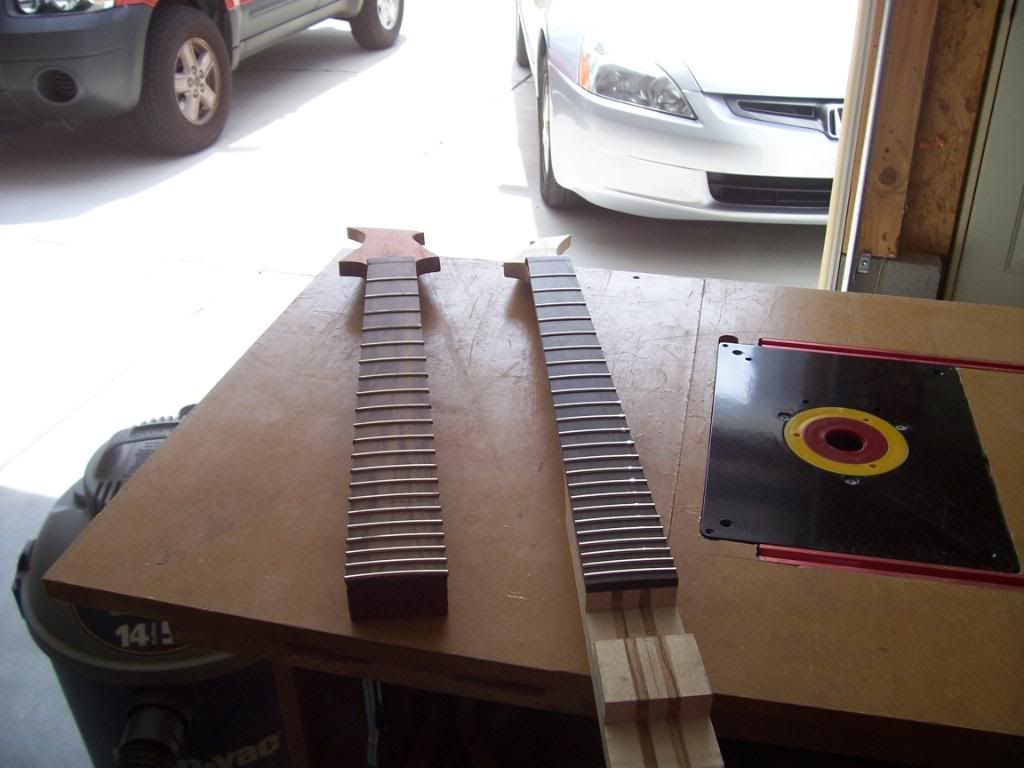
Major fret work done. Next up will be level and dress.


No comments:
Post a Comment
Note: Only a member of this blog may post a comment.