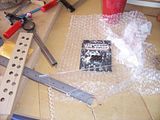
Start by disassembling the bridge.

I double taped the bridge to the plexi, set the fence on the drill to match the depth, picked a bit that fit holes in the bridge. I then drilled very shallow holes in the plexi.
Next up removed the bridge and proceeded to drill the plexi template the rest of the way through.

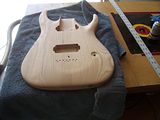
Next I align the bridge and install it on the body. I used the drill press to drill the 2 outside holes all the way through the body. Taking my time and backing the bit out as it fills up, trying to make sure it doesn't drift. I drill the inside holes shallow.
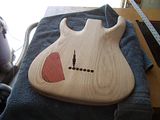
Next up removed the bridge and proceeded to drill the middle holes about 1" deep. I flip the body over and attach my template using the 2 outside holes to line it up. Back to the drill press and finish drilling my holes. I now have 5/32" holes all the way through the body.

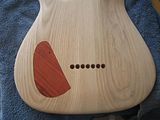
I use my countersink bit in the drill press to center and drill the holes for the ferules,it even does a good job at countersinking the lip of the ferules.

Since the body is Northern Ash and hard as a rock, I then come back with a slightly larger bit and finish the holes. That is it.

No comments:
Post a Comment
Note: Only a member of this blog may post a comment.