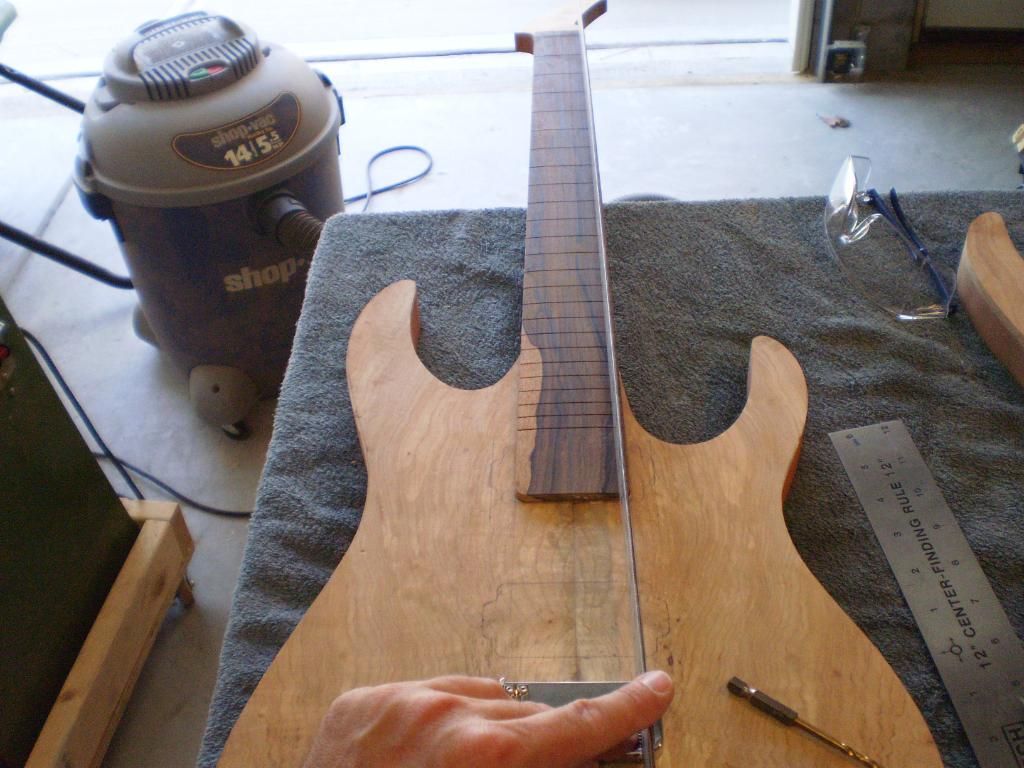
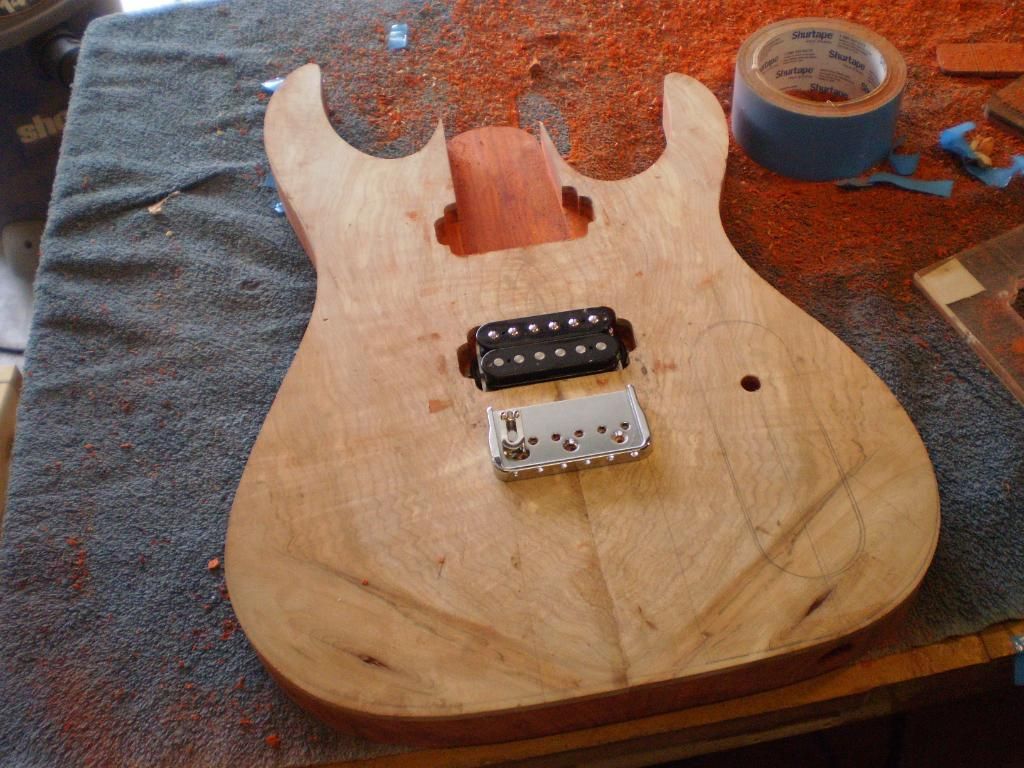
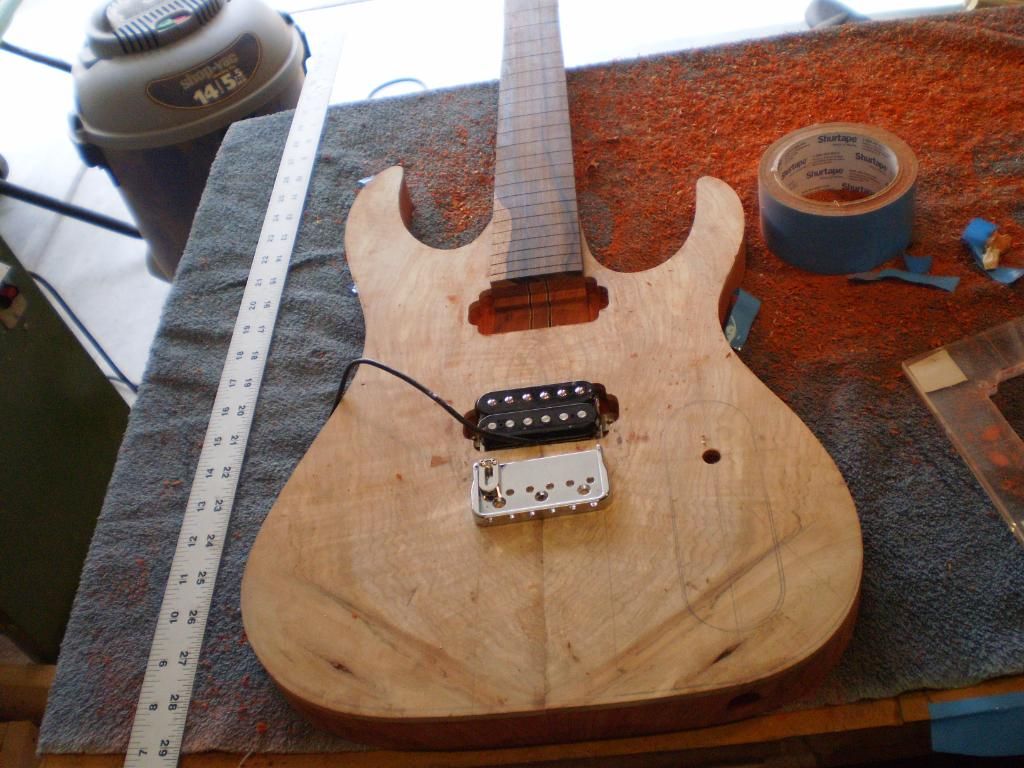
Oh I remember now... time to layout the pickups, bridge, electronics. Locate the bridge first I guess. I mark the scale, set the bridge saddles at the end of their adjustment. Then get a measurement from the front of the bridge to the break point on the saddle. Since we are never going to move the saddle closer than the scale (25.5") we will set the bridge so the saddles at the foremost position are right on 25.5". Then we make sure we have it centeredt and square to the center line. Then fix the bridge with double sided tape.
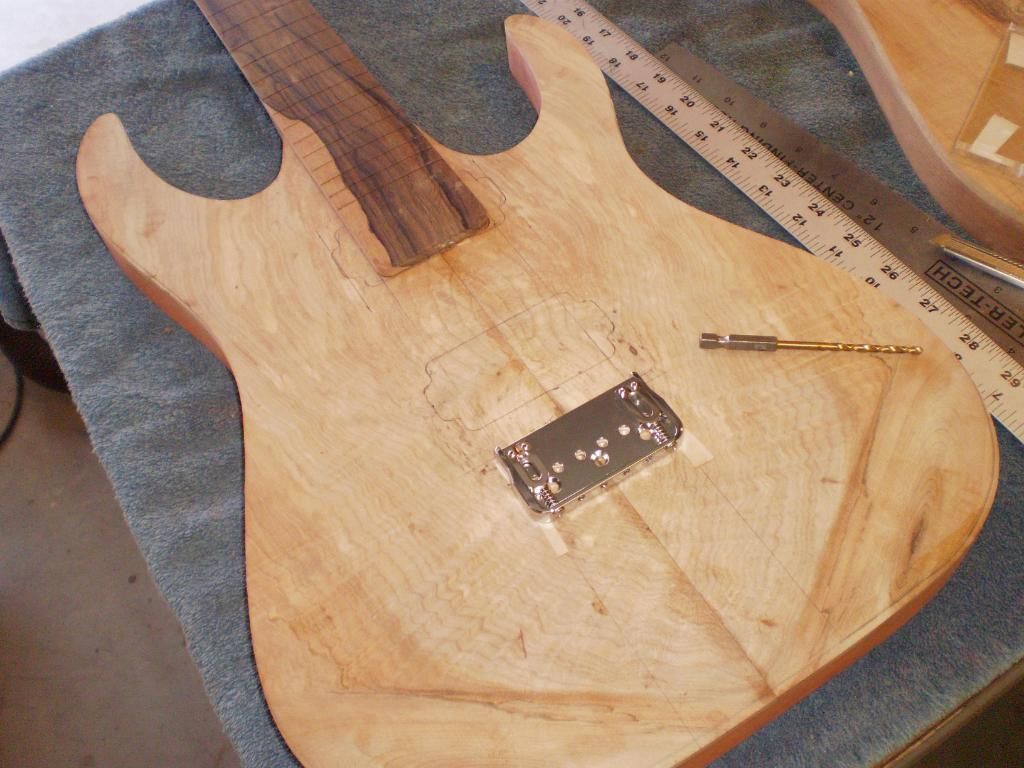
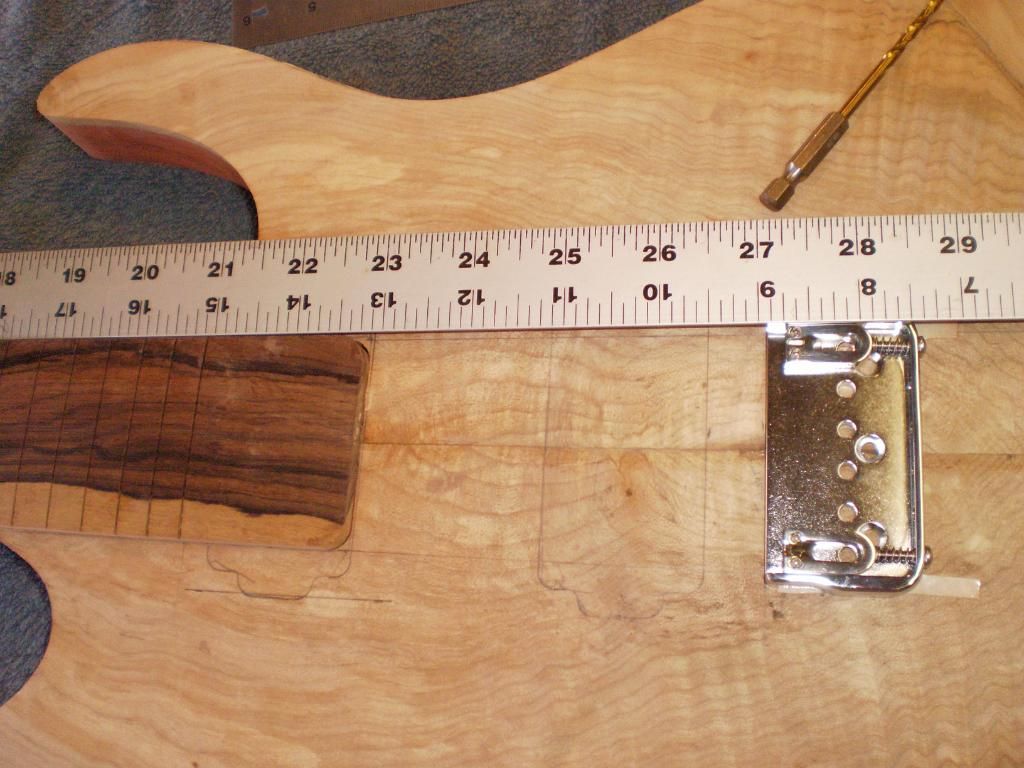
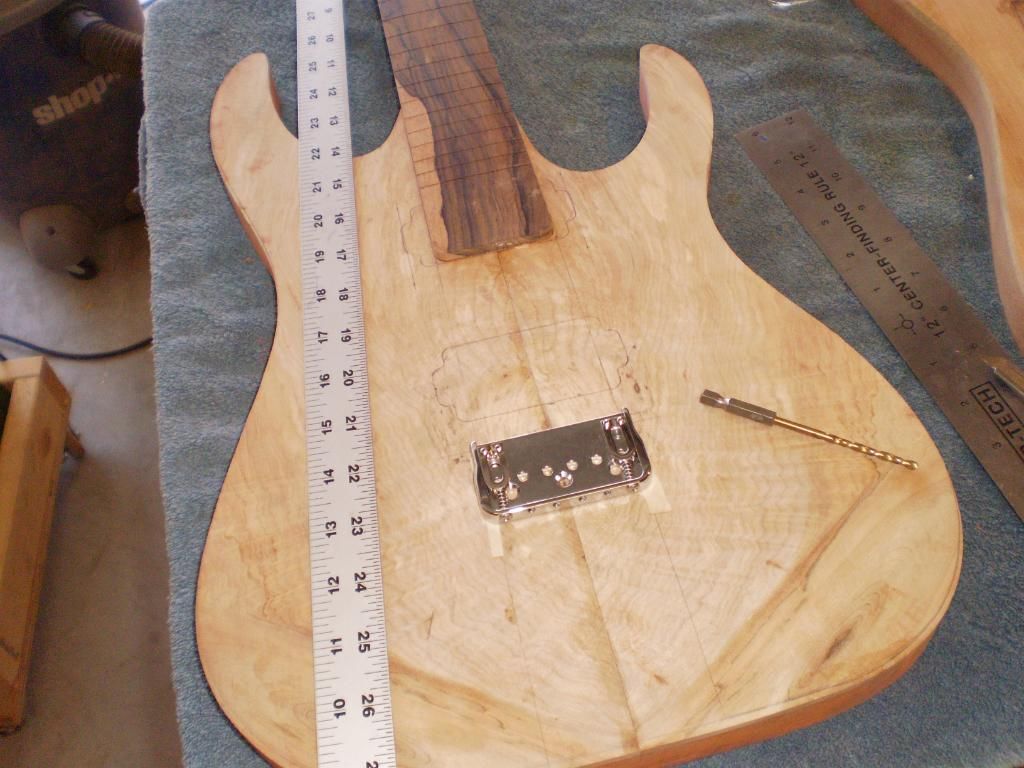
Next up use a self-center contraption in the drill to drill the holes. The string holes are 9/64" and the screw holes are 7/64" and 3/4" deep. I dril lthe outside holes all the way through the guitar using the drill press. Drill 1/4" then pull the bit up then drill another 1/4" then pull it up... repeat until the bit exits the back of the guitar. This helps keep the holes straight. The inside holes are only drilled half way through the body.
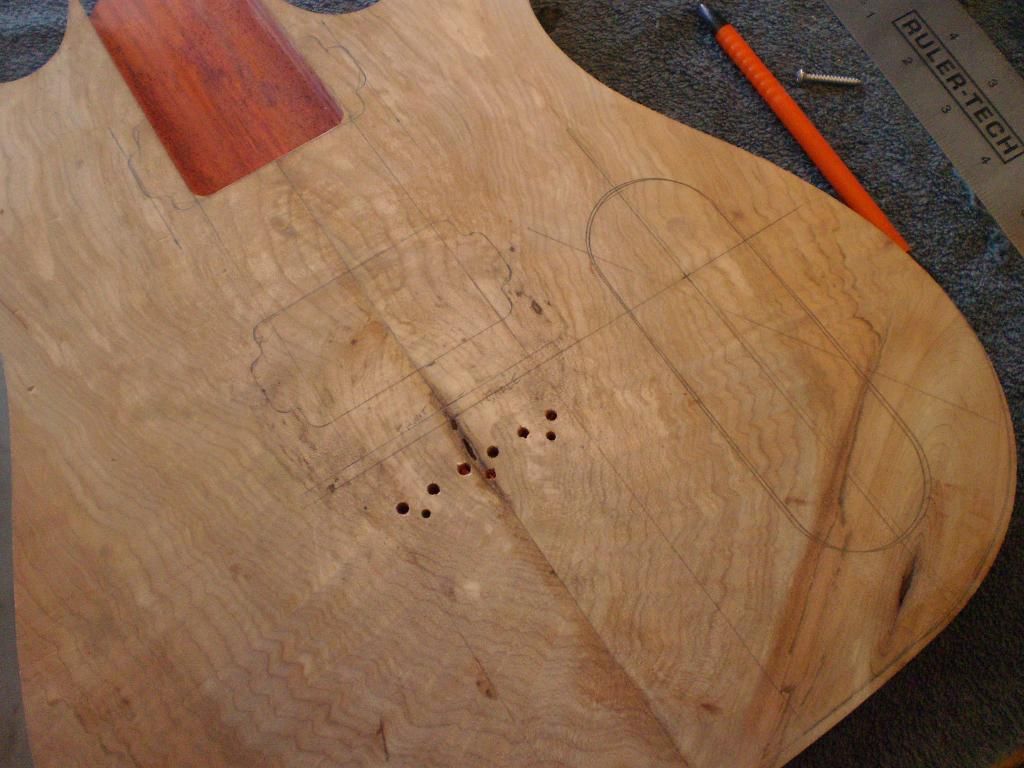
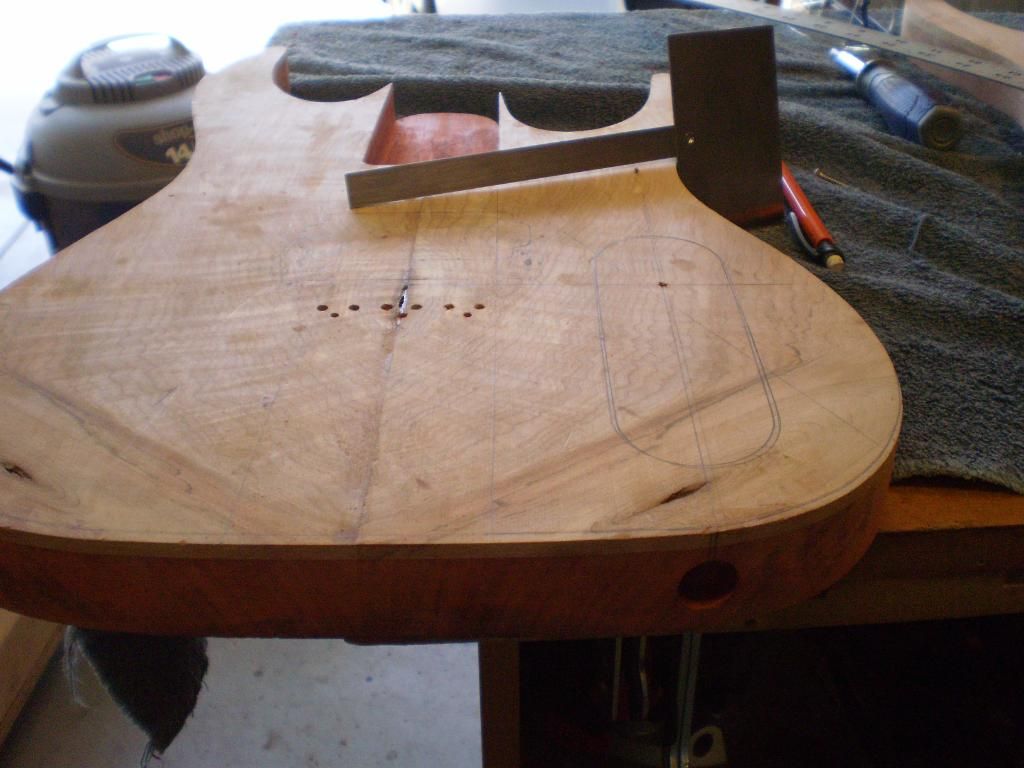
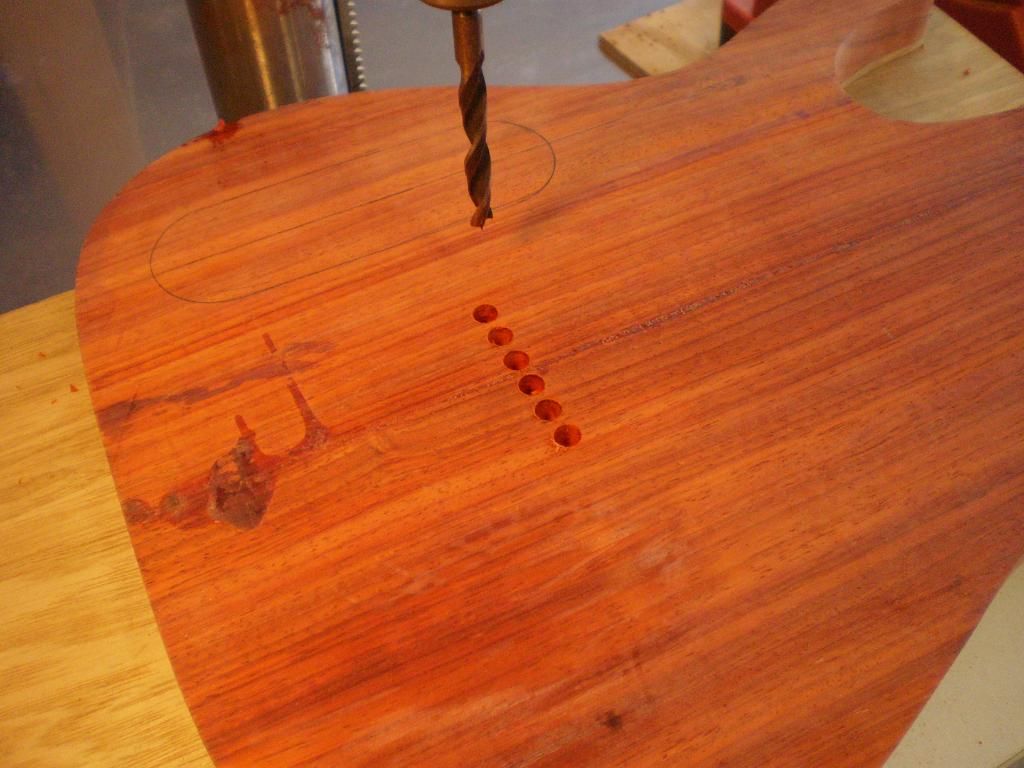
Once done I flip the body and mark the holes on the back using the bridge and the 2 outside holes to locate it. Instead of drilling the holes all the way through I use a 9/64 brad point bit to mark the center of the holes. Then I switch to the 5/16" brad point and drill the ferrel holes .362" deep. Then I use the stew mac tuner mill bit to create the recess. Lastly you drill through with a 9/64" bit to finish up.
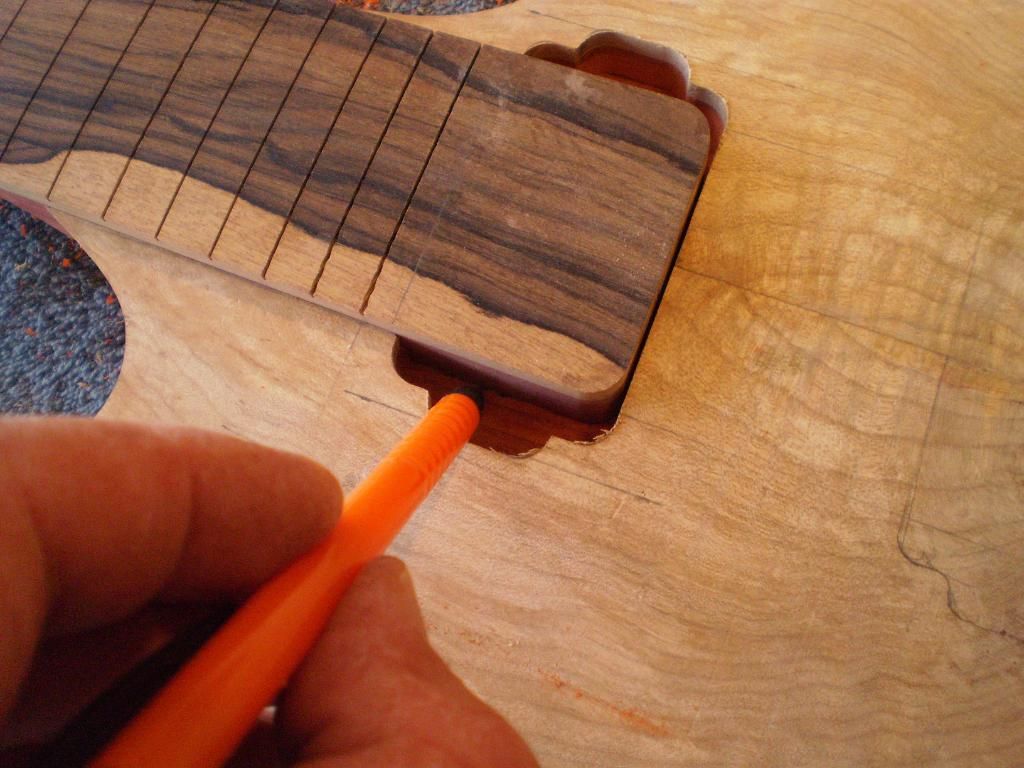
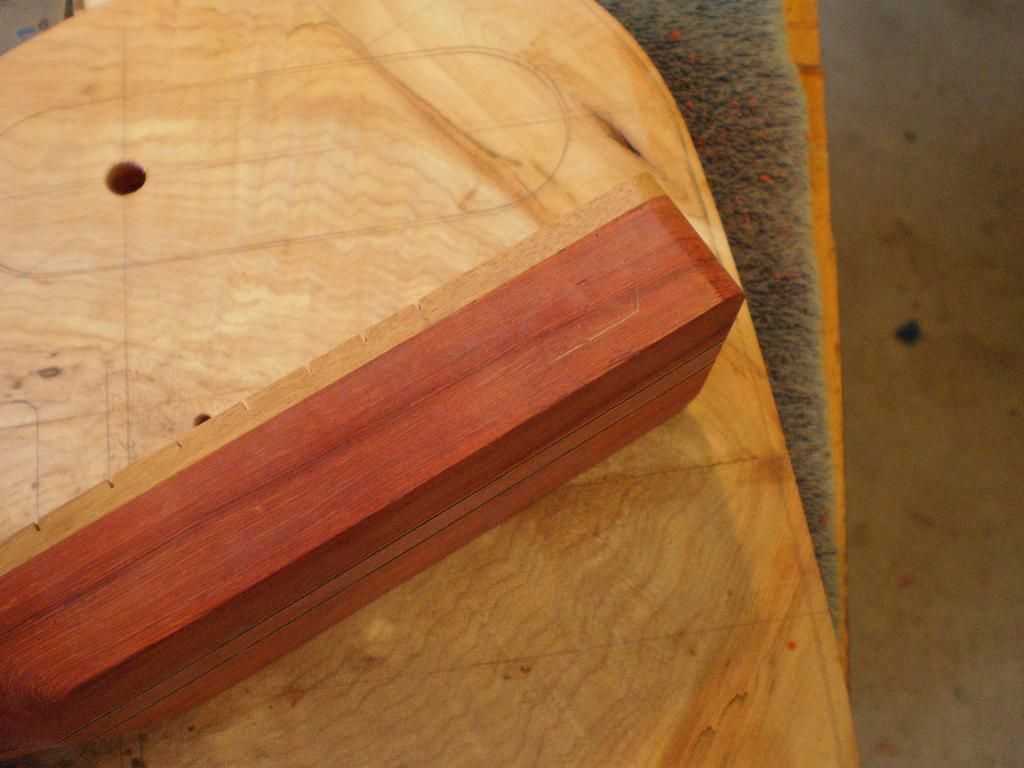
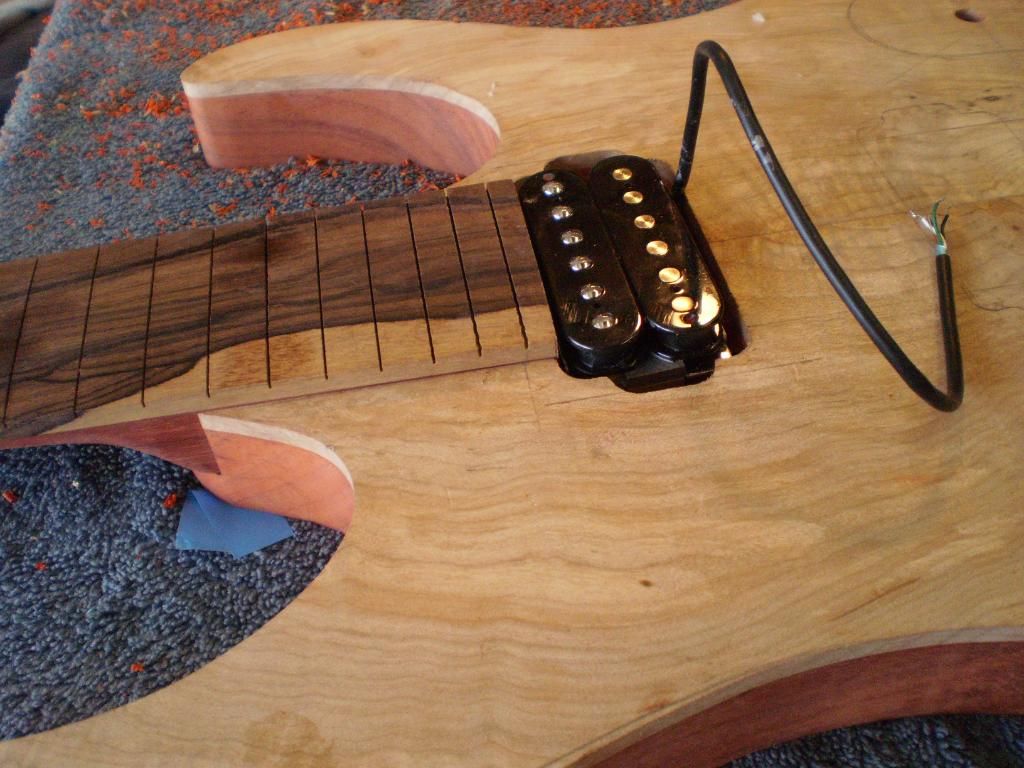
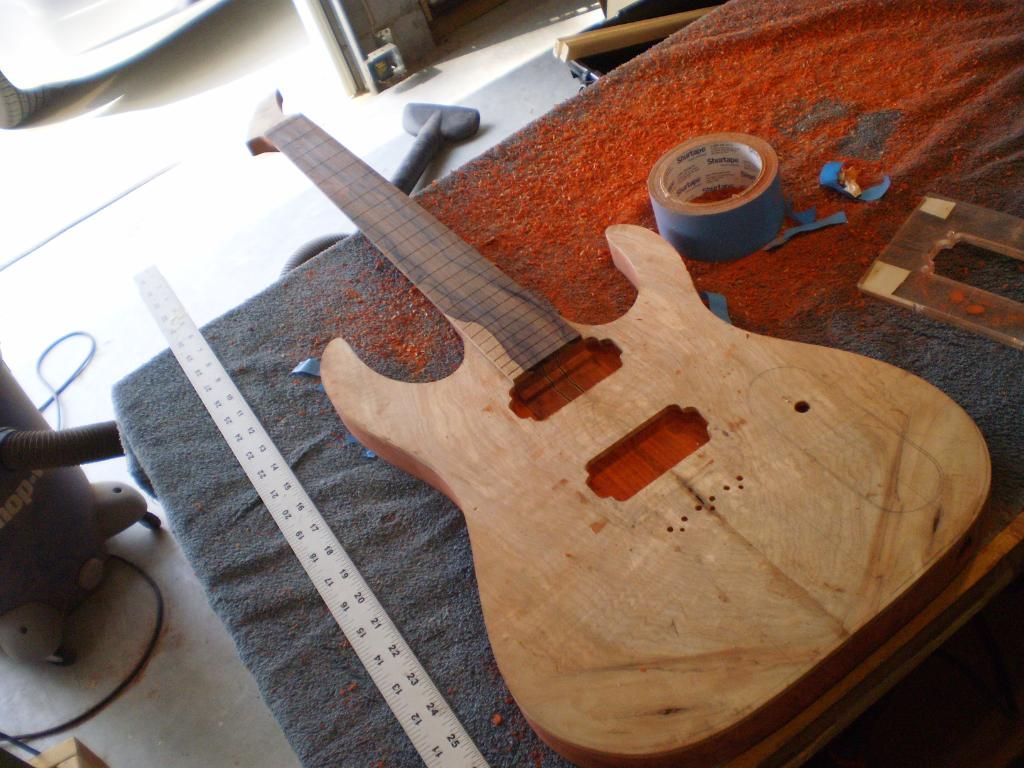
After routing the neck pickup I mark the neck for trimming the tenon. Then a trip to the bandsaw and a little bit of file work to make it look right.
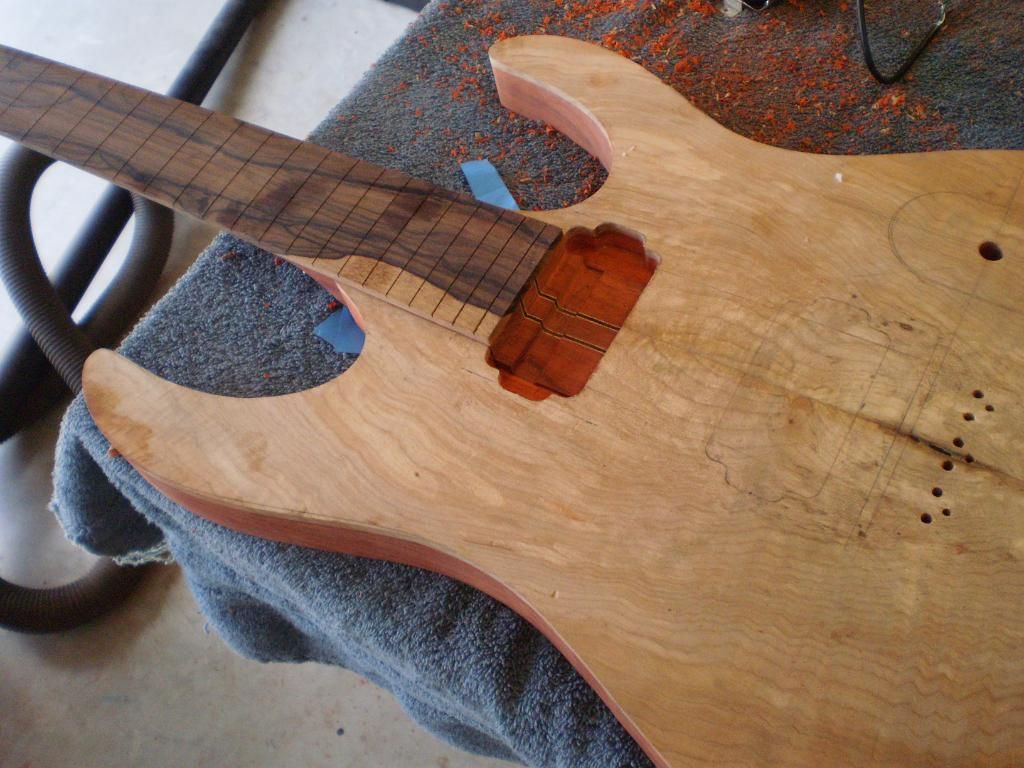
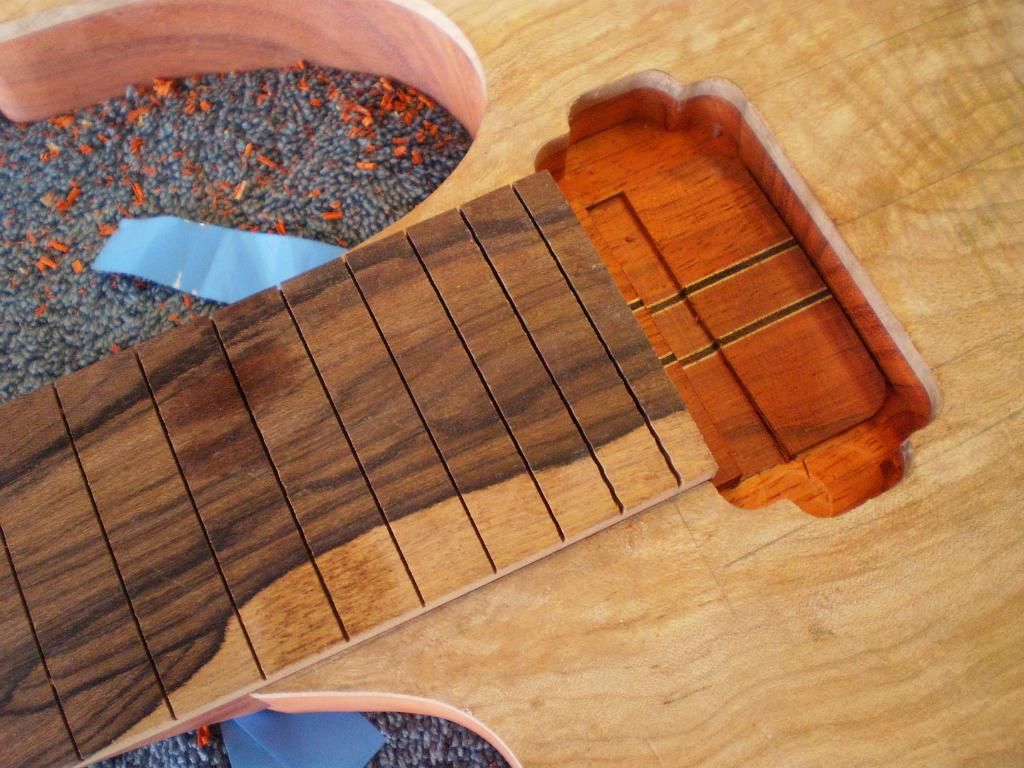
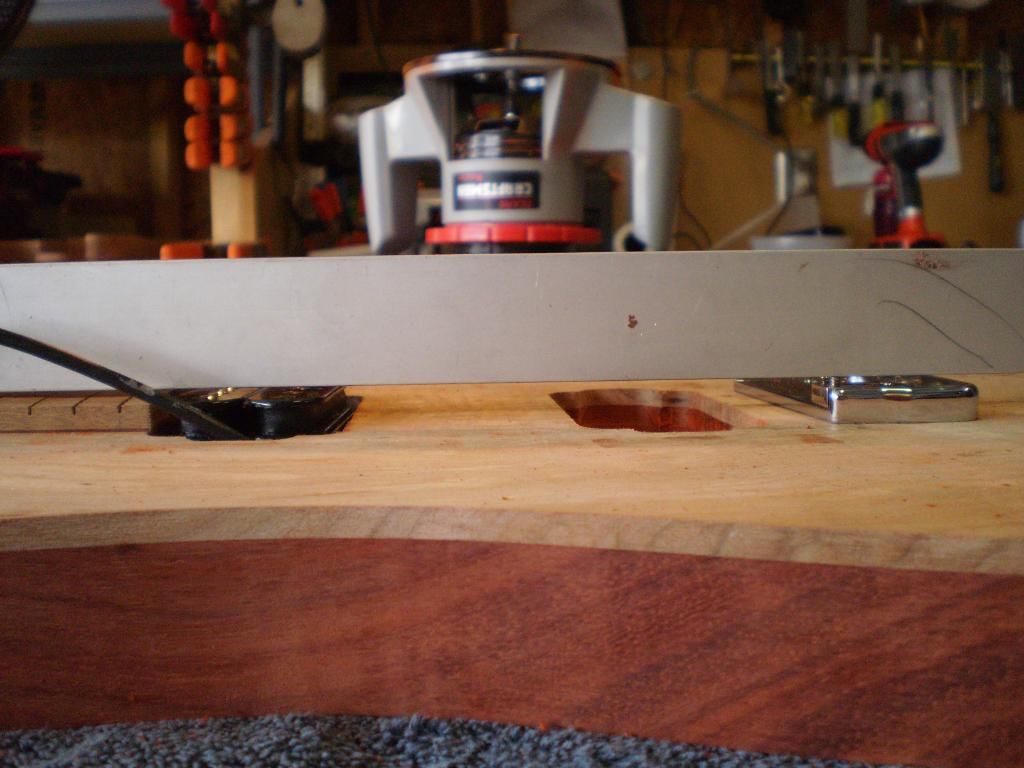
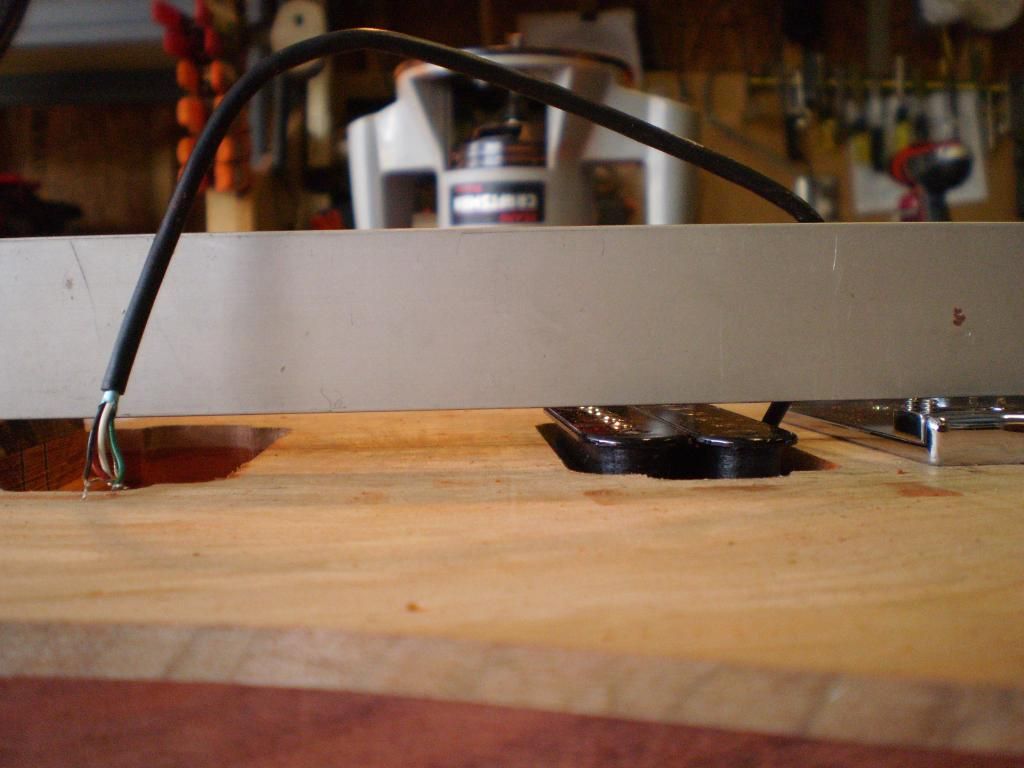
After routing the bridge pickup cavity it is time to make sure I have the heights right. The neck pickup is direct attached. The bridge I leave a little room under it for cables. Then you add a washer under the legs and direct attach it. To make sure everything is good I use a straight edge. The idea is to have the strings touching the frets with the saddle screws flush with the top of the bridge. I know doesn't sound like a lot of adjustment but it is enough.
Done moving on...
No comments:
Post a Comment
Note: Only a member of this blog may post a comment.