Korina/Cocobolo neck attached to a super thin Korina/Figured Myrtle topped body with Hipshot parts and Diablo pickups.
Neck : Korina/Cocobolo
Fretboard : Cocobolo
Scale : 25.5
Frets : 24
Trussrod : ALLPARTS
Body : Korina/Flamed Myrtle(33mm)
Tuners : Hipshot
Pickups : Diablo Humbuckers
Bridge : Hipshot
Electronics : 1 Push/pull
Lets start with the neck lamination. I have 3 pieces of 5/4 Limba 36" x 1.5" x 1.25" (or 5/4) grain oriented to create a quartersawn blank. I have 2 pieces of cocobolo 36"+ x 1.5" x .187" that make up the detail stripes. They are cut from the same board as the fretboard.
Quick word about wood conservation here. The original board was 48" x 9.5" x 5/4" flatsawn. Each half of the body only requires 6.5" that left me about 3 inches to use for the neck blank. By cutting the strips from the board before cutting the body blanks out I ended up with 2 bodies and a neck instead of just 2 bodies and some 18" long scrap.
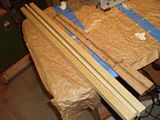
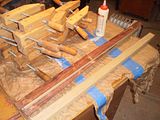
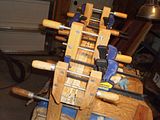
This build gets a headstock scarf. For a headstock scarf I use a blank that is roughly 36" x 2.75" (for 6 string) x 1.5". I end up with some waste on this style scarf but it keeps the joint hidden under a head plate and makes for a really nice looking neck.
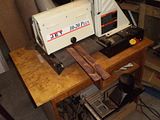
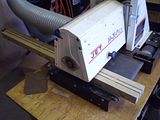
After the blank comes out of the clamps it is pretty messy. So I run one side on the jointer to make it flat. It doesn't have to be perfect just flat. The jointer has a wonderful habbit of tear-out on figured wood so I try to make really shallow passes. Next we move to the drum sander and some 60 grit to finish squaring and cleaning up. This step is very important because the top side becomes the surface we glue the fretboard to. It must be true.
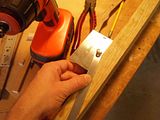
First thing after squaring is to mark out the neck. Using my template I mark the breakpoint for the headstock, the nut, the 24th fret, and the end of the blank. Next I mark the 14 degree headstock angle, usually I just use my template but I thought I would check to make sure my template is 14 degree and snap a shot while I was at it.
Now that we have a mark it is off to the band saw. Since other part of the headstock comes off the end we cut off we need to be pretty close to the line.
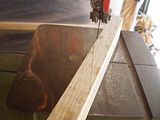
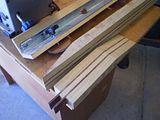
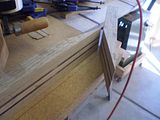
Now is time for the scarf cut. I use the radial arm saw with a really nice fine kerf freud saw blade. I covered the jig I use for holding the neck in another thread somewhere... Always use plastic clamps because at the end of the cut the blade gets close to the clamp. I am going to make a new jig at some point that removes this potential catastrophe.
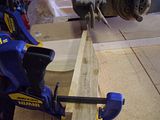
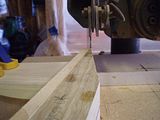
This blade happens to be a bit dull... time to drop some cash on a new one. Because I had some burn I clean up the cut with a sanding block and some 80 grit. I make my sanding blocks with the jointer and the drum sander out of scraps so I know they are square and true. I never use anything that has foam backing or rubber for truing joints.
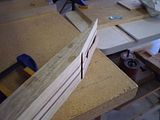
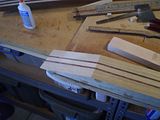
Now on to the neck blank itself. I really don't have to cut the face of this because I can use the belt sander to clean it up when it is done. But if I do cut it now I can save work later so that is what we will do. While it is a clean cut I leave some overhang to ensure I can sand it all flat with no gaps later.
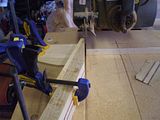
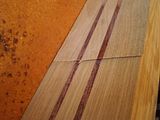
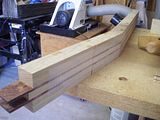
End results are a headstock scarf.
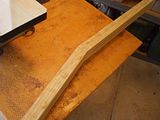
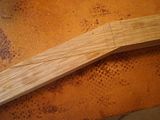
Check the lines by laying the blank on a flat surface... the old bench is not flat so I moved it to the Radial Arm saw table.
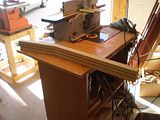
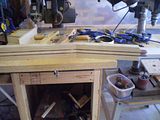
Gluing up a headstock scarf is pretty easy. I picked this trick up from a friend on the forums. After the neck is properly lined I use a 2" piece of strapping tape on the face of the headstock. This stops the creep that happens as you clamp it down.
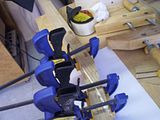
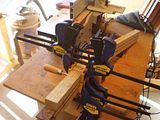
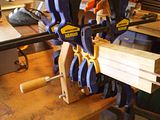
First clamp with the quick clamps to get it to take up. Then get out a screw clamp and put pressure right at the most important part of the joint (close to the face of the blank). Then I reposition the quick clamps around to get even pressure on all sides.
No comments:
Post a Comment
Note: Only a member of this blog may post a comment.