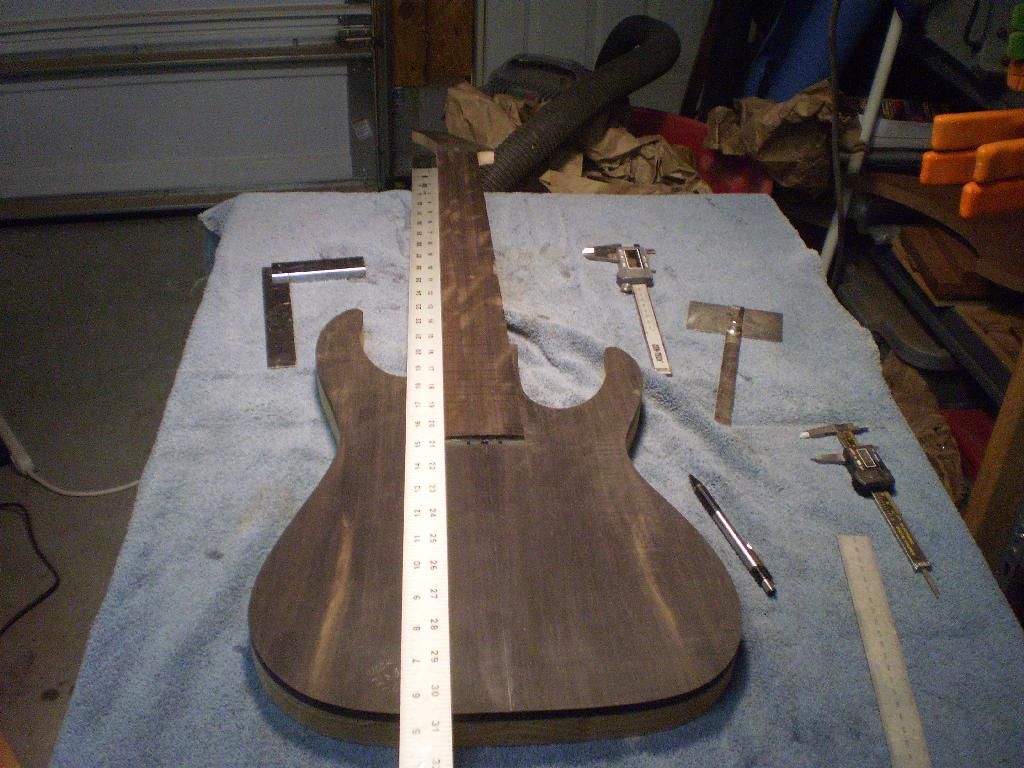
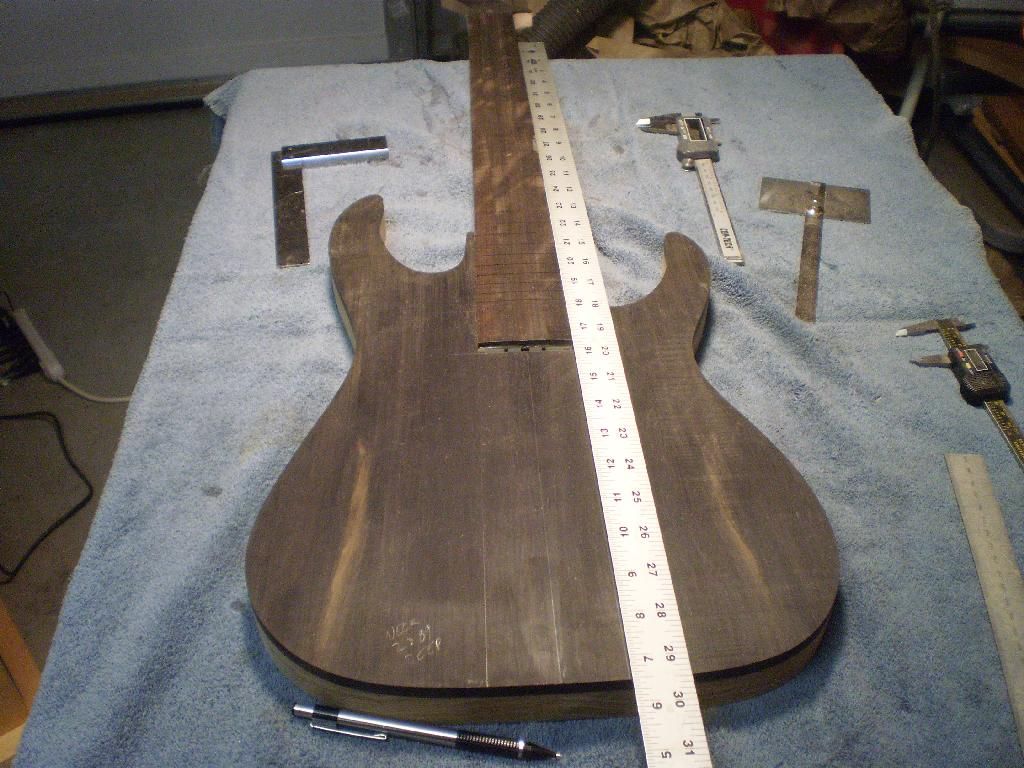
Now mark the scale, rear pickup, and neck pickup routes along the old centerline.
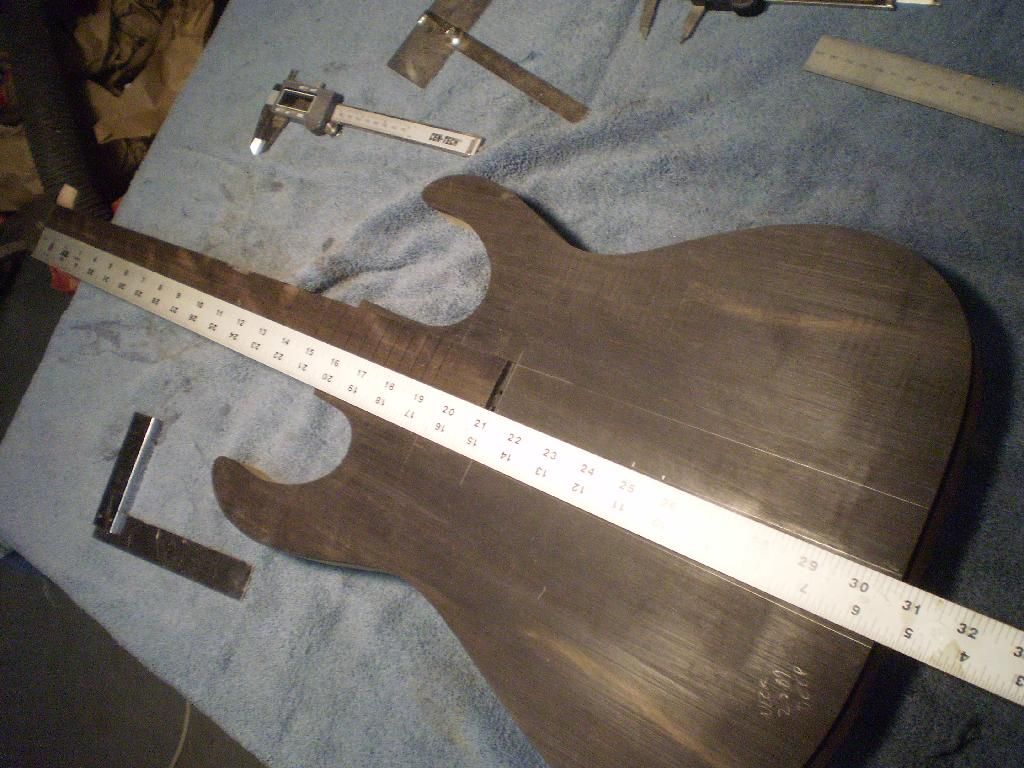
Using the new neck guide lines figure the new center line. I know you are wondering how it moved... trust me templates drift and pencil lines are .05 wide. The new line is actually about .05 off the old center. You will need at least 2 points to lat out the new center.
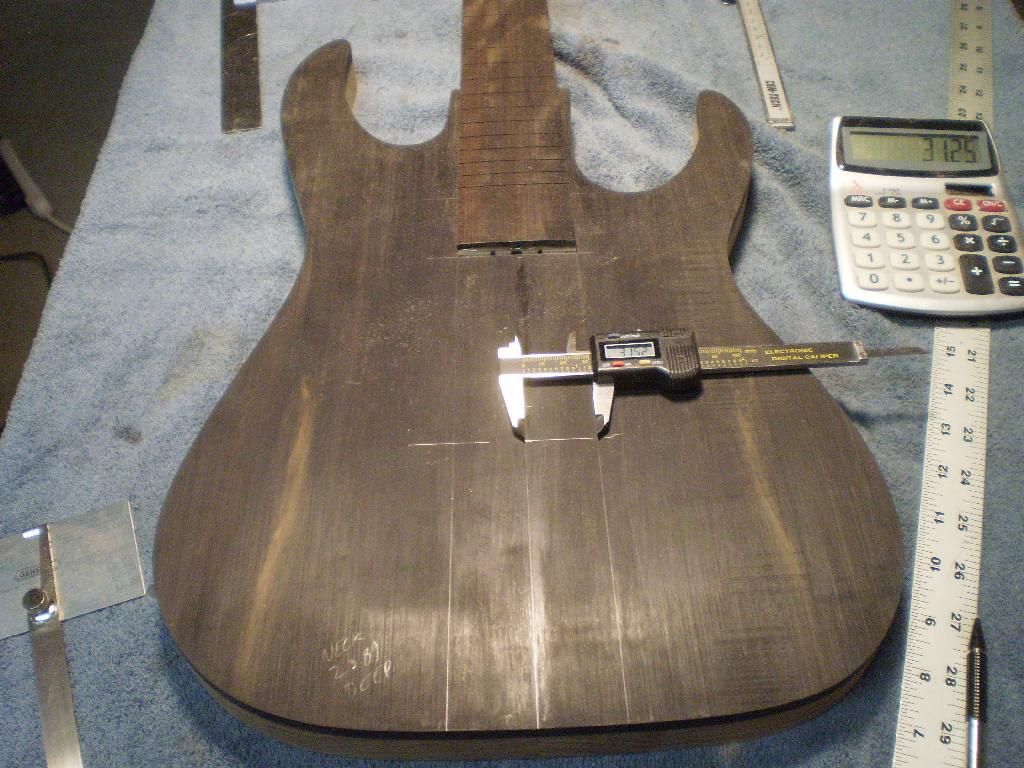
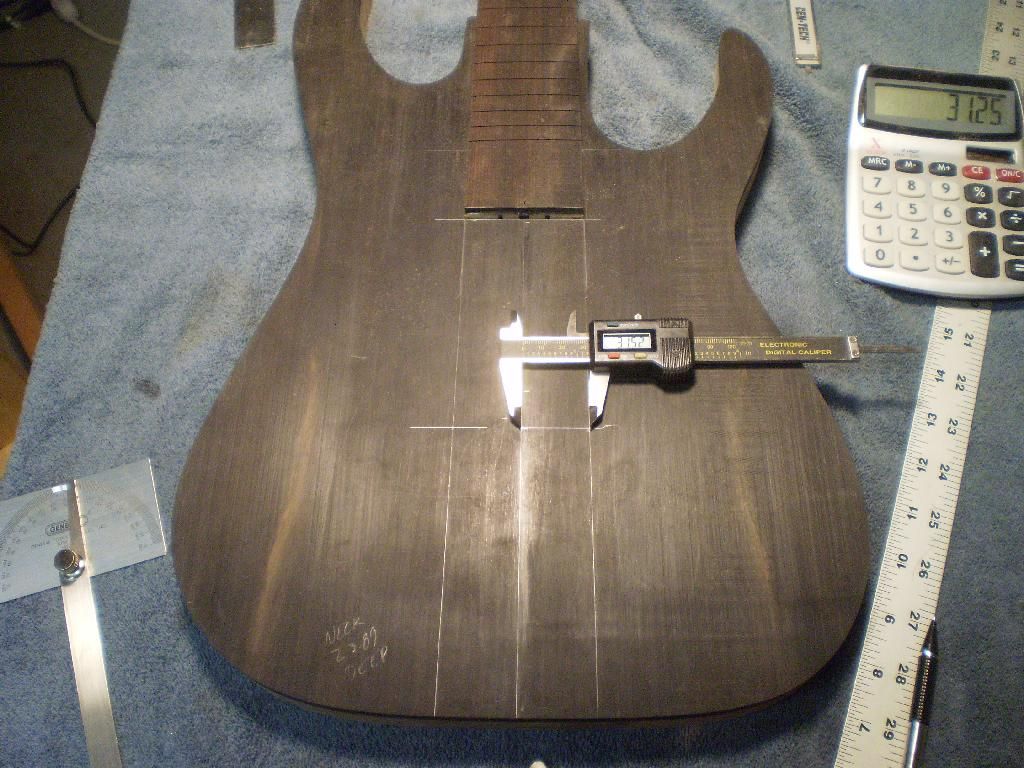
I then use a square to draw the scale mark, and the back line for the pickup routes. Use a straight edge to continue the lines to the edges. Then check the marks to make sure they are square.
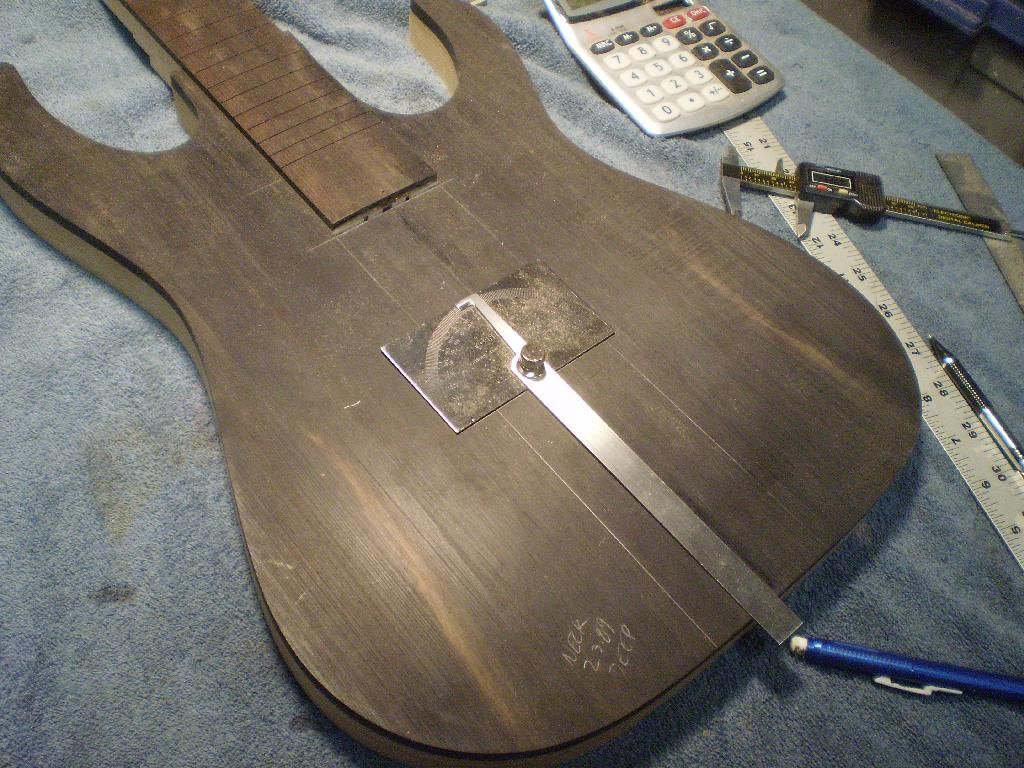
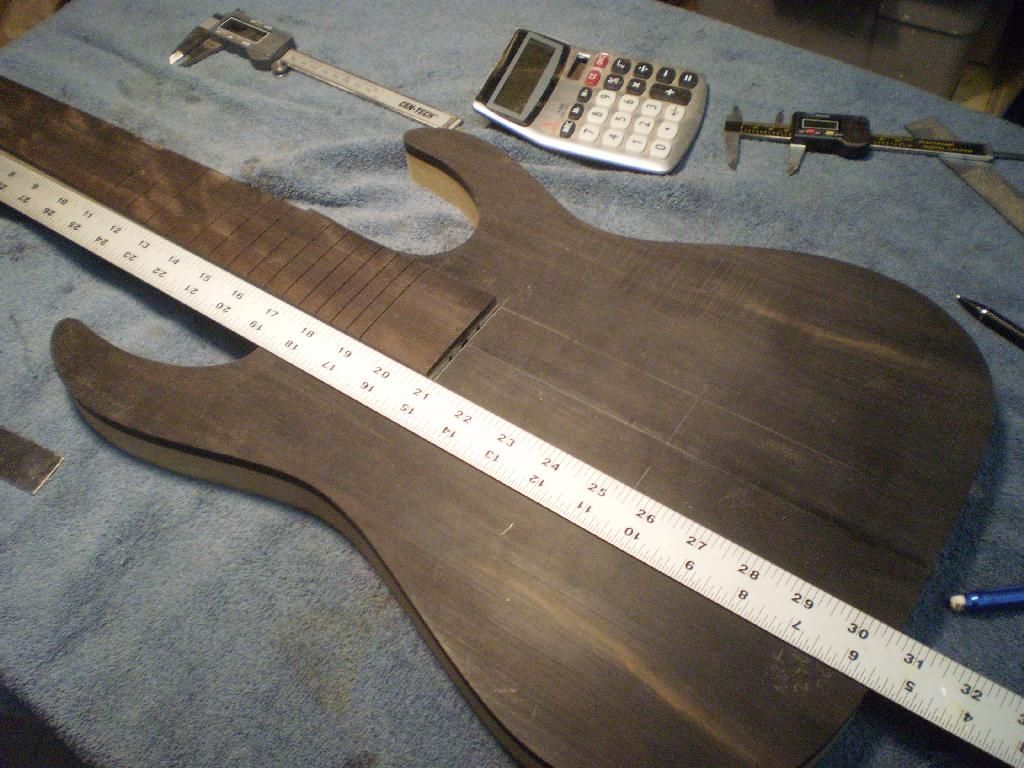
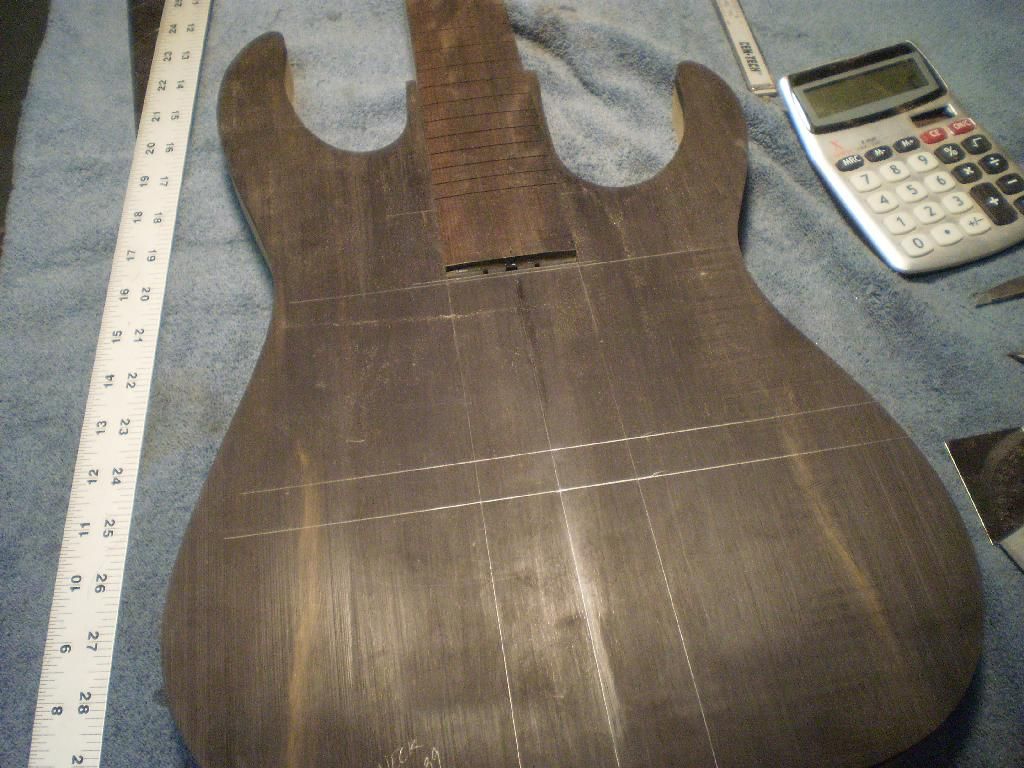
Next is to mark the outside of the pickups. Using the same methods measure out equal distances from the center line and make guidelines for the outer tabs of the pickup route template. We will use these lines to line up the pickup template.
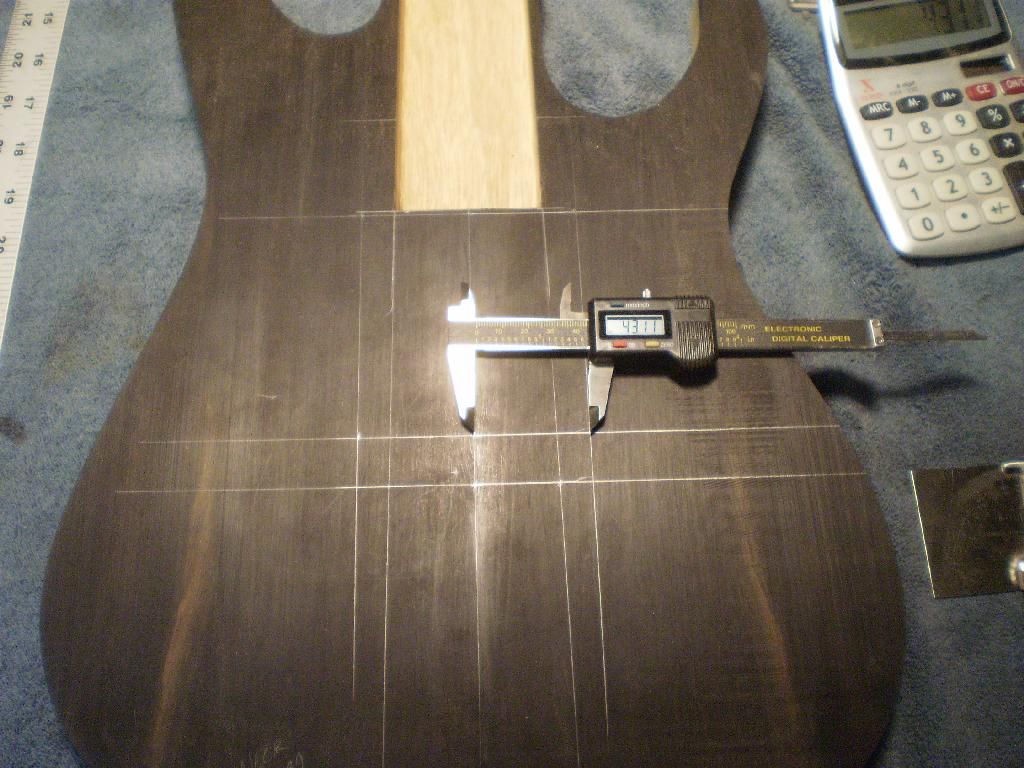
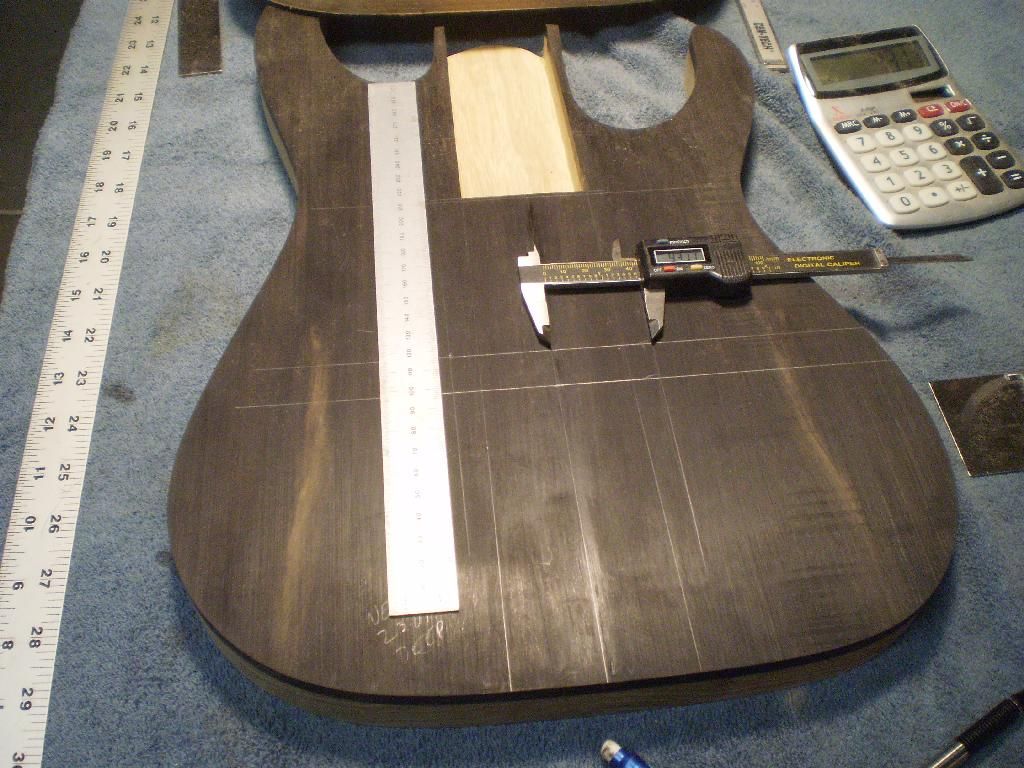
A quick check of the new neck template made on the CNC.
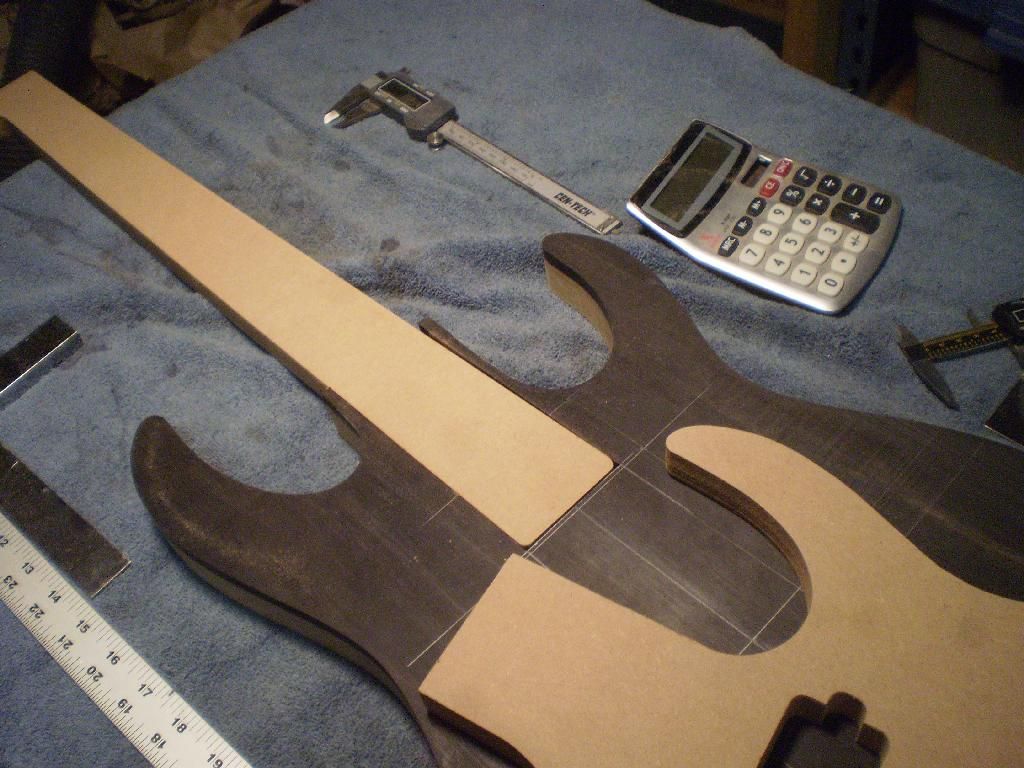
After continuing the scale and center marks around to the back of the guitar it is time to lay out the electronics cavity.
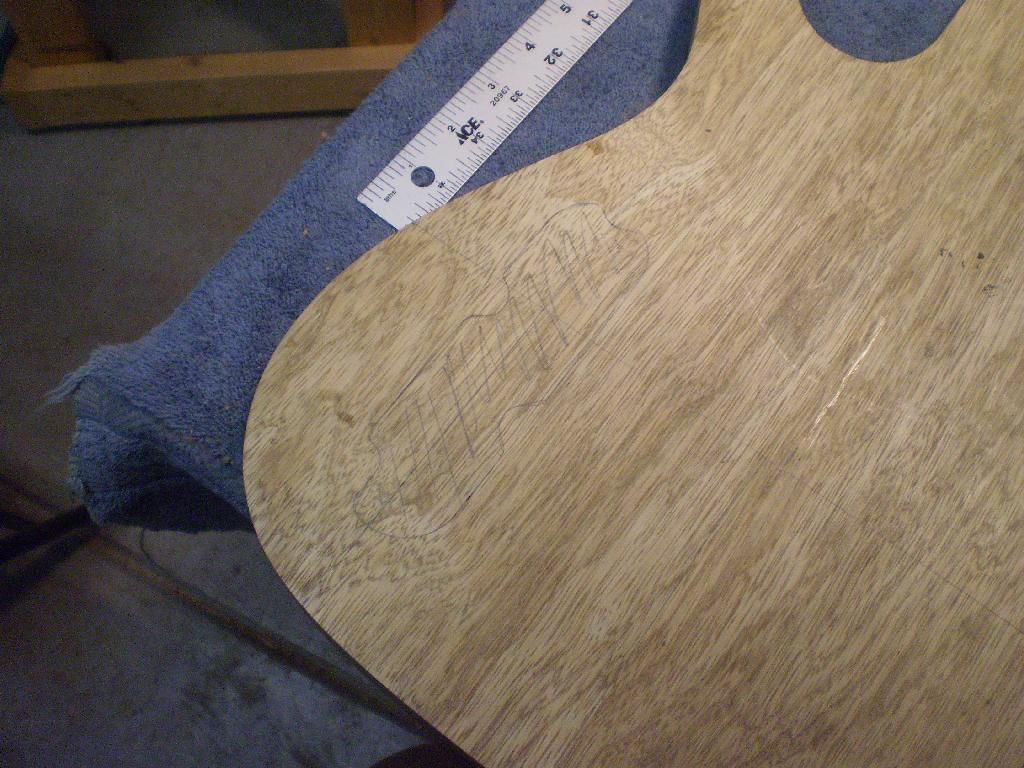
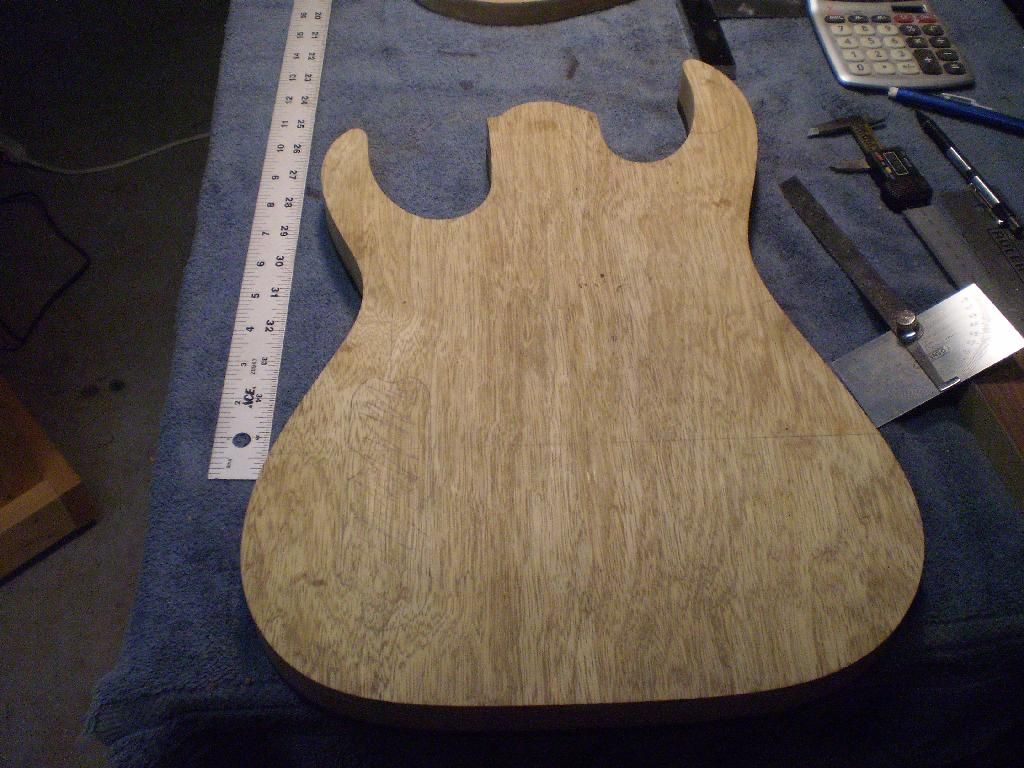
Attach the new pickup template to the body and use the drill press with a forstner bit to clean out the excess wood before routing.
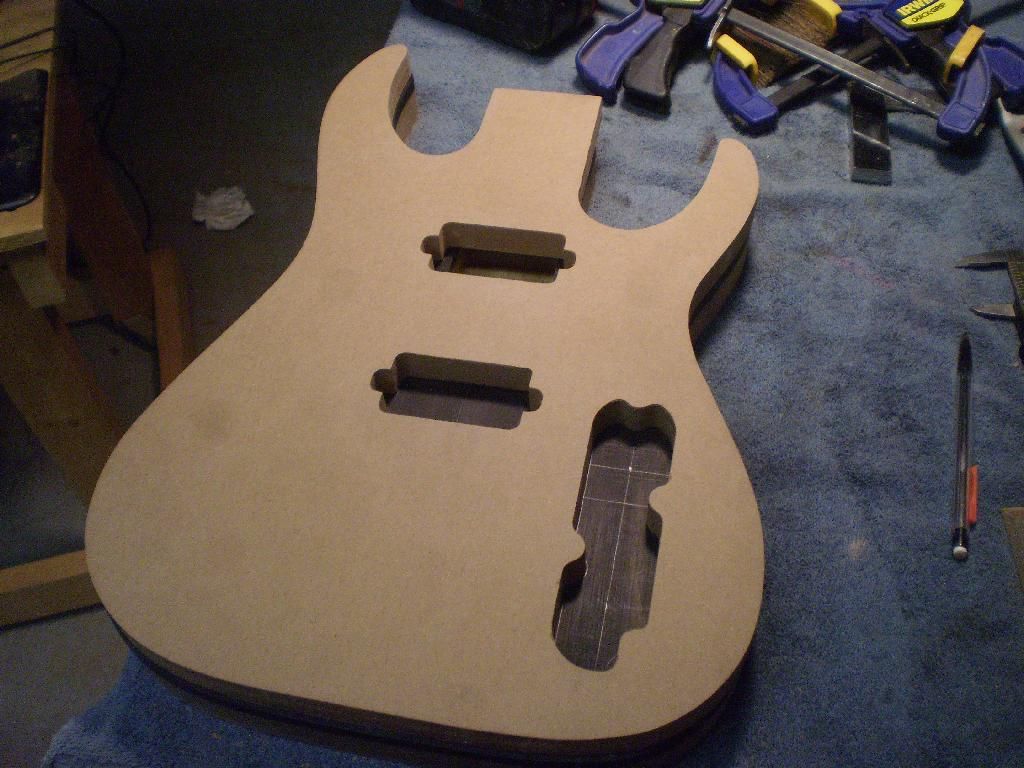
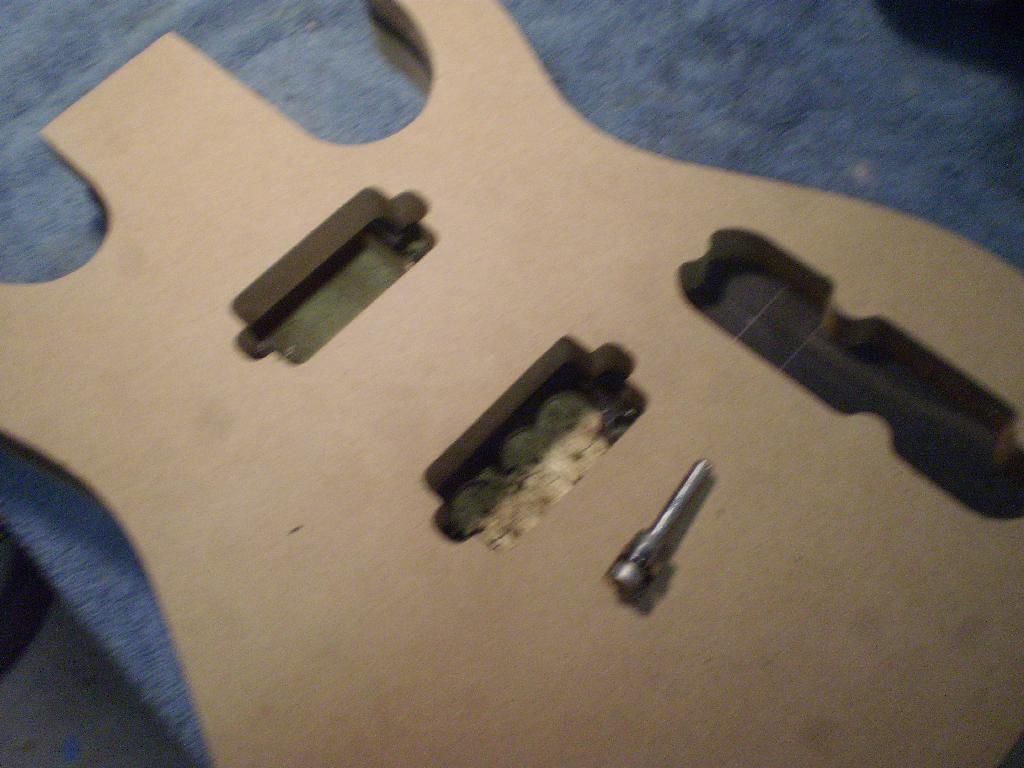
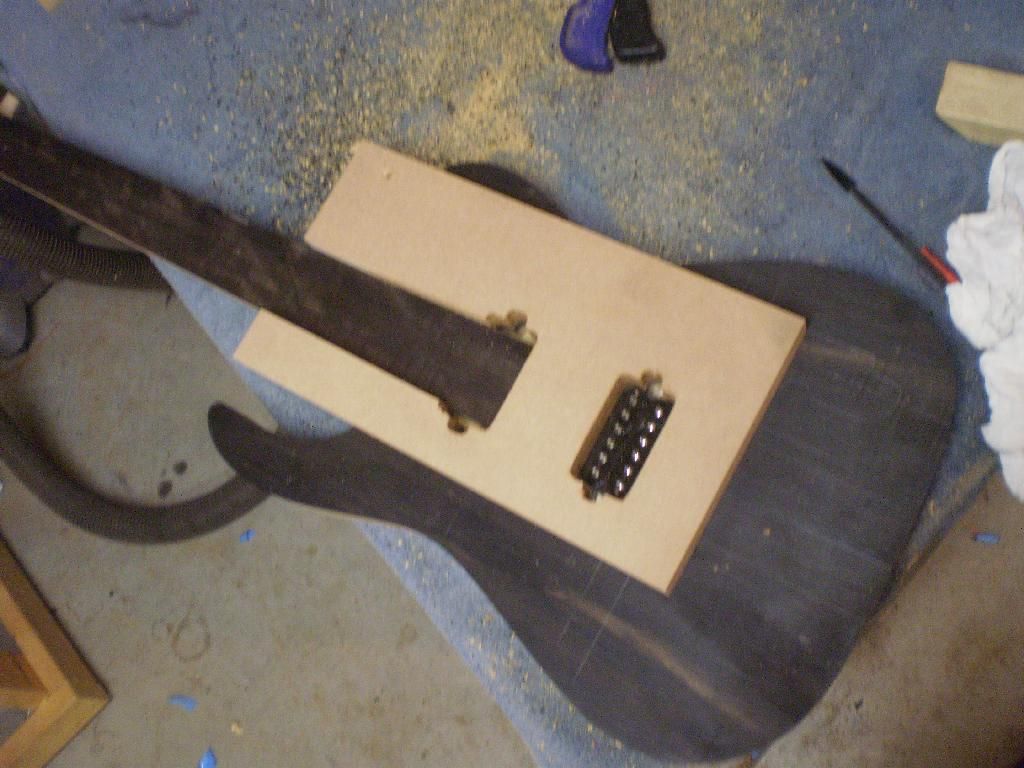
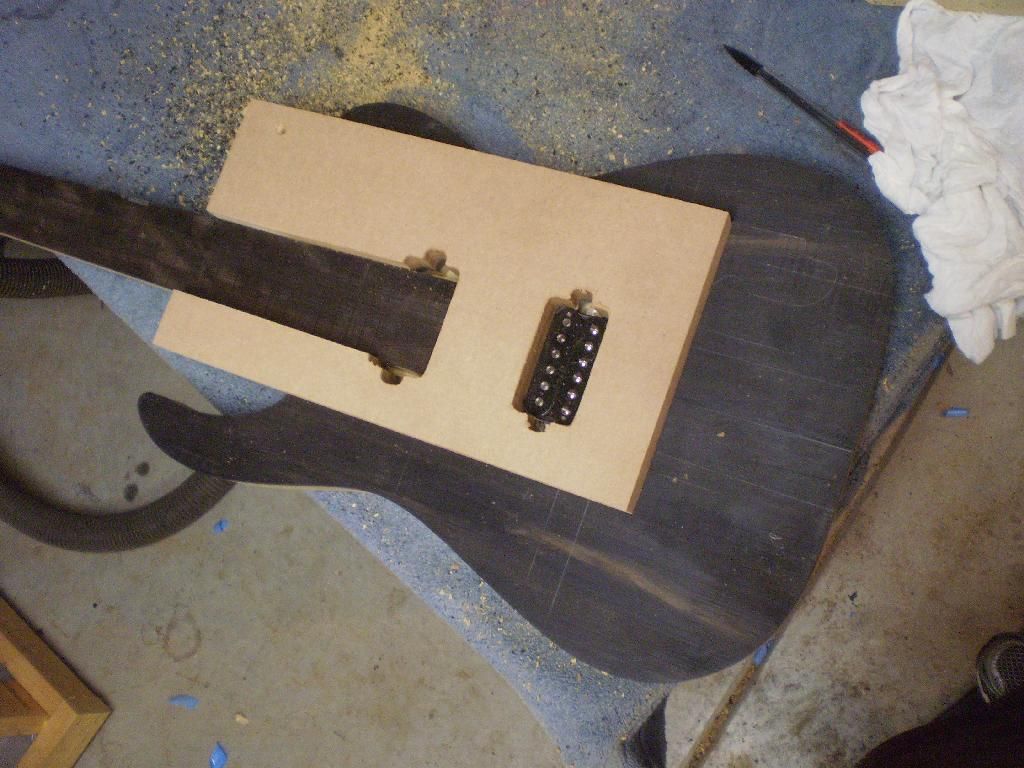
After cleaning out the pockets with a template bit it is time to check the fit of the pickup. On the first pass the expected results. The routes are designed for a 1/4 bit not a 3/8. Rather than risk making a mess of the very expensive ebony top a trip to the grinder takes the edges off the pickup base. This is a tight fit.
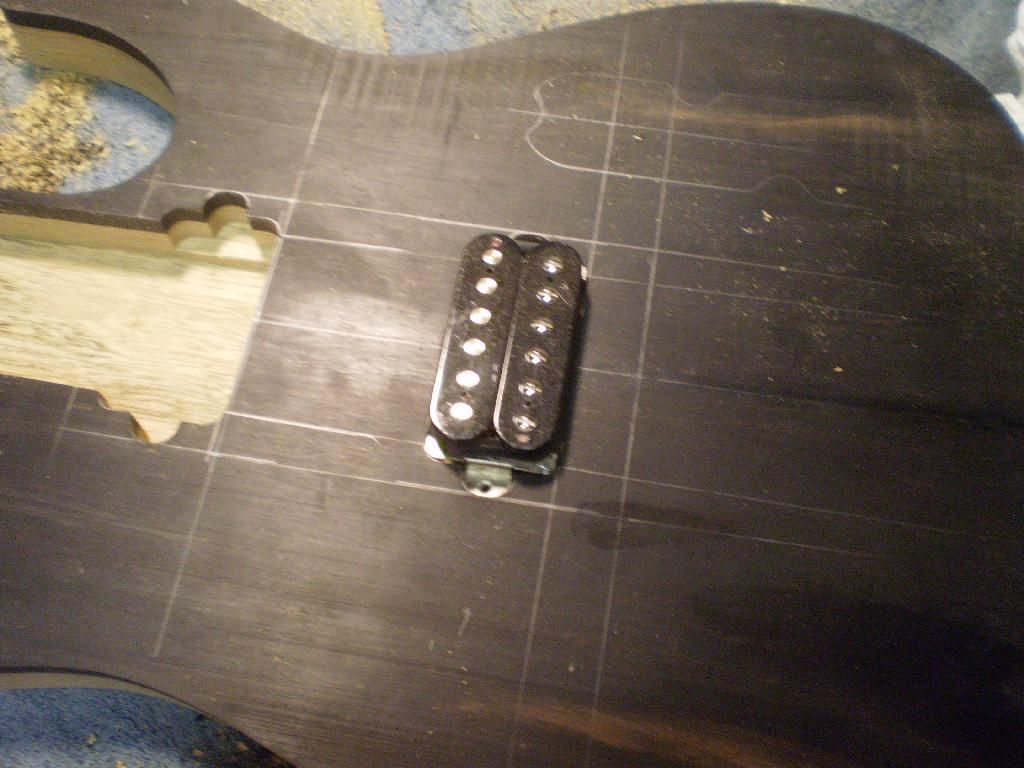
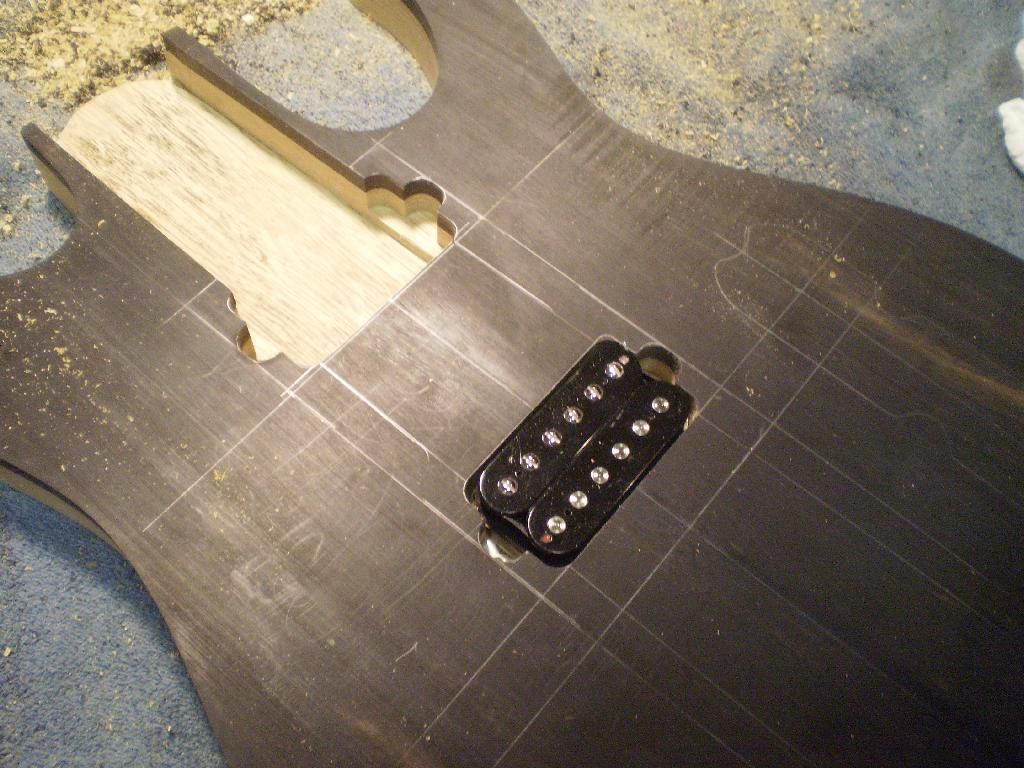
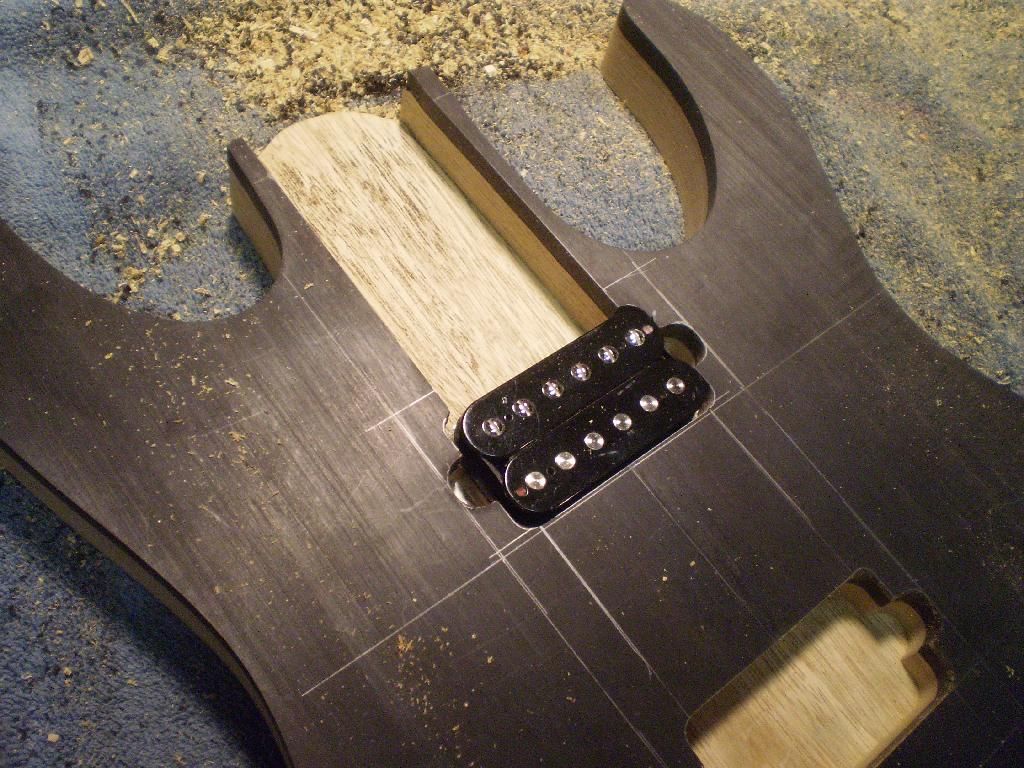
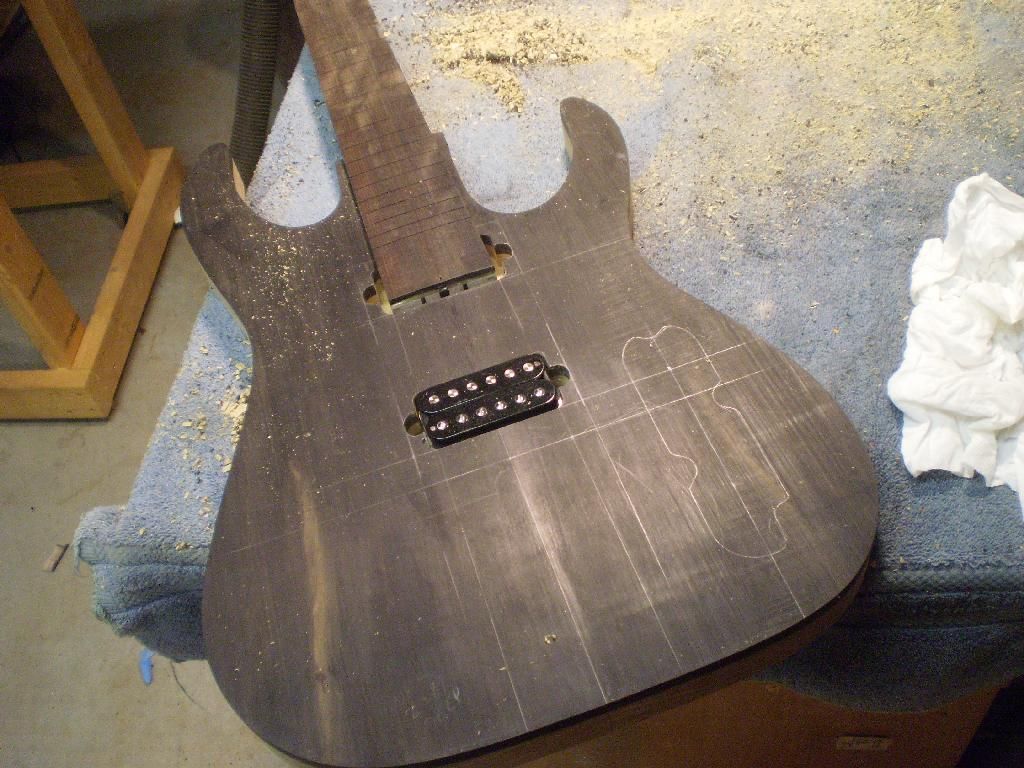
Here is the template specifically for cleaning up the front pickup route after installing the neck.
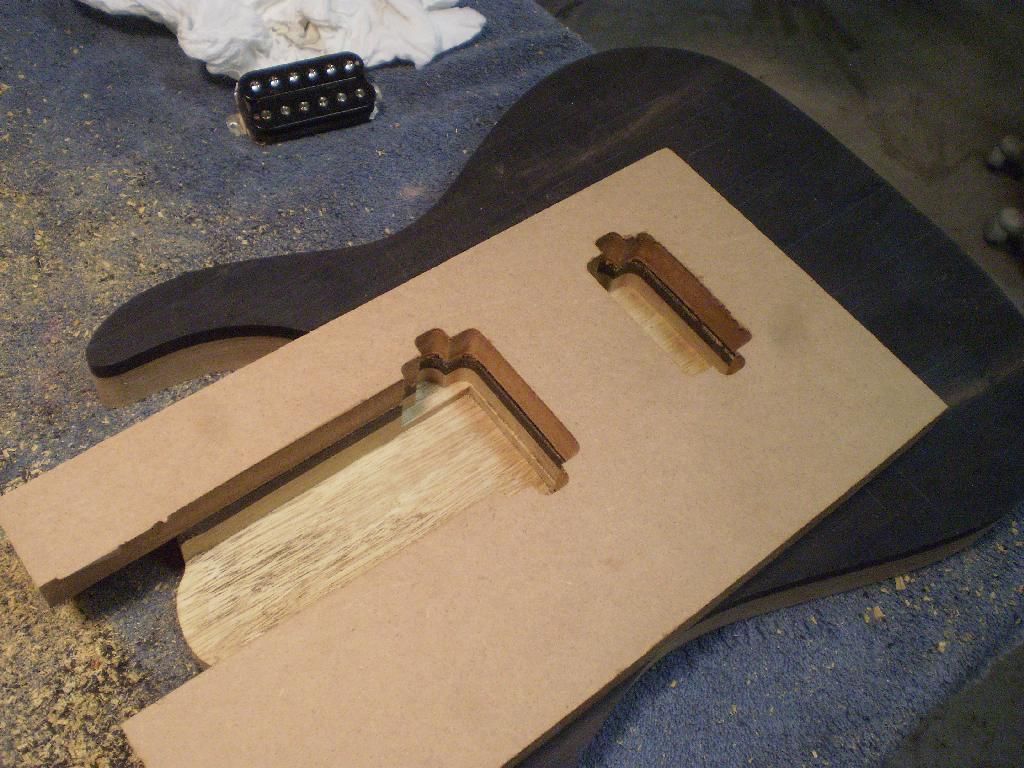
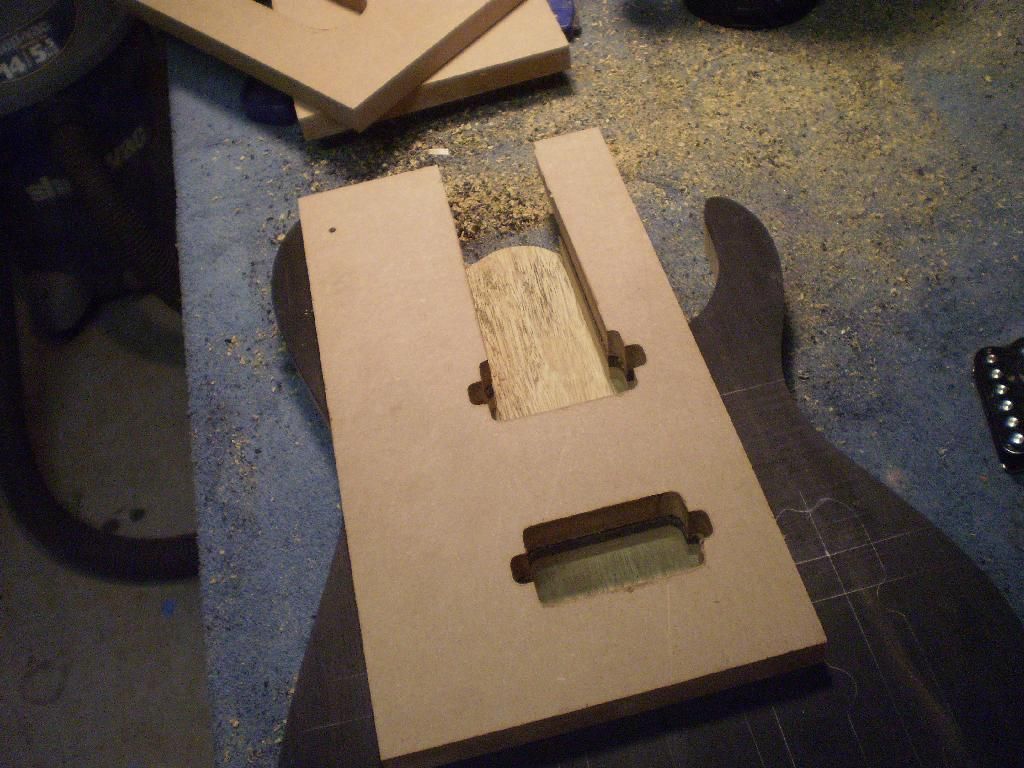
A look at how it works.
Control cavity and cover templates.
No comments:
Post a Comment
Note: Only a member of this blog may post a comment.