First up mark the end of the fretboard. Then lay the fretboard on the neck where it will be set.
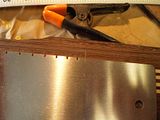
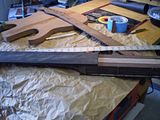
Mark off the scale length.
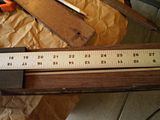
Measure the bridge height.
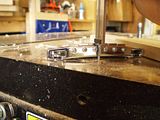
With the neck blank on its side lay a straight edge along the fretboard and mark your bridge height at the bridge position.
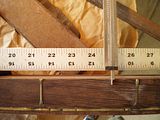
Now draw a line from the end of the fretboard (or where ever the body will start .. might be hte 21st fret) through your mark and it will give you your angle. I didn't use this angle since I like to recess my TOM I used about half this angle.
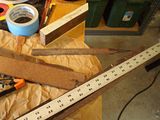
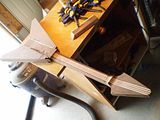
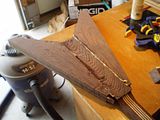
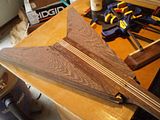
Usually I finish the neck first. However on this guitar I want to do all the carving and sanding before I attach the fretboard (to keep it safe). I hate to waste wood so I built the wings close to the rough shape. It allows me to get a V out of a single blank. Clamping a V is a chore and I am going to make a real jig for this soon. I forgot to take pictures of how I clamped the first wing on but basically I clamped the neck to the table at the proper neck angle (use some shims) then I make a stop block to stop the wing from sliding out of the clamps. Then I clamp it, curse, fix the clamps, accidentally bump one and watch them all pop off, curse, and finally get them right. The trick is to wait for the titebond to tak up before applying to much pressure. In the last picture you can see my neck angle.
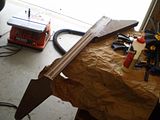
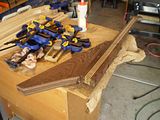
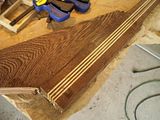
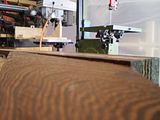
Radiusing the fretboard with my 16" radius bit (thanks SJE). I squared up a 4x4 and draw a center line on it. Next I center and double sided tape the fretboard to the block. Set the bearing to ride on the center line and make a pass. Flip the block and make another pass. Done rough radius in 5 minutes. After slotting I profiled the board with my neck template and we are ready to roll.
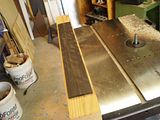
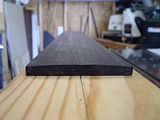
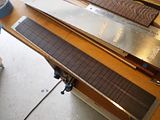
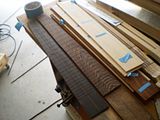
A look at he board on the neck
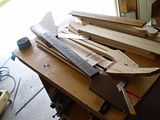
Allright time for a better pictorial on gluing Vs. Clamp the neck and wing to the bench with proper shims.Do a few test fits to make sure everything is lined up right. Freshen up the edges to be glued. Use a block at the end of the neck to keep the wing from sliding back. Then glue the wing on.
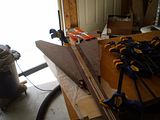
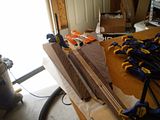
Next I use cuttofs from neck scarf joints as V blocks. I cut off a little from the sharp end so I can stack them. I brace the first 2 and clamp them. I let the next 2 ride against the first and clamp then and so on. I try not to use too much pressure until the Titebond taks up.
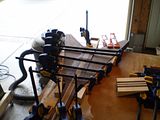
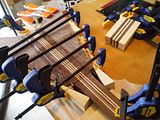
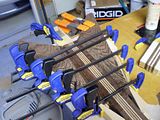
Out of the ugly clamping jig and I will leave it until the weekend to make sure it is cured before carving it up.
No comments:
Post a Comment
Note: Only a member of this blog may post a comment.