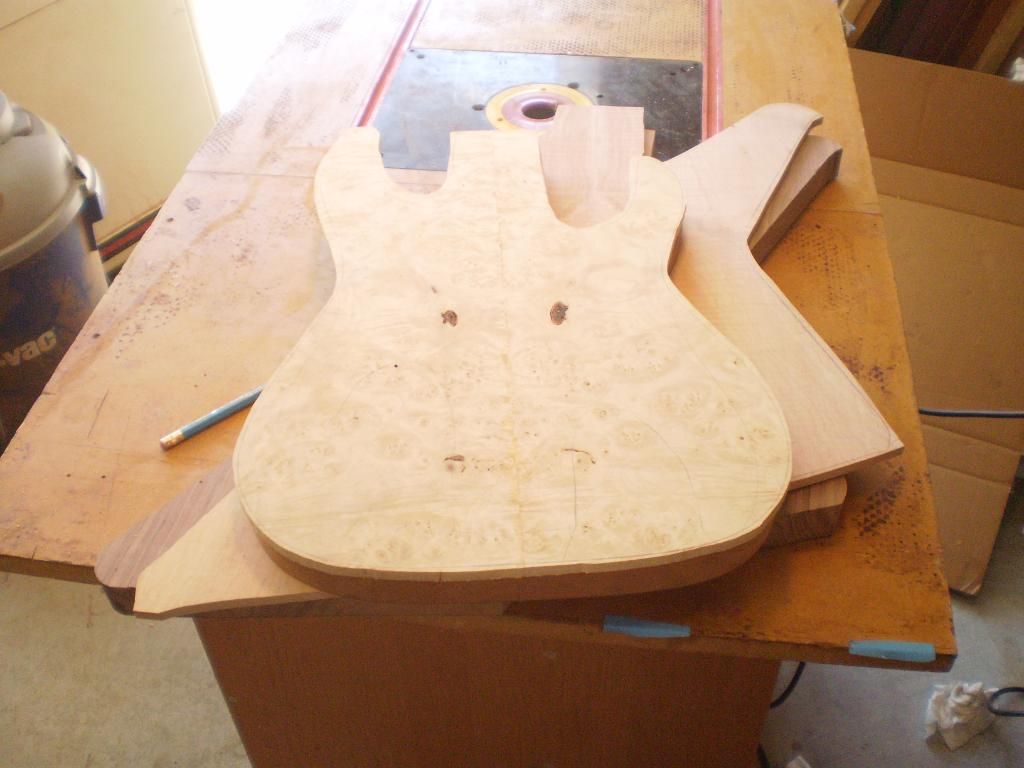
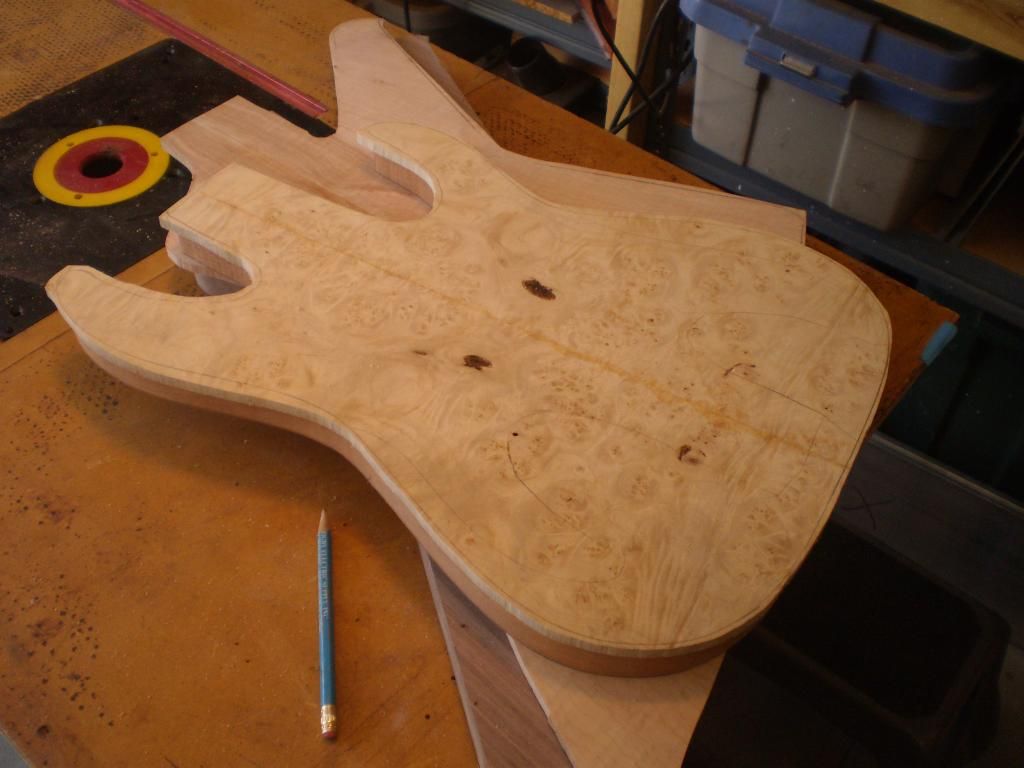
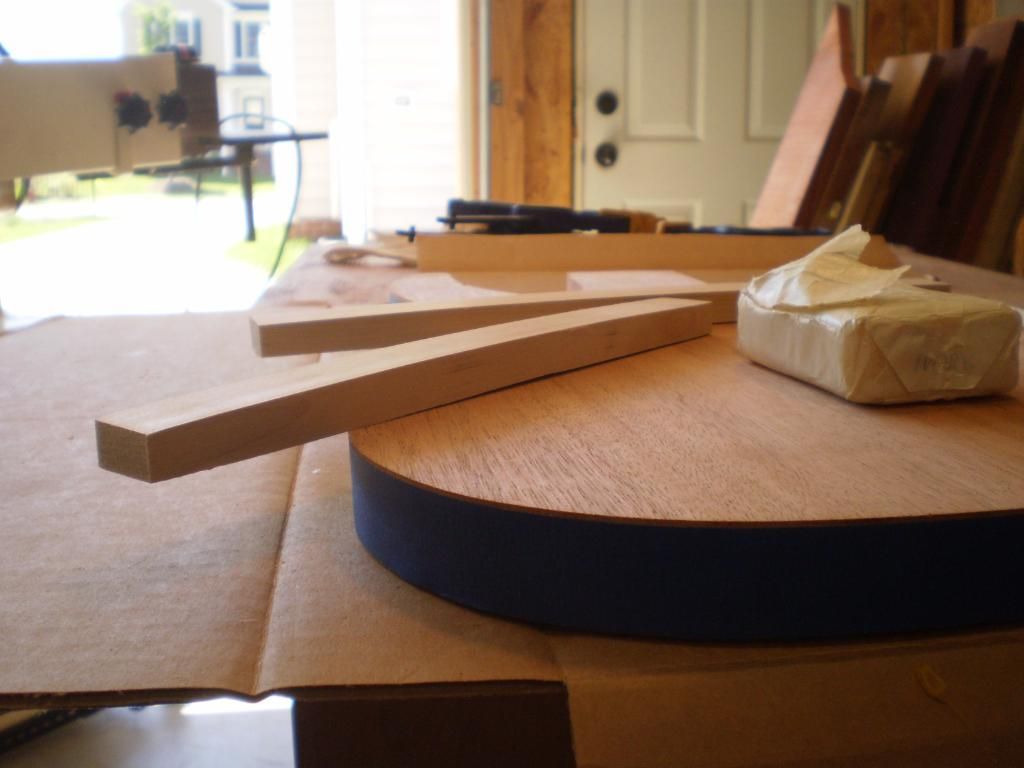
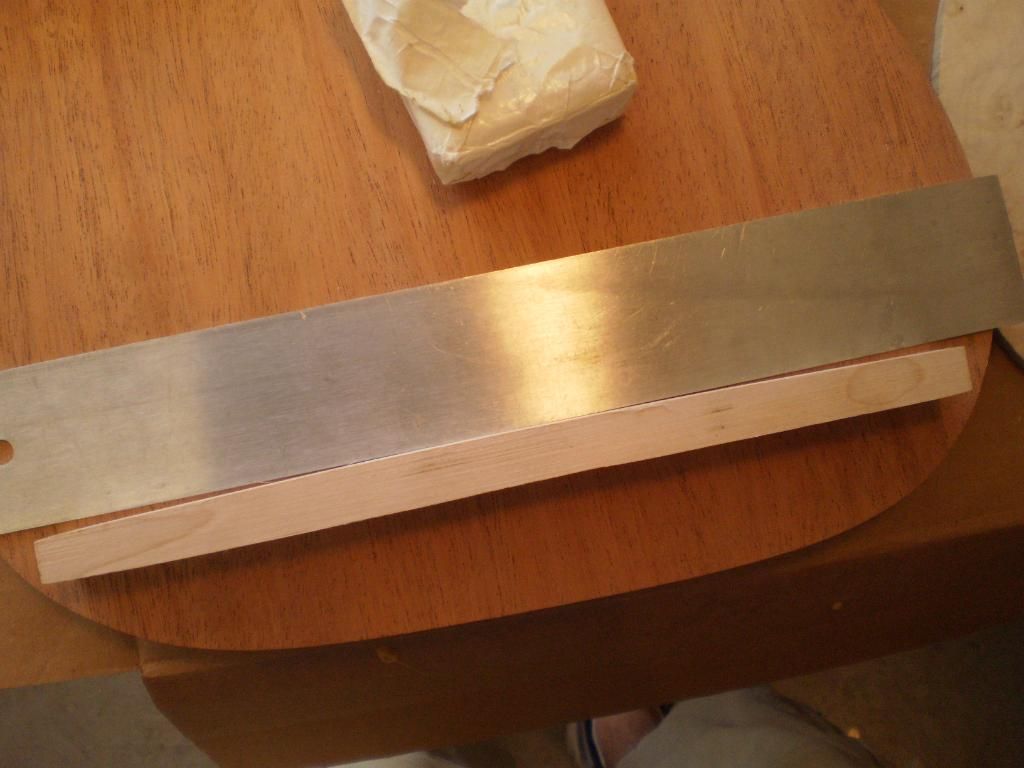
After taping the edges of the body to protect from glue runs and make it easier to clean up I clean up my clamping bars. The best way to put tops on is with a vacuum system. I haven't bought one yet so I use a lot of clamps. One thing that helps put pressure in the middle of the top are maple clamping bars. I use two, one at the waist and one across the bridge. They are easy to make. Take a 1" x 1/2" x (7" - 12") piece of maple and curve the bottom of it. The curve side goes against the top and you clamp each end. The bow in the maple puts pressure in the middle of the blank. A lot more pressure than you can put with a bag of sand or a cinder-block.
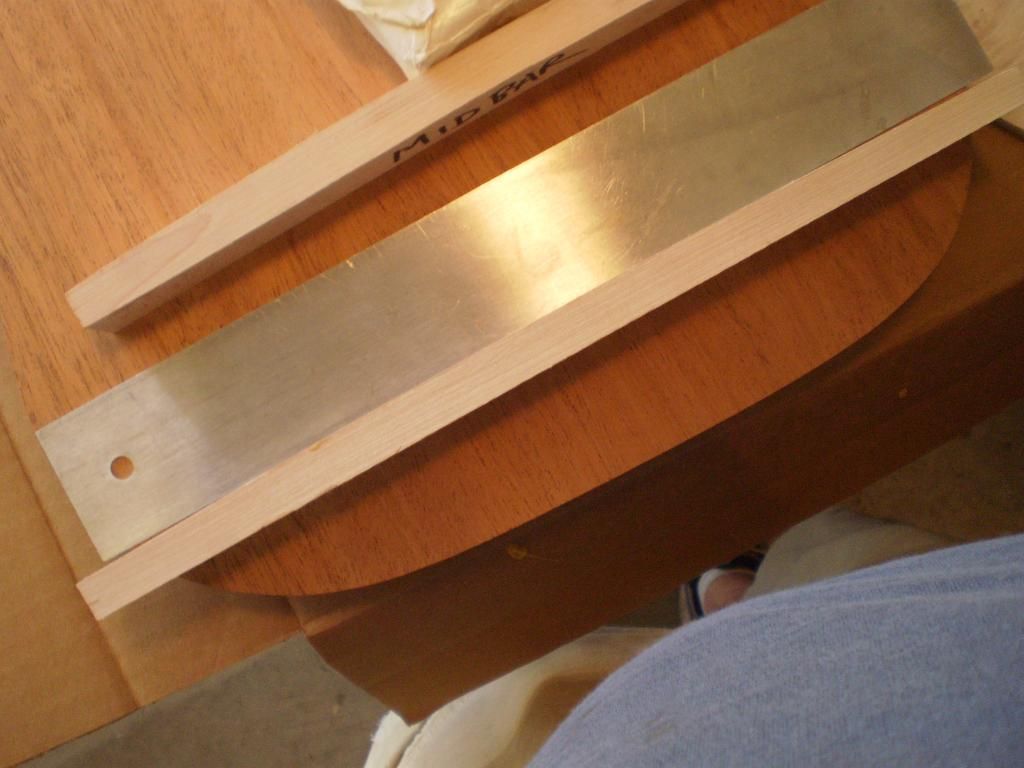
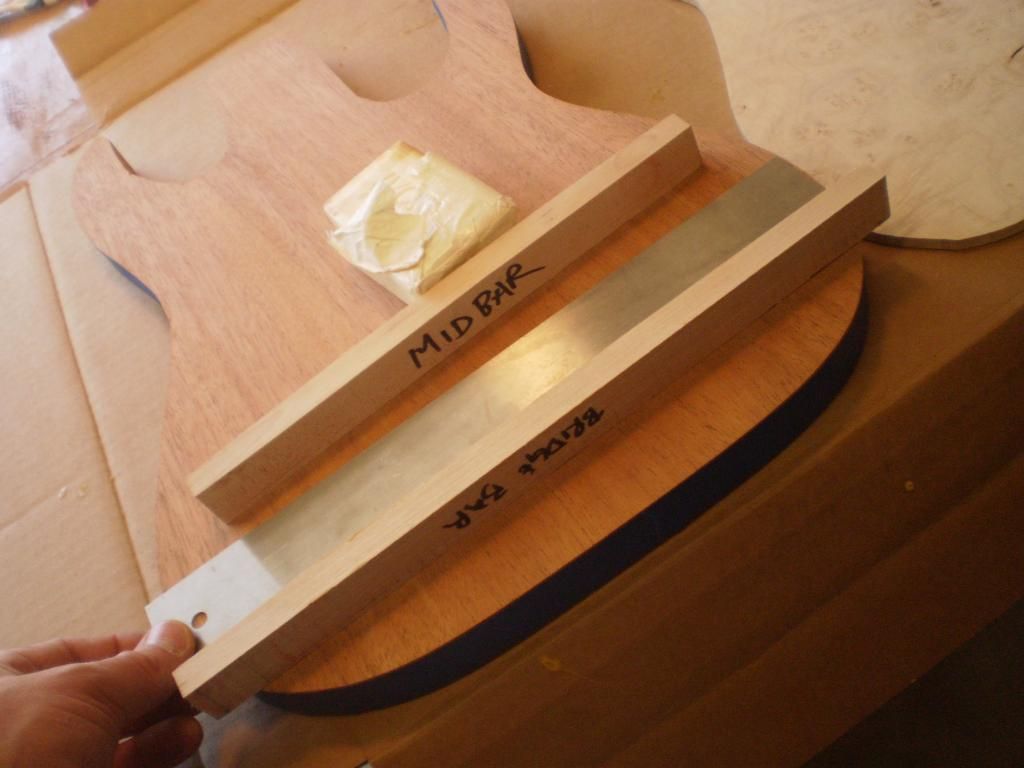
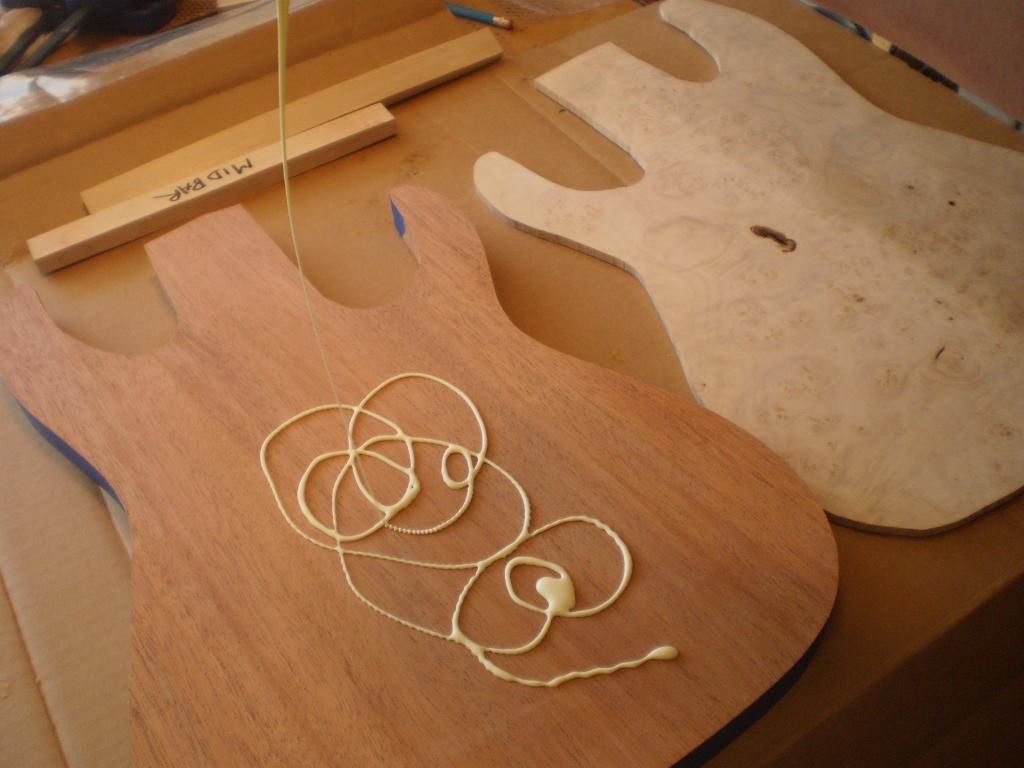
Time for the glue up. It is hard to get pictures because titebond has a short open time. Cover both pieces and stick them together. This step is important and should be done quickly as titebond will skin over if exposed to the air to long. Use quick clamps to go around the outside edges and hole the top down while getting the big clamps together. Then remove quick clamps as needed to position heavier clamps and bars.
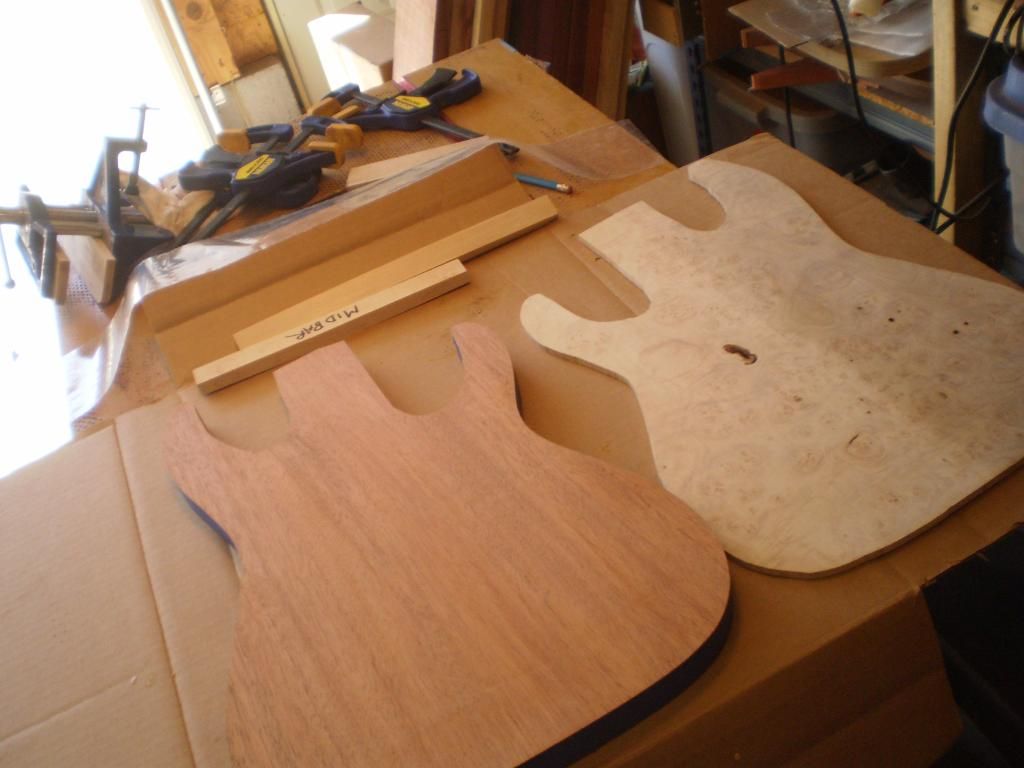
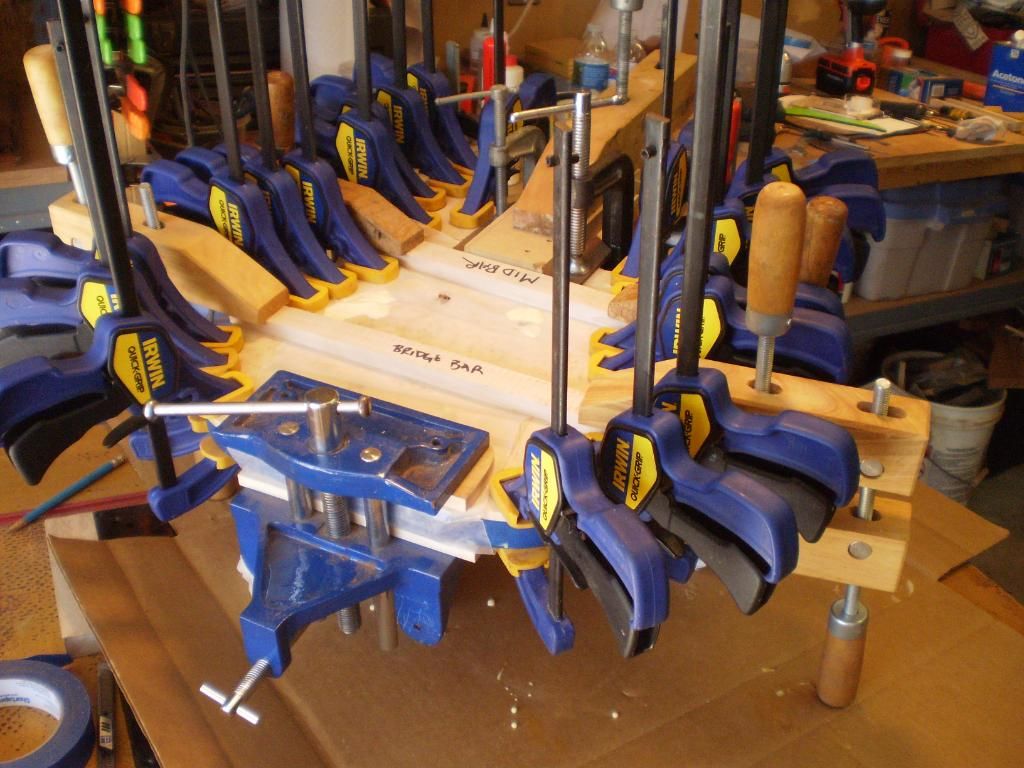
Out of the clamps.
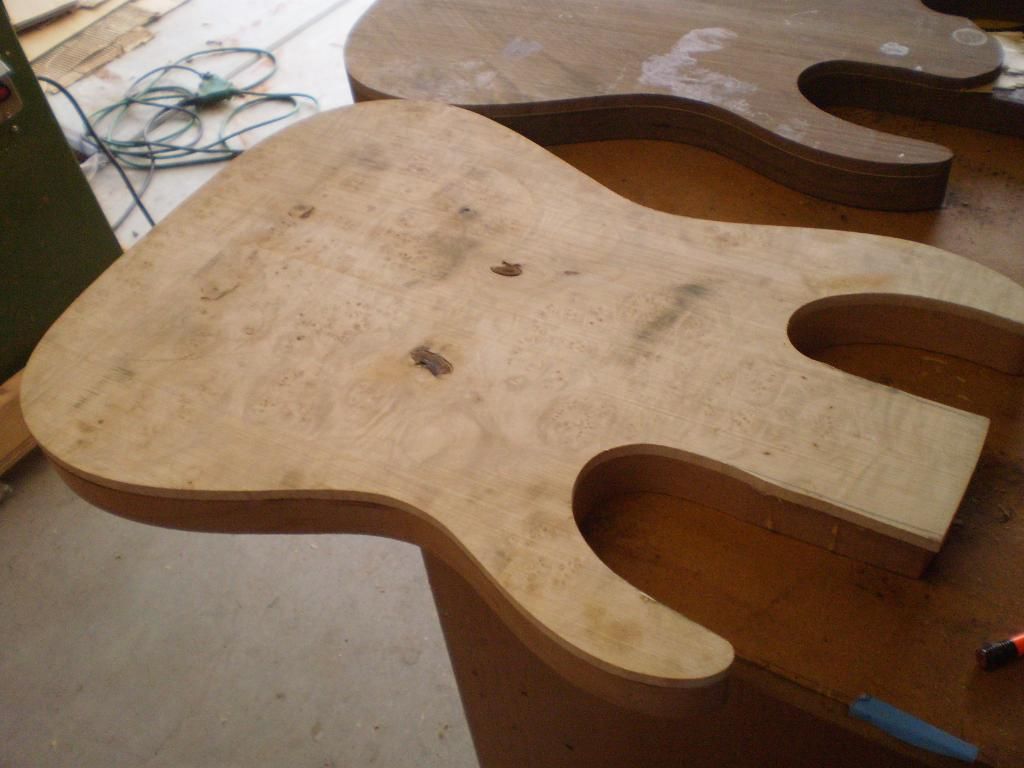
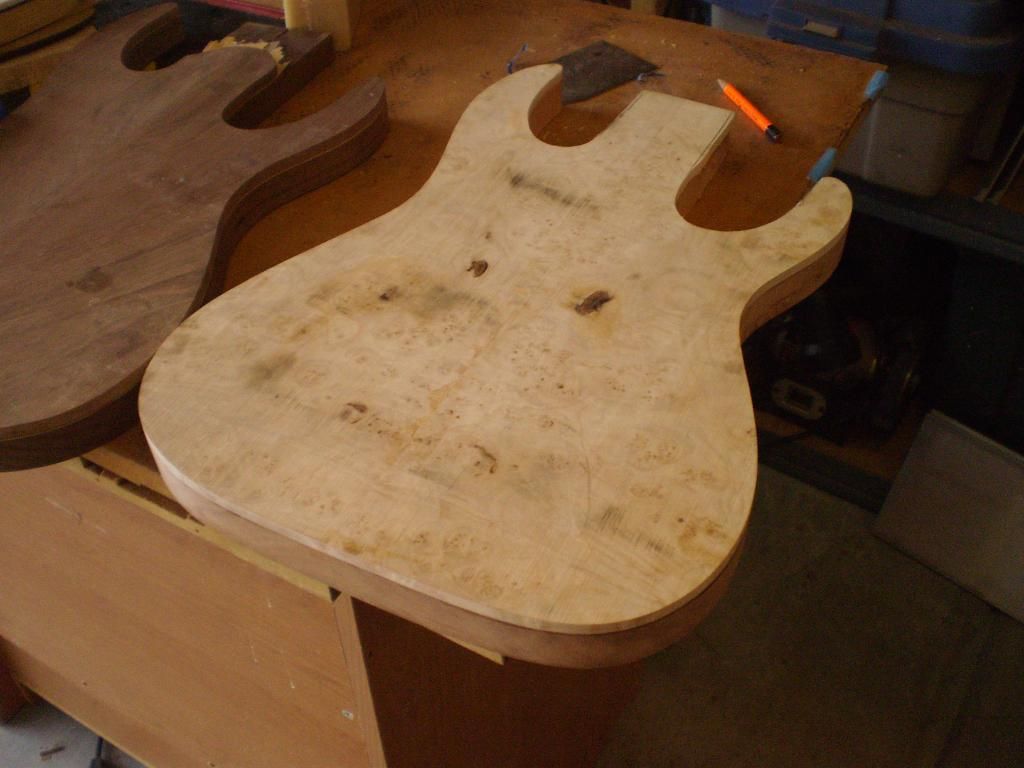
One on the bench then out in the sun to get a look at the grain.
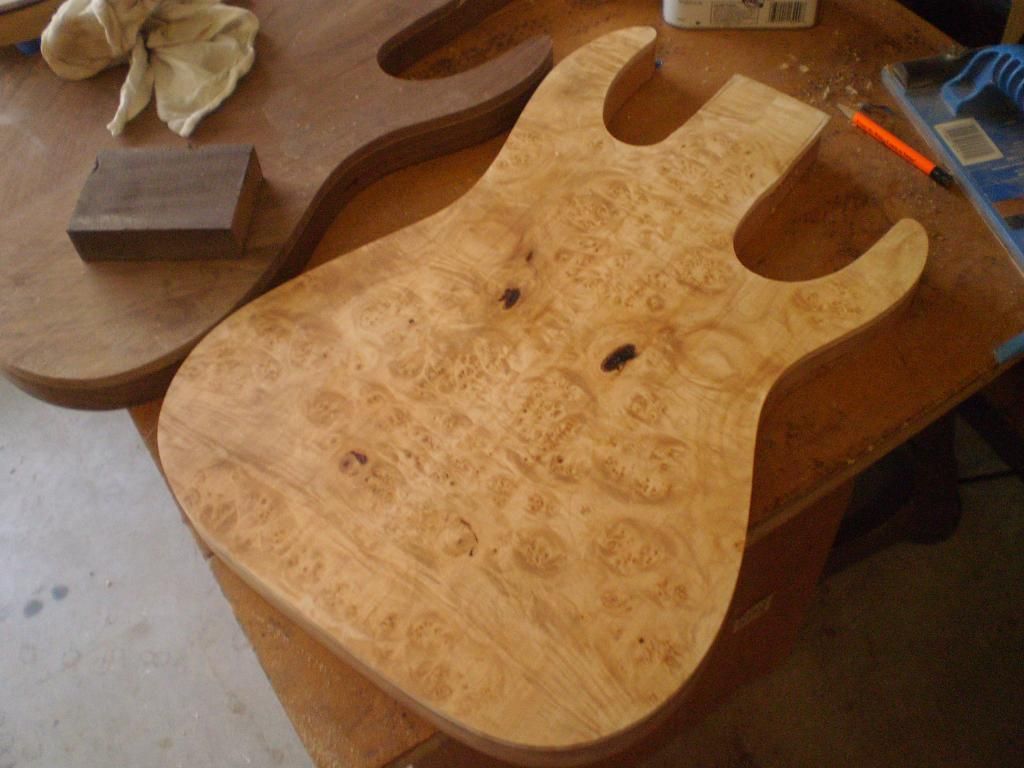
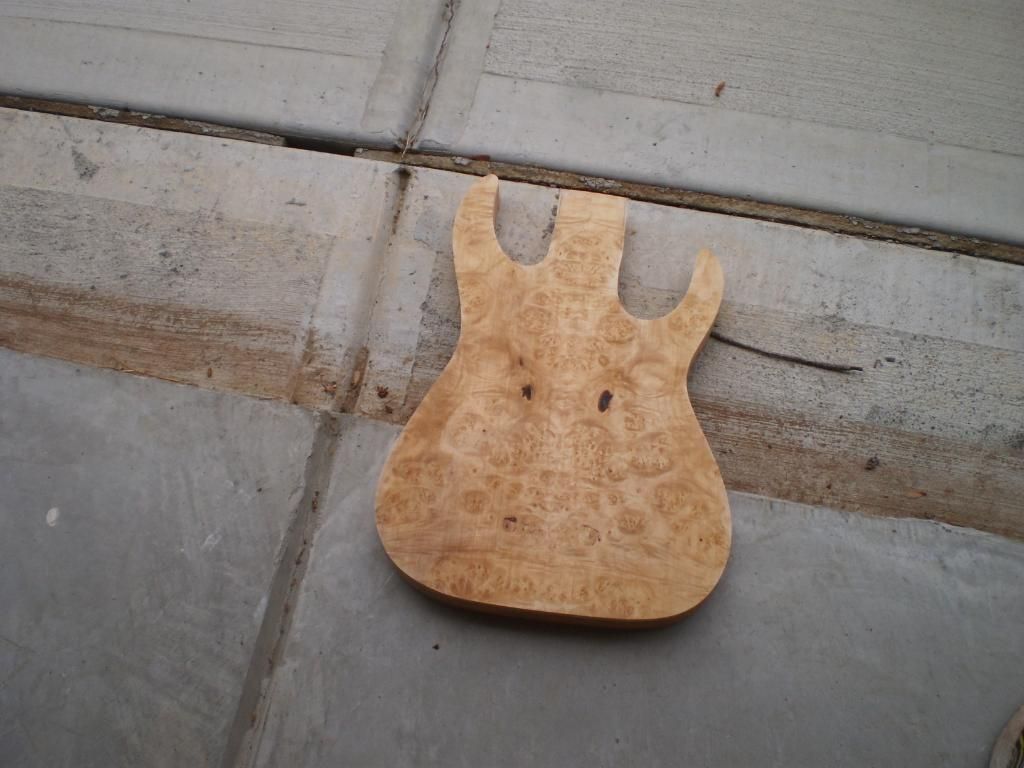
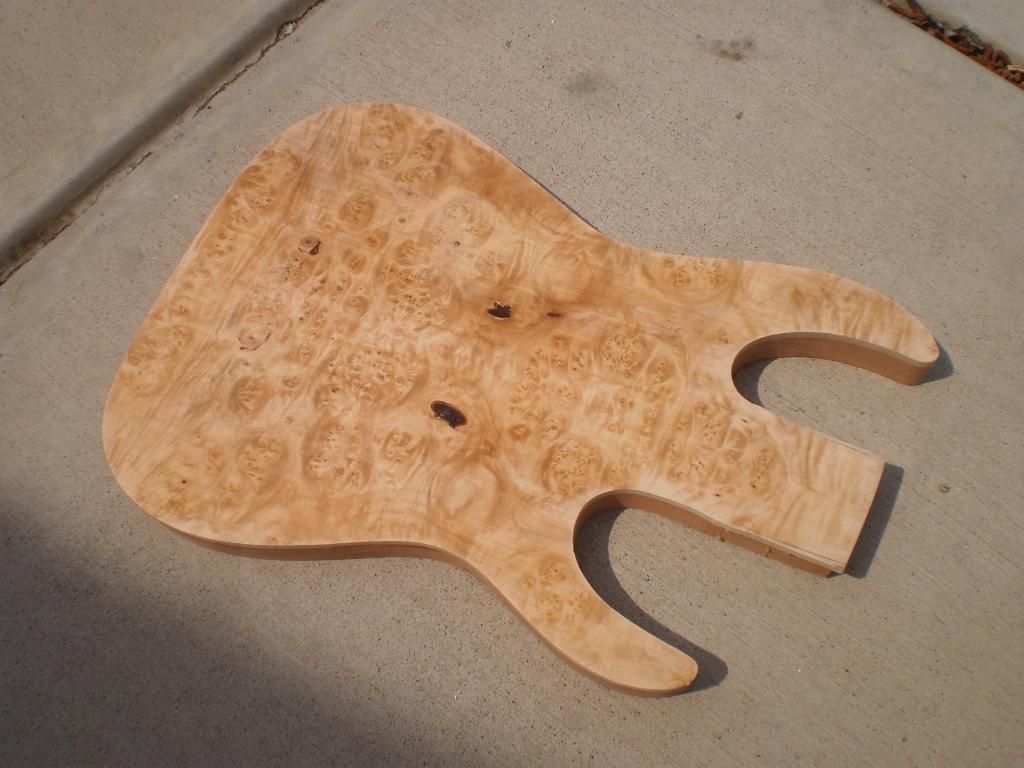
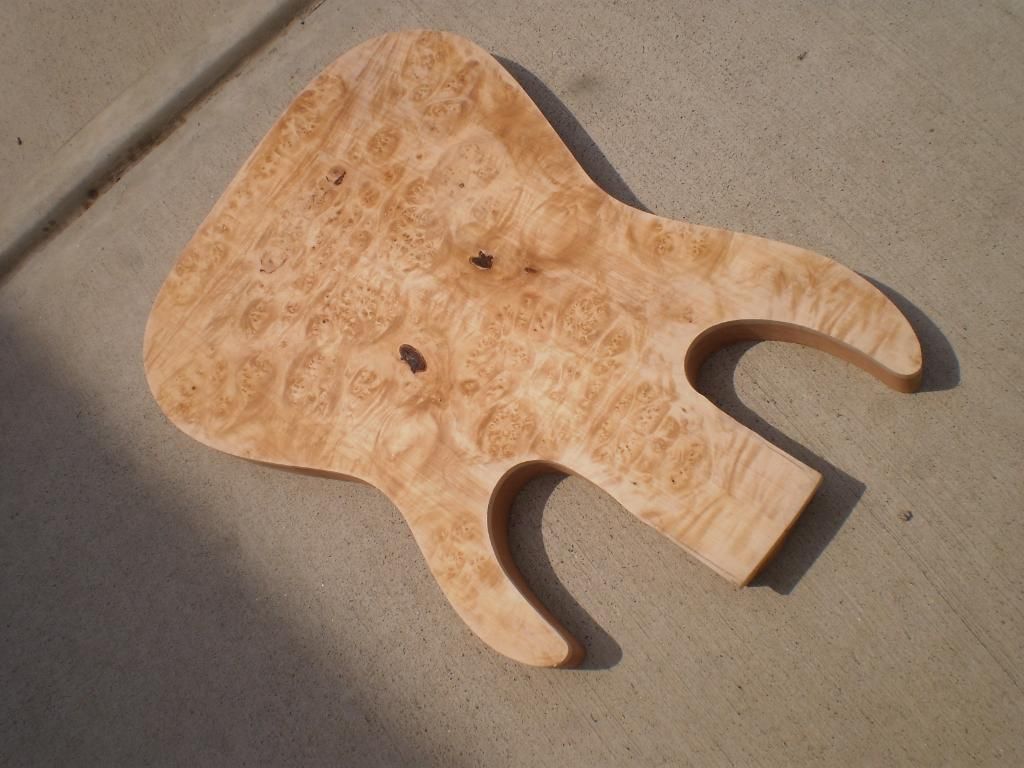
Clean up the inside of the horns. I now sand these to 220 grit with the spindle sander early in the build. Removing scratches from inside the horns later is a chore.
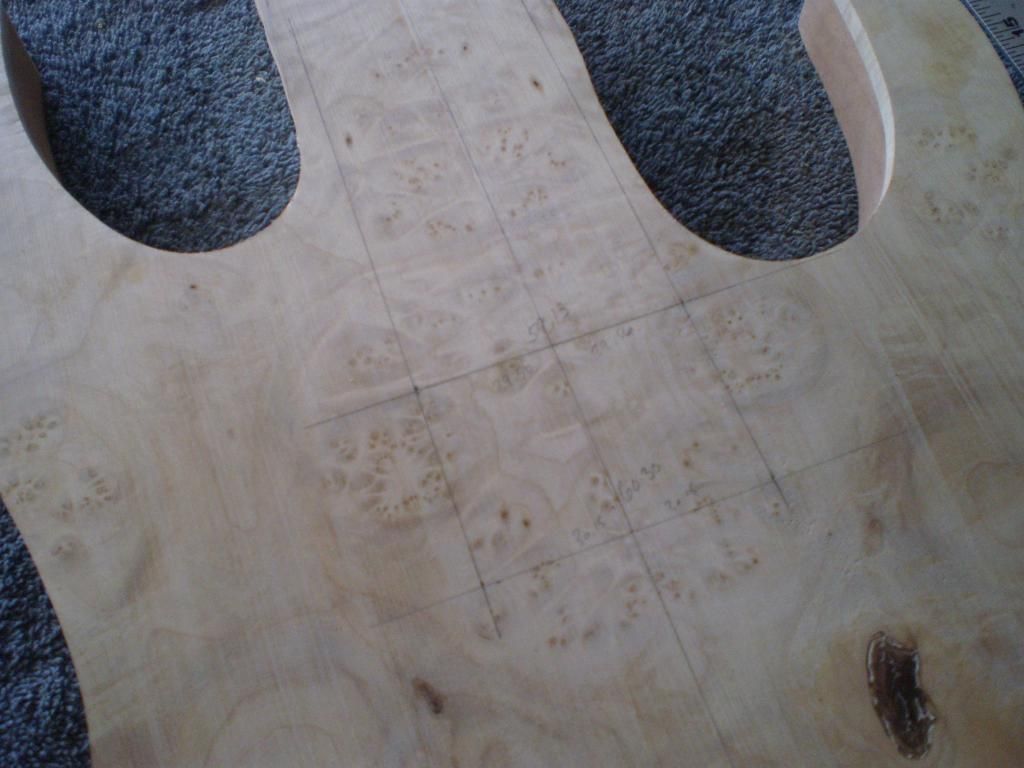
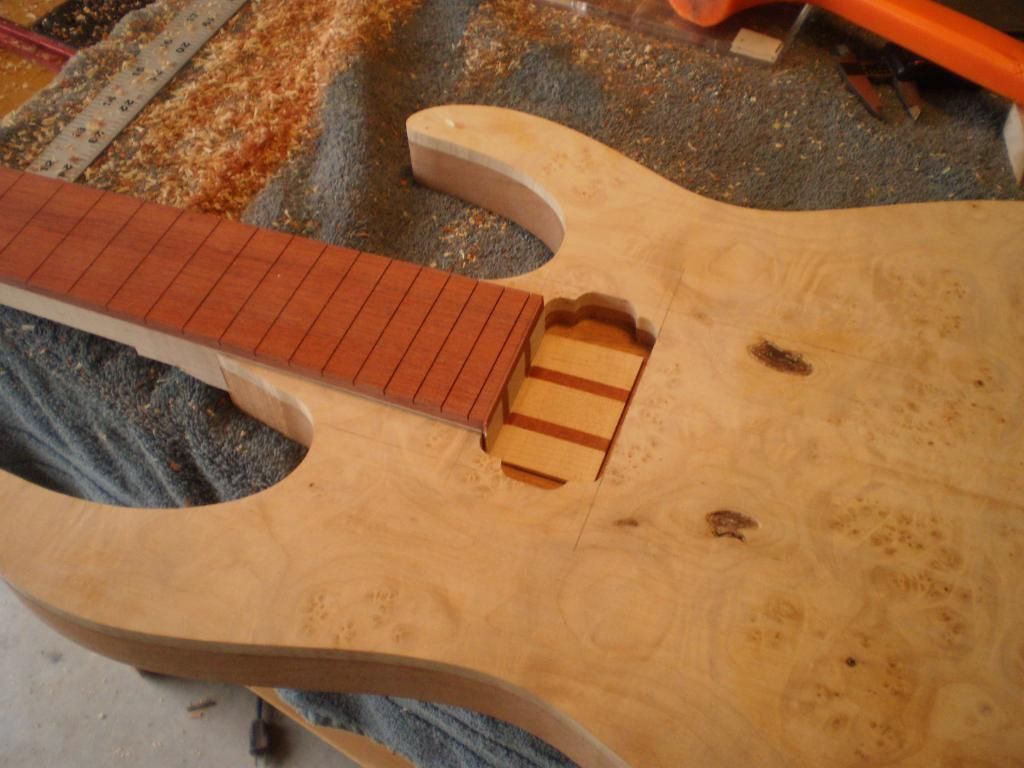
Setting the neck. Setup my guide lines.
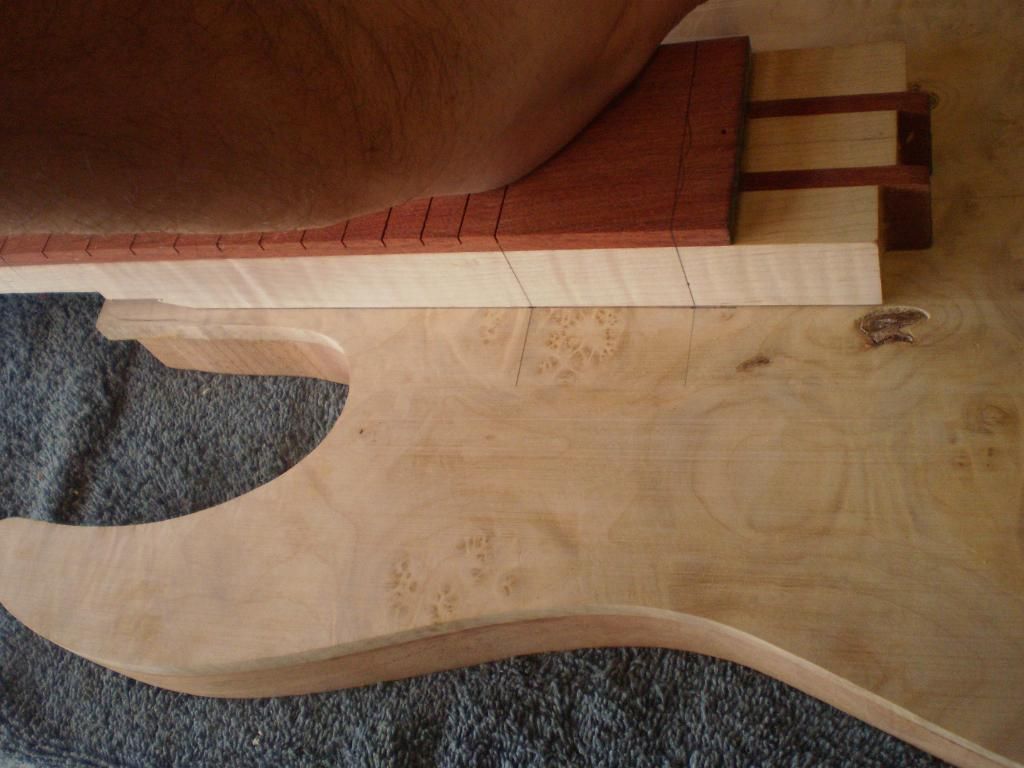
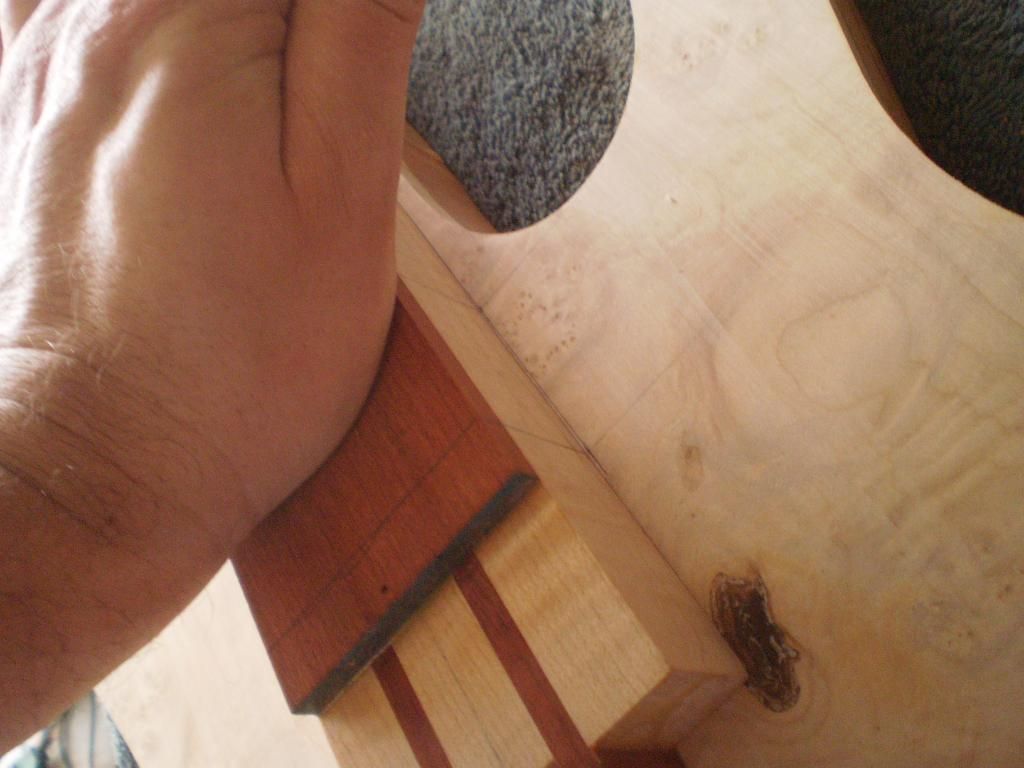
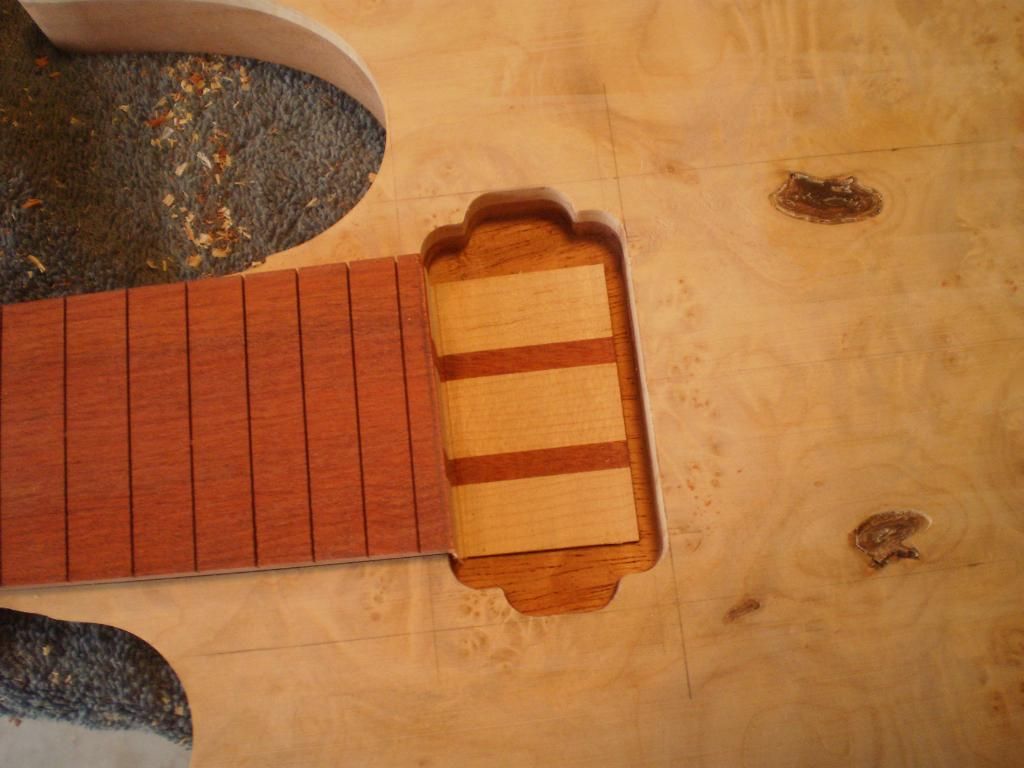
Attach the template and hollow out with a forstner. Follow up with the router and a chisel to square the ends.
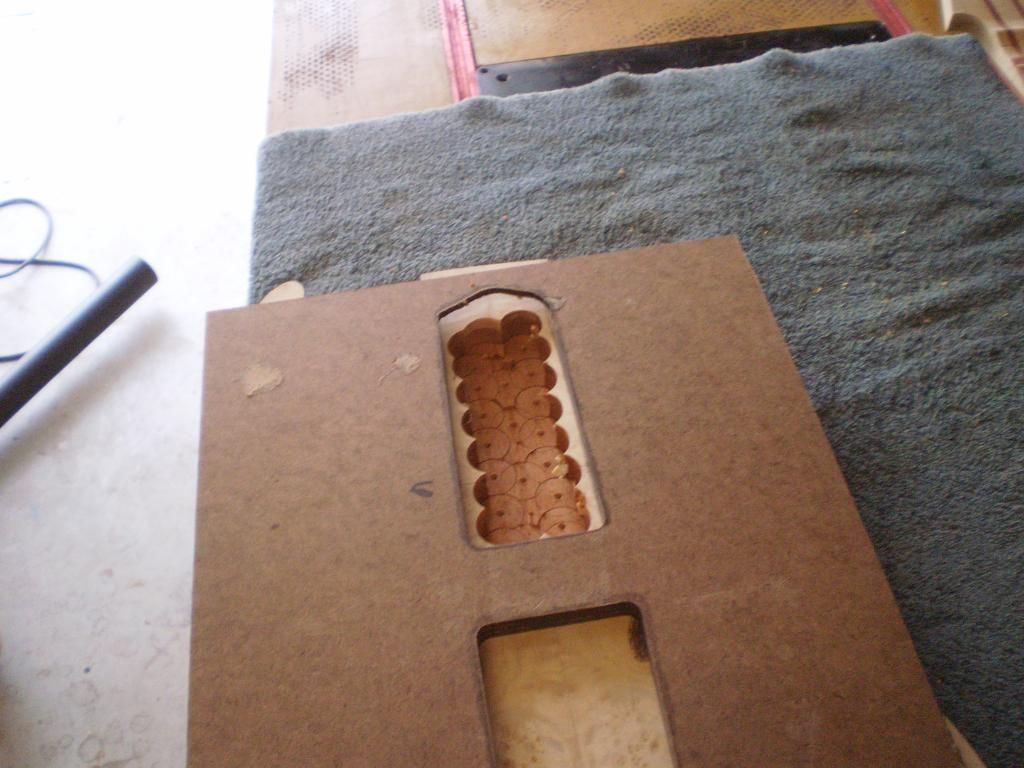
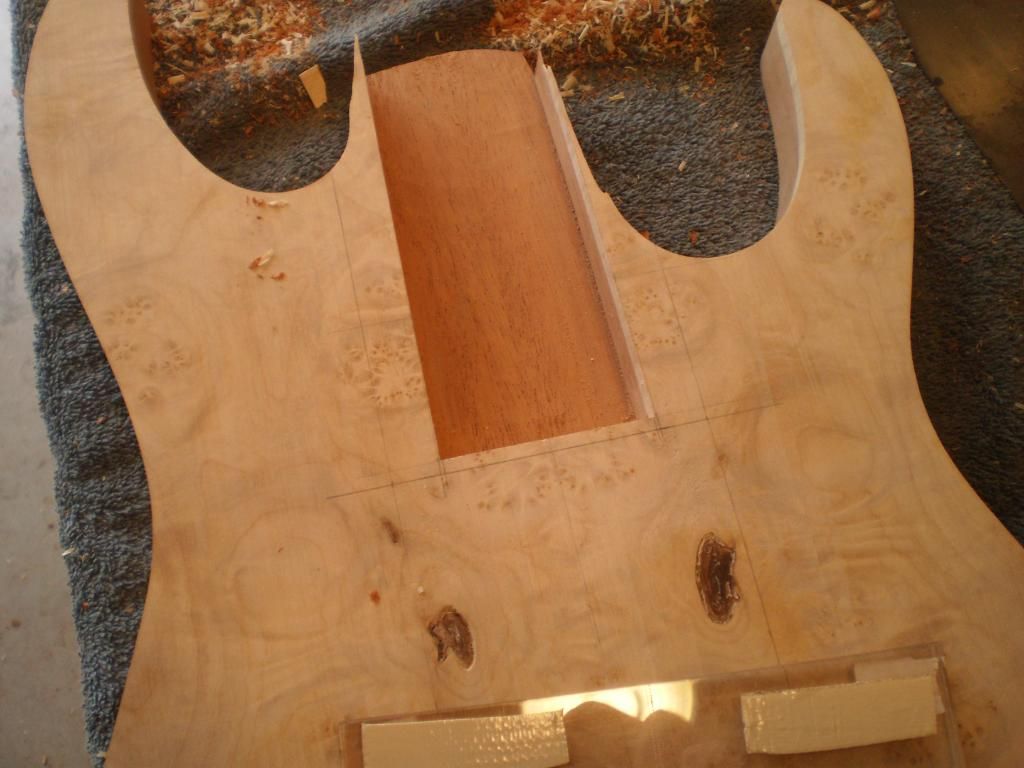
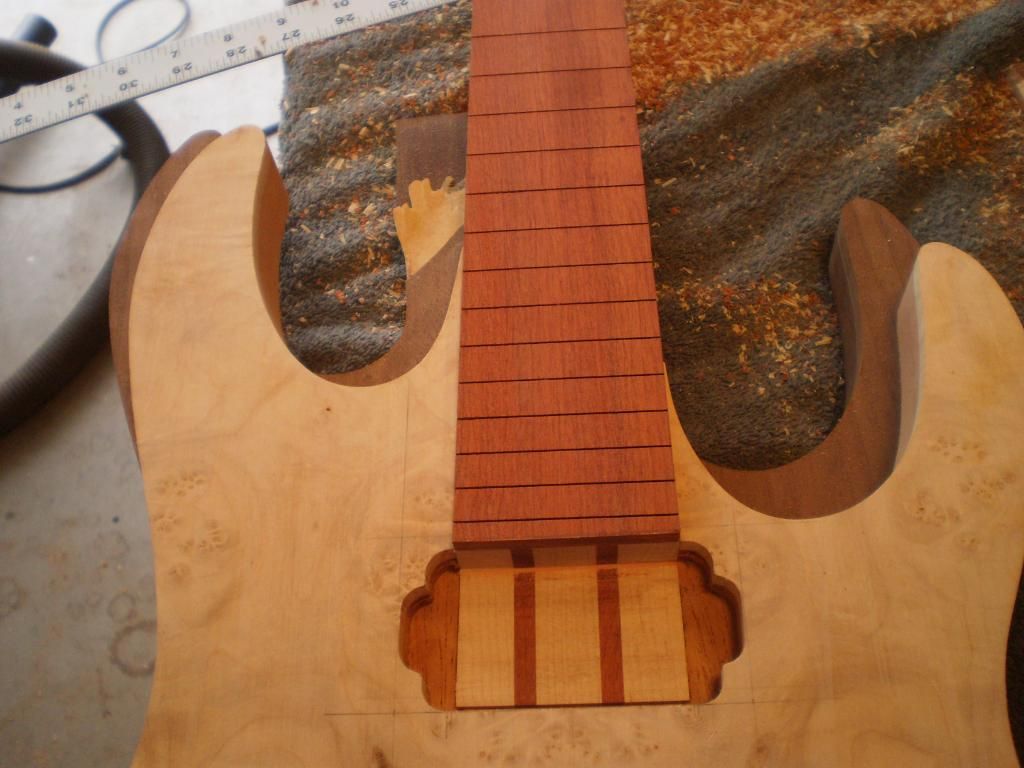
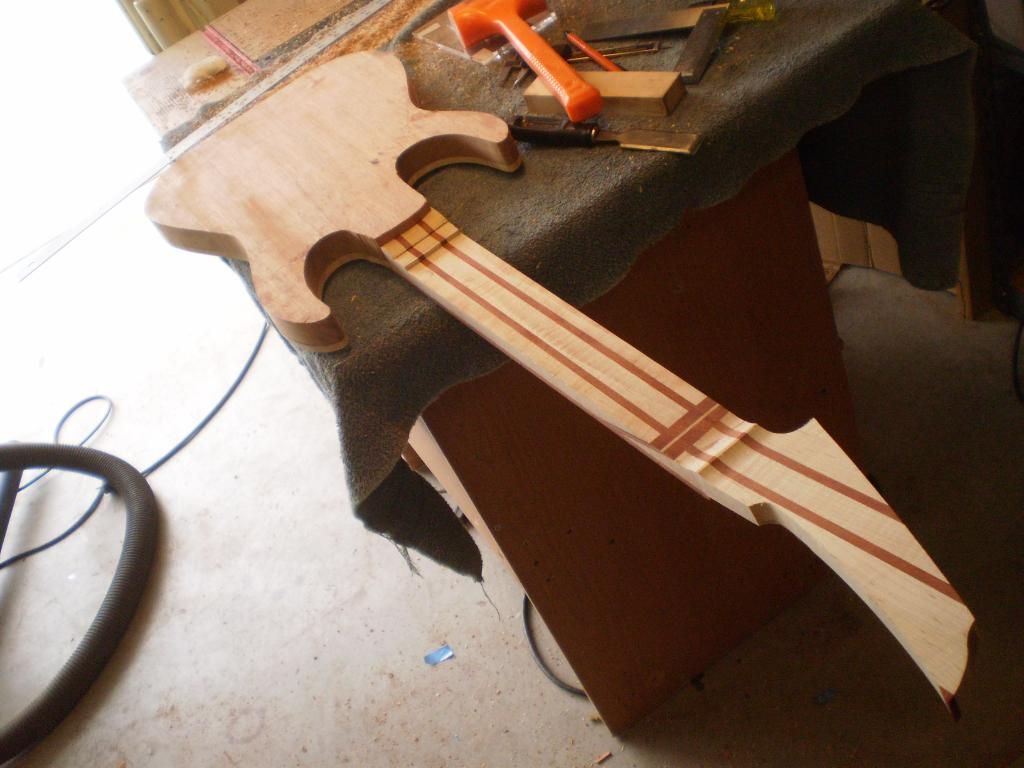
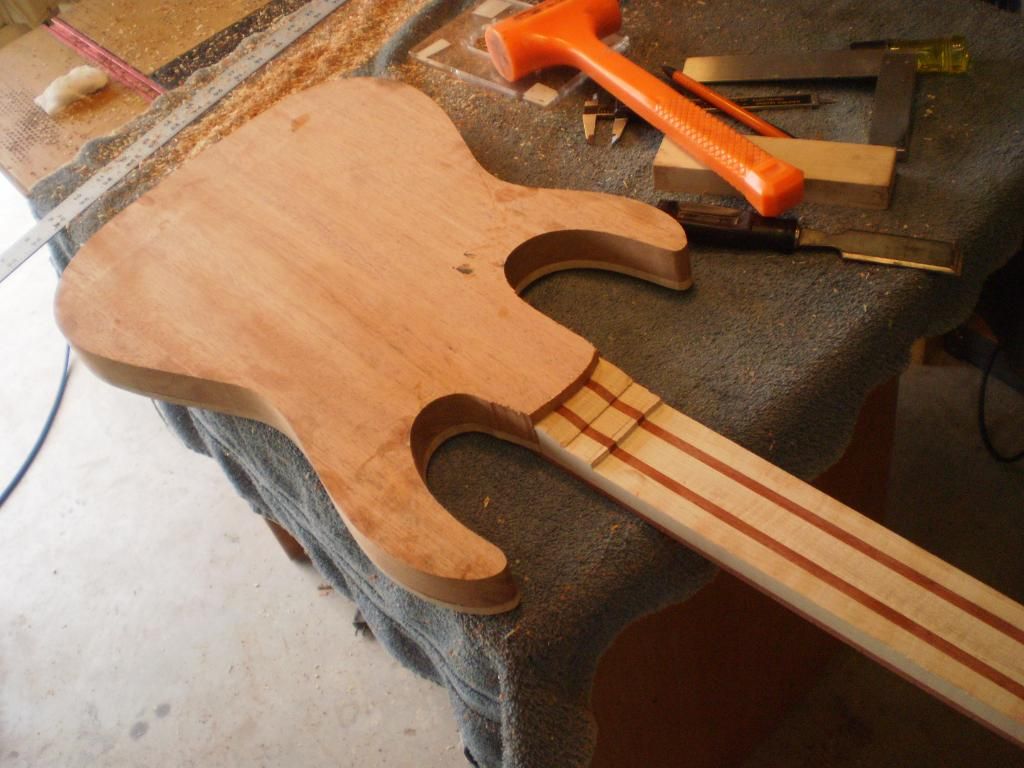
I went ahead and routed the neck humbucker because the pocket was so tight I needed to sand a bit... and well having less material to sand makes it easier. Then we do the fit test. You should be able to pick the guitar up (hold it over the bench so if it falls it is a short distance).
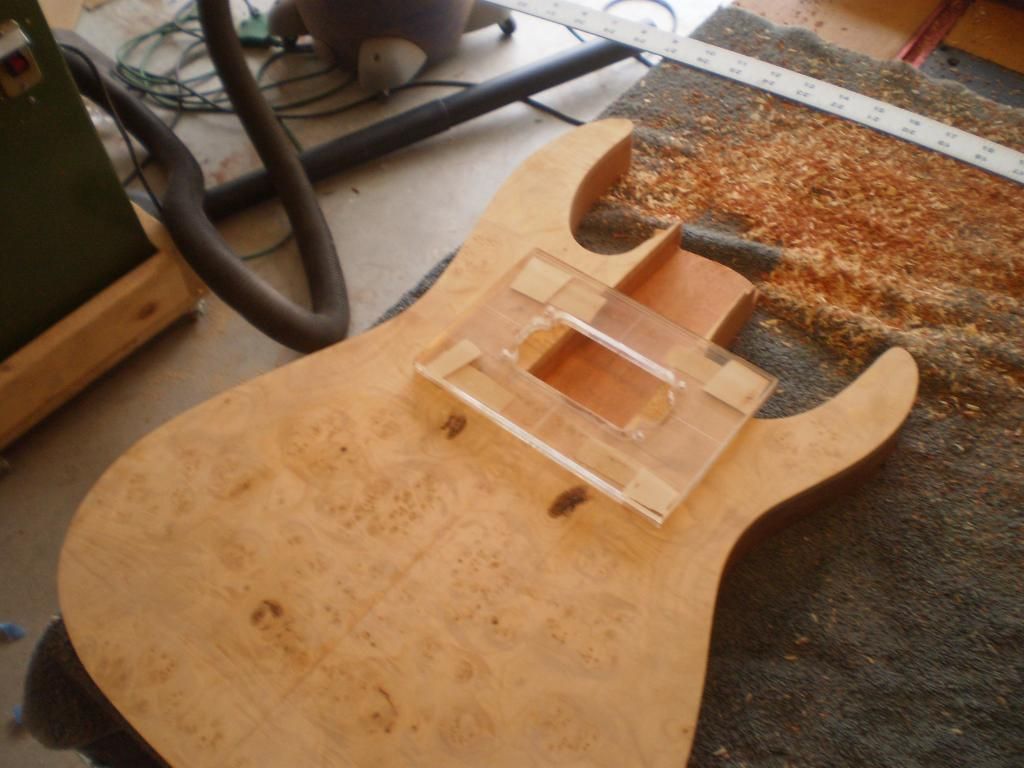
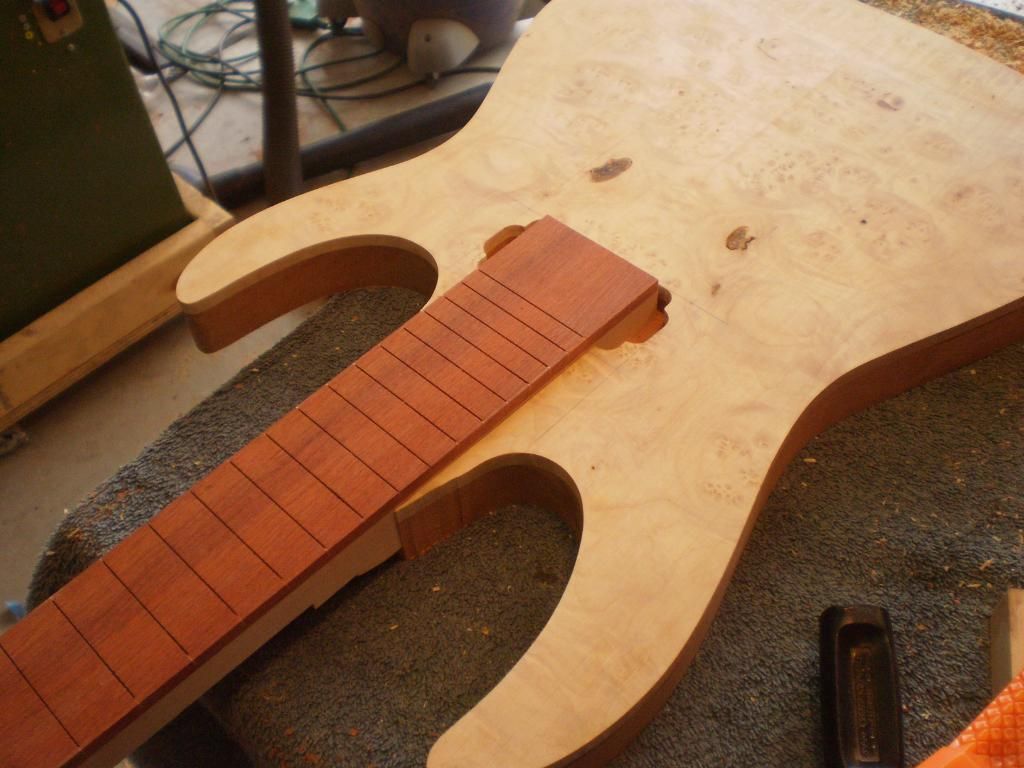
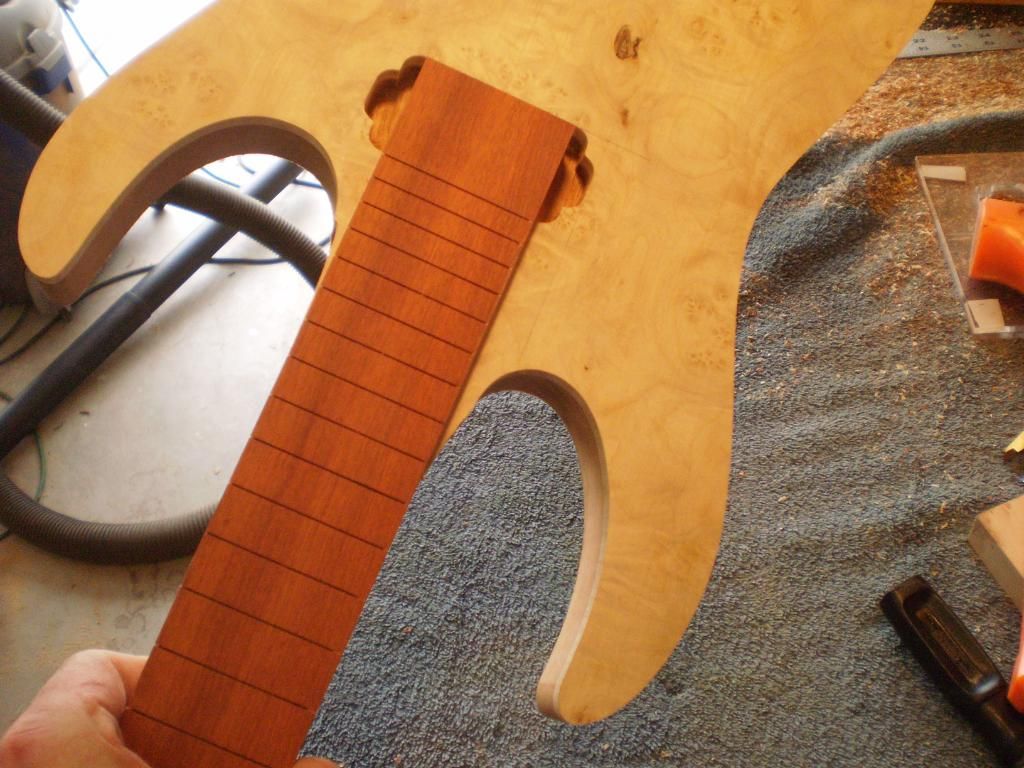
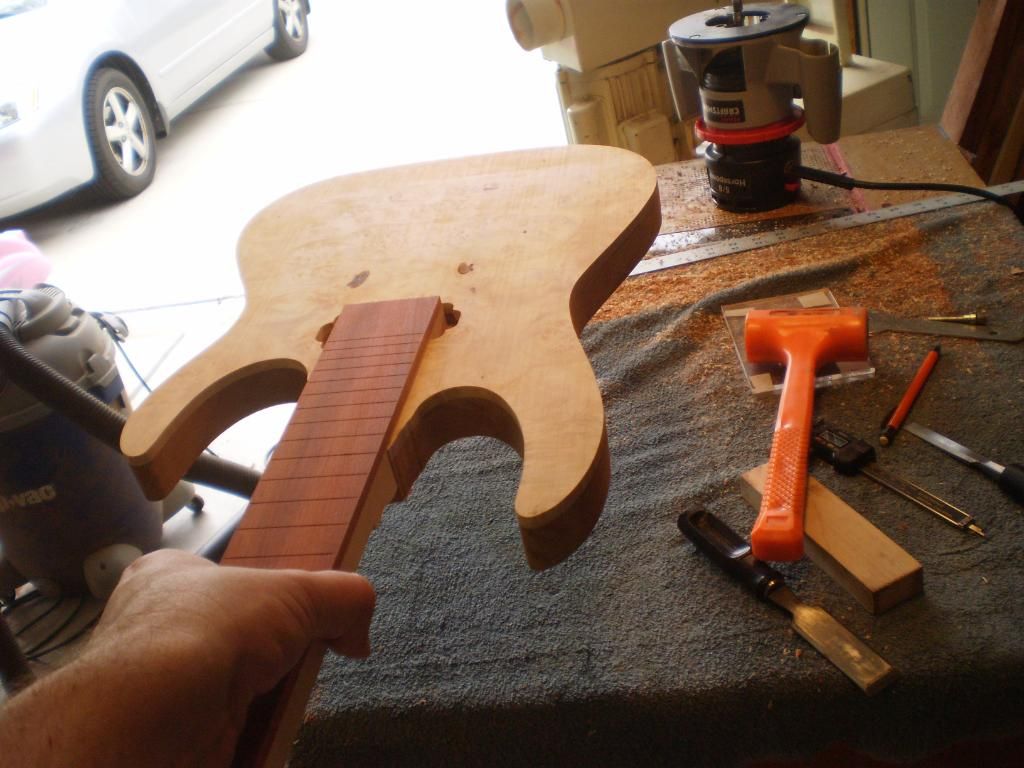
This one turned out really clean.
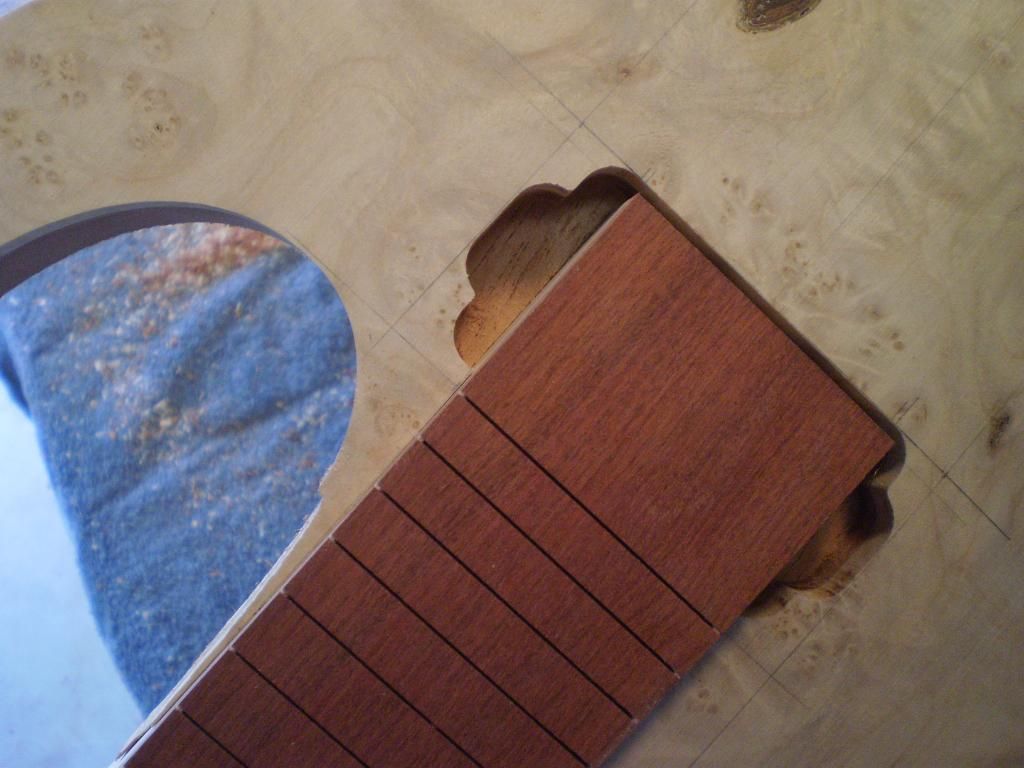
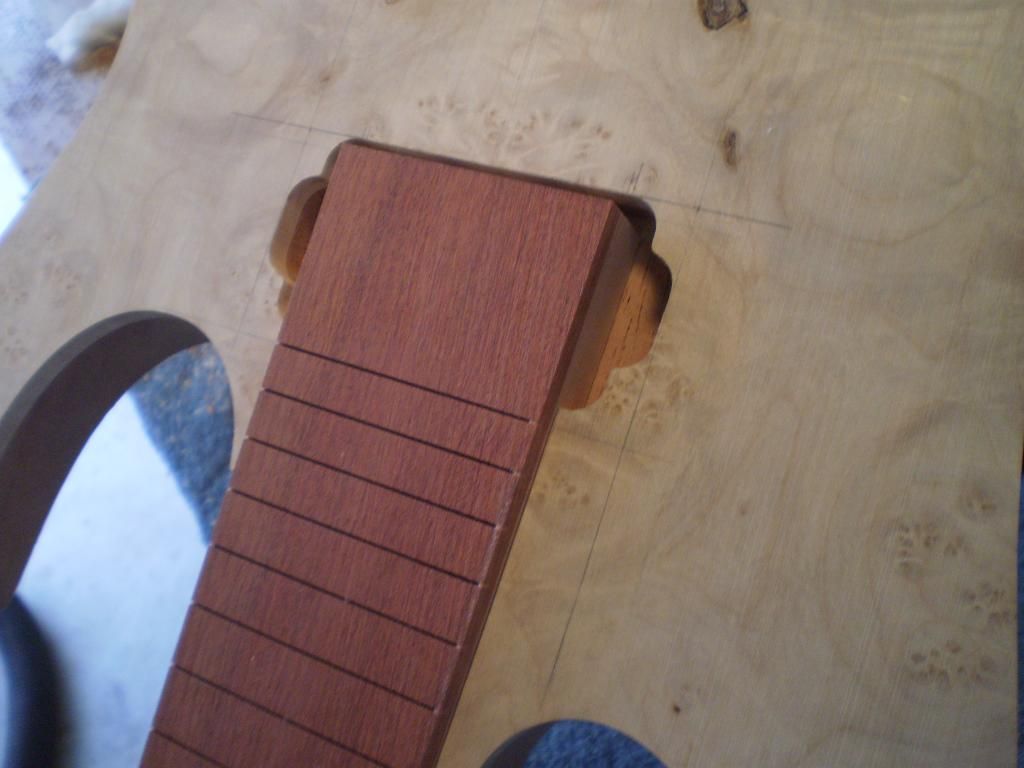
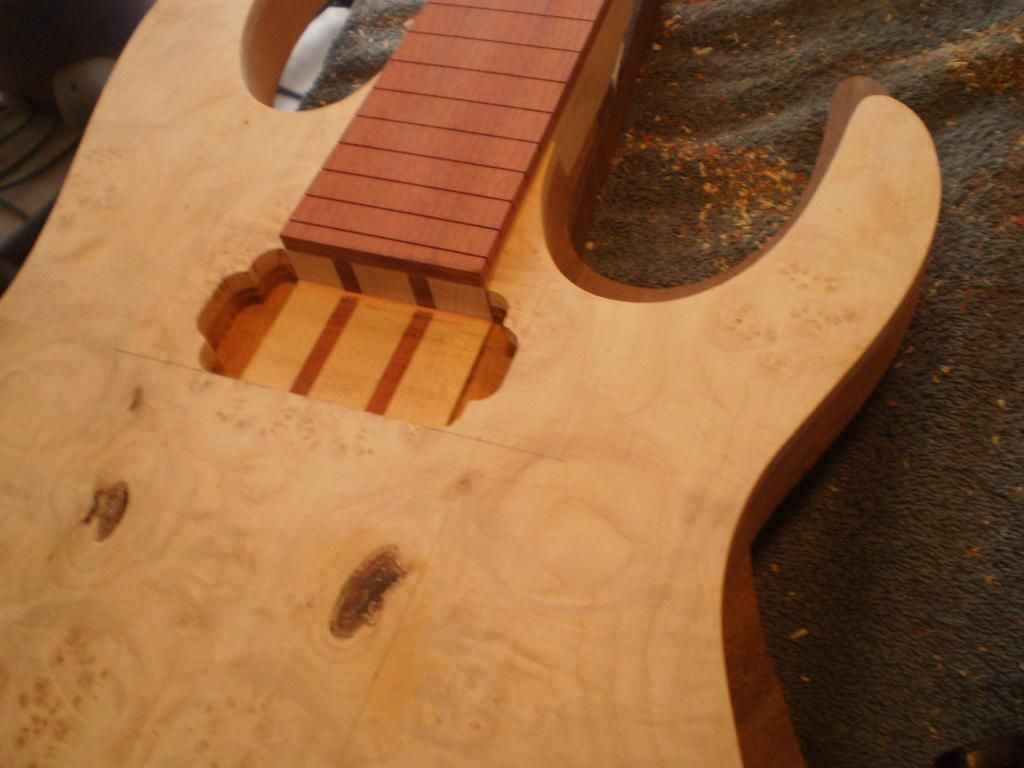
Here is where it is. Waiting on parts for several guitars so this is where I am stopping.
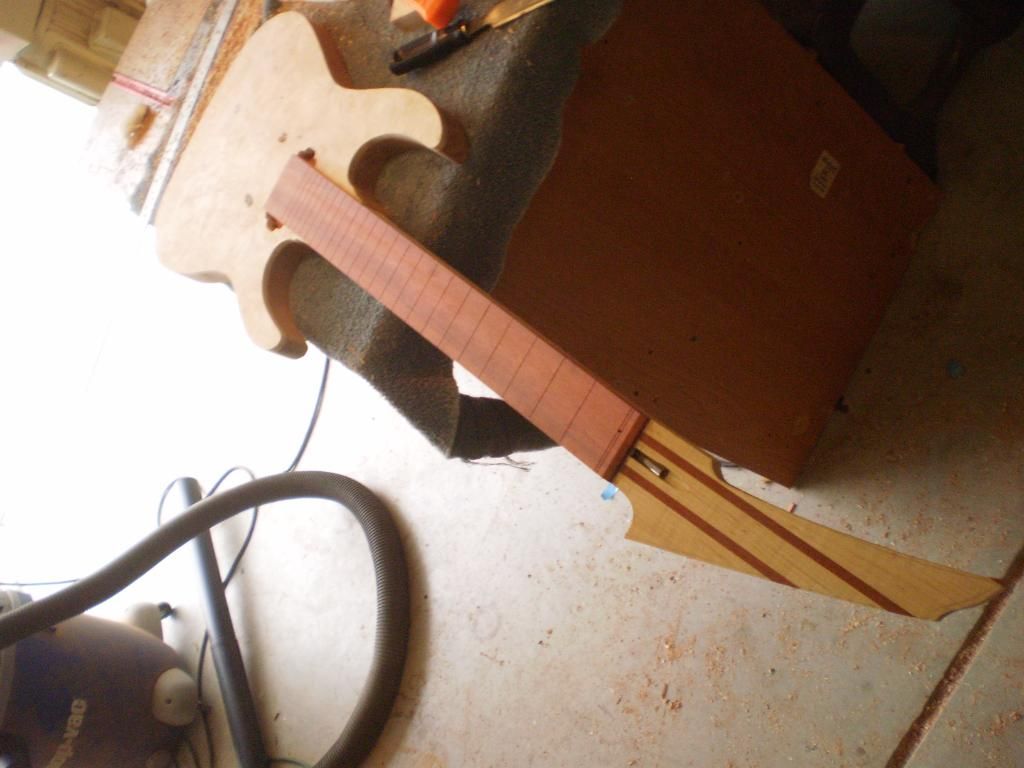
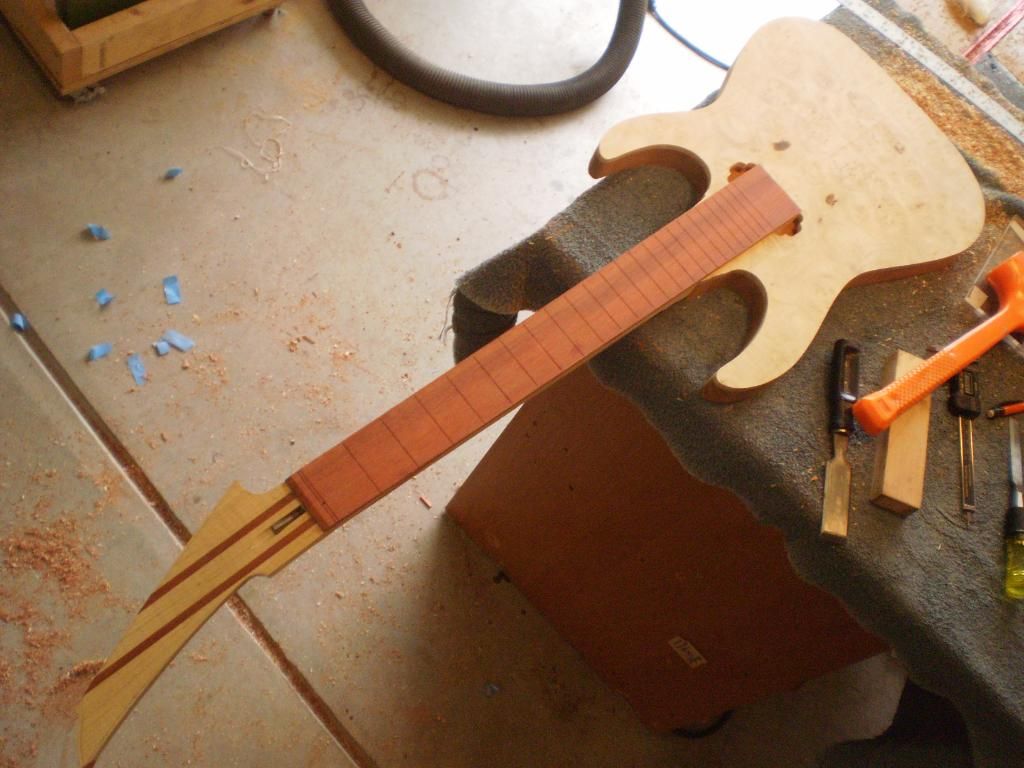
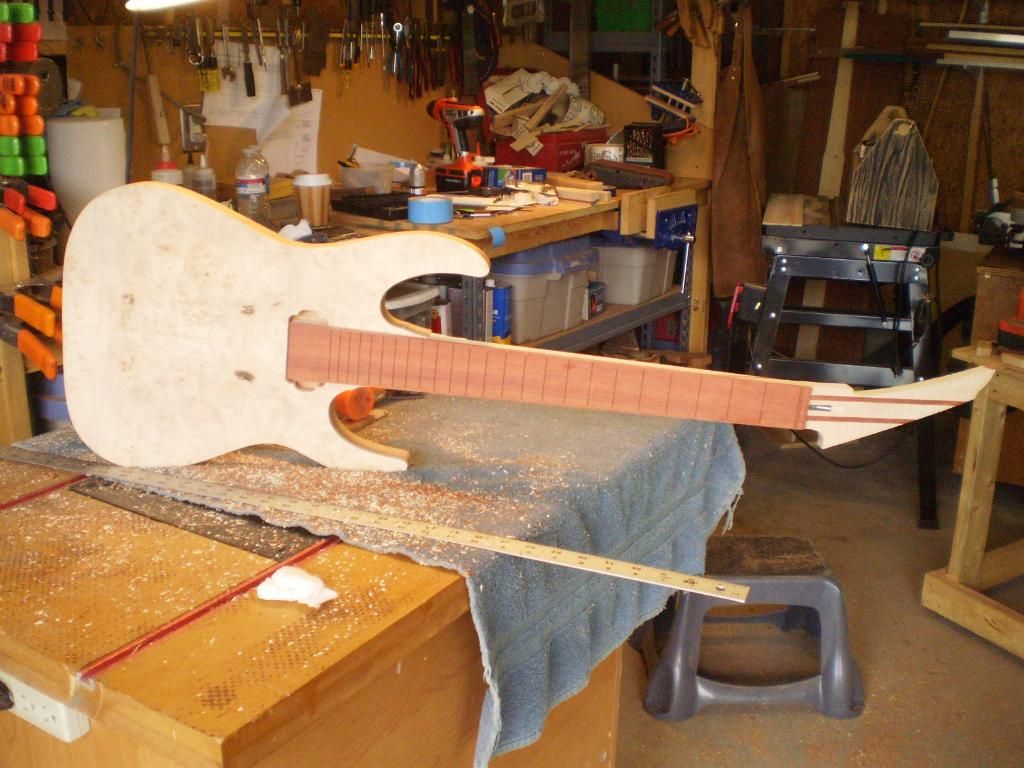
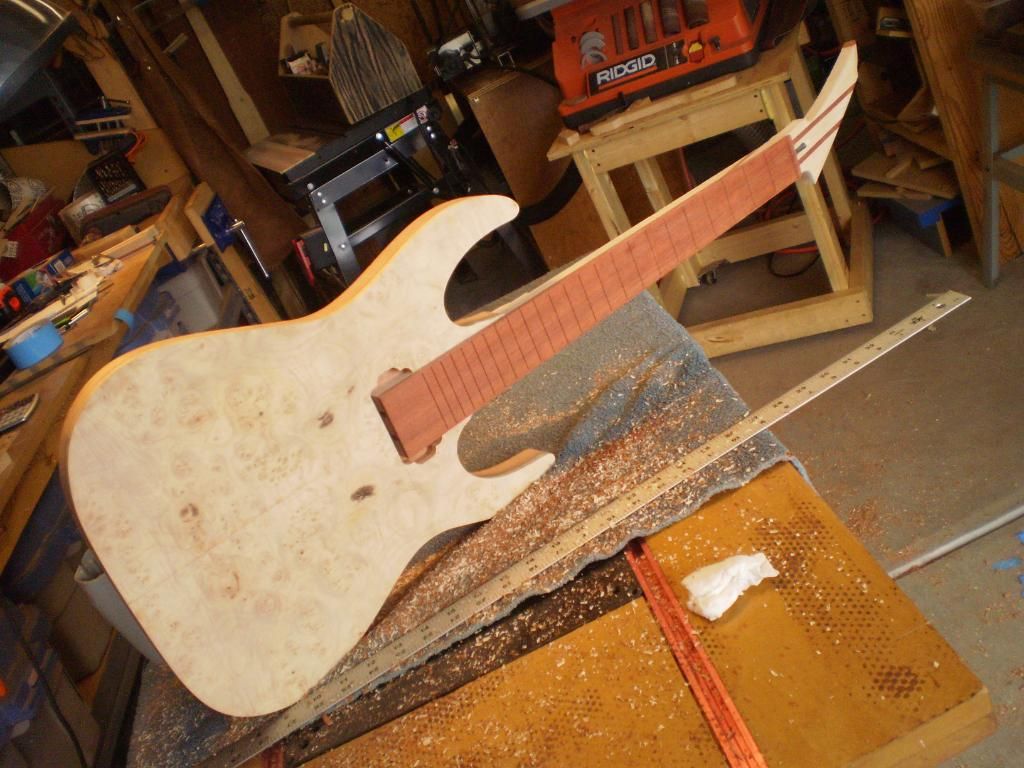
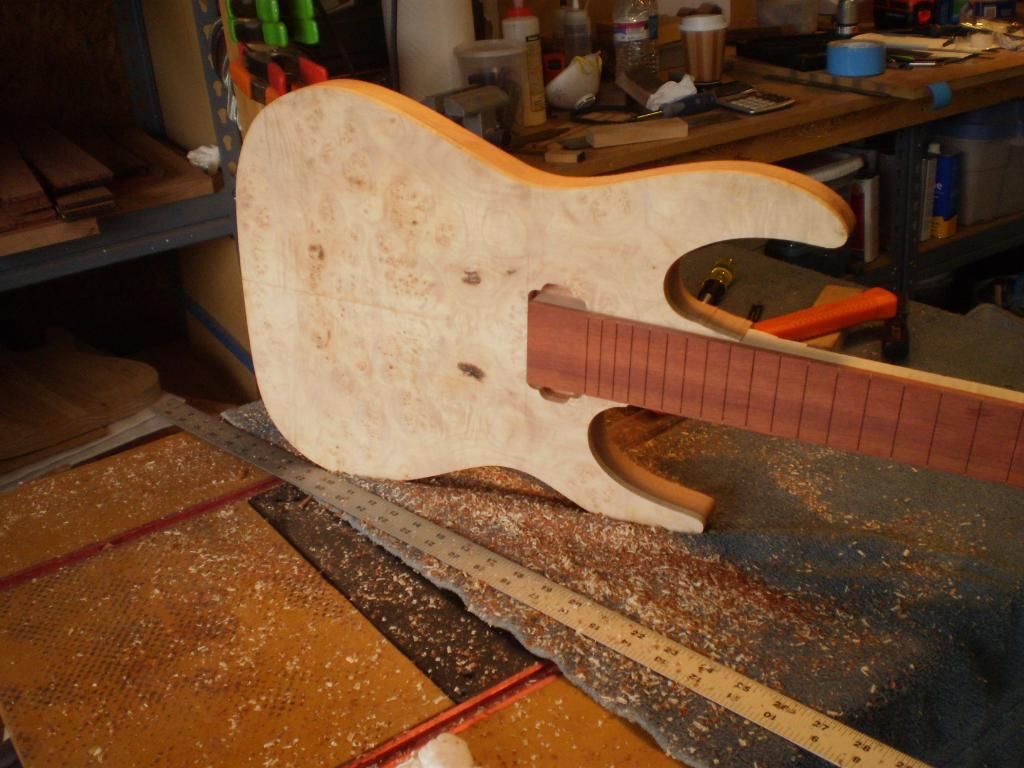
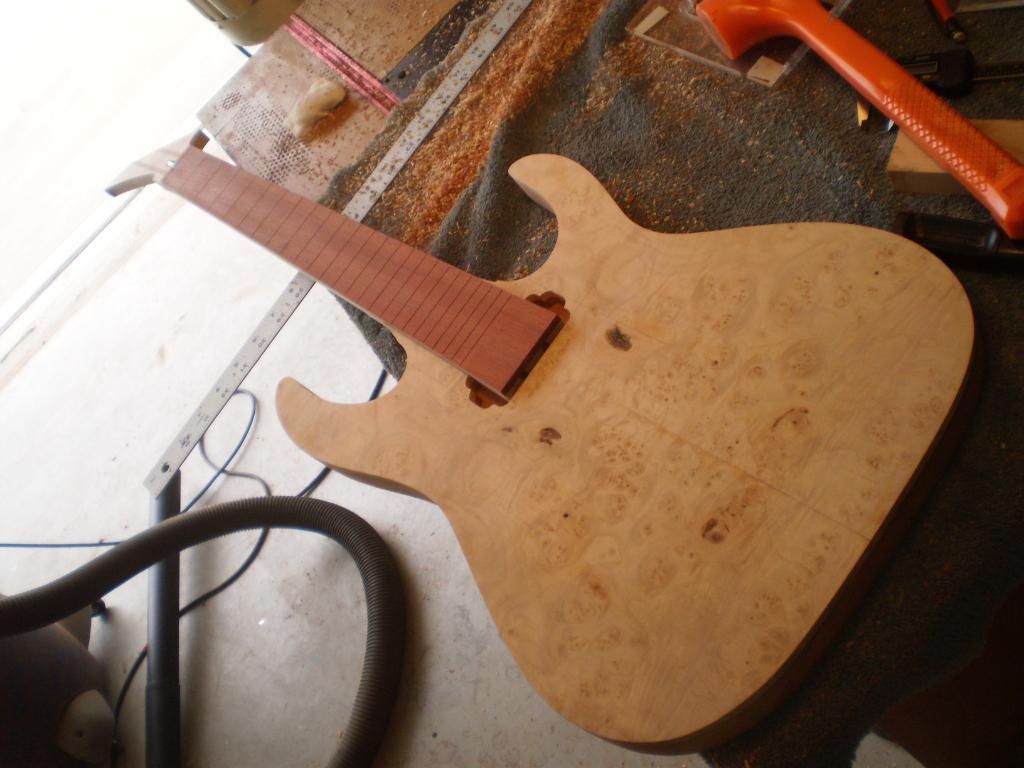
Ok I will stop after I clean up the tenon.
A look at the back
No comments:
Post a Comment
Note: Only a member of this blog may post a comment.