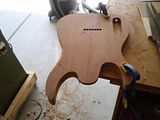
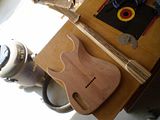
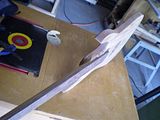
Alright while this is not a how to on carve tops this is basically how it goes. The problem with doing a step by step is that while I am doing it there is so much dust that I hate opening the optic on the camera to take pictures. Still basically this is how it goes. I take a step bit you would use for binding and go around the body. Next I take a 4" 60 grit sanding disk mounted in a hand drill and turn it on edge. The idea is to use the curve of the sanding disk to produce the proper arc on the carve. Stay off the edge... If you don't do anything else never ever cut into the area you routed. Make sure you sneak up on that edge by hand with the scraper then hand sanding. Next step is to take the goose neck scraper and fix anything you hosed with the sanding disk.
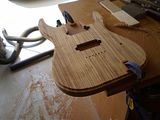
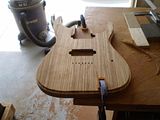
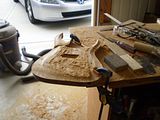
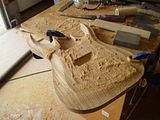
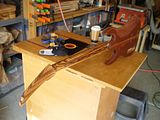
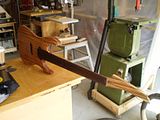
A couple of gratuitous shots of the rough carve.
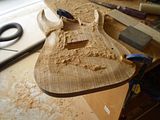
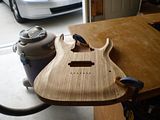
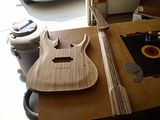
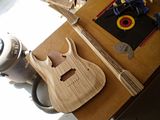
This is where I am now. Neck shaped. Body shaped. Bridge set. Pickups routed. Electronics set. This thing is thin. Really thin.Exotic woods...check...not all carves are done with router bits and cnc... At the big factories no one sat with there palms burning from the heat of the drill exhaust ports with salty sweat dripping in there eyes carving the tops of those things. I am not in any way belittleing the guitars the big guys build. Instead I am pointing out that it is easy to see the difference between hand carved and tool carved.
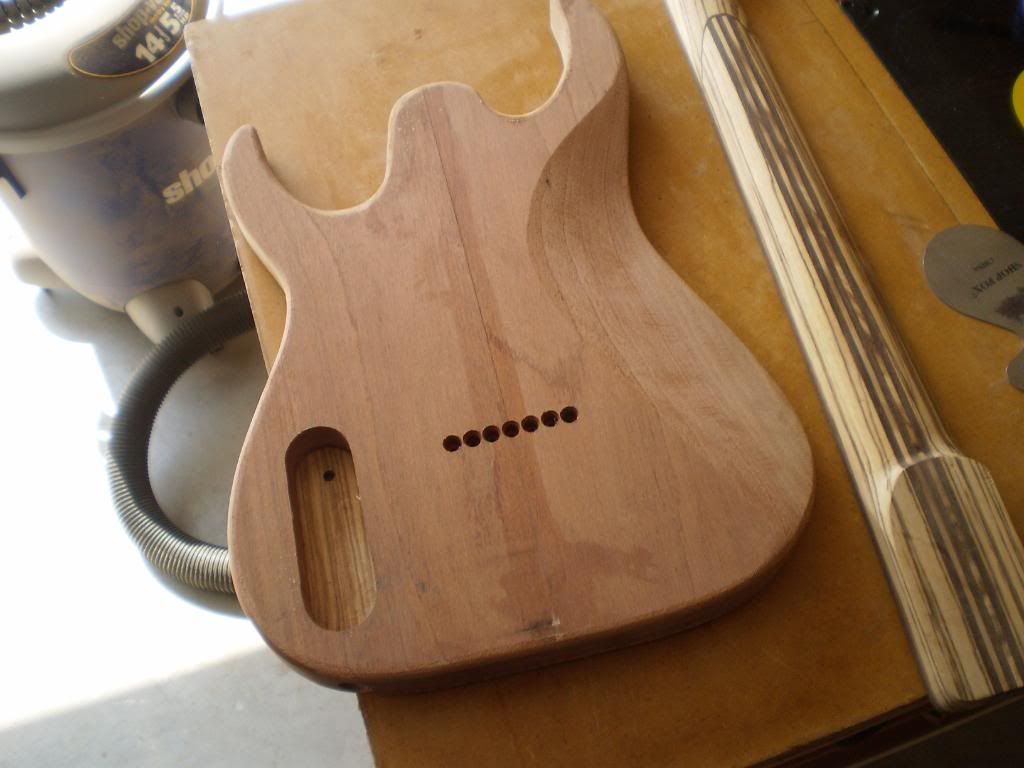
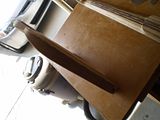
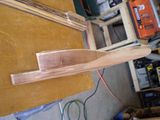
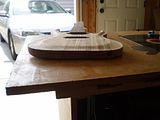
The carve and the thin. This is a scary experiment in thin. Seriously I put a carve on a 33mm guitar. I look at it and think... It will be fine. Lets hope.
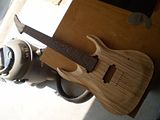
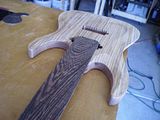
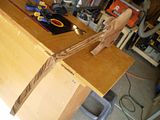
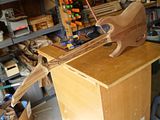
While gratuitous I am trying to show how thin this thing is. Also I like the way carved Zebra looks. The neck is well on its way to being marvelous. I will note that Zebra takes scratches easy. For such a hard wood it dents and marks easy. Be carefull with the scraper.
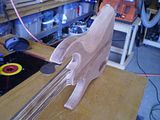
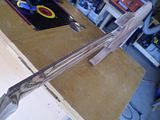
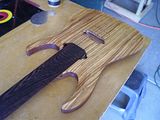
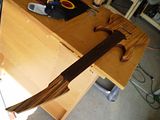
Wet with mineral spirits. Things to note. THe neck has much darker stripes than the top. Do I need to put color on this top to make it scarey? I have a lot of glue to sand off on the back. Well on our way to being finished. Next week fret work and neck glue. I also have a few pickups to build. Anyhone think Wenge Bobbins look better than plain black plastic?
A big +1 on the Wenge Bobbins. Sounds tricky though with it being soooooo brittle.
ReplyDeleteI swore I wouldn't do it again... but I have some ebony ones to make so making a set of wenge won't be that hard.
ReplyDelete