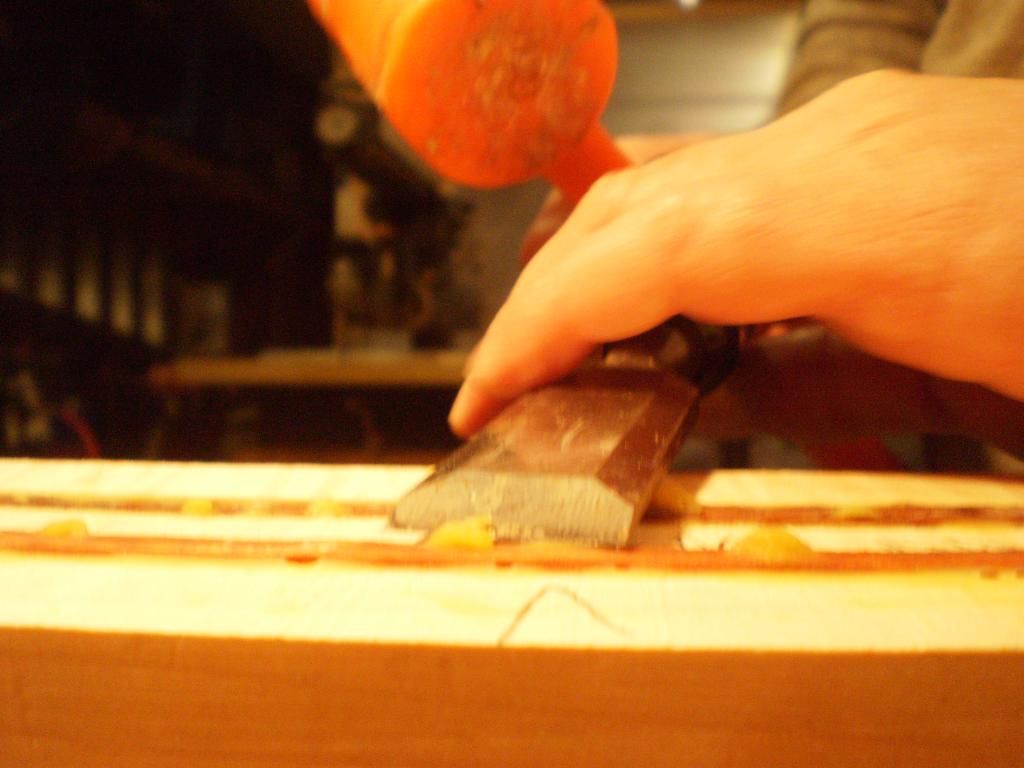
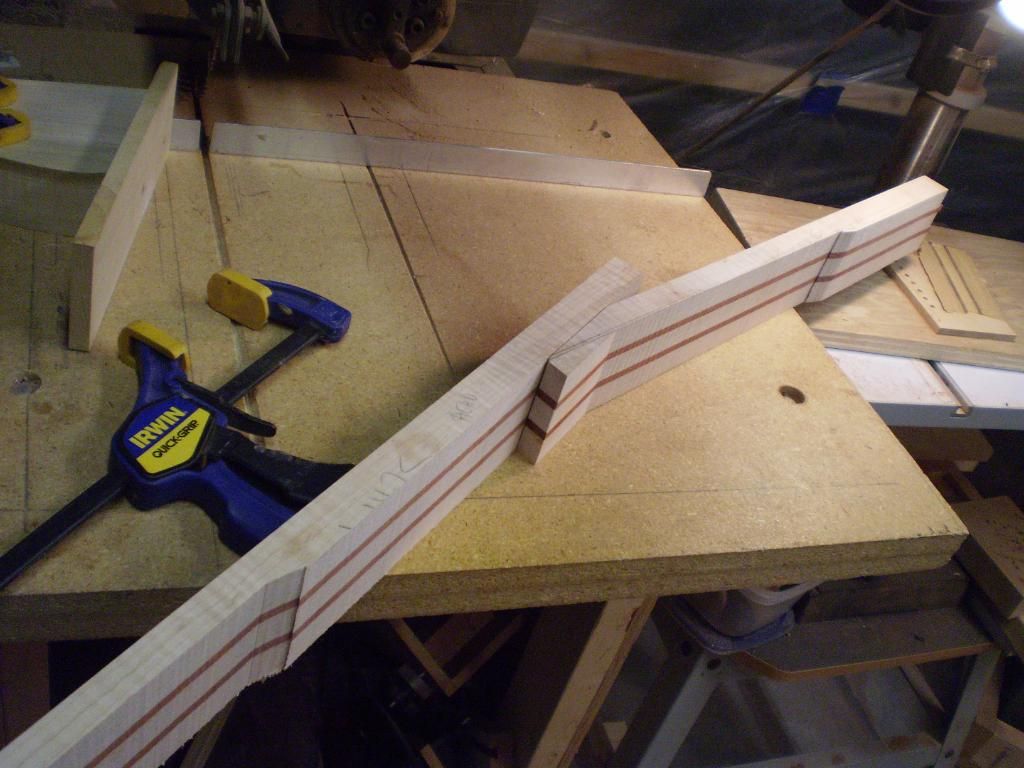
Time to prepare the blank. Before trying to square it up I knock the dried glue off with a sharp chisel. Then we take the squared blank to the radial arm saw and cut the scarf.
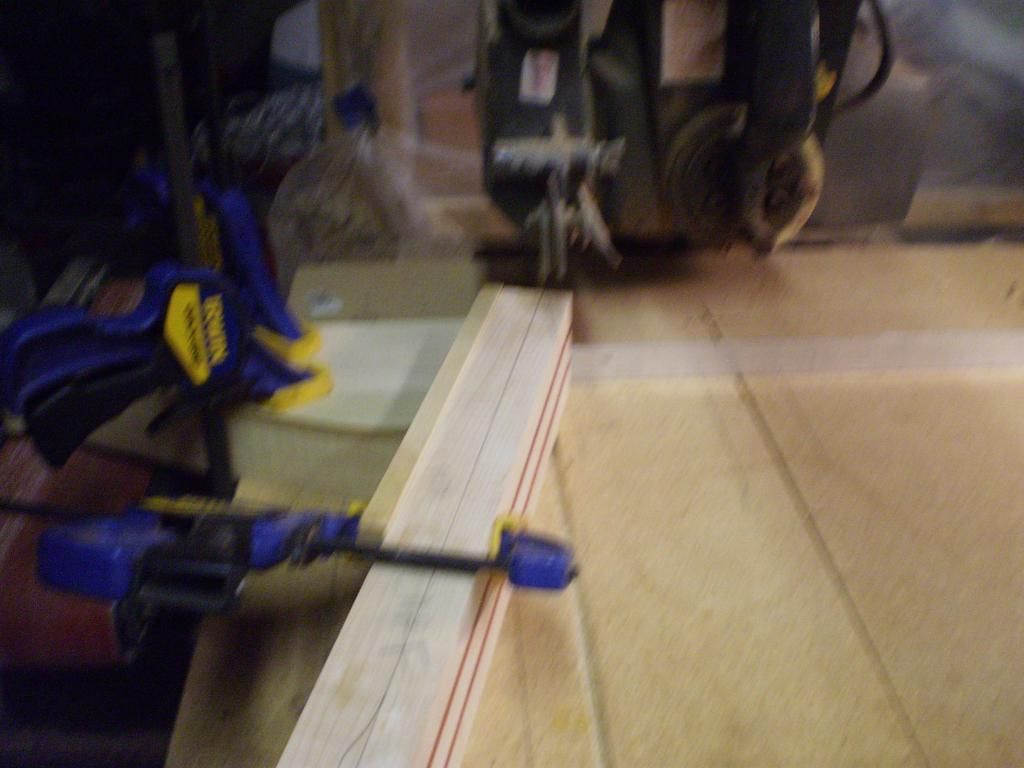
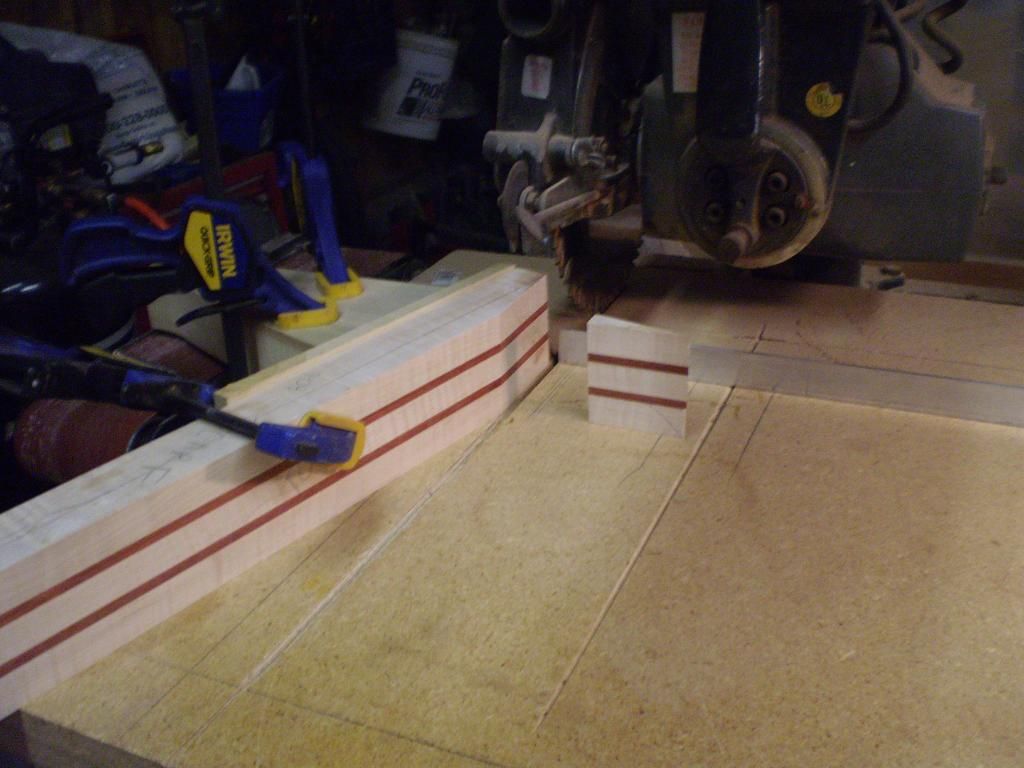
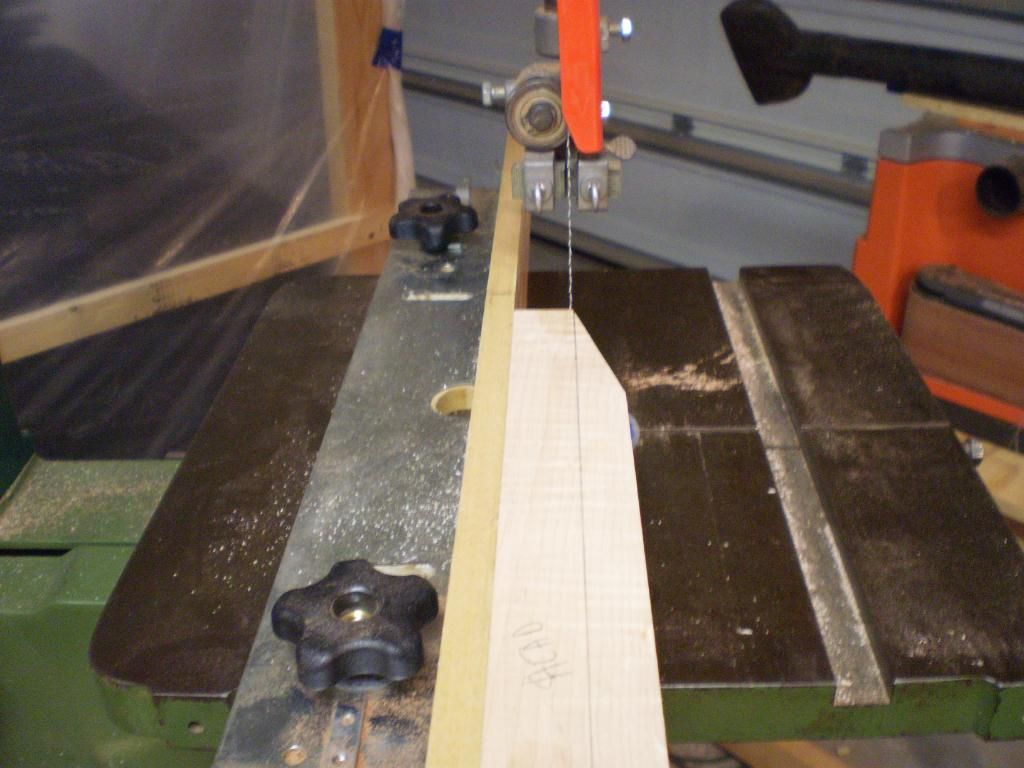
Next on to the bandsaw to cut the headstock free from the blank. Use a fence so we get a precise cut as there is no room for error here. We need as close to an 1" thick as we can get so the scarf is in the right place.
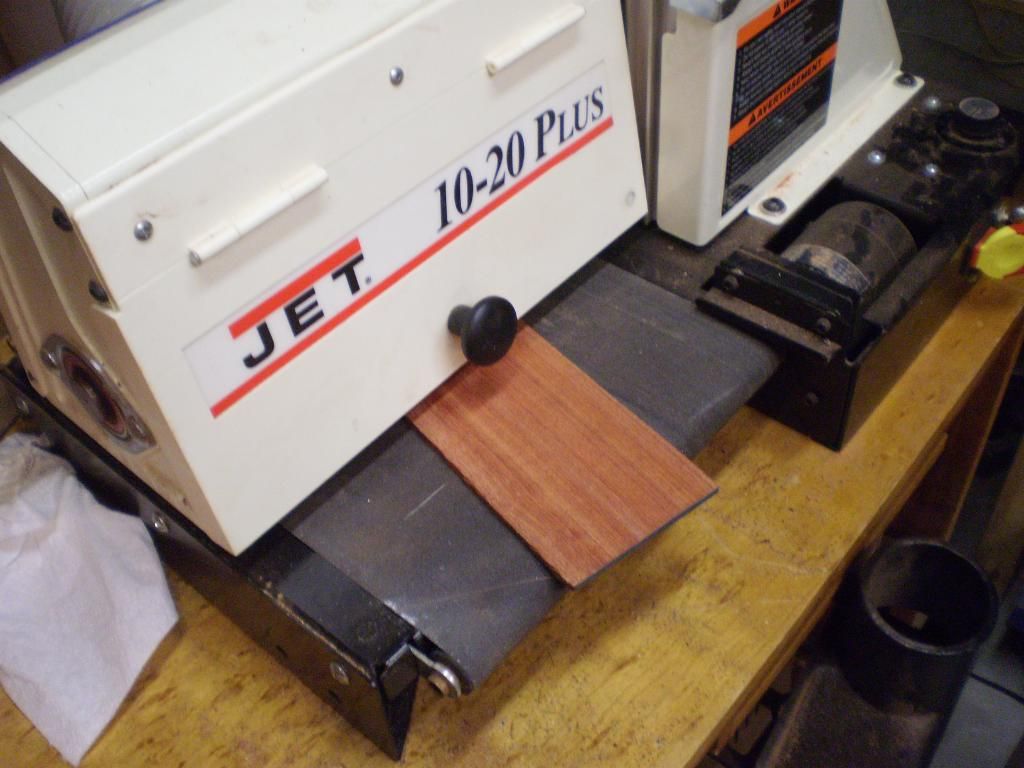
Next I thickness sand the detail pieces. The detail pieces have to be thin. When you angle them they become very wide and that is not the look we are after. I would say about 1/3 the size of you laminates usually works pretty well. Make sure the grain is running the length of the piece (this is no place for shoddy woodworking). I thickness the whole piece then cut it into squares that cover the entire scarf plus at least .5" on each side. The idea here is if it slips it is still covered. The squares should be the same width as the neck blank and square. This makes it easier to line them up.
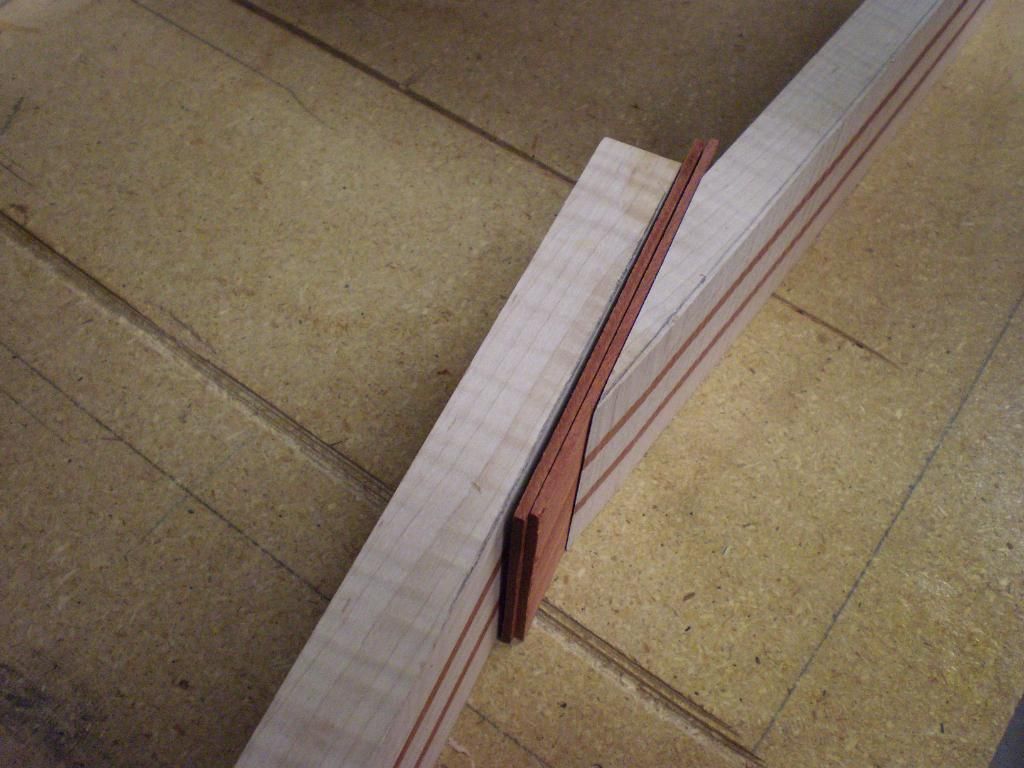
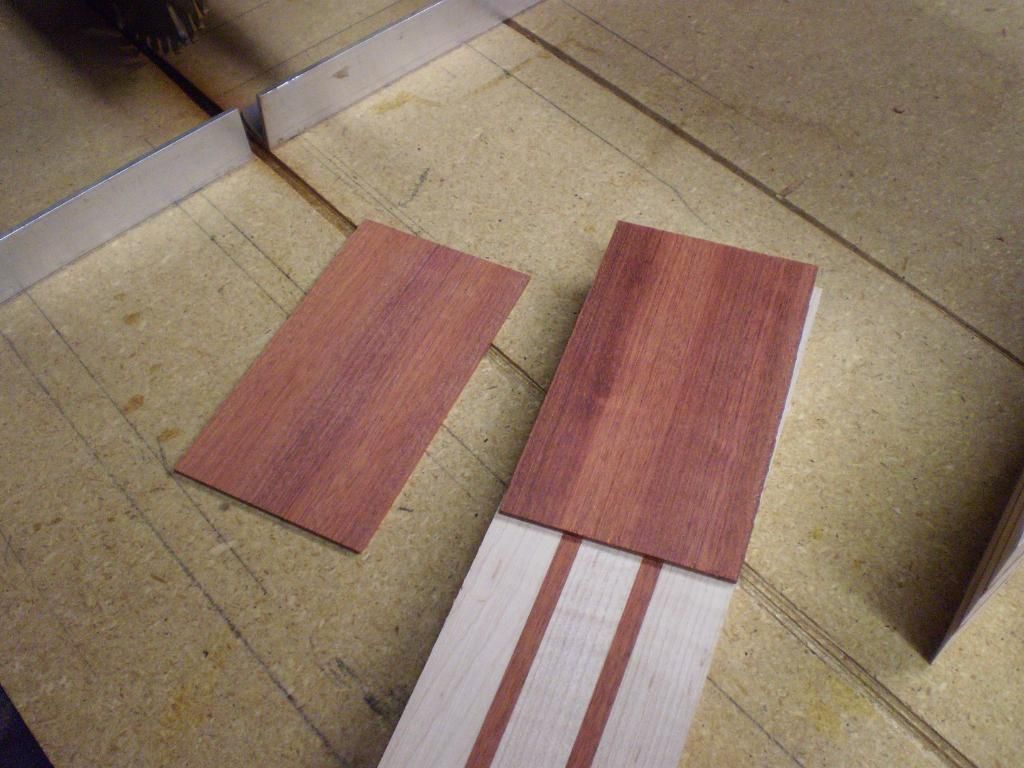
Now to get the detail line in the middle. I cut it from quality maple veneer with a razor knife. Keep the grain oriented properly and make sure it doesn't split.
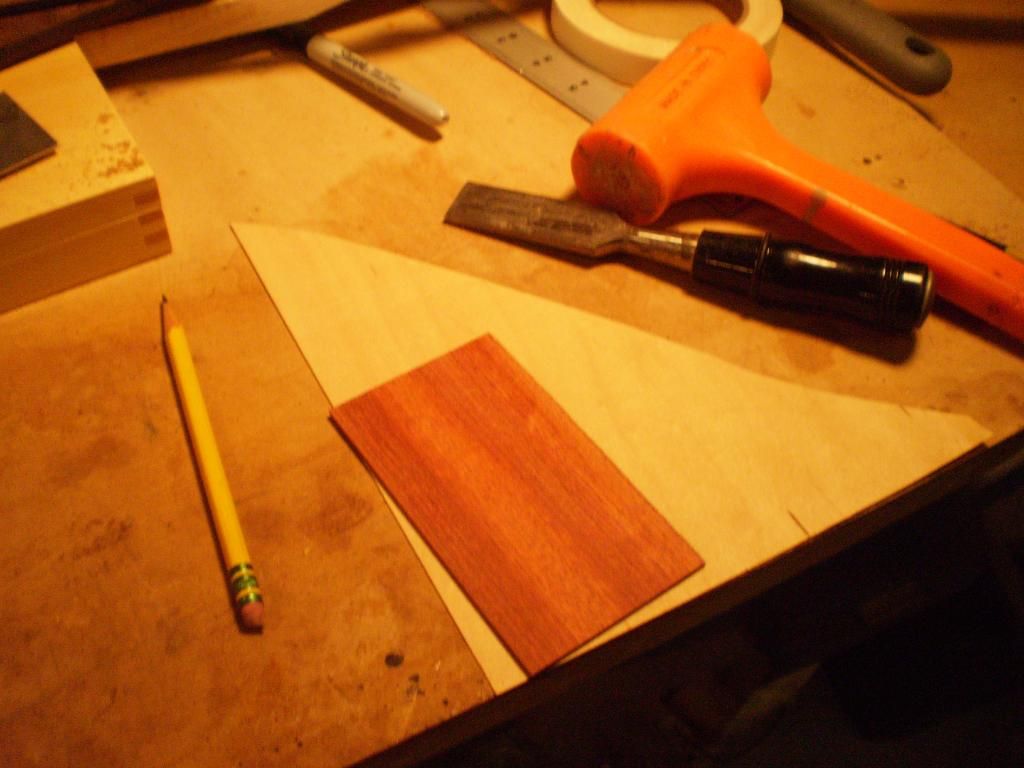
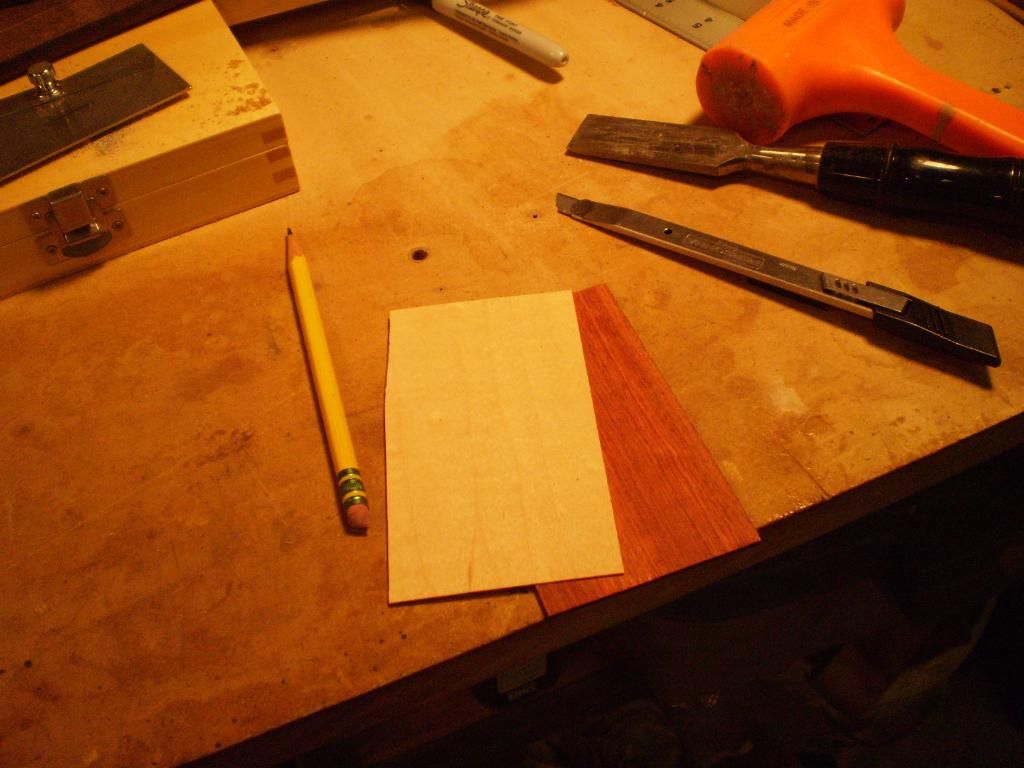
After a test fit I lightly sand the veneer to freshen the surface (woodworking 101) as you do not want to glue wood that has been sitting for a long time. Titebond works best on freshly prepared surfaces.
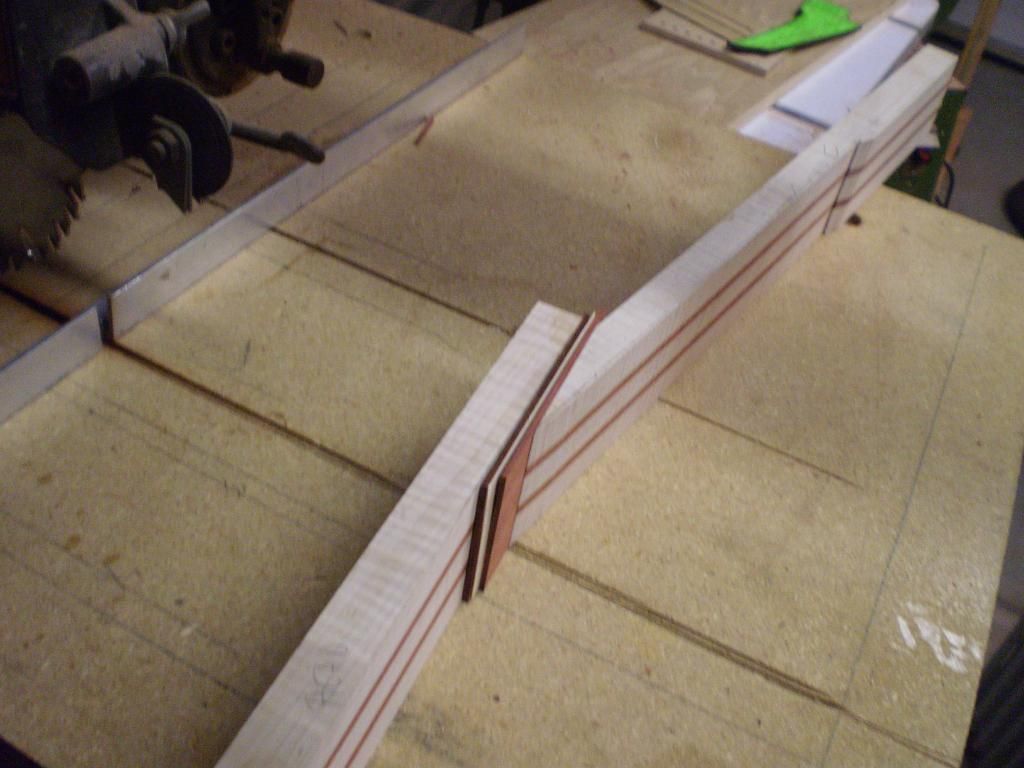
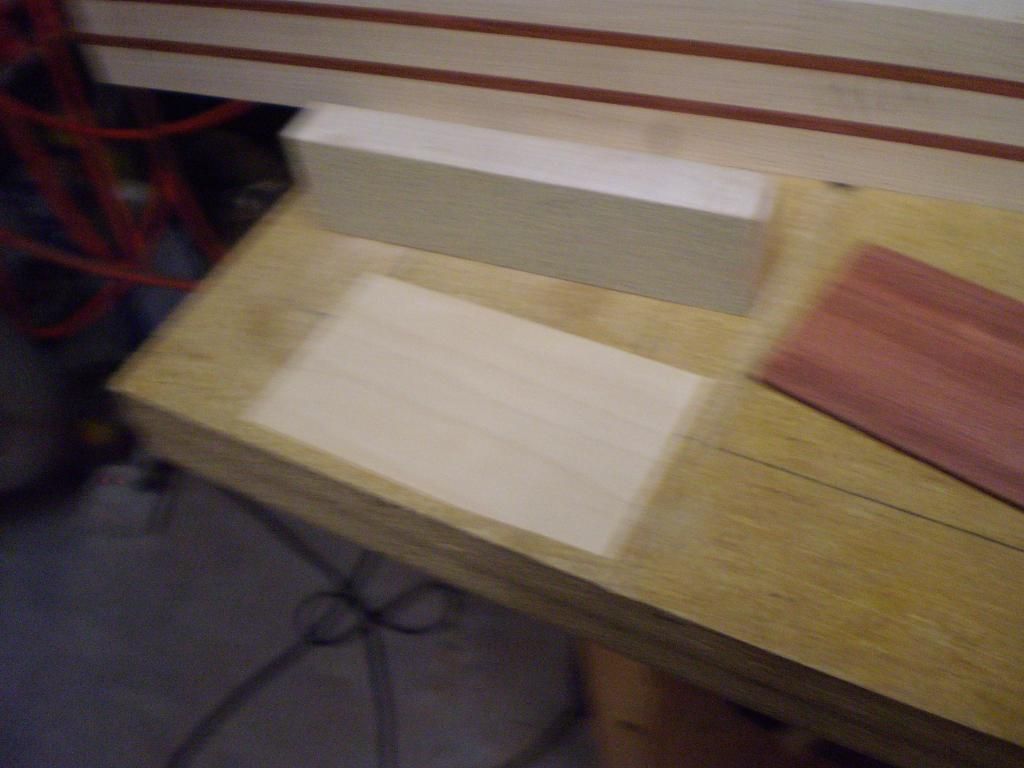
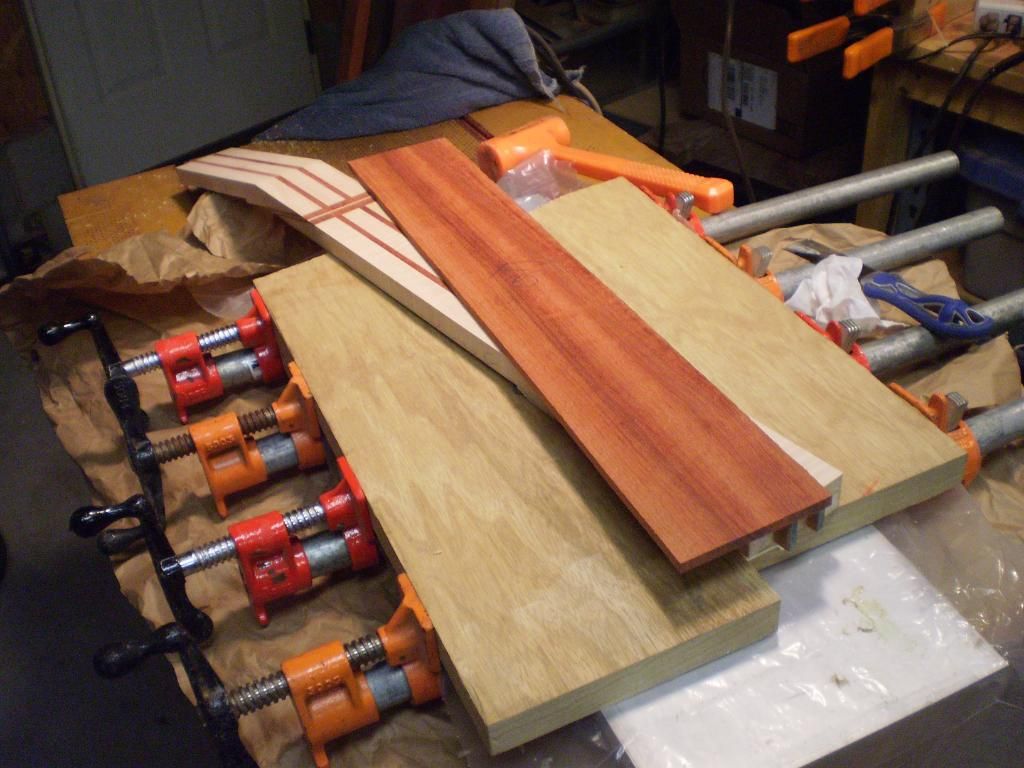
Glue then clamp it up and leave it for a day.
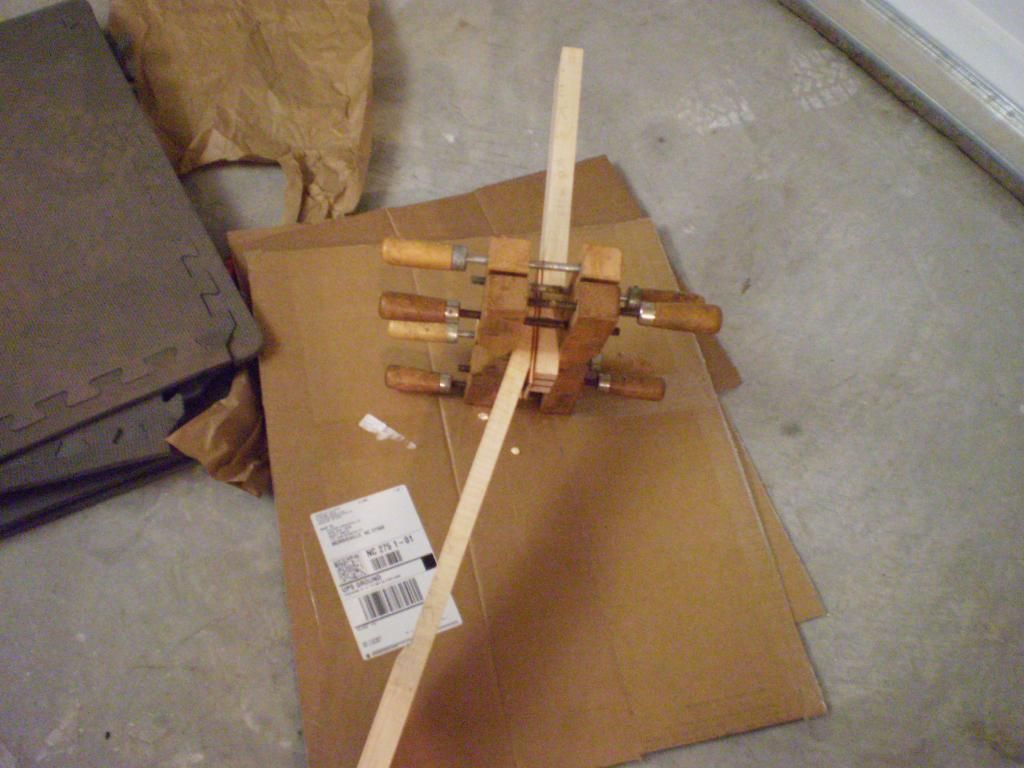
Out of the clamps and here it is. Doesn't look like much yet.
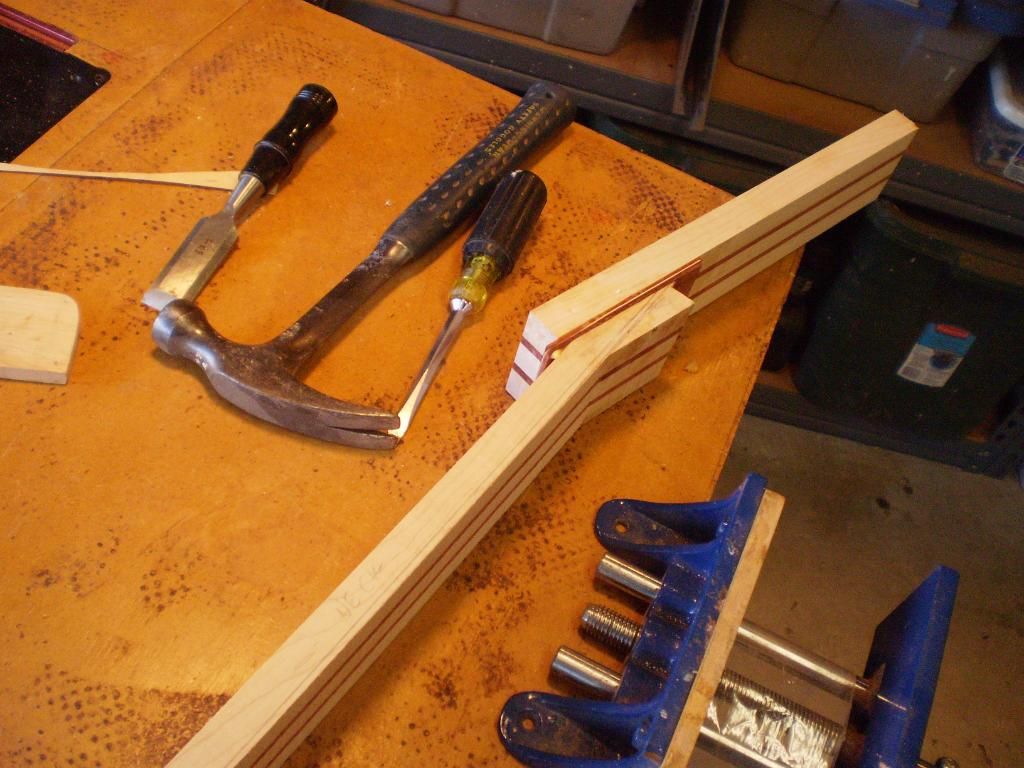
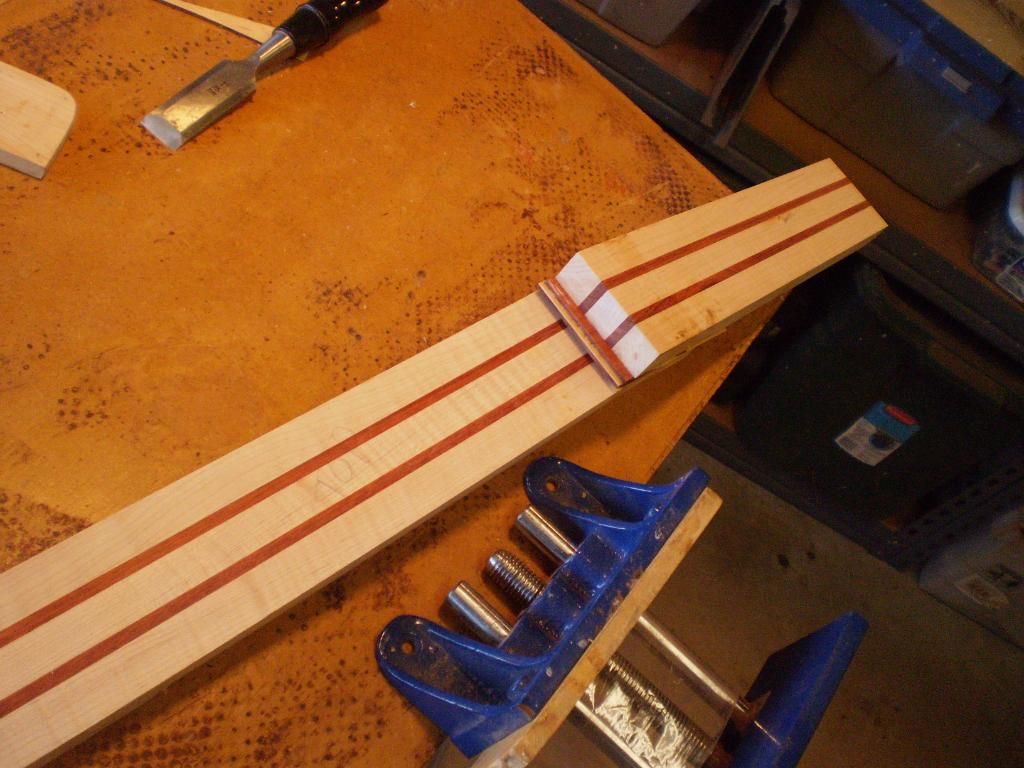
Cut the excess off and true up the face. Then profile the back of the headstock and the heal.
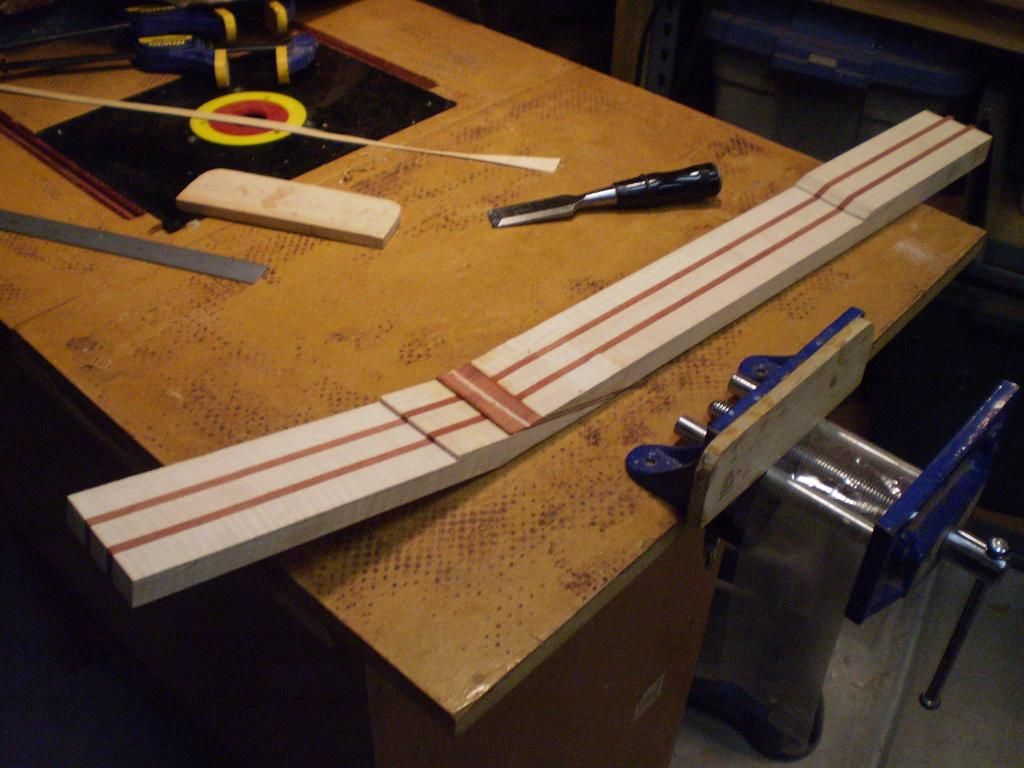
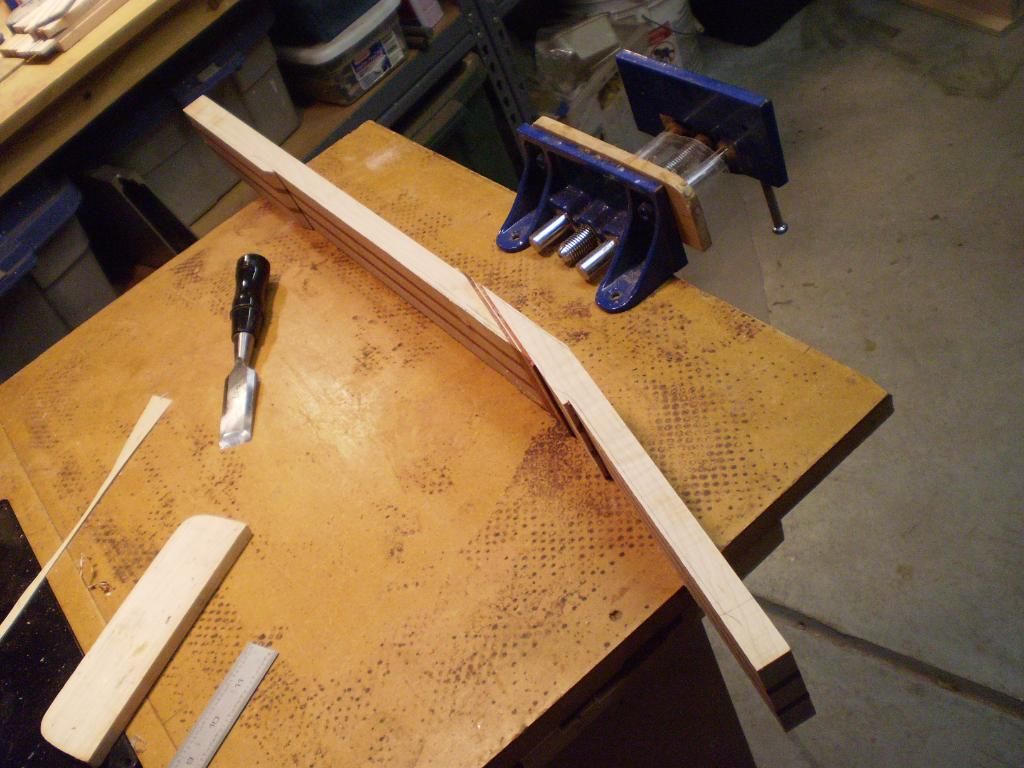
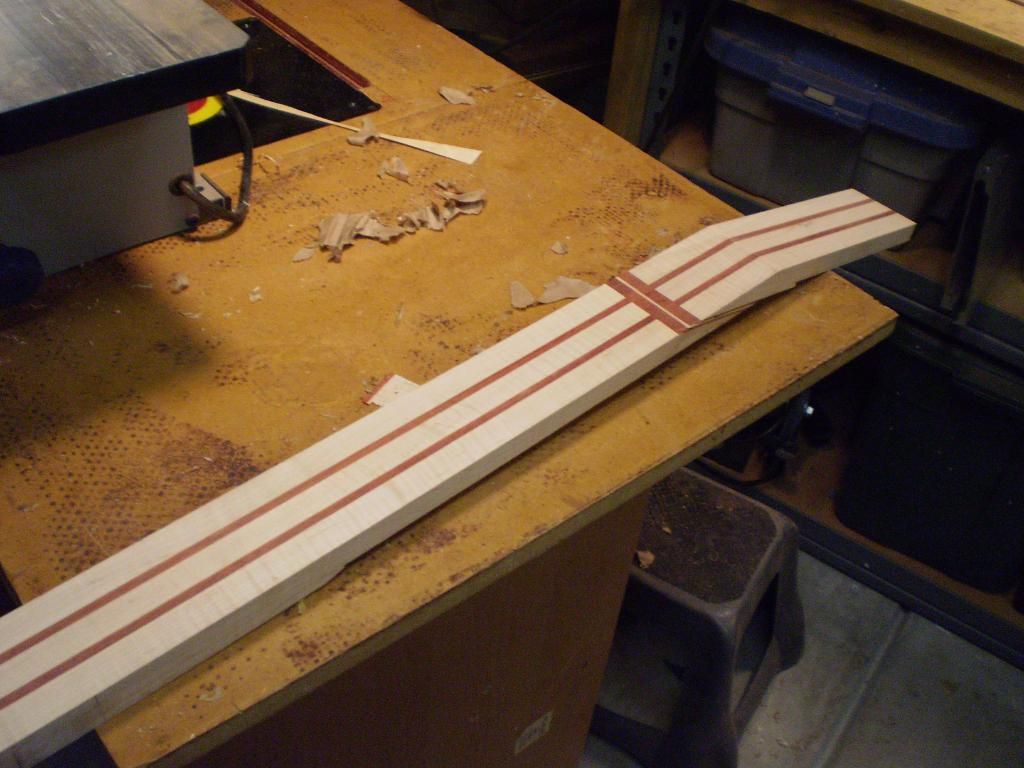
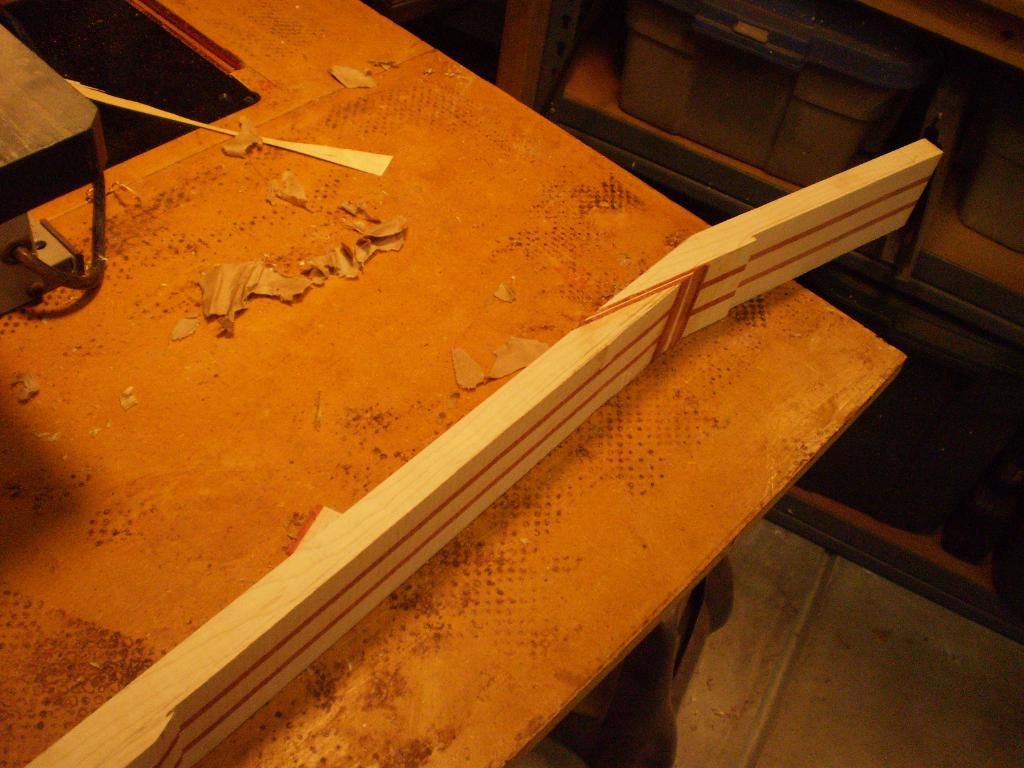
Three necks worth of scraps
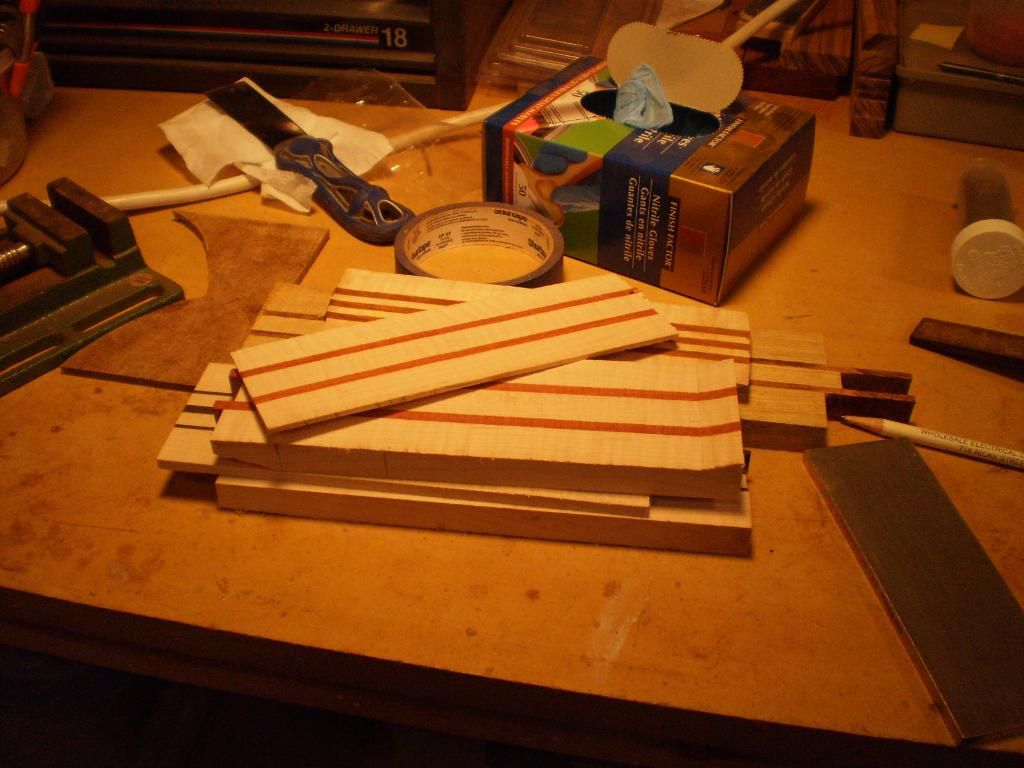
Enough for today...
No comments:
Post a Comment
Note: Only a member of this blog may post a comment.