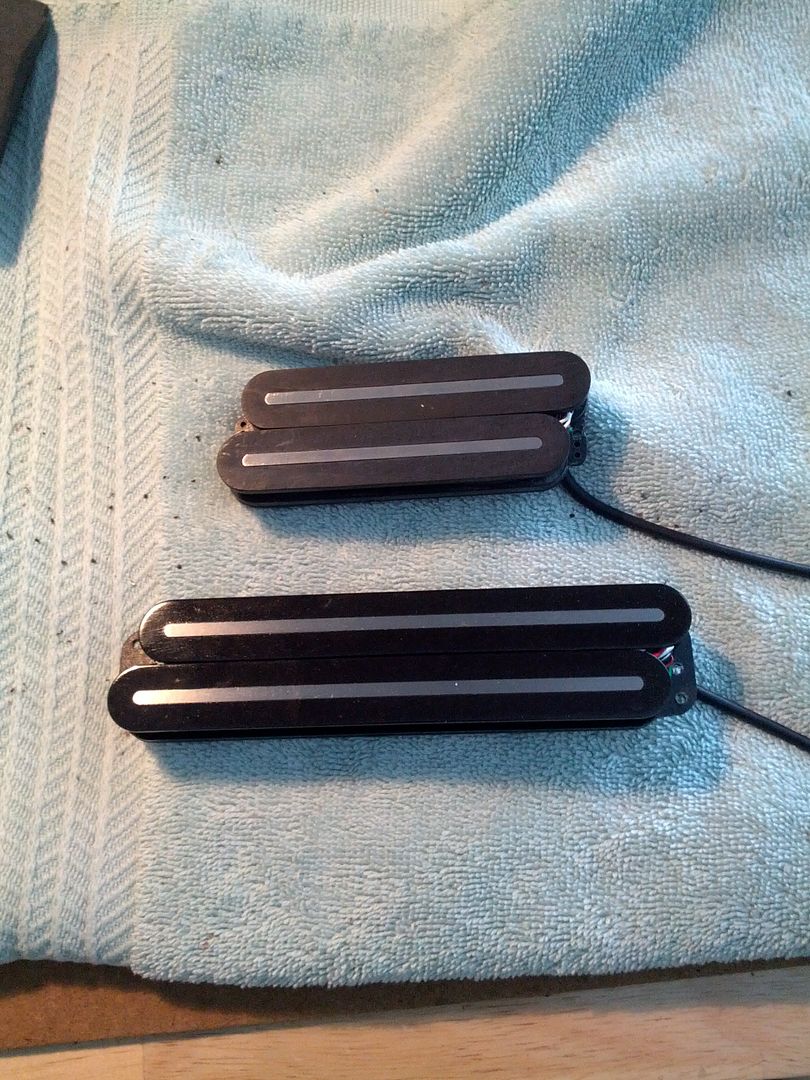
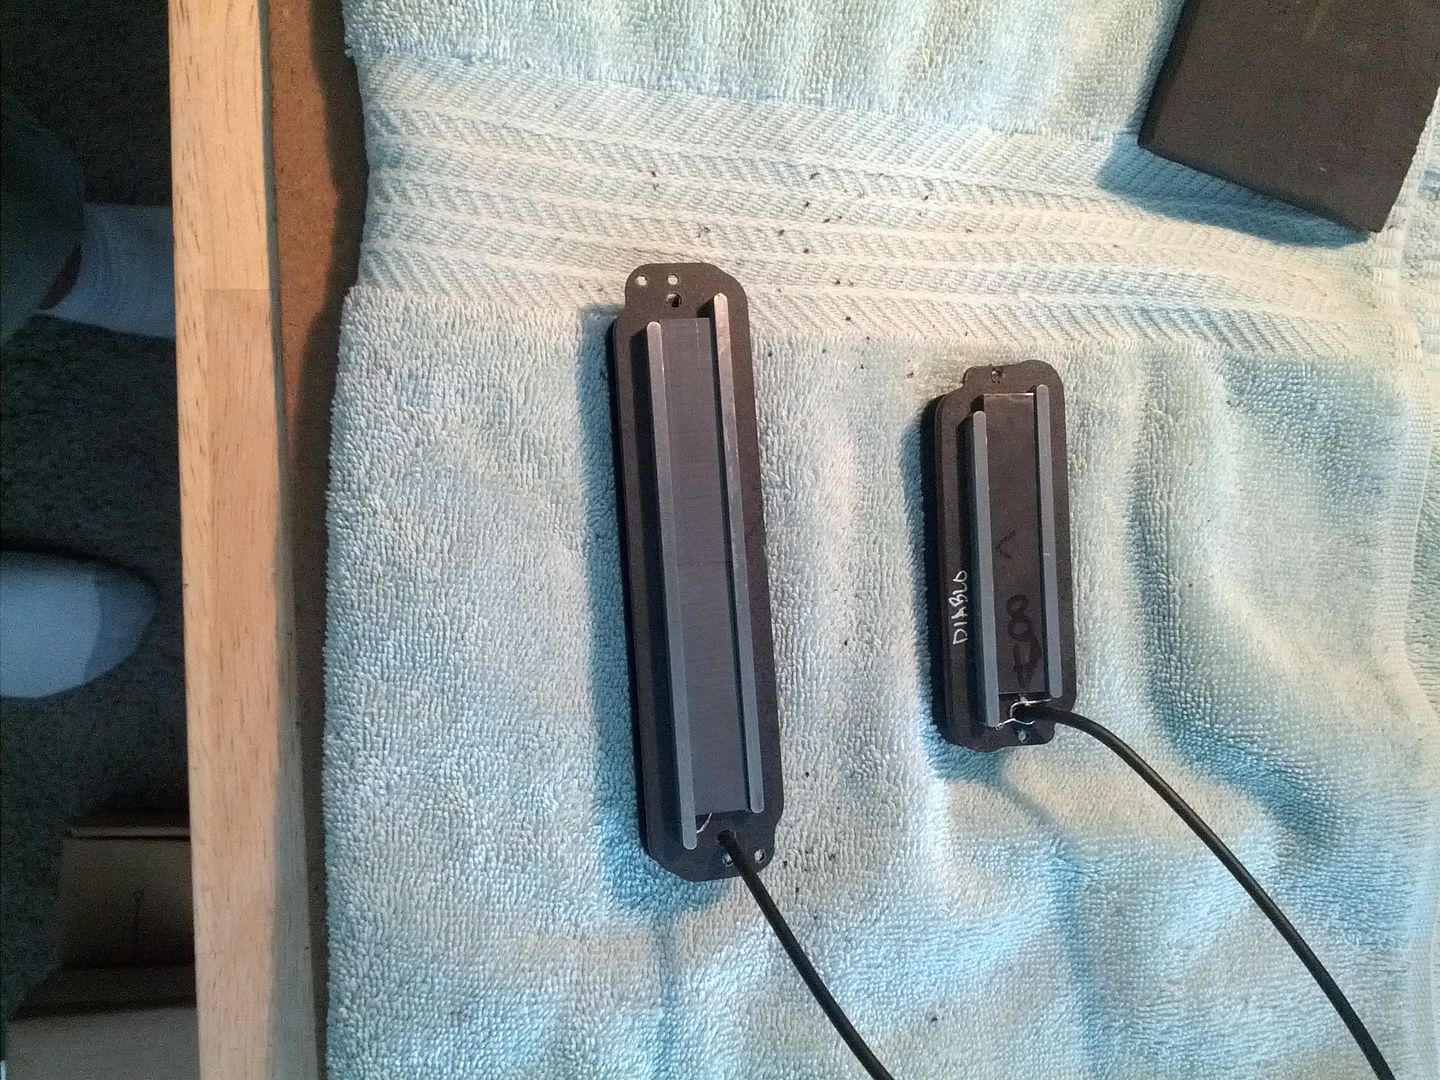
A size comparison of the 6 string Multiscale bass humbucker and the 7 string multiscale guitar humbucker.
Time to finish up this monster...
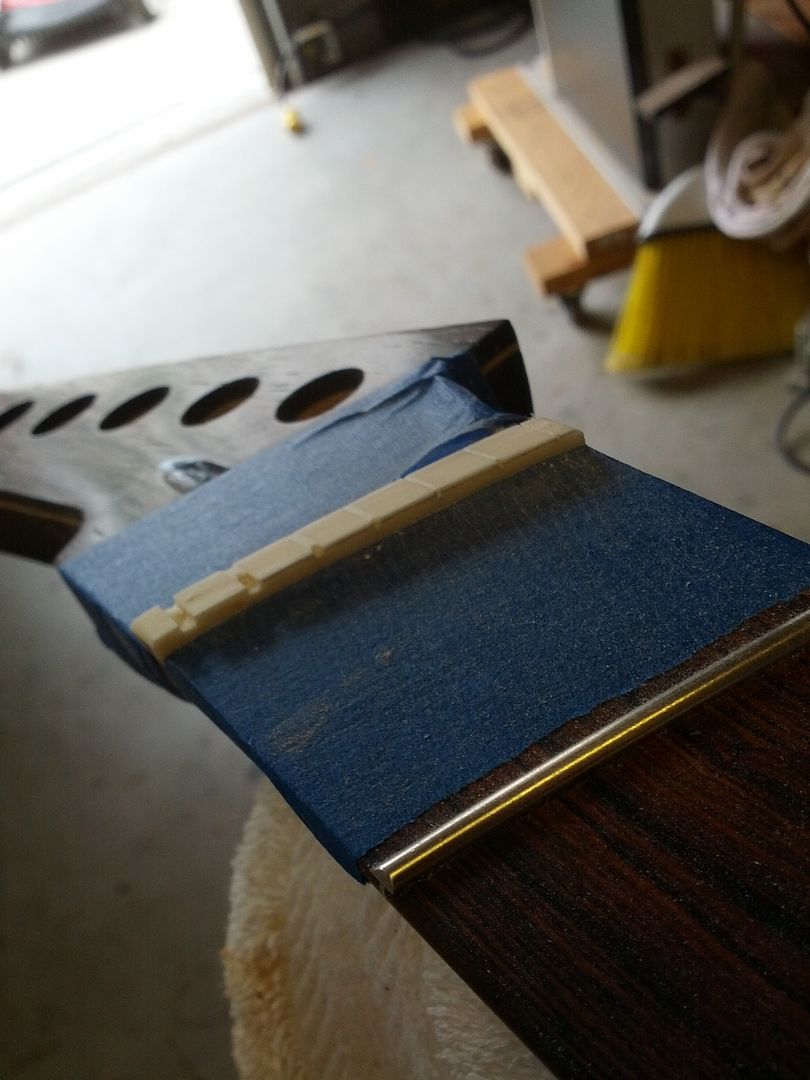
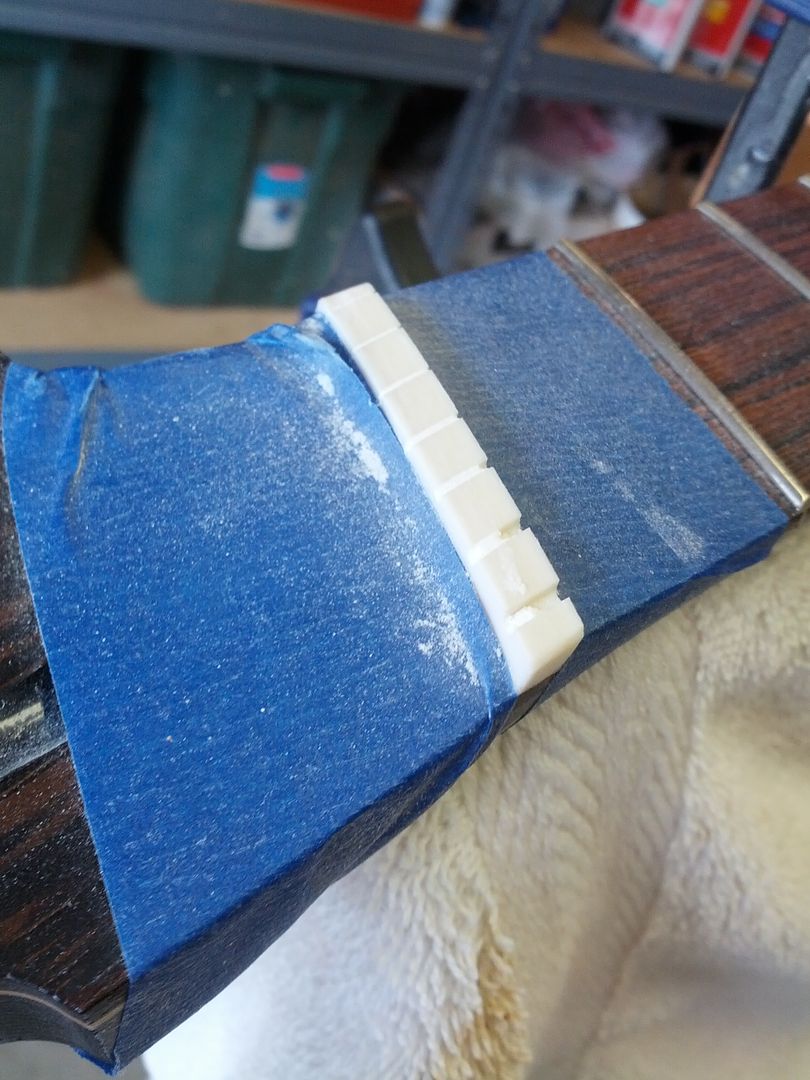
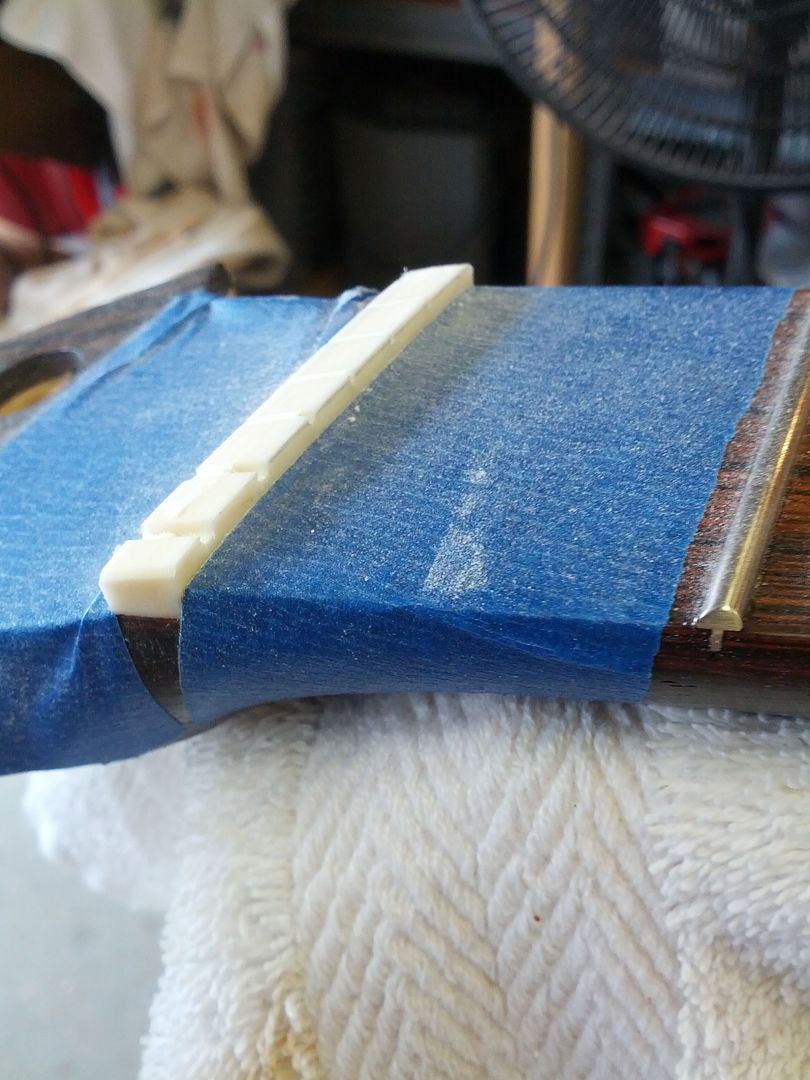
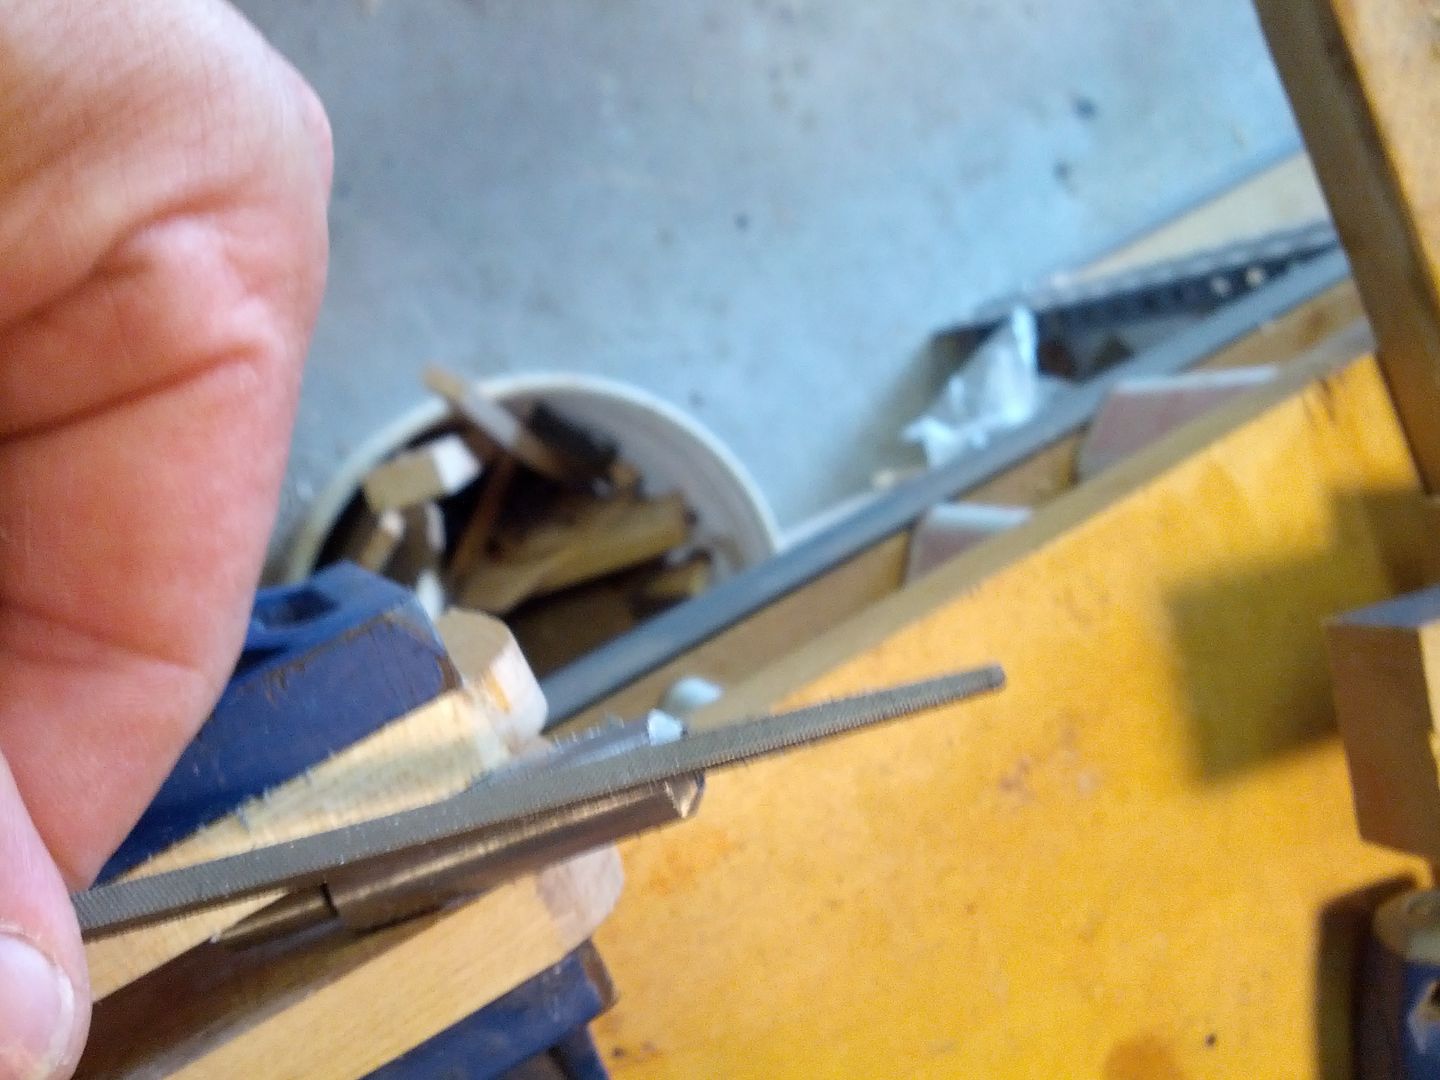
Nut needs to be trimmed down so that half the string protrudes from the top. I never am able to get this exactly right because it is usually a few days before I do the final final setup and the nut slots usually end up a bit deeper. This is just a best effort to get it right.
Start with 120 grit PSA on a sanding block, move to 220 Wet/Dry on a block, then follow up with a 180 grit sponge and finally 320 flex paper. You know it is good when you can't see scratches and the nut shines.
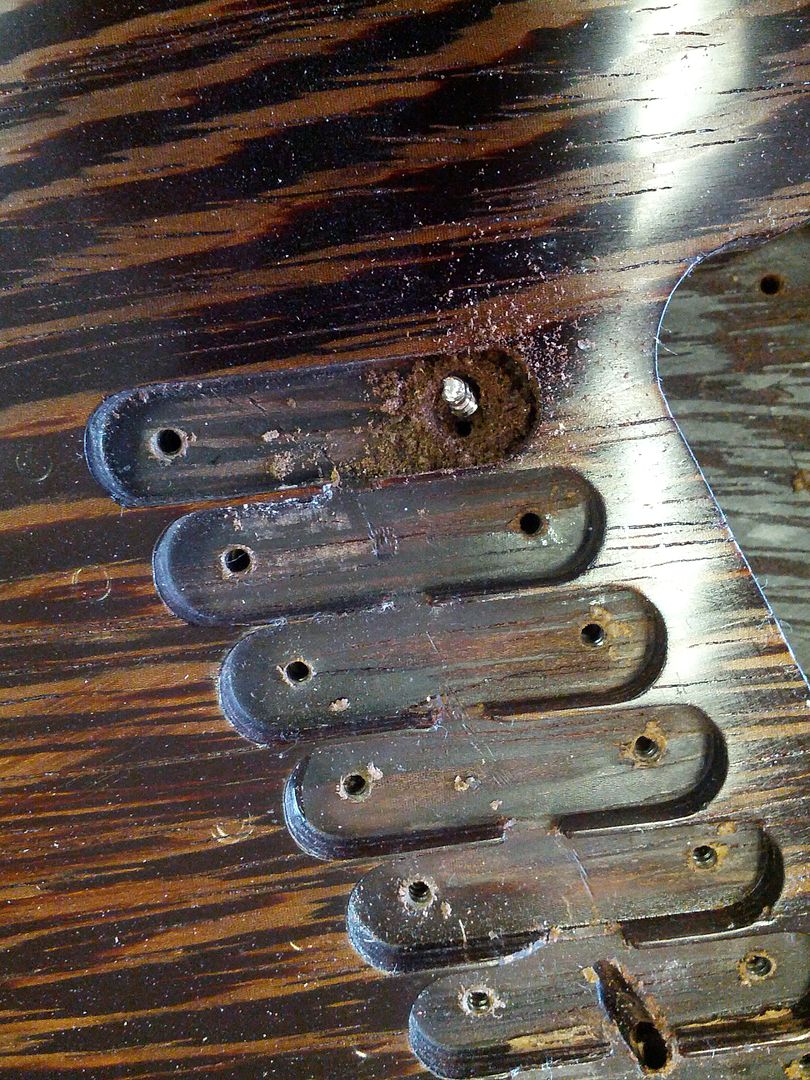
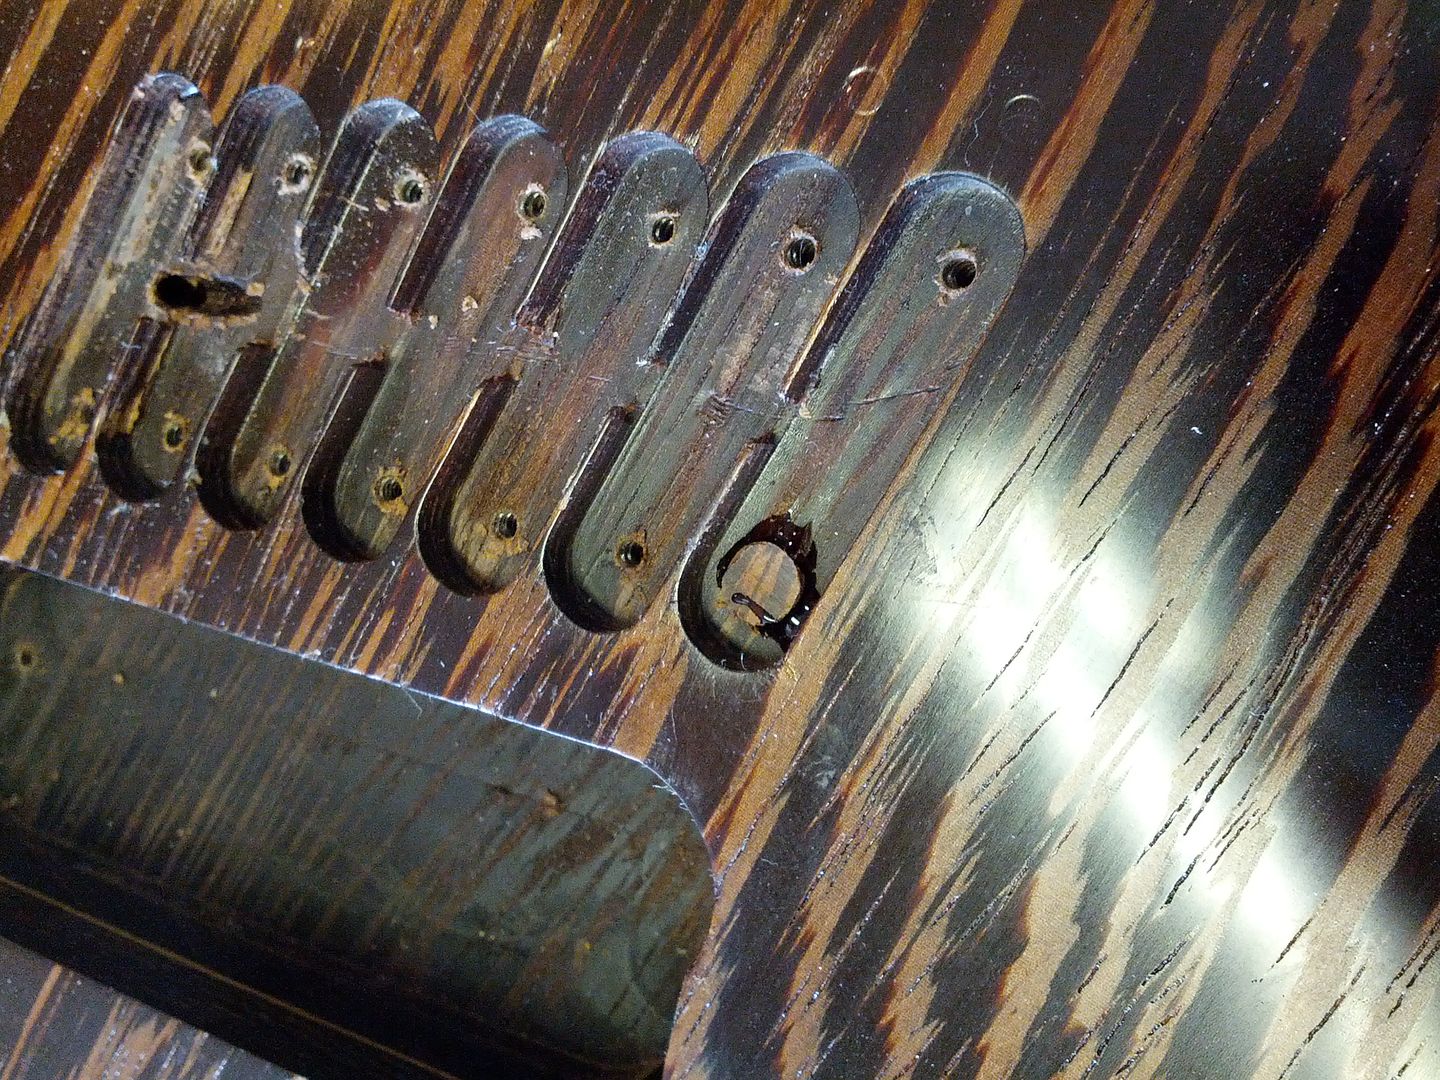
Here is the killer. I broke a bridge screw in the Wenge. I purposely never use the supplied screws because they are usually not as strong as the Stainless Steel ones I get from McMaster-Carr. I also am very careful to use the correct drill bit for pilot holes to make sure that I do not break screws. Still sh%t happens.
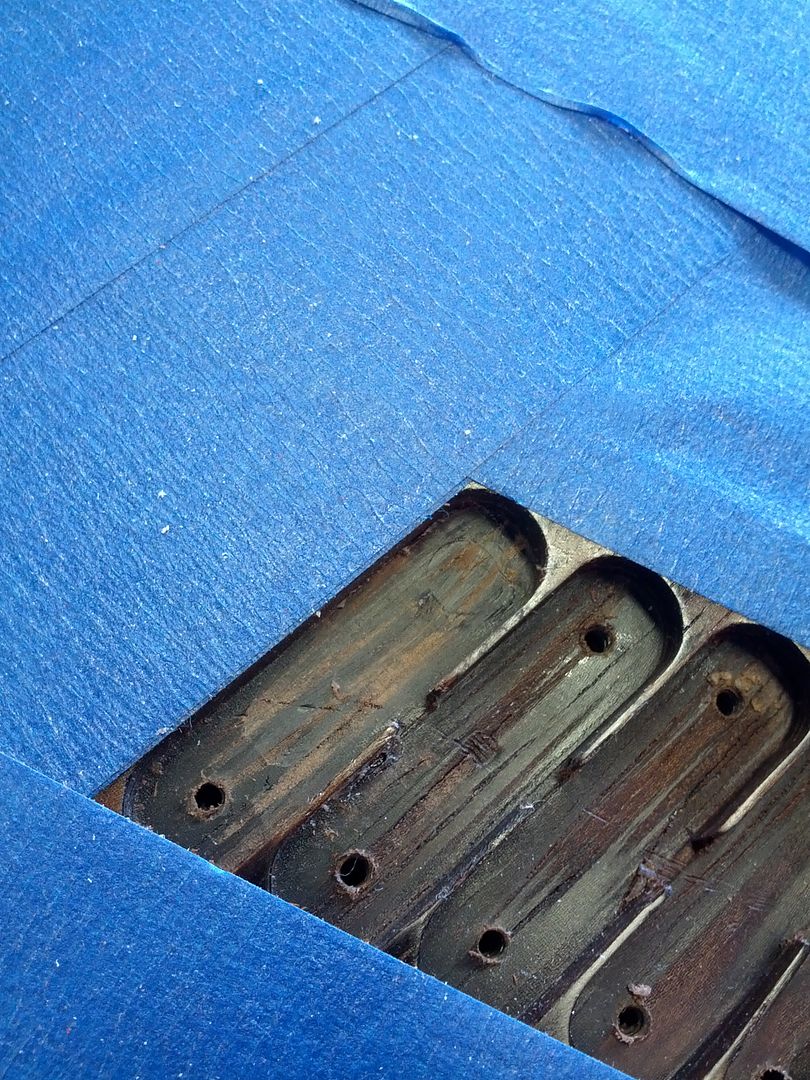
The culprit.
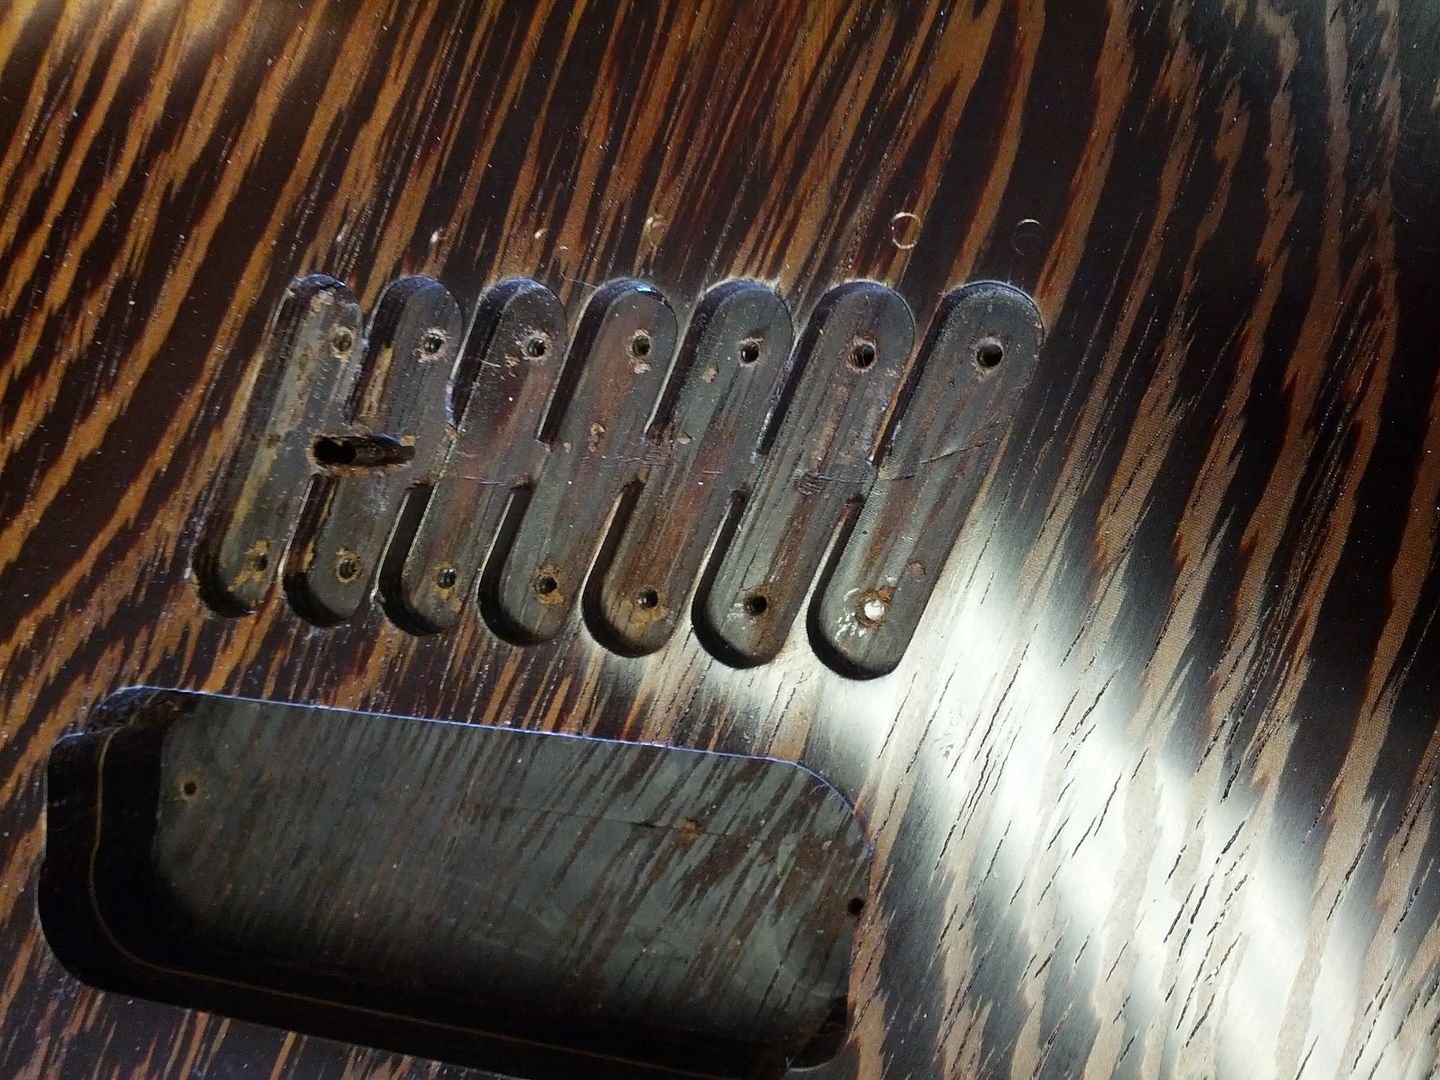
In order to fix it I could buy the really overpriced screw extractor kit from Stew Mac. What is so special about their kit? It is 3/16". The ones I have found online at woodworking stores are usually 1/4" or bigger. That makes for a large ugly plug.
I refuse to spend that much money on something so simple and I will cover how to make your own at a later date. Right now I am in a bind for time so I am going to do it the old way.
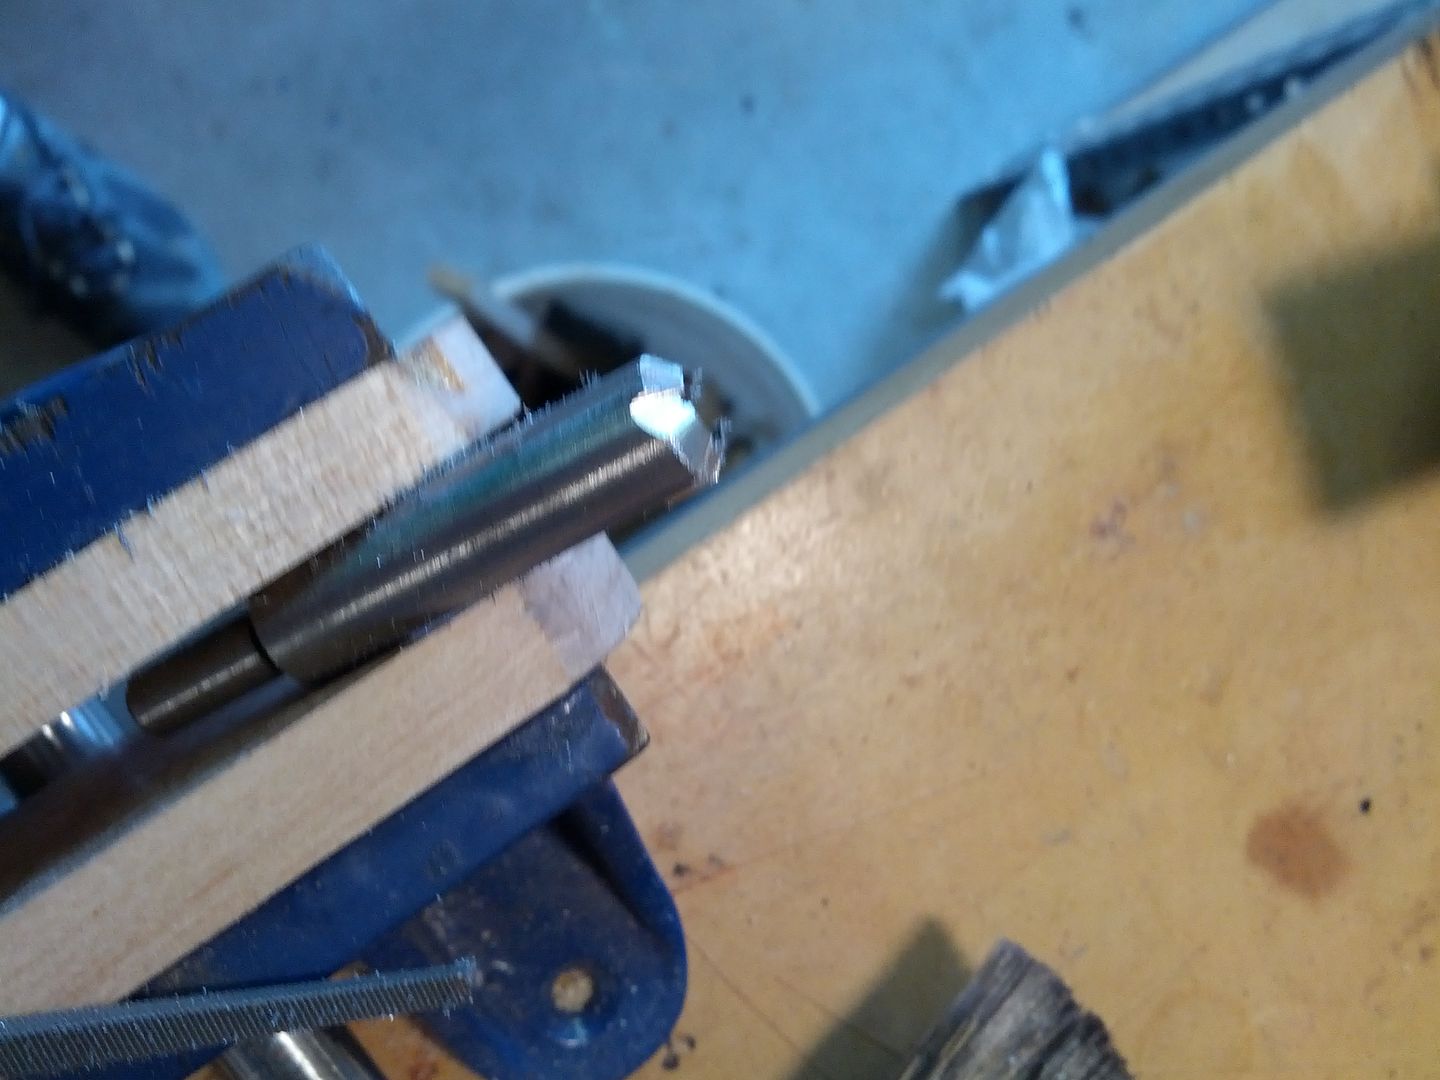
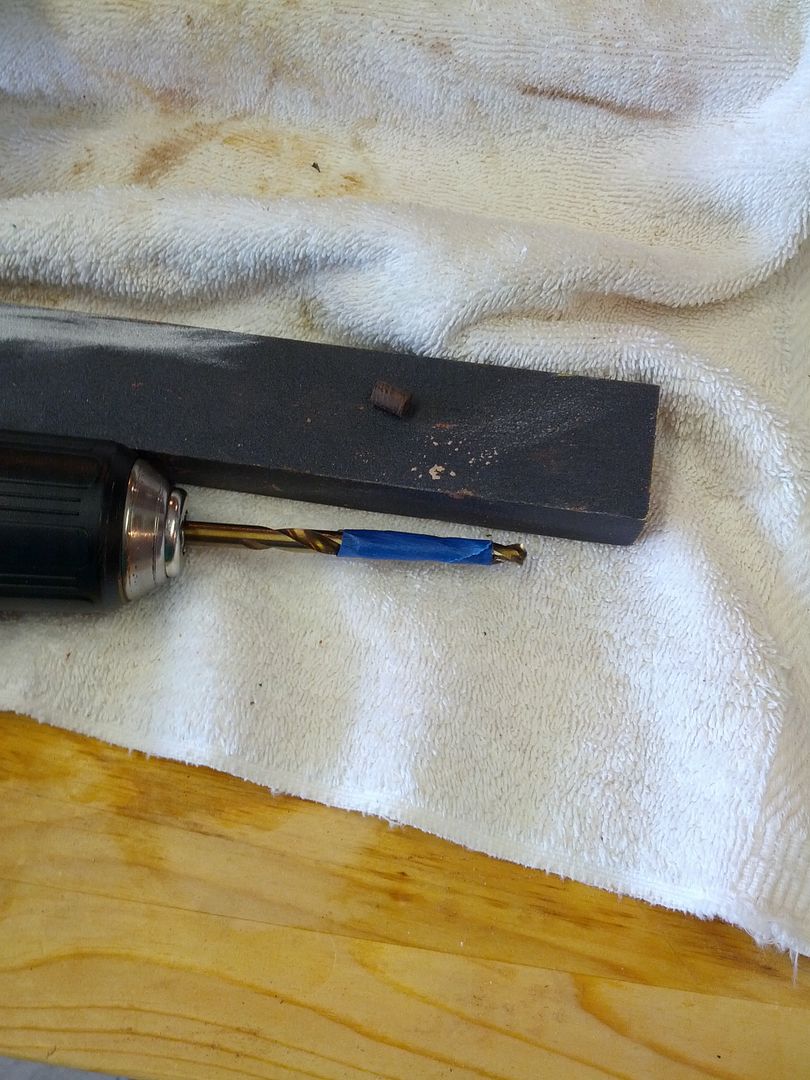
I start with a small mill bit in the dremel.

The trick is to let the bit follow the screw around. Keep the hole as small as possible.
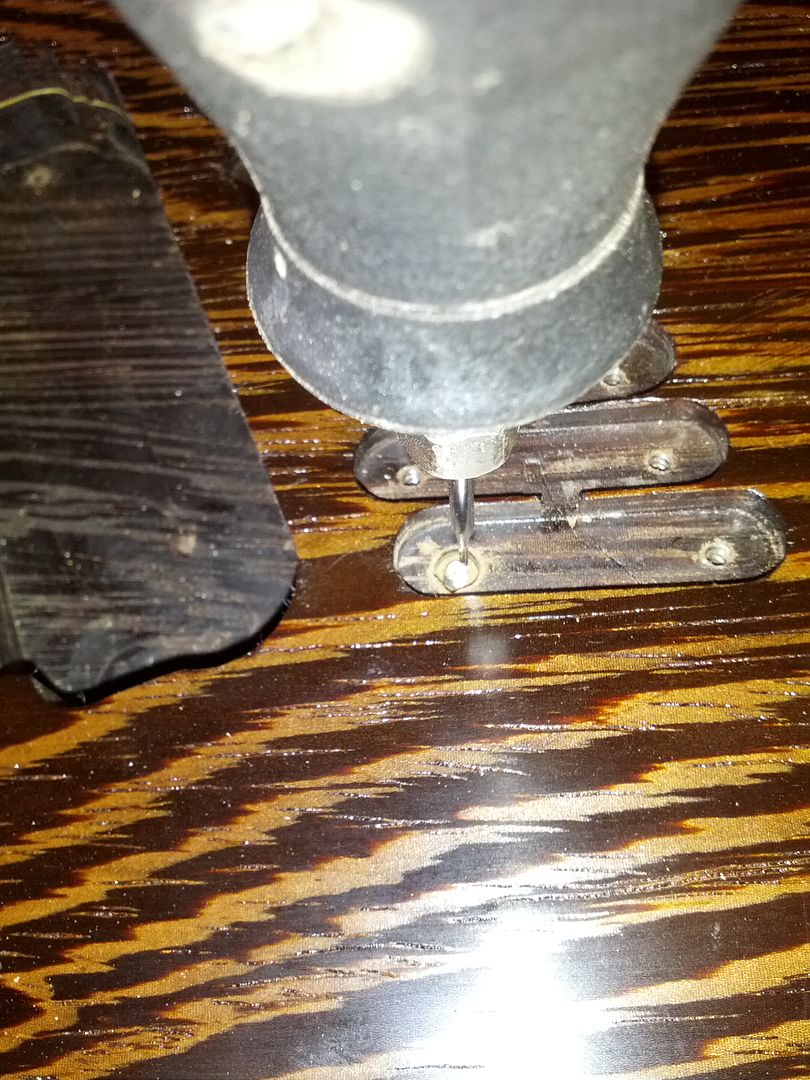

Always cut the screw completely free. You will be tempted to use a set of needle nose pliers to twist it out when you get enough to bite on. Don't do it. You will slip, break the screw off, and make the hole bigger. Be patient eventually the screw will come free without pliers.
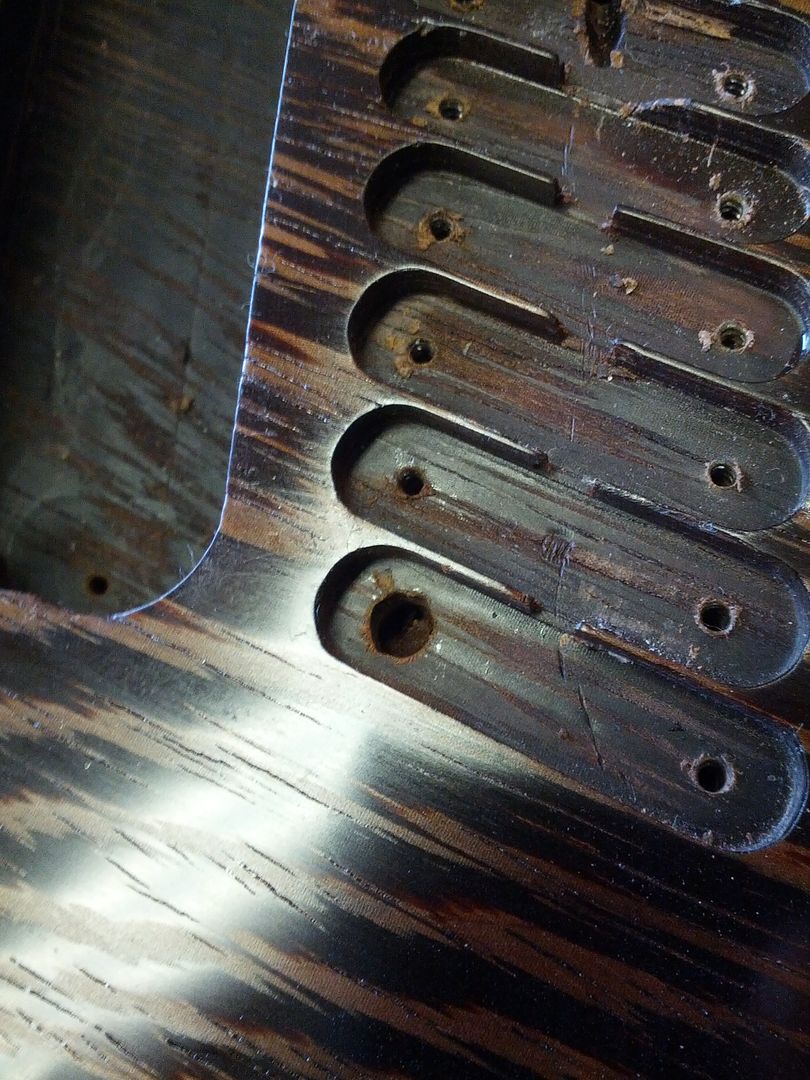
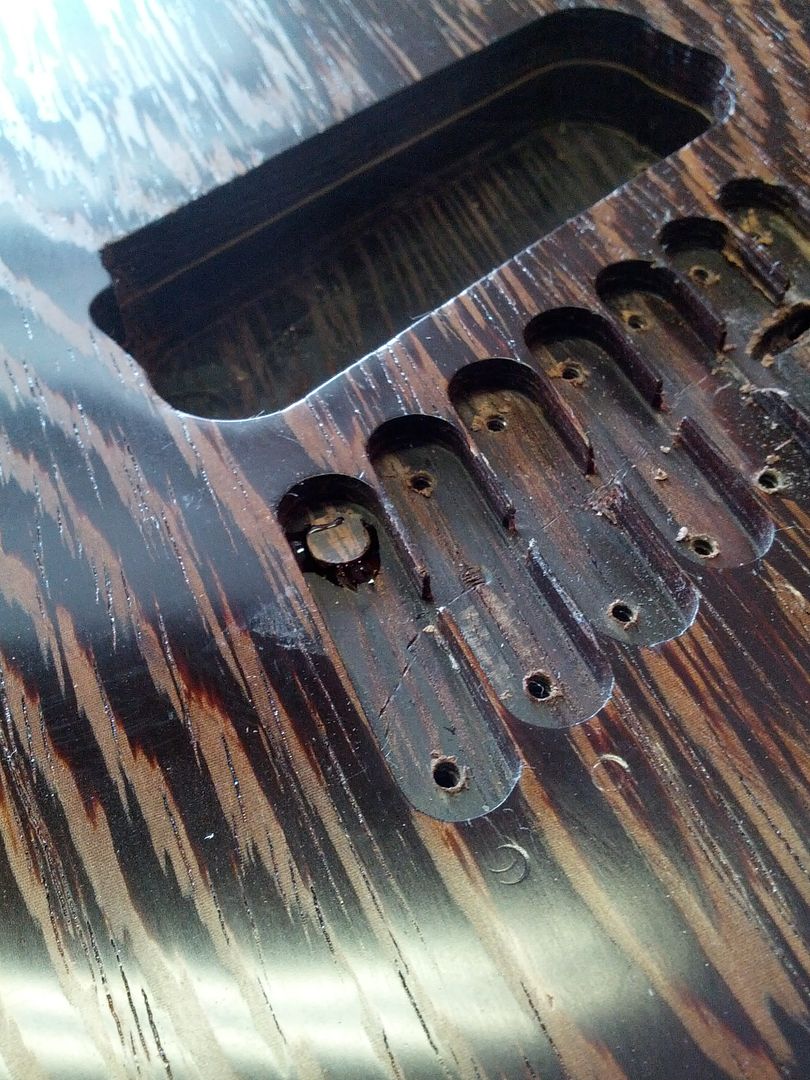
Here is our hole. Not to big, not to bad.
It is just about 3/16" so I dig for a plug cutter. All I have in 3/16" is a cheap HSS plug cutter. I hate these things. All they do is burn the wood. In order to make it more efficient I am going to use a file to cut more teeth in it.

Now that we have improved the plug cutter we will try to cut a plug without burning the wood or the cutter. Slow the drill press and use short periods of pressure to cut the plug. You can't let the quill all the way up but you can release the pressure to let the plug cutter clear and cool.

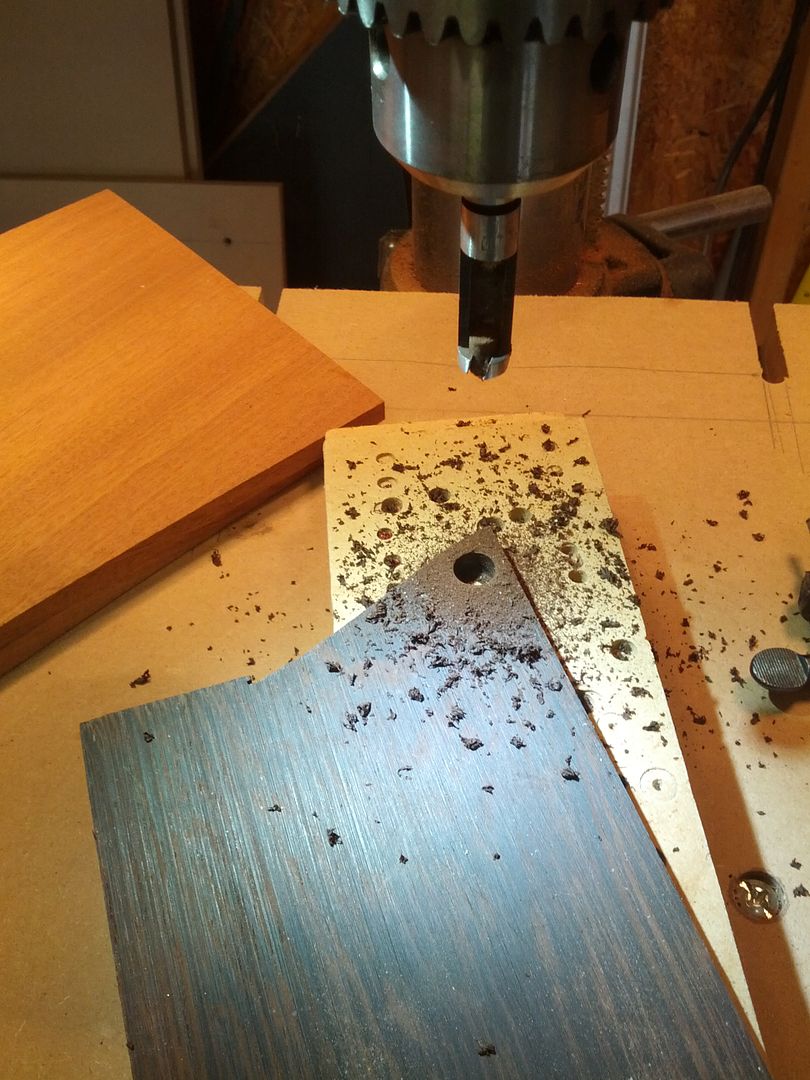
Using a 3/16" bit with a depth stop I drill out the hole I made. Check the drill bit size with the plug in a piece of scrap first.
Looks like it fits pretty well but it is very tight. Need to smooth the edges a bit.
Now it fits tight and only required a light tap from the hammer. A little thick CA and put it in. Make sure to align the grain before driving it in you only get one chance.
Trim the pug off with a 1/8" mill bit in the dremel with the router base then take a sharp chisel and scrape the are one time.
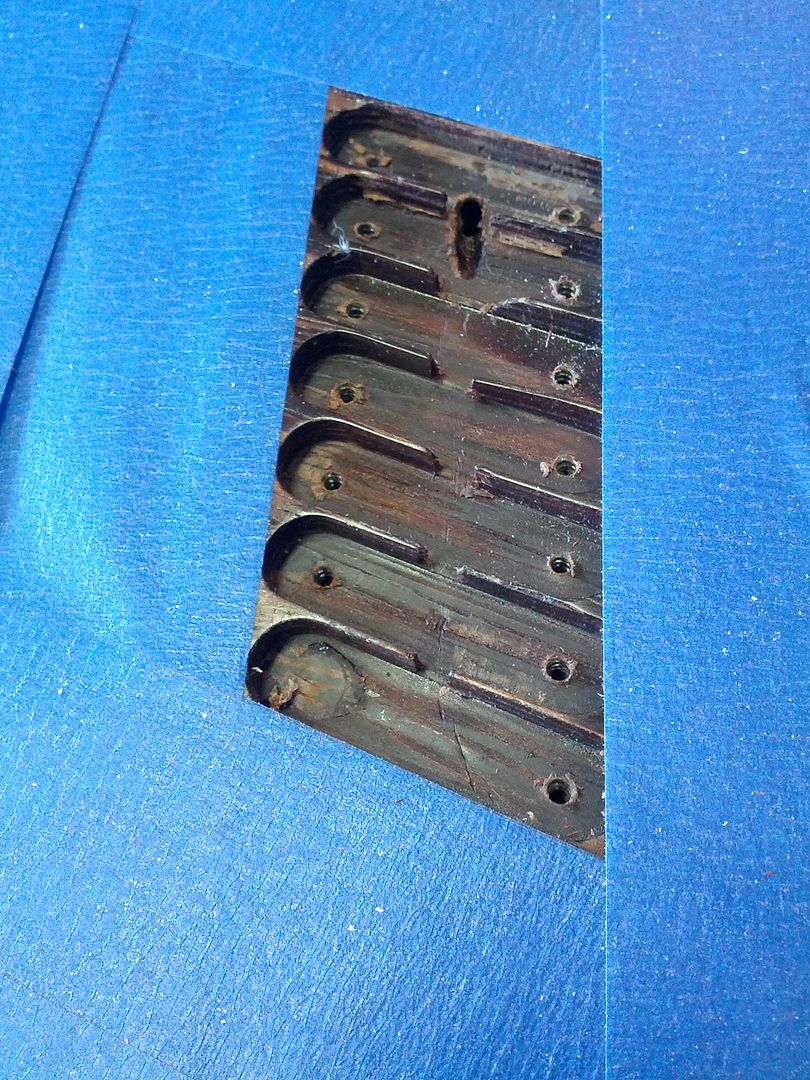
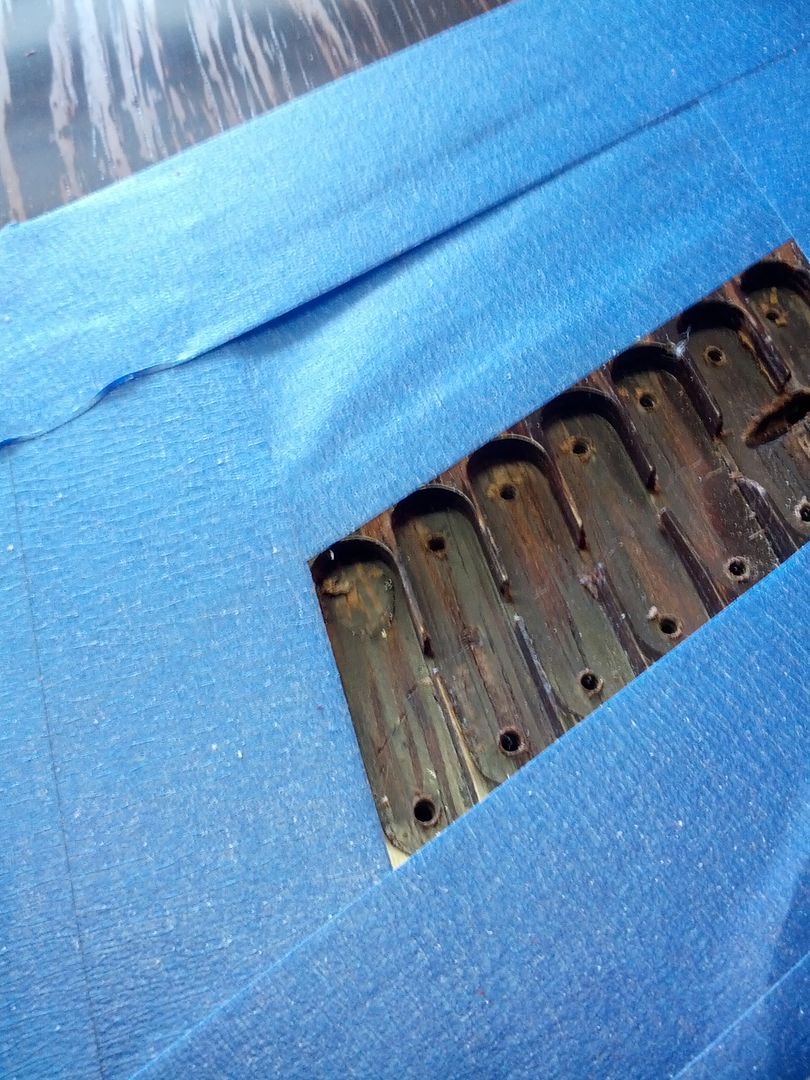
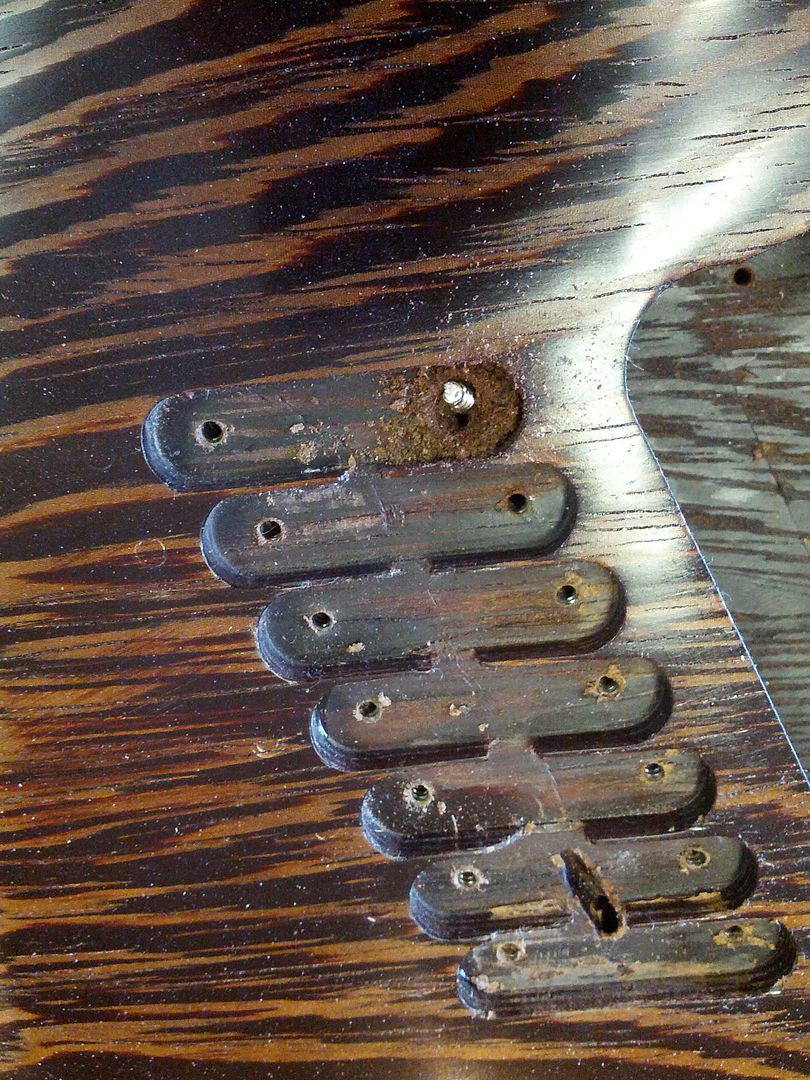
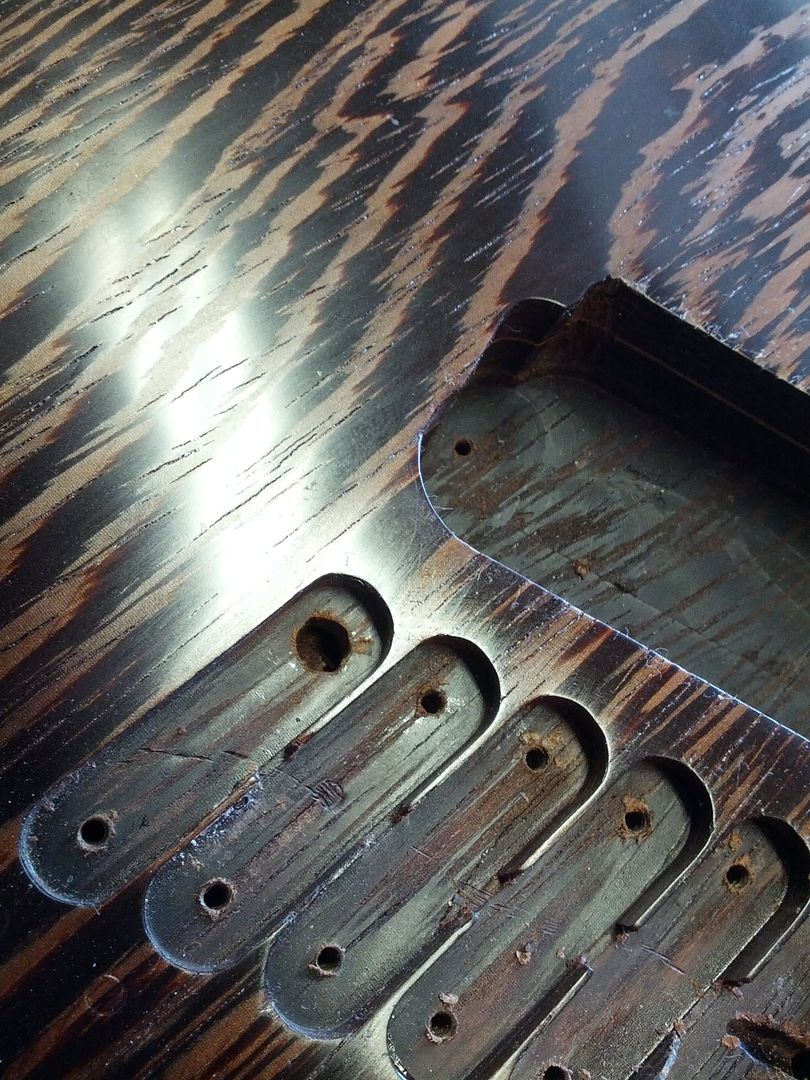
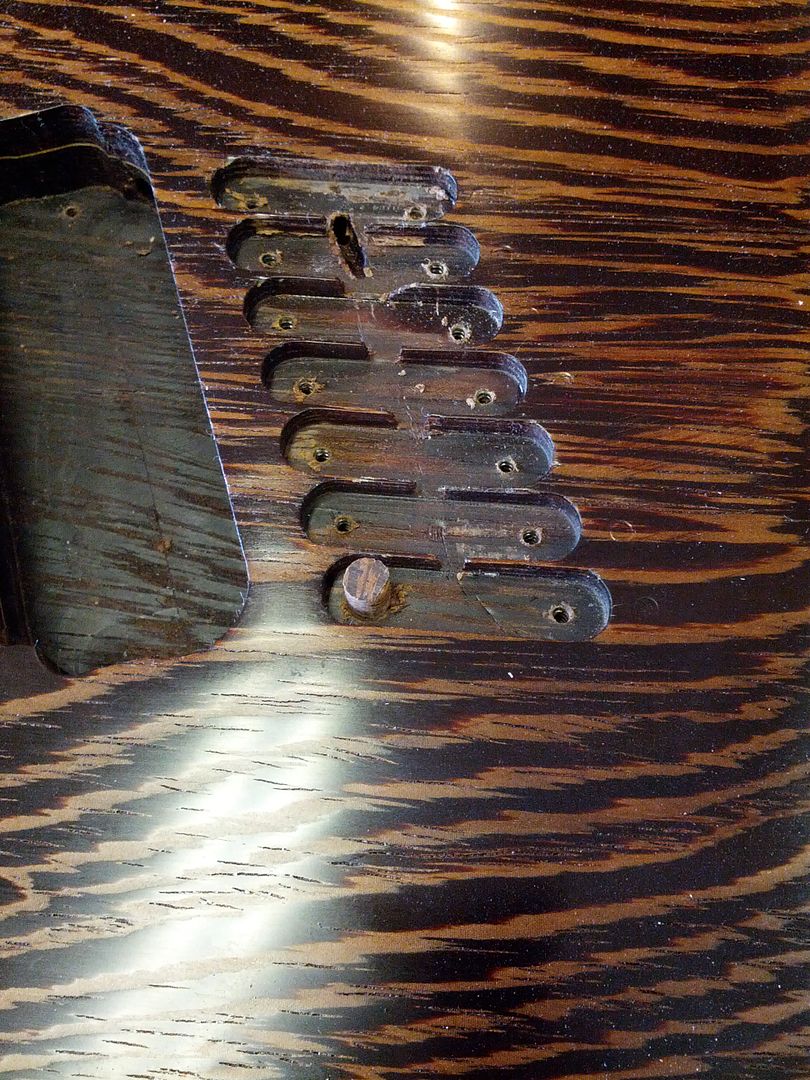
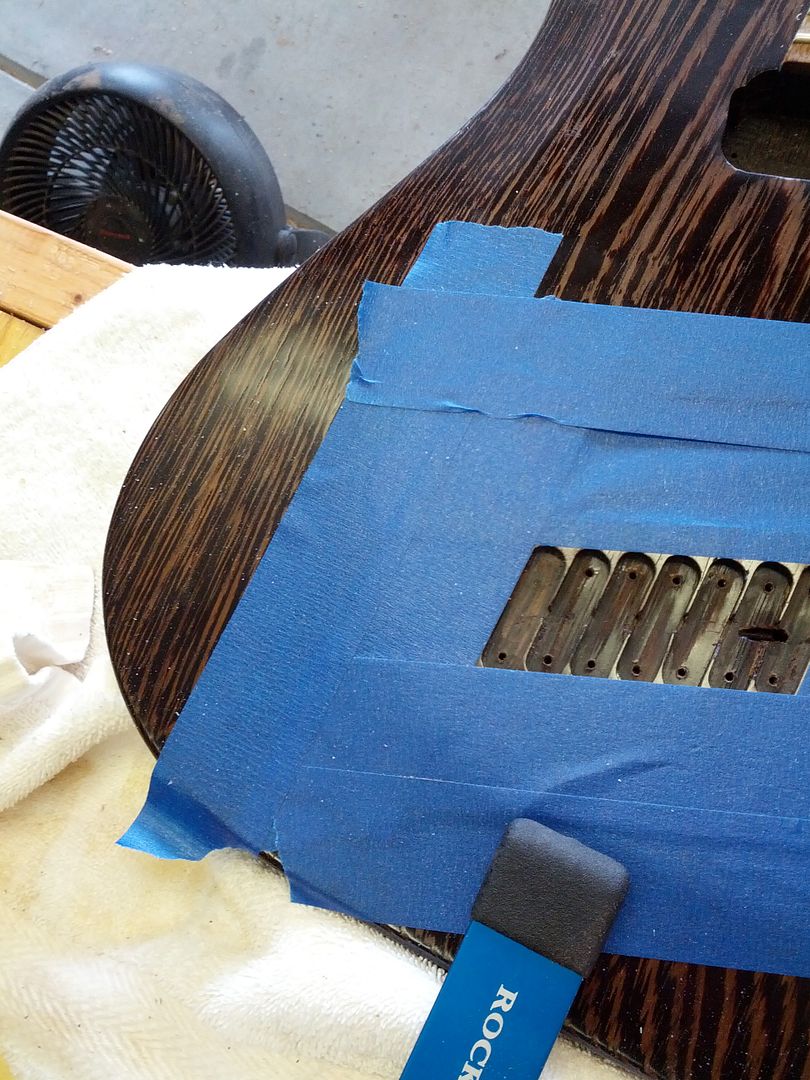
Lets play find the plug.
Now to be a good luthier you have to be brave. I really did not like the neck profile on this guitar. It was big and clunky. I measured the necks thickness at the 2nd fret as 21.5mm. Not sure how I managed that but that was a miscalculation. I bet I forgot to zero my calipers when I was carving it the first time. Always zero your calipers.
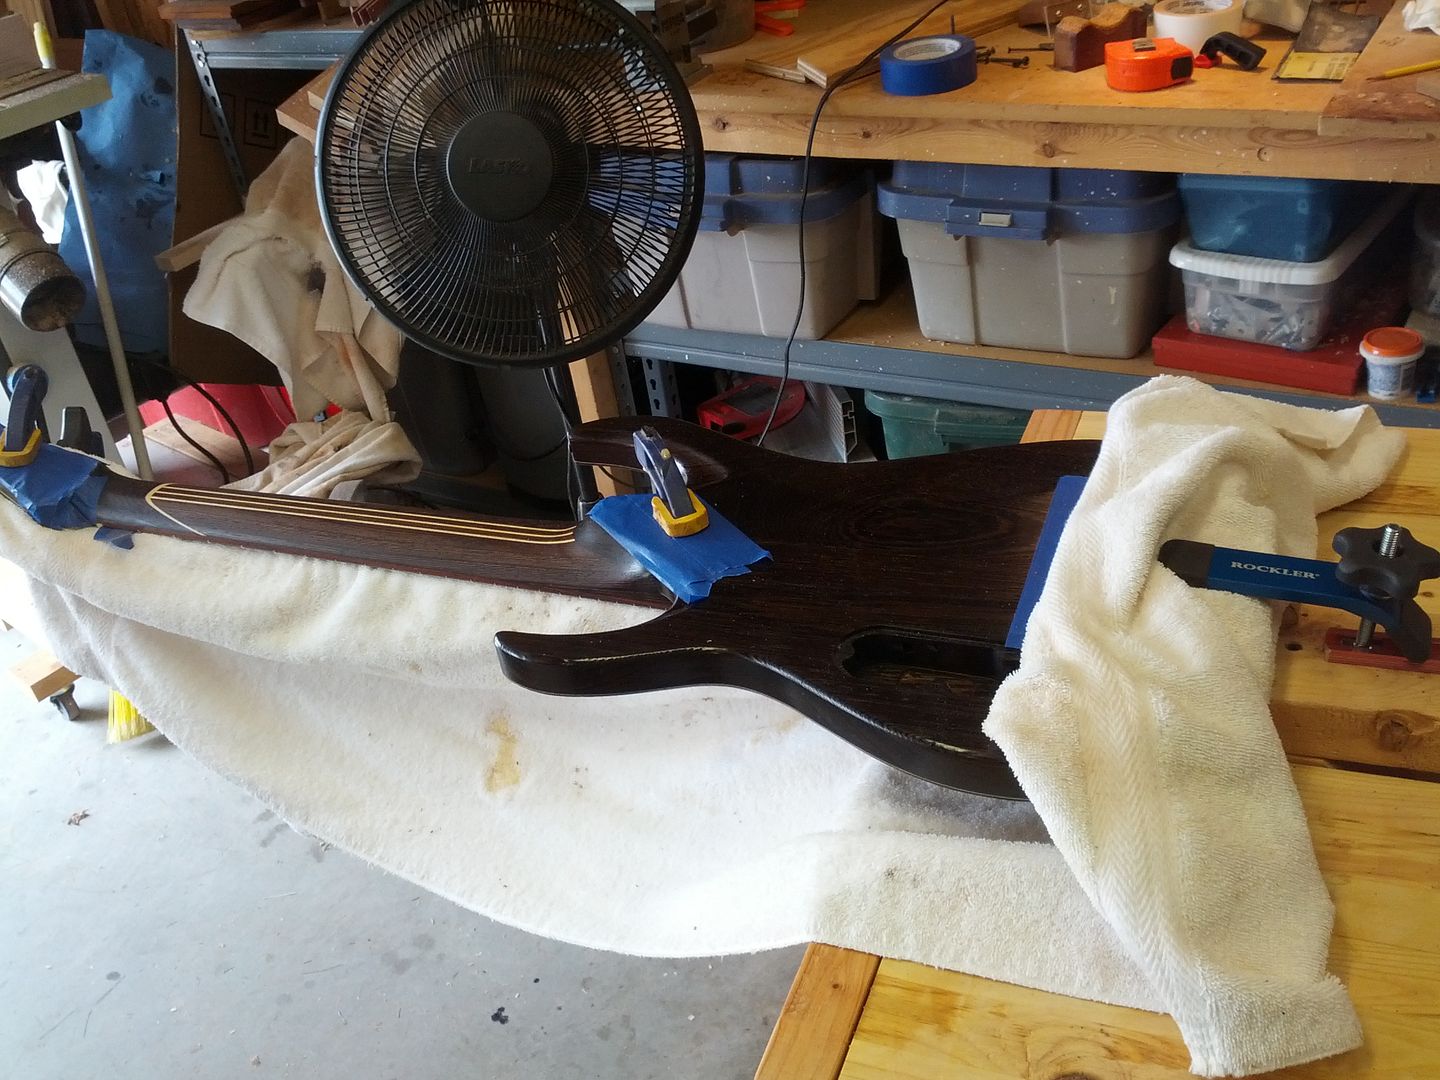
I am going to fix the neck on an almost finished guitar. Good thing I only use oil on my necks.
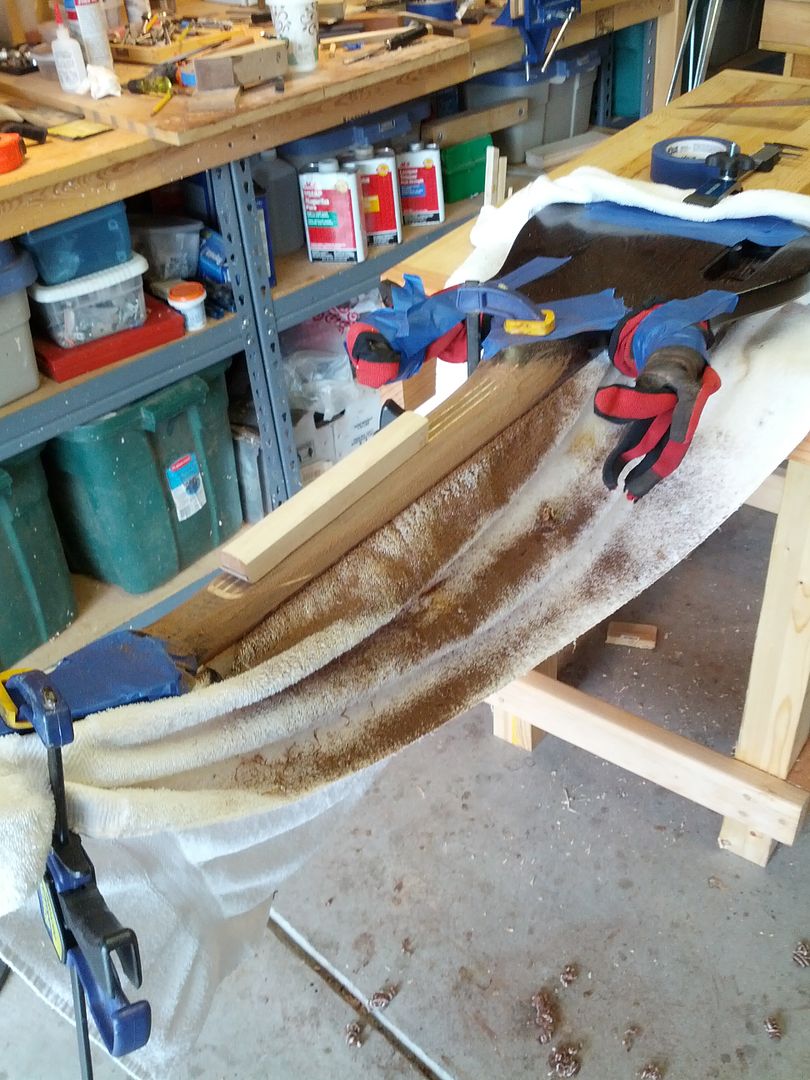
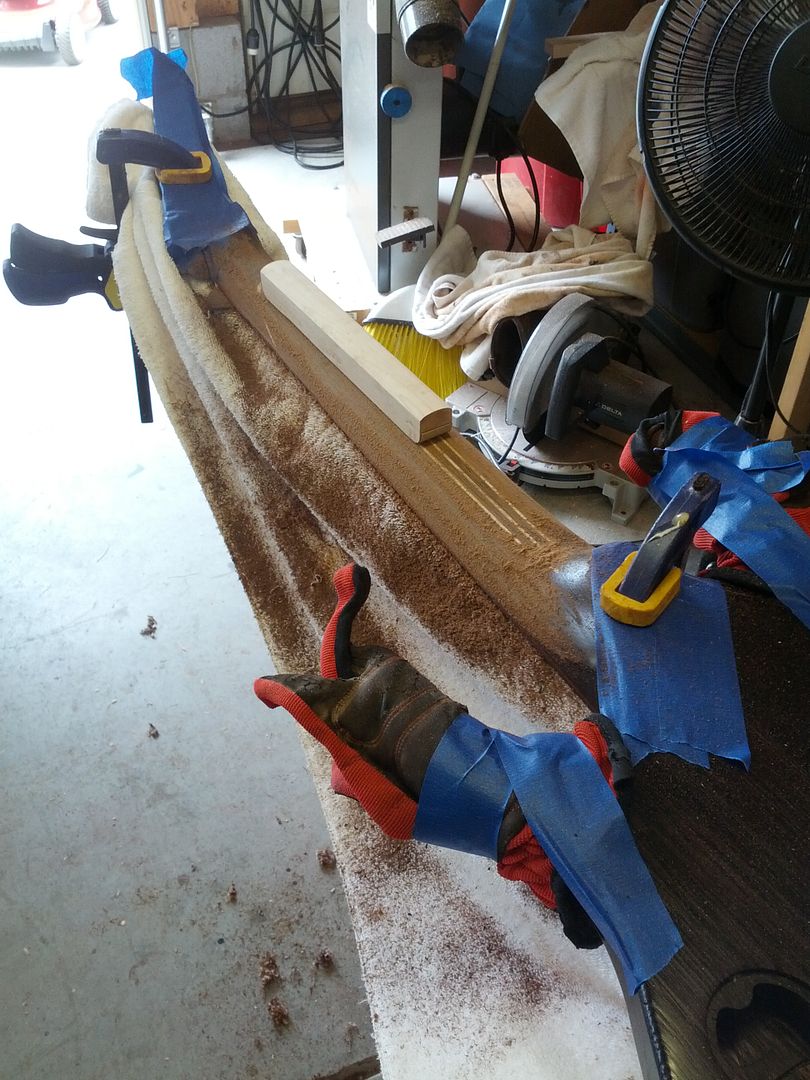
Starting on the back I take the neck down to 19mm knowing that I will take a little more out with the DA when removing the scratches. This is more like it. I usually use do about 18.7 mm for necks. I need about 12.7mm for the neck and I use a 6mm fretboard. When building using a very accurate thickness for the fretboard allows you to get the neck right and leave the proper amount of wood to support the trussrod.
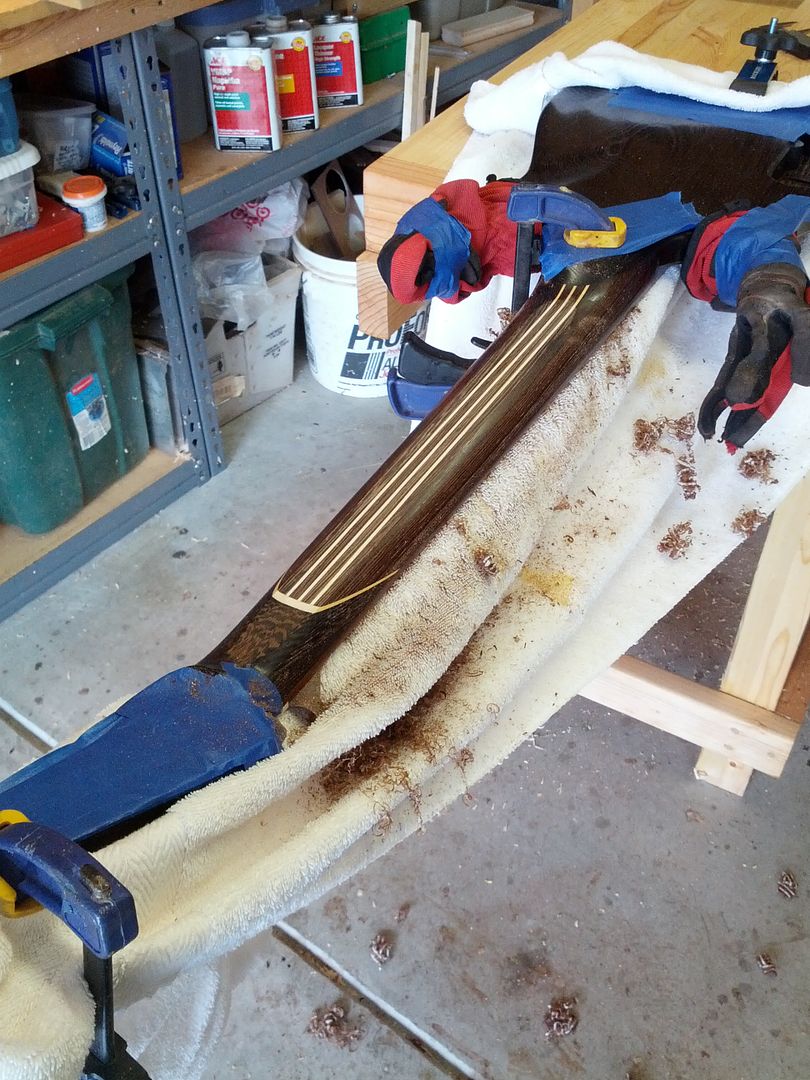
After fixing the shape with the rasps I always use a sanding block to straighten out any unintentional high or low spots. This is a very important step for the overall feel of the neck especially when dealing with Wenge. The soft grain tends to cut faster when sanding by hand and the block helps remedy that.
No comments:
Post a Comment
Note: Only a member of this blog may post a comment.