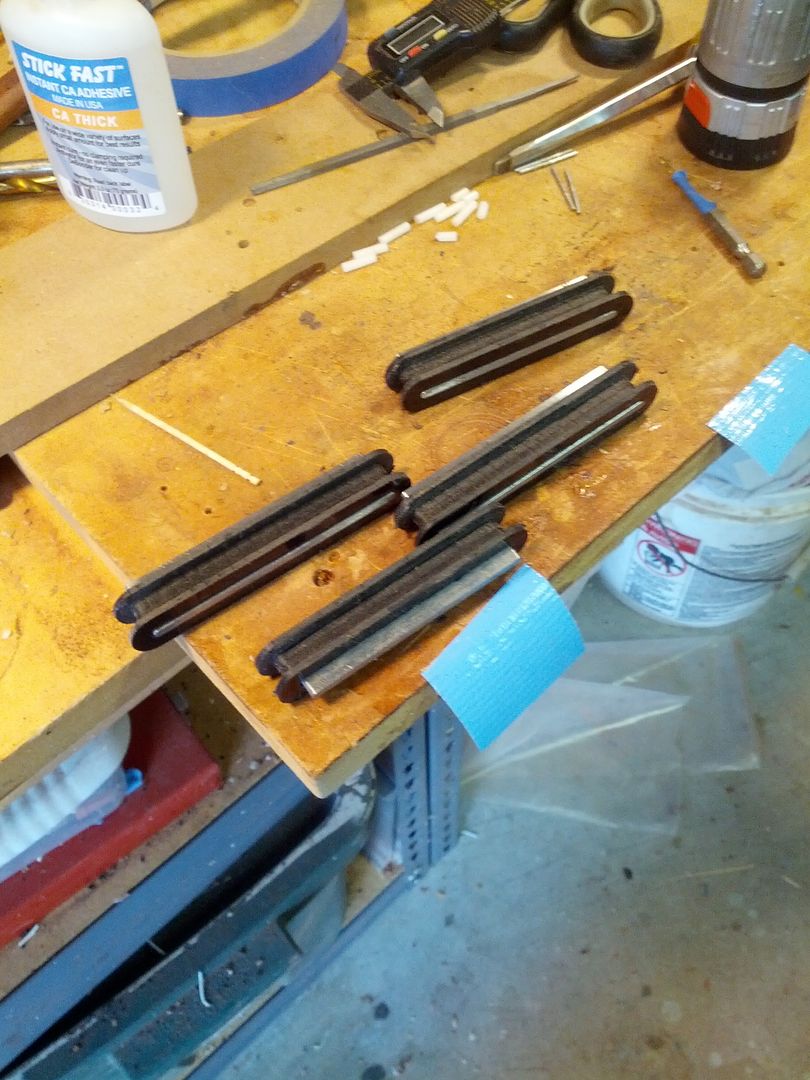
8 String multiscale bobbins finally glued together
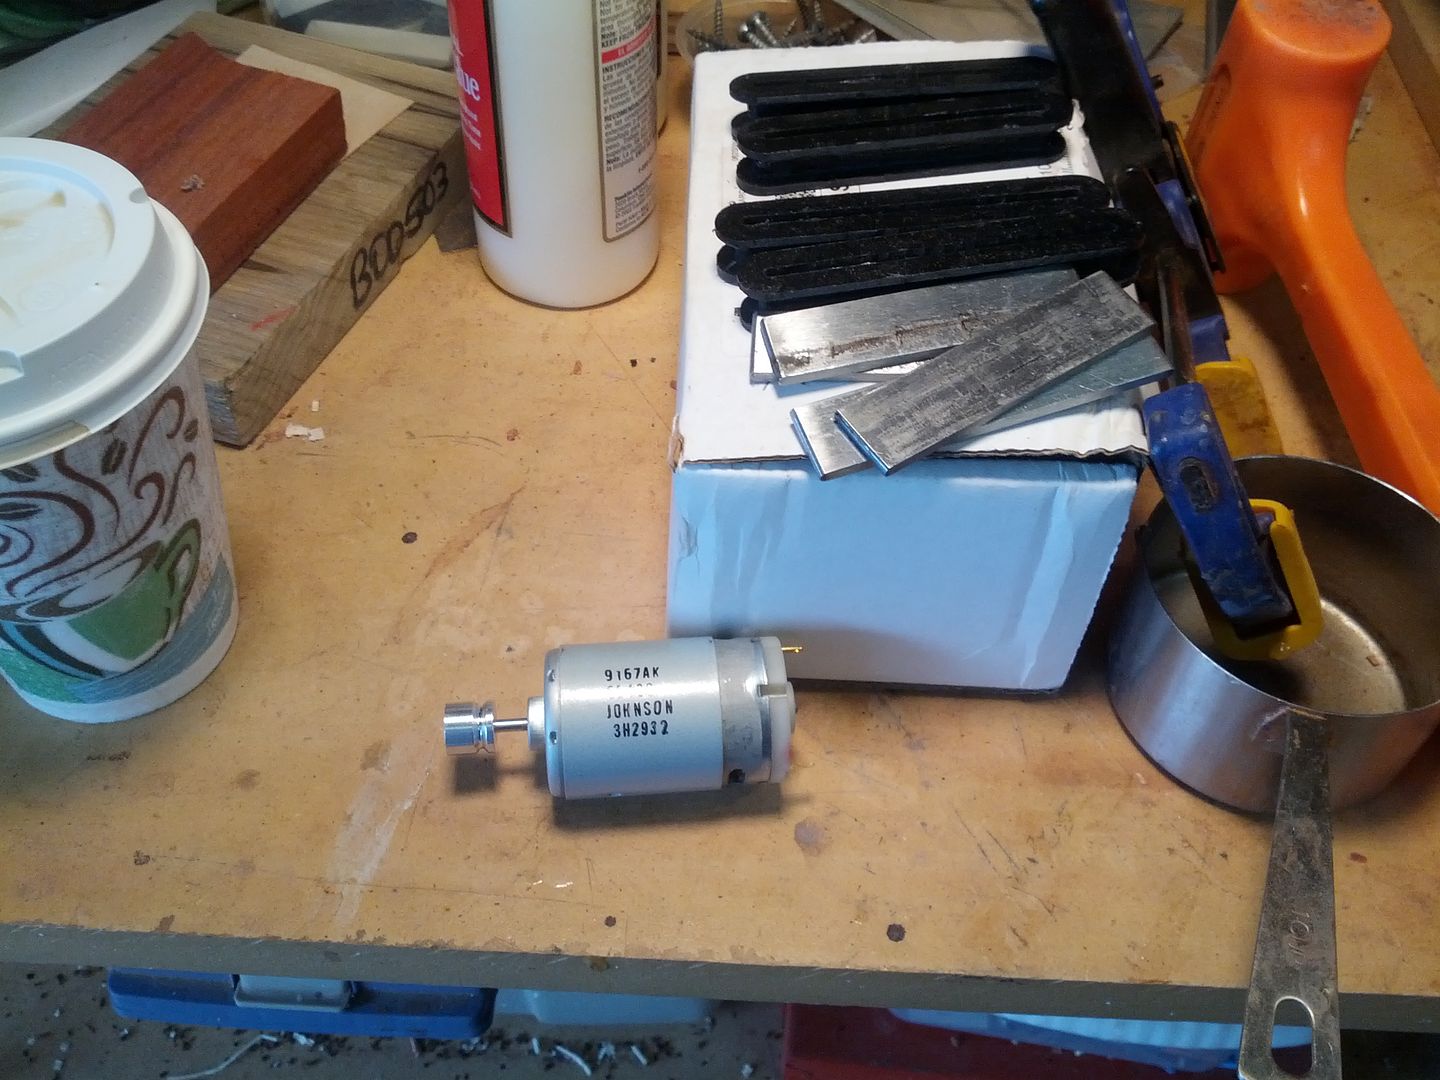
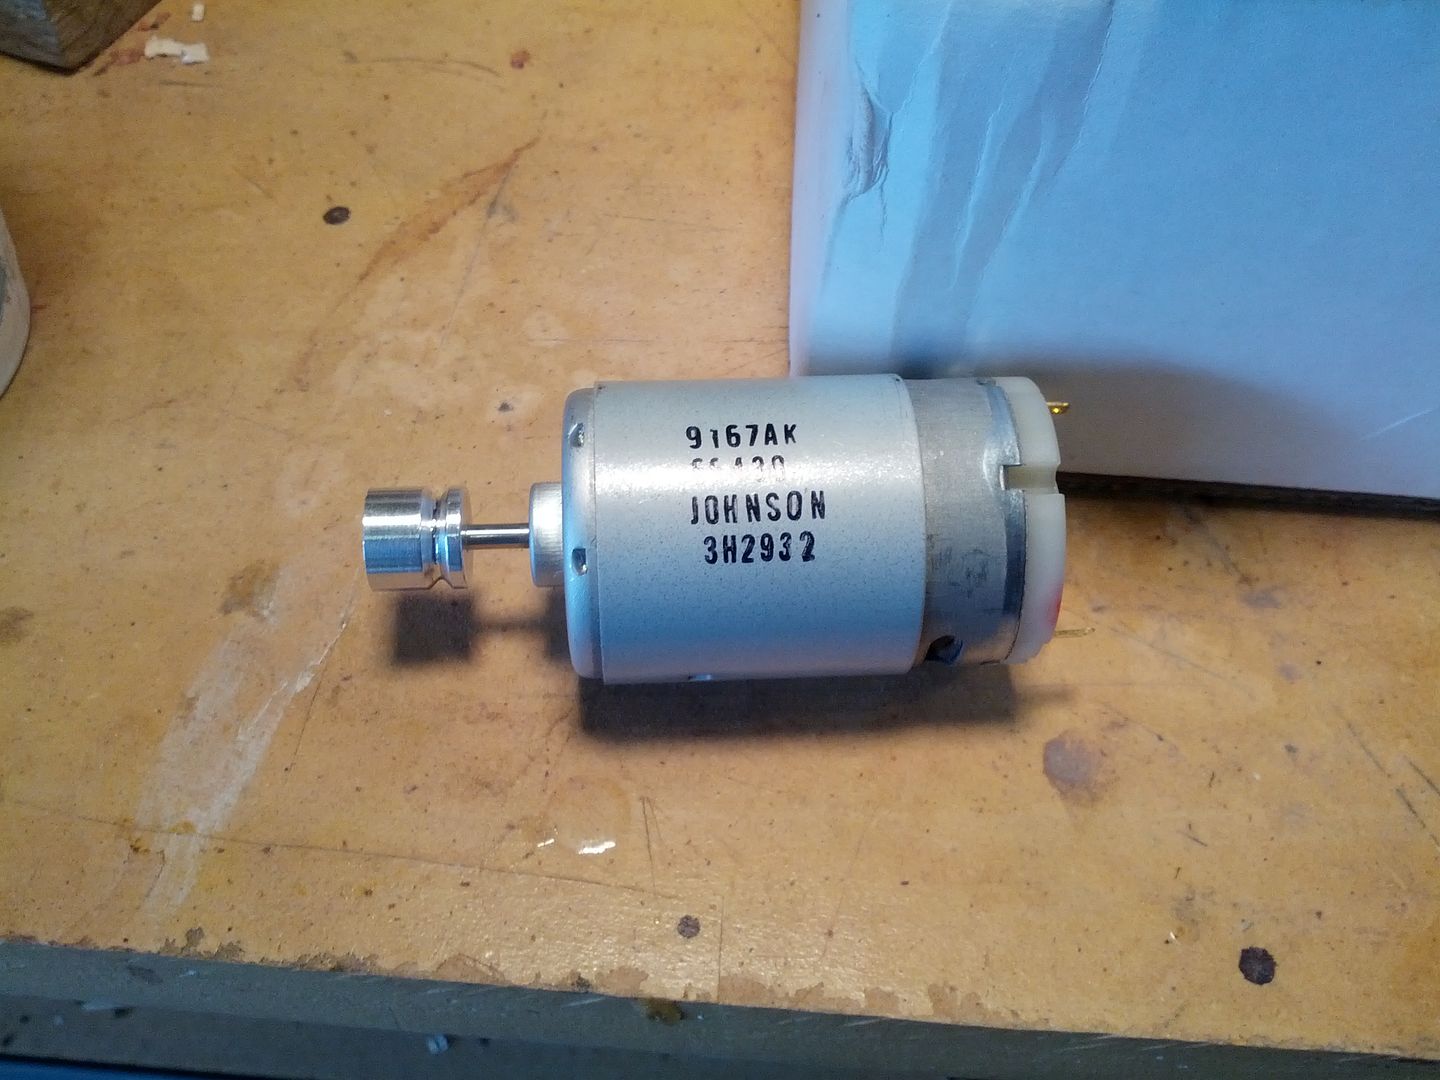
And the pulley mounted on my Schatten motor upgrade. Still have to do the reverse switch. Hope to have the winder operational soon.
Some days you just get stupid.
Ever have one of those weekends?
Last week I spent some time talking about glues and when to use certain types and how to apply them. Well maybe I should have taken my own advise. I got hosed by Titebond on my body blank for the 6 string multiscale bass.
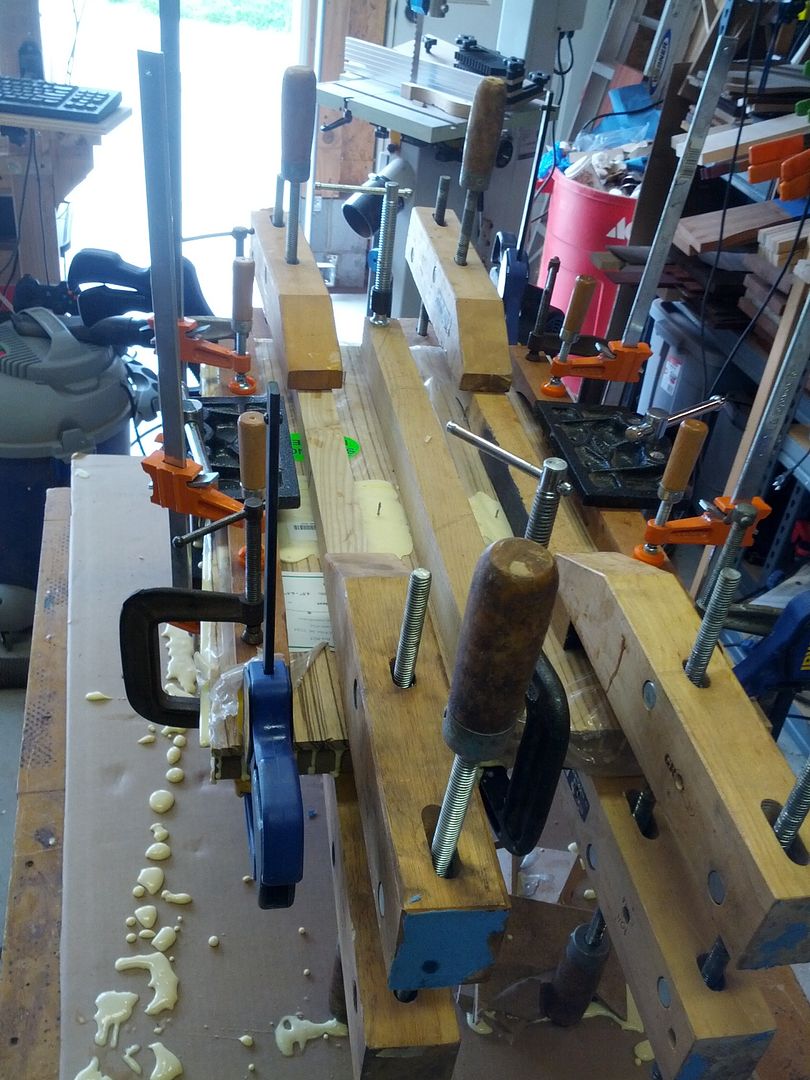
I used a one piece sapele core and glued a walnut veneer between it and a zebrawood top. I used a lot of Titebond... like it ran everywhere when I clamped it up. Well I went and checked it yesterday morning and it had a wonderful .5" curve to it. It friggin curled like a potato chip... man I was livid. Lost at least an hour wetting the whole blank and clamping it straight. Checked it this morning and I got the cup down to .125" which is still not acceptable for a customer guitar.
I cut a new top and sanded up a new one piece blank and will use epoxy to glue it up instead of Titebond.
I am pretty sure this was my fault. I had no support to stop the cup when I clamped it up. I used 3 runners that ran the length of the body but neglected to use my short runners that go side to side. I used too much glue. The whole thing was soaked and I think the extra water contributed to the cup.
Anyway just remember when you use Titebond for gluing a top to a blank make sure you use the proper support to keep your blank straight.
Here is where it started.
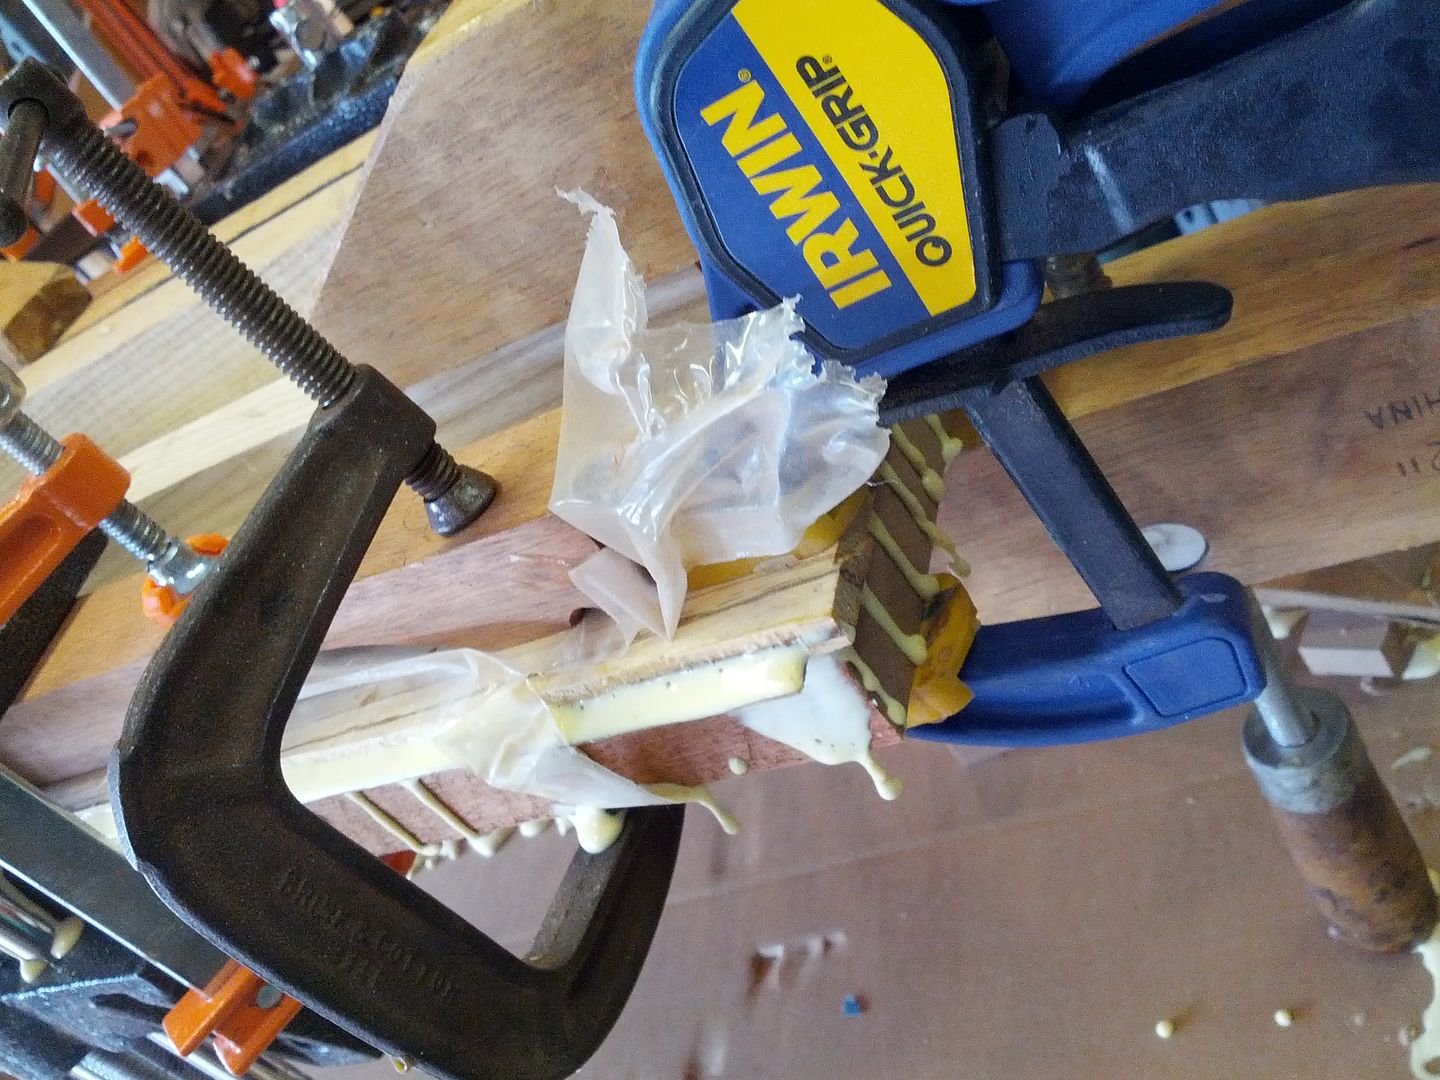
Clamped straight after wetting the back
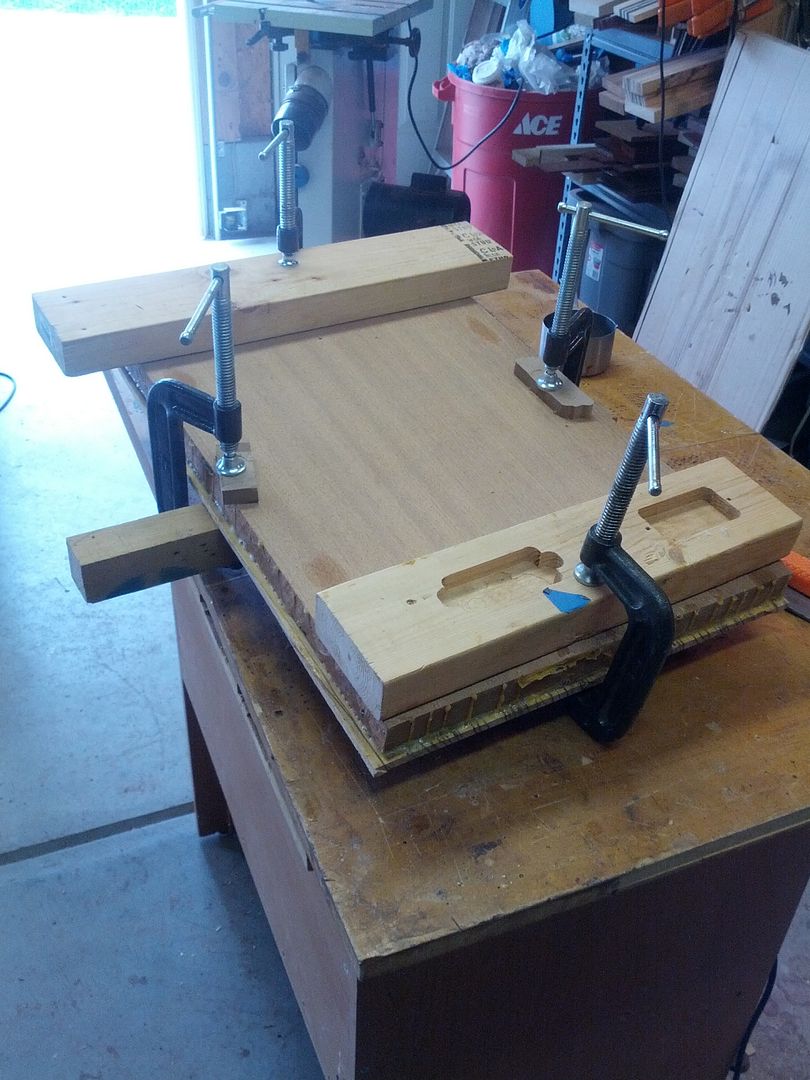
Here is how it was after clamping it straight.
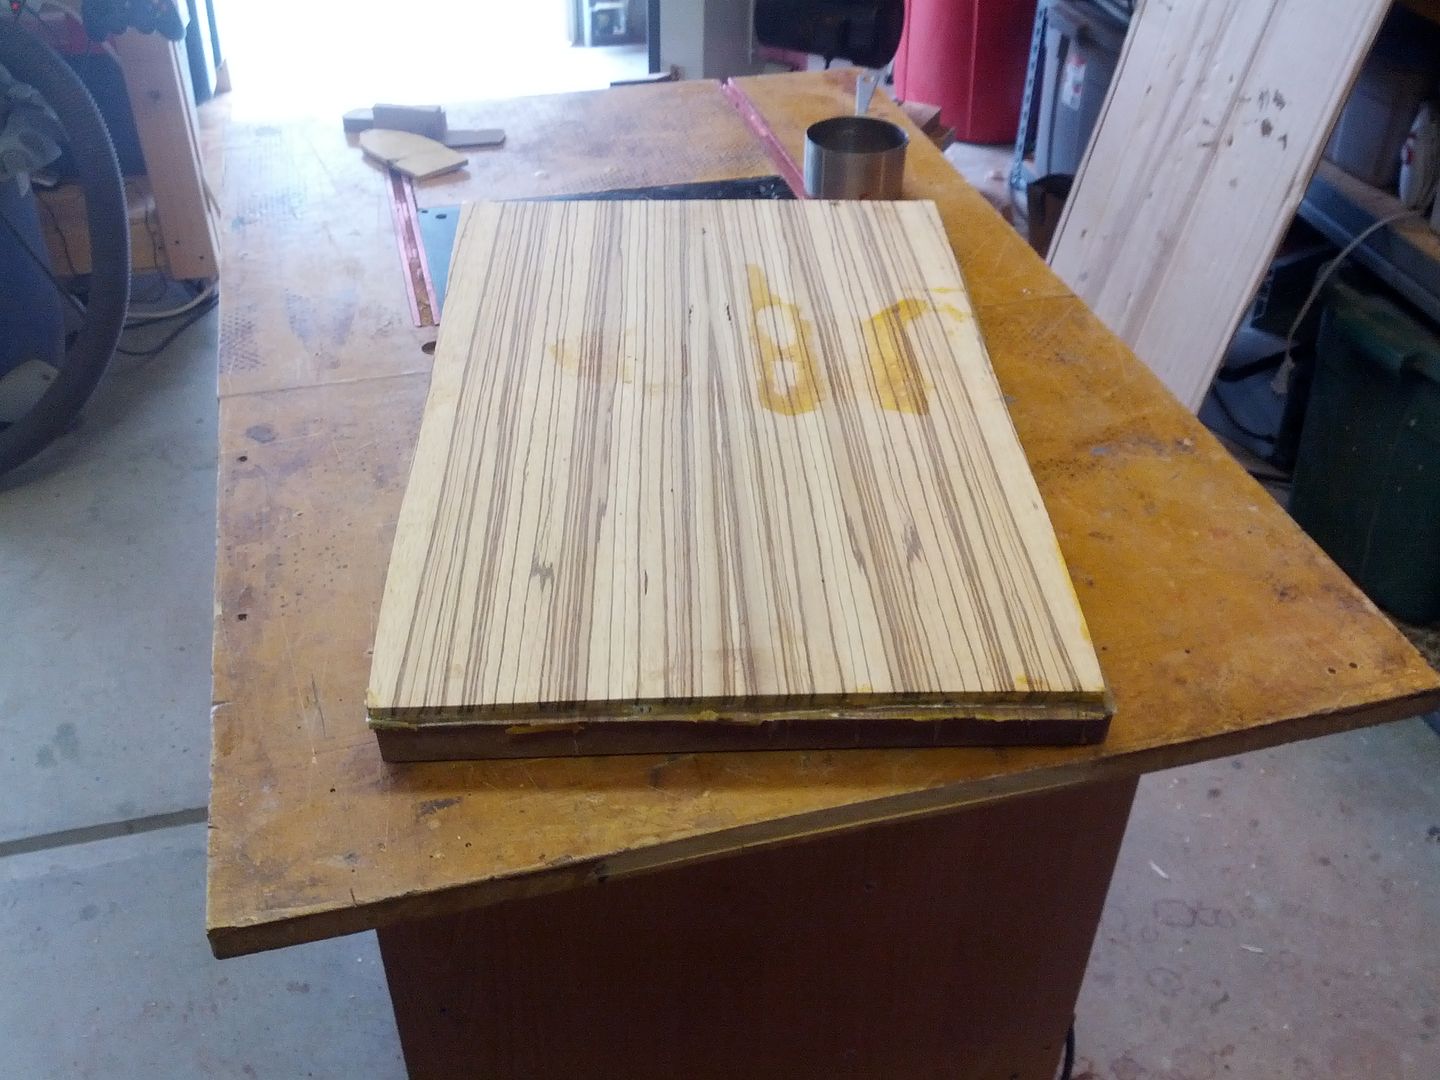
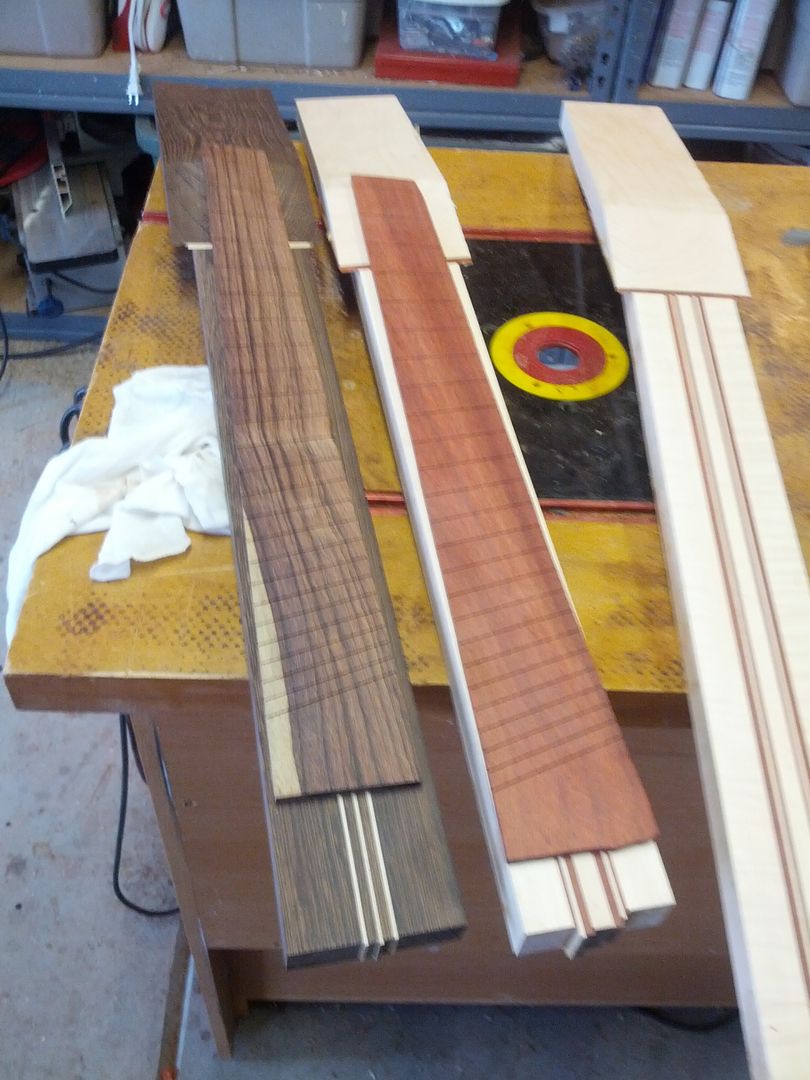
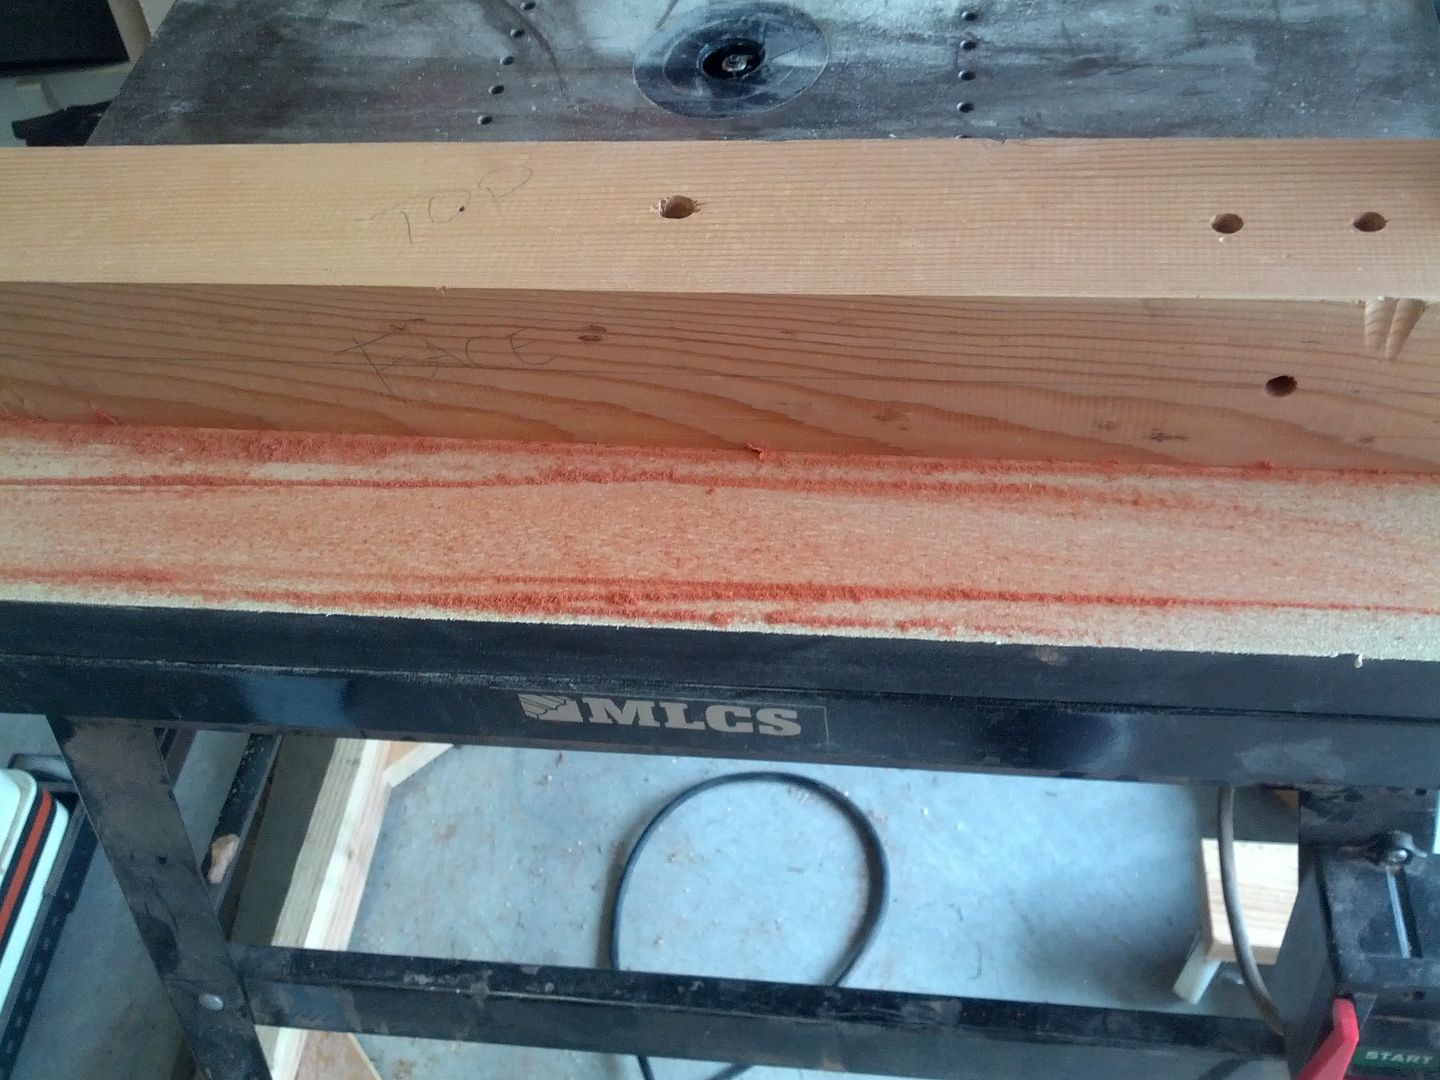
New blank for the bass.

New top for the bass

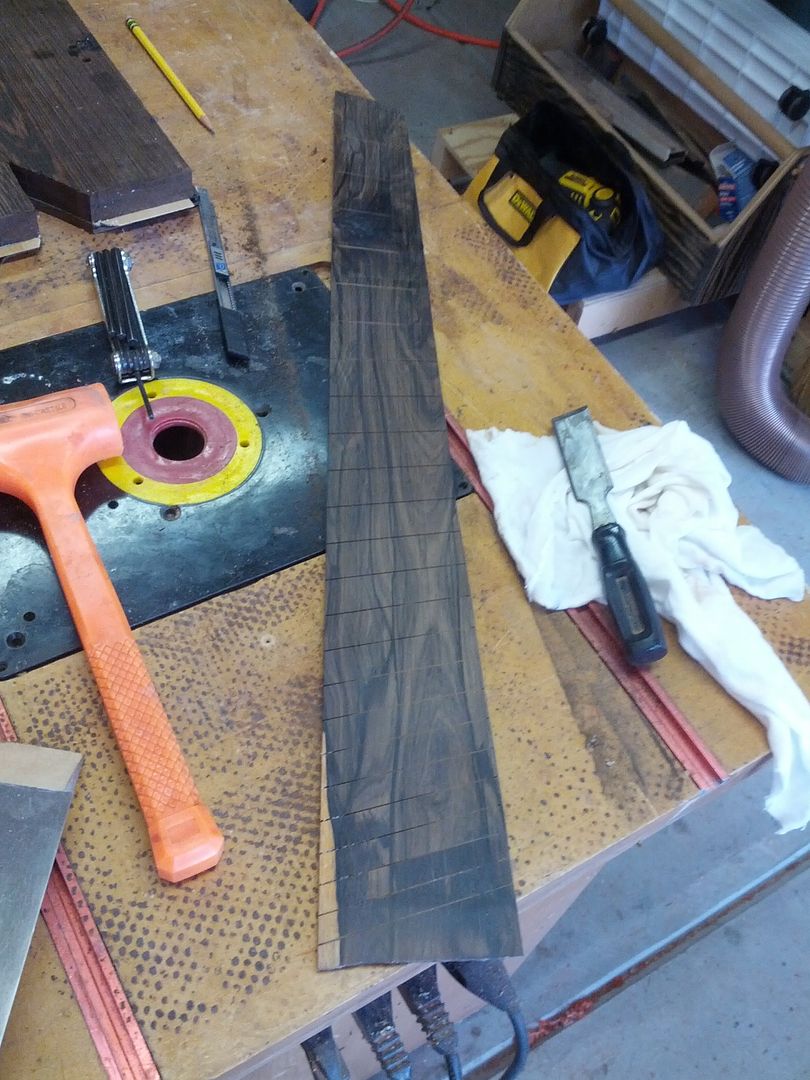
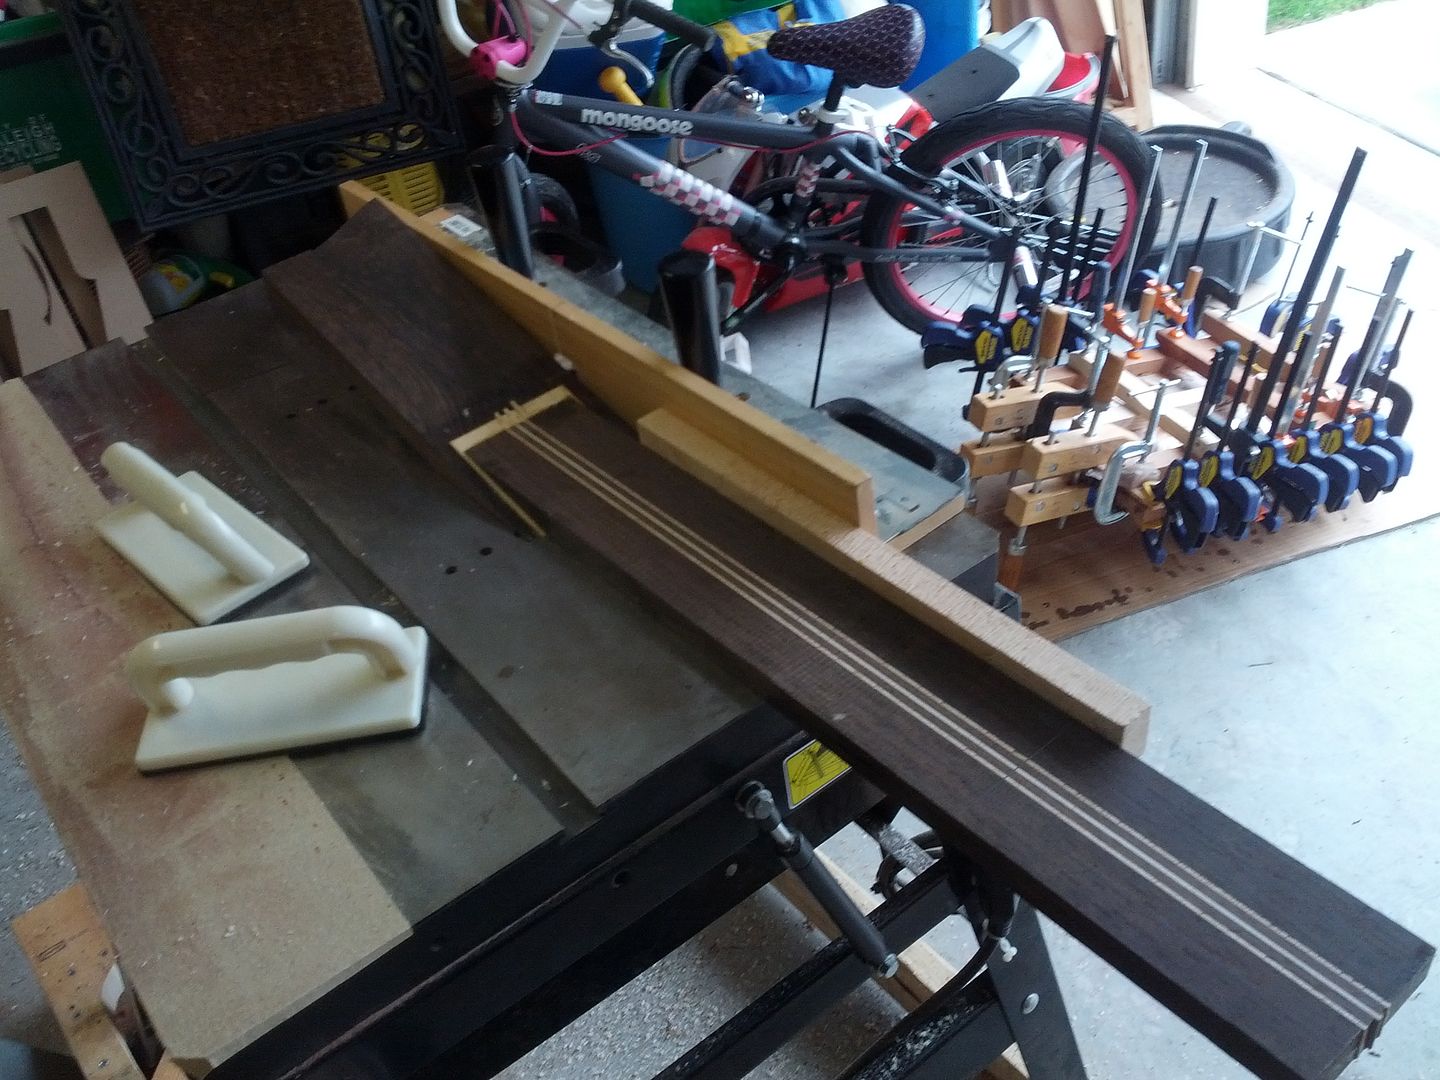
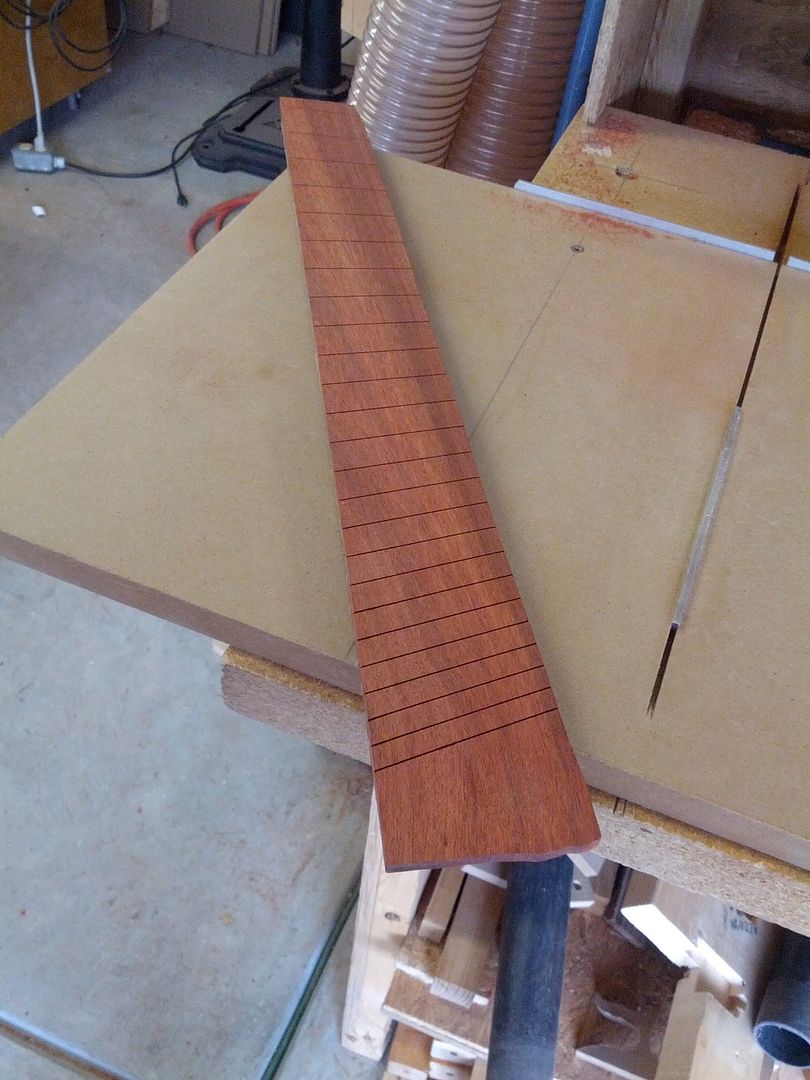
34-36" scale fretboard for the bass. It still has a lot of superglue on it were I sealed some hairline fractures. Ziricote is notorious for this type of behavior so I always try to find the invisible cracks by wicking super thin CA on the ends of the board. The hairline cracks will pull the CA into them. This particular board only had a few at the end that is going to get cut off.
Trussrod set.
I am waiting on parts from Hipshot now.
On to the S9 builds.
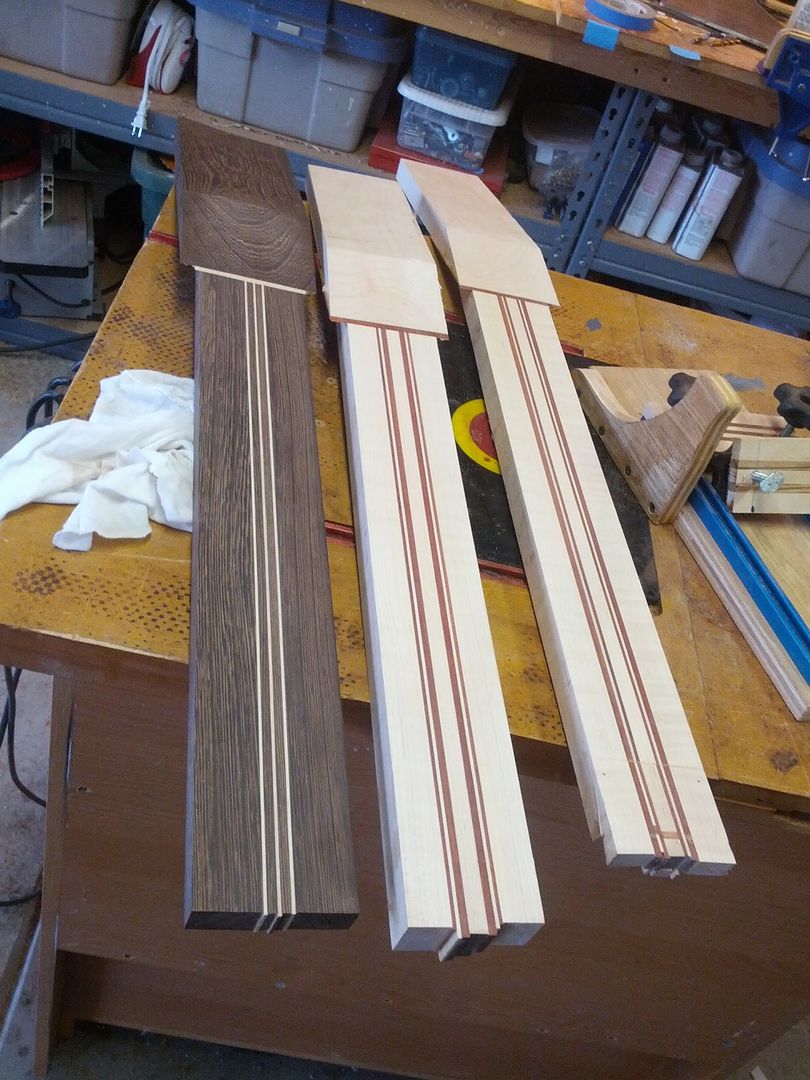
Neck blank waiting to be cleaned up.

I use a jig to clean up the left over scarf material.
The sled keeps the neck square while I use the router to plain off the excess.

You have to be careful with the sled as it is easy to tilt the neck into the bit. Luckily this one is outside the neck.
Done.
Chambering to reduce weight.


Top lined up
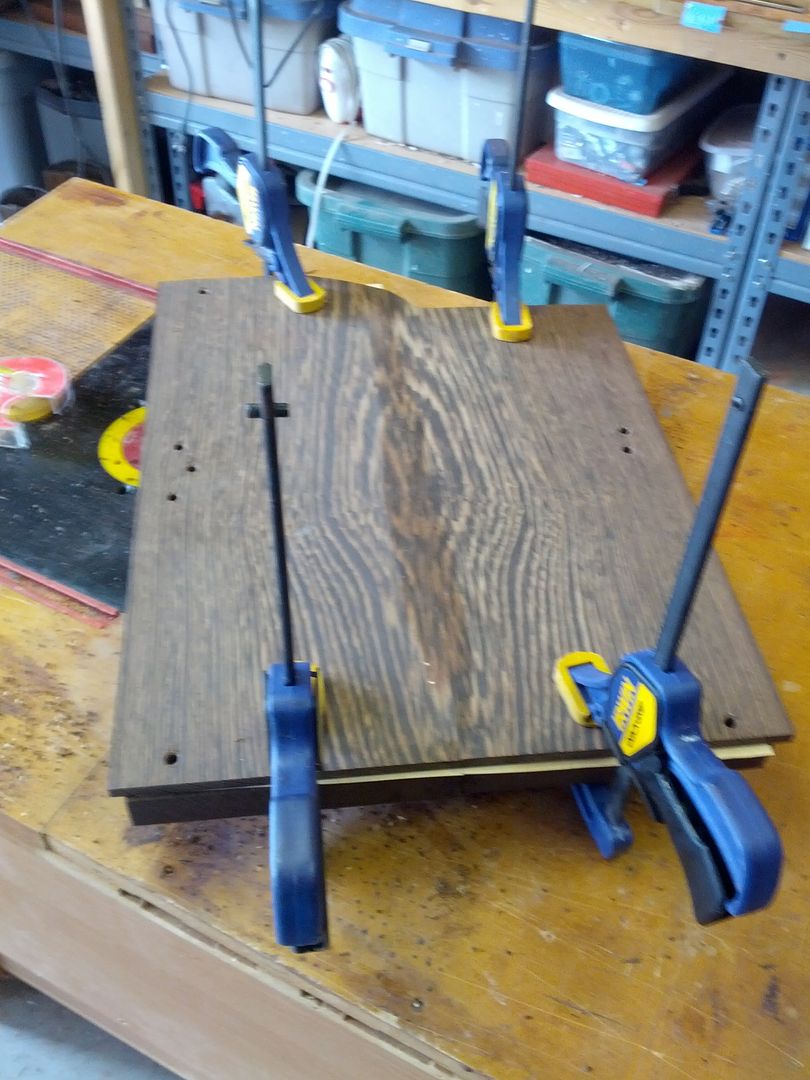
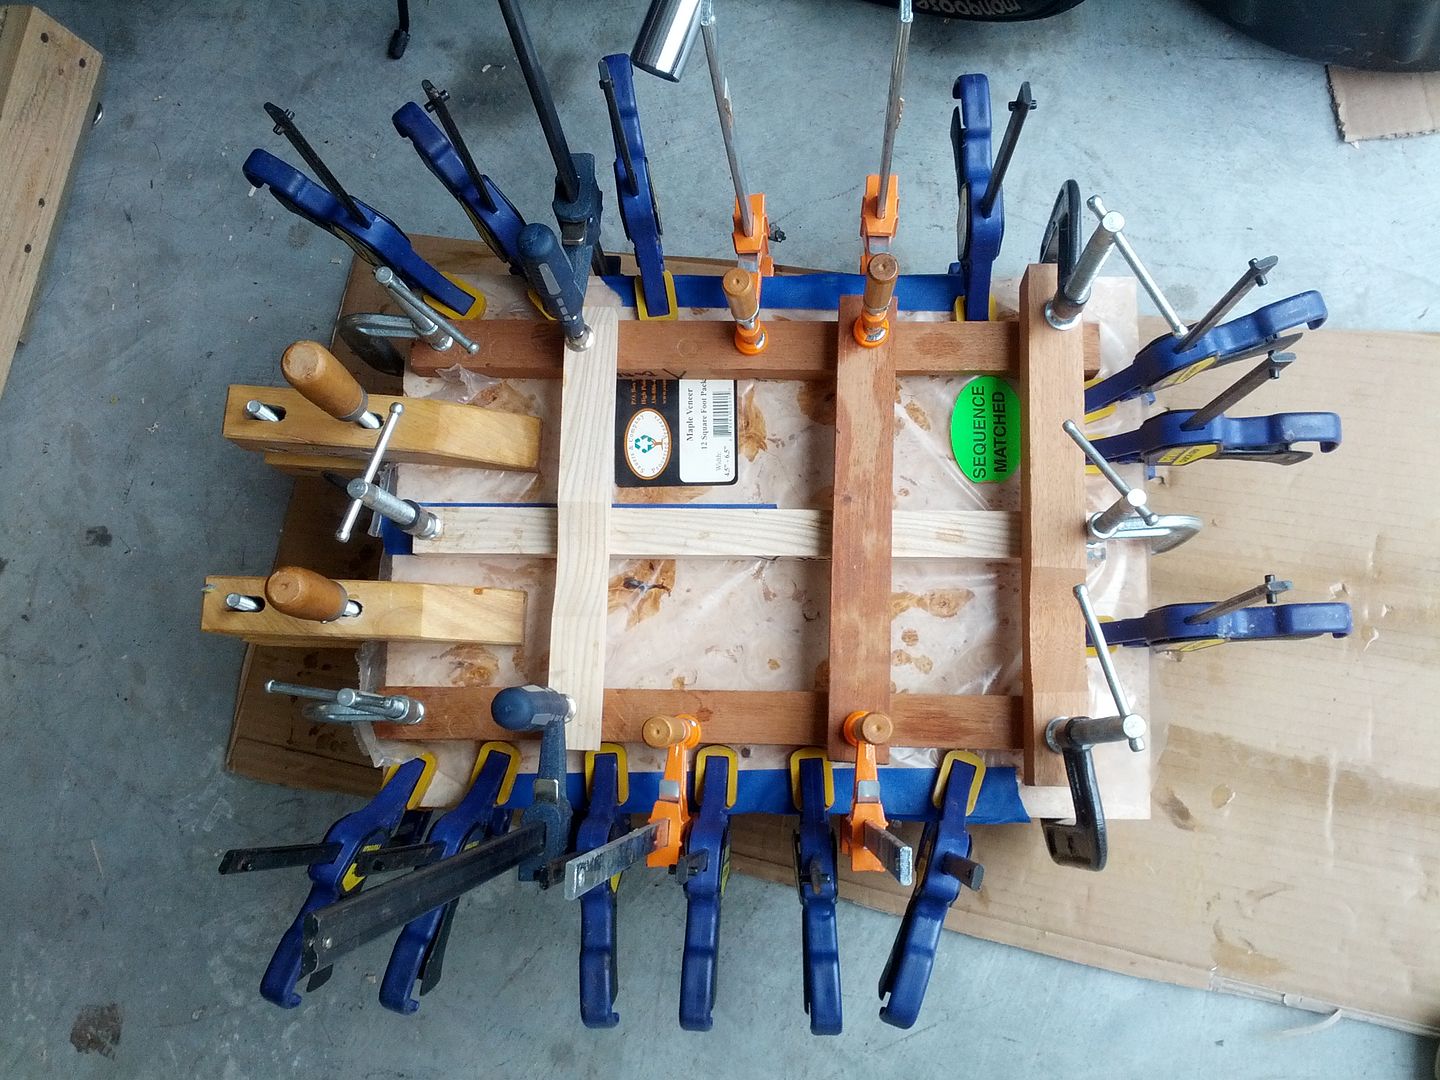
Clamp city
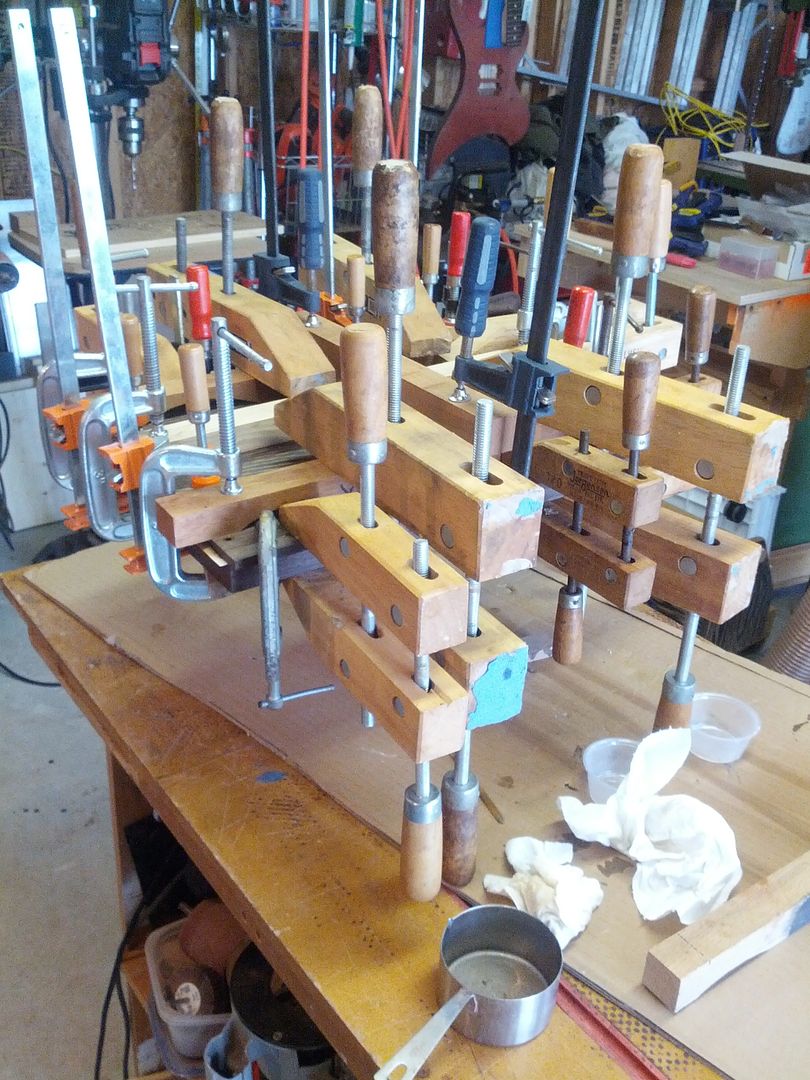
Checking the joint to make sure we got a good line.

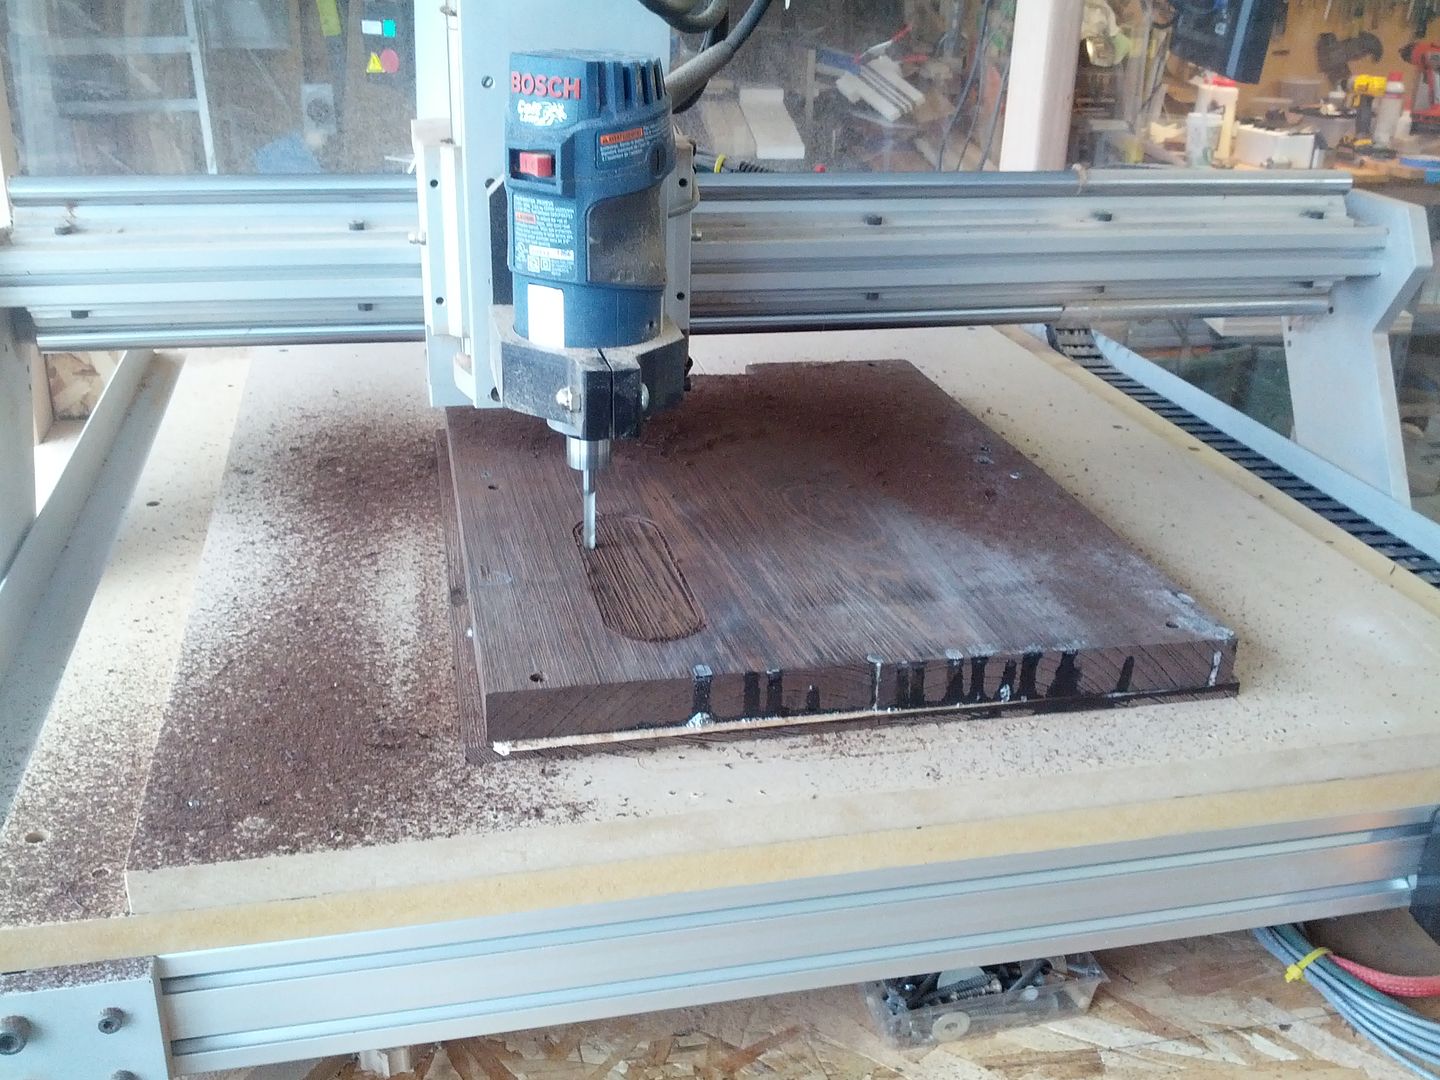
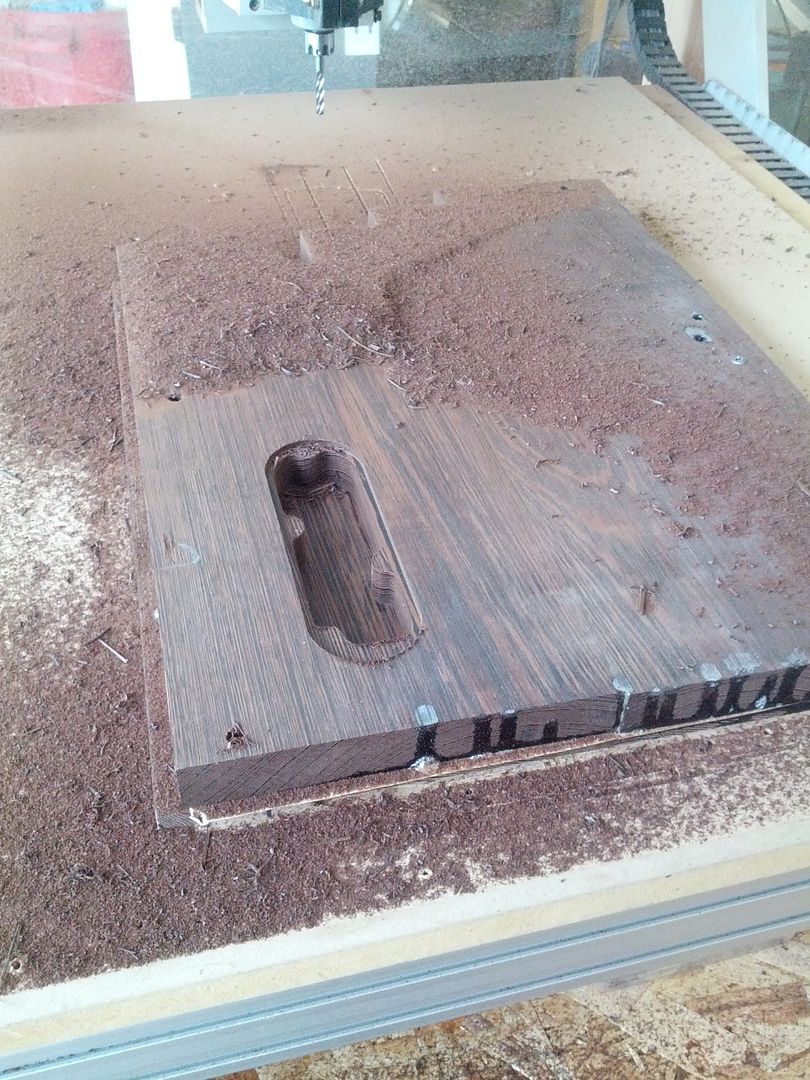
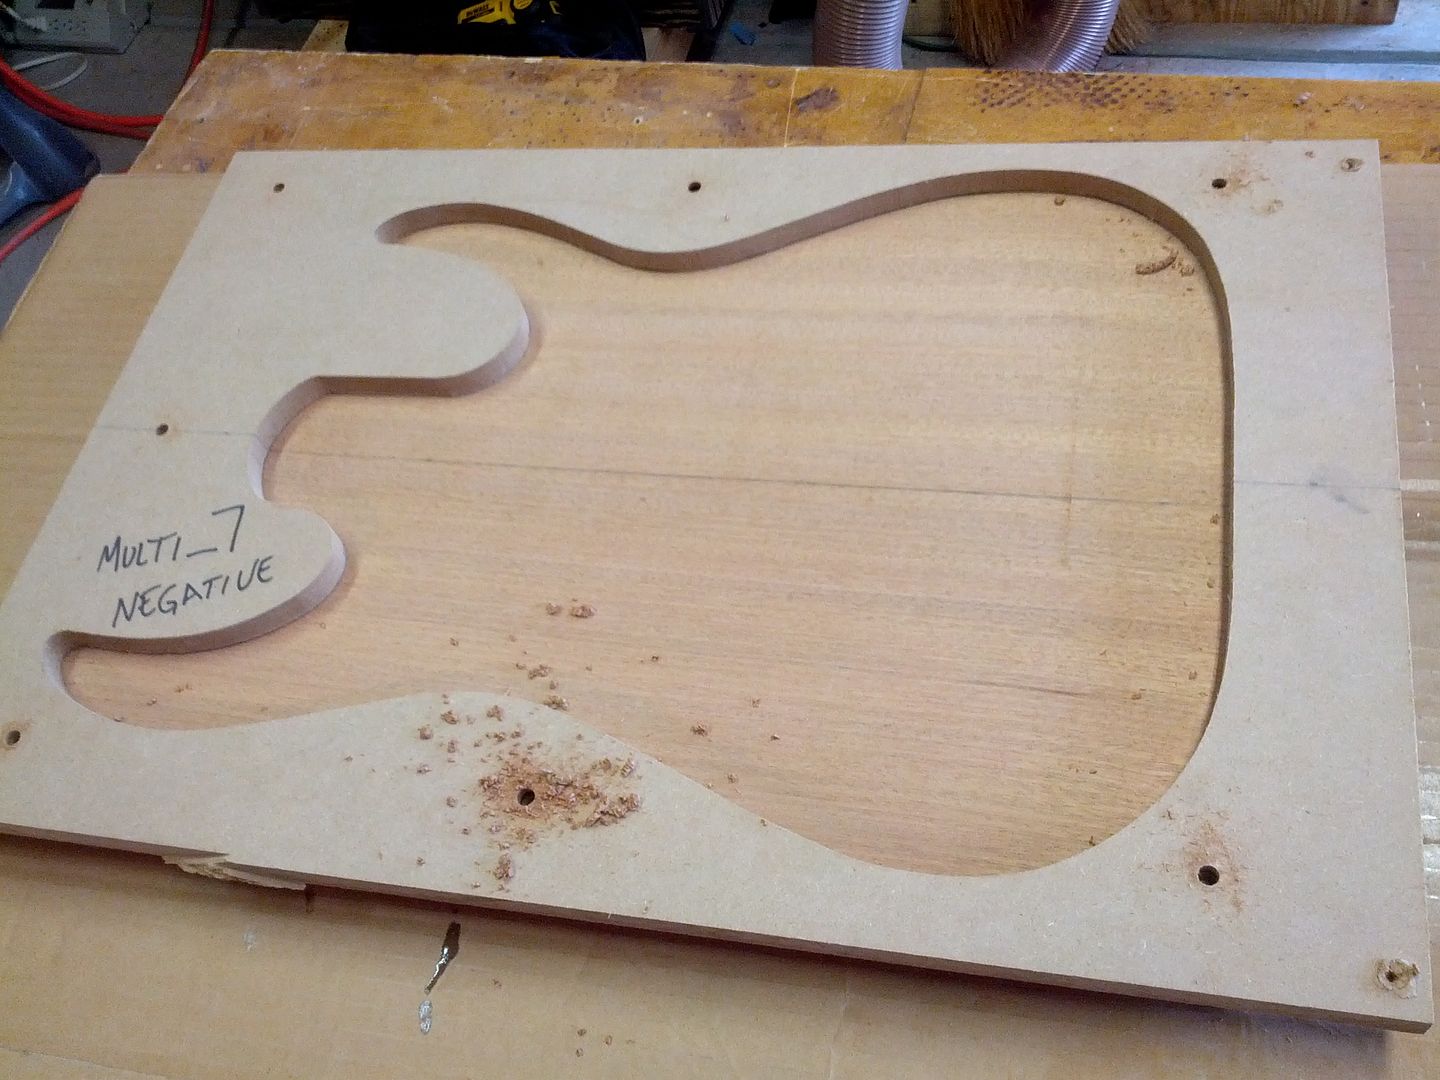
Ready for the CNC

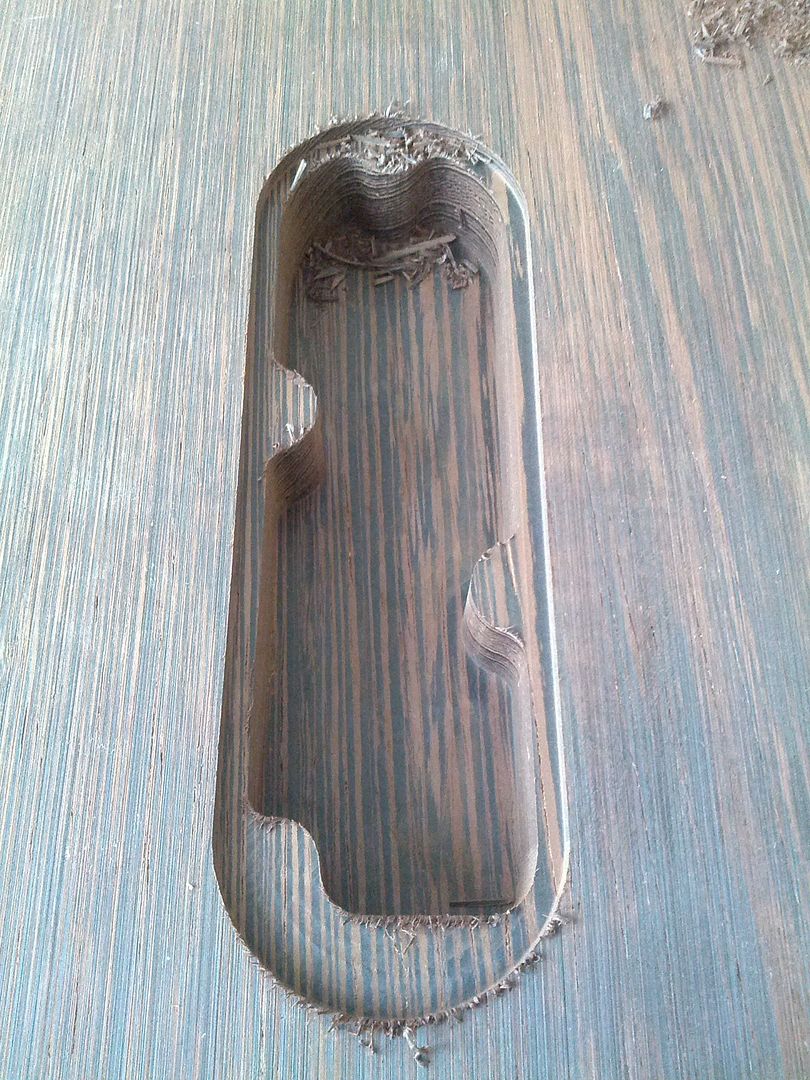
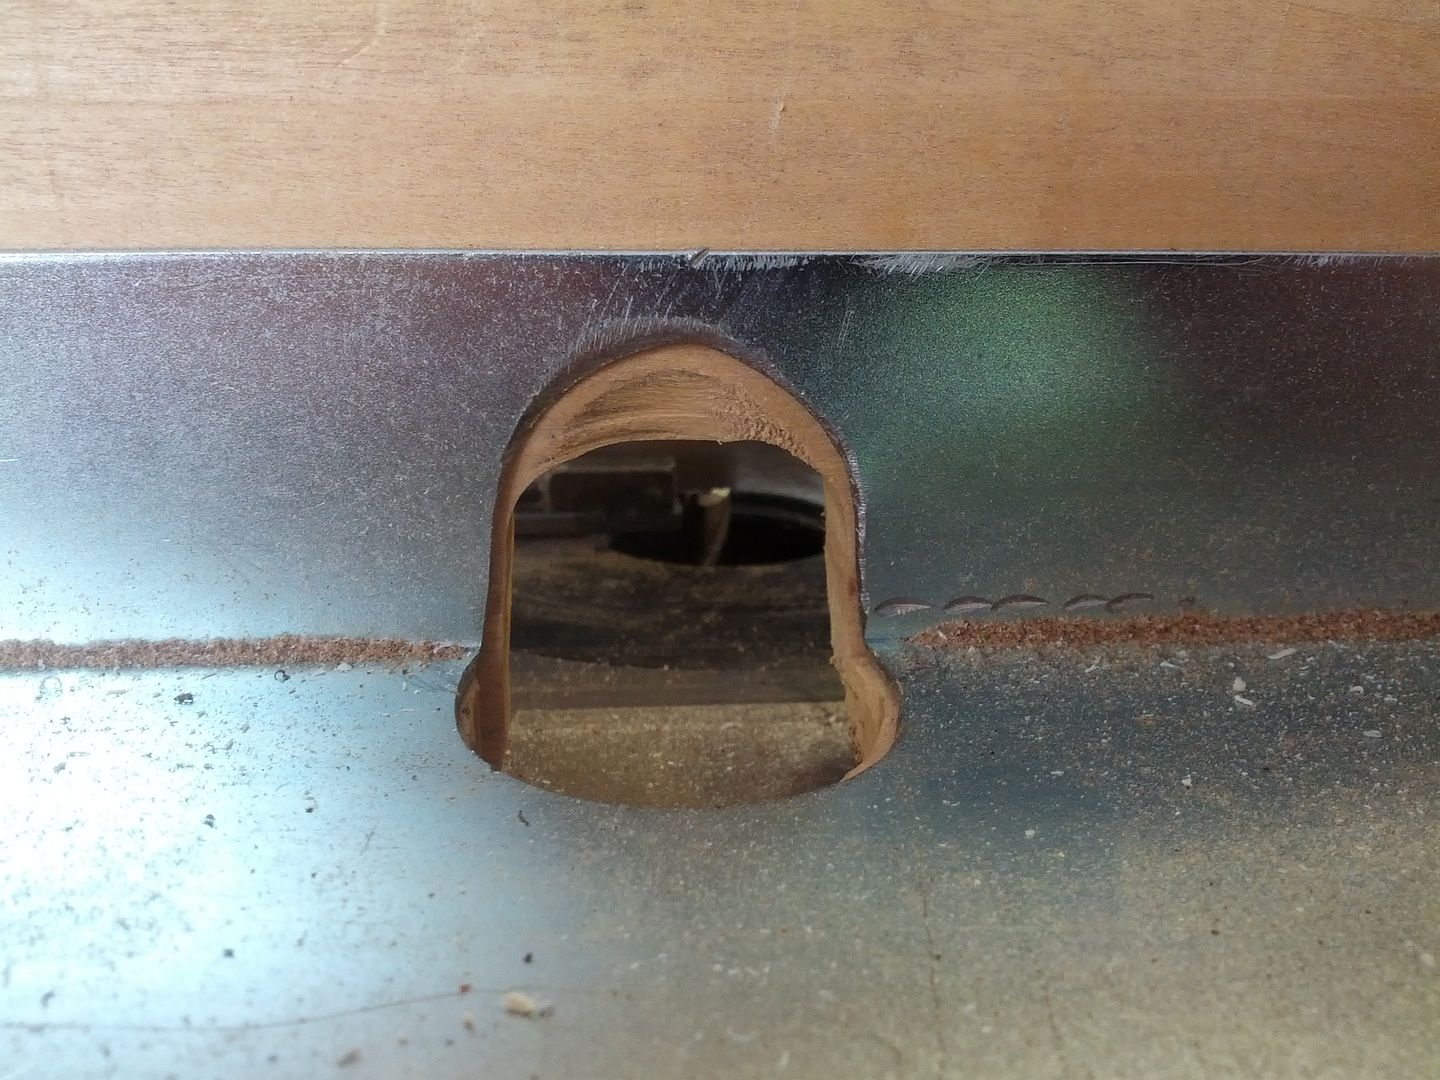
Control cavity cut. Wenge is hard to machine. I had to slow the CNC down quite a bit to cut this.
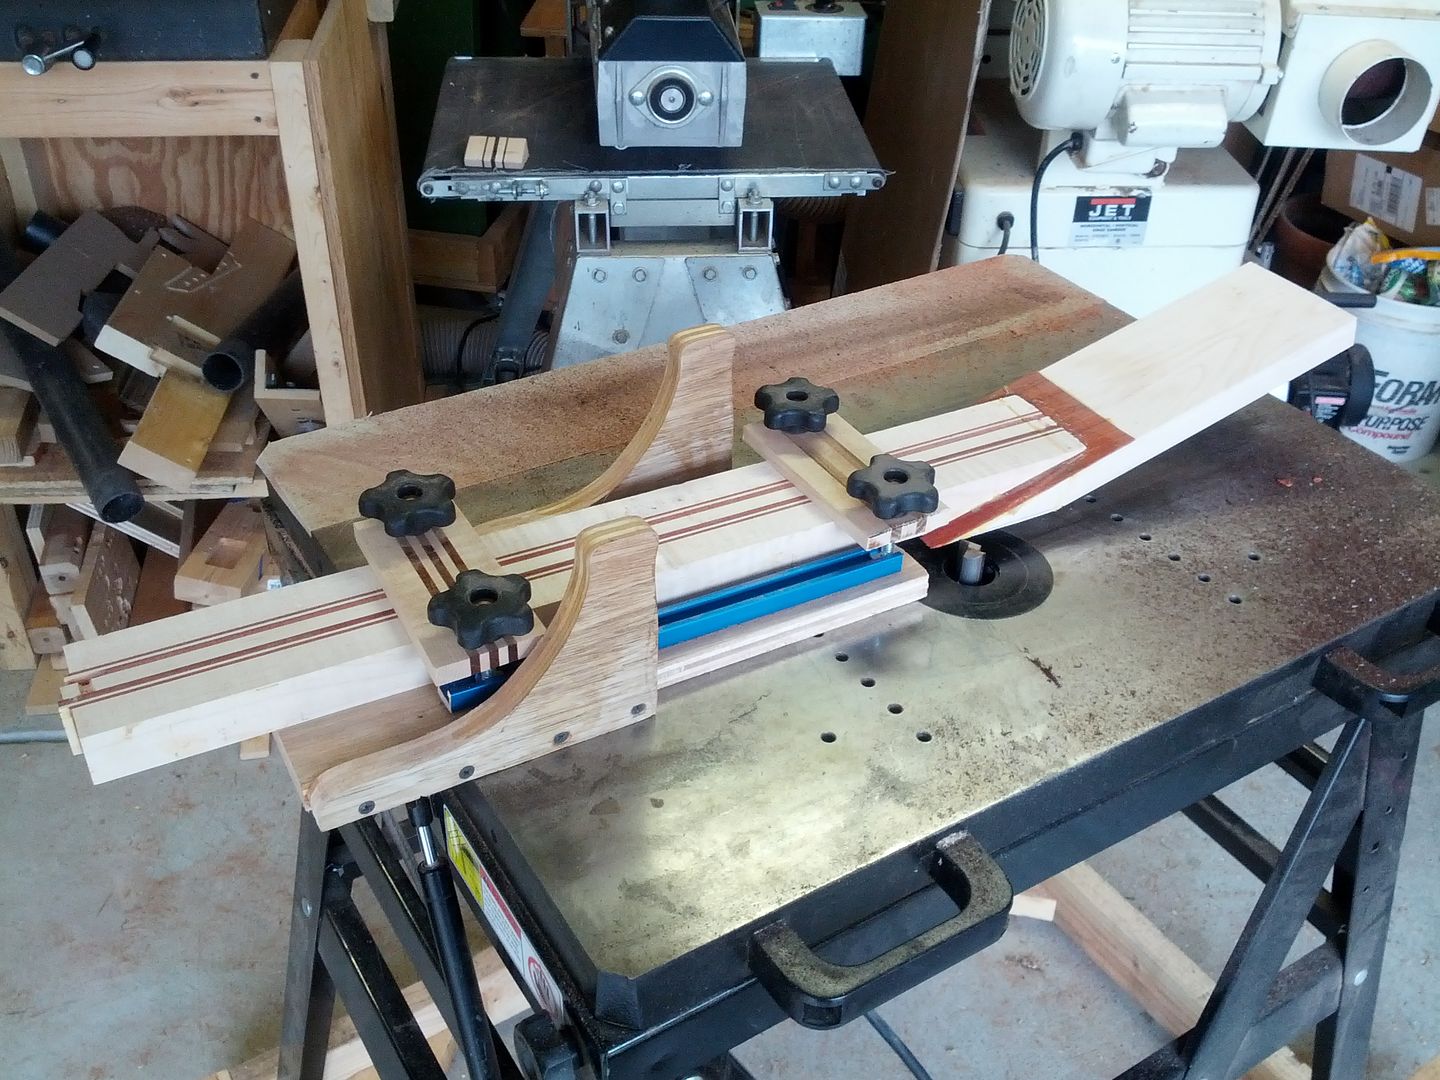
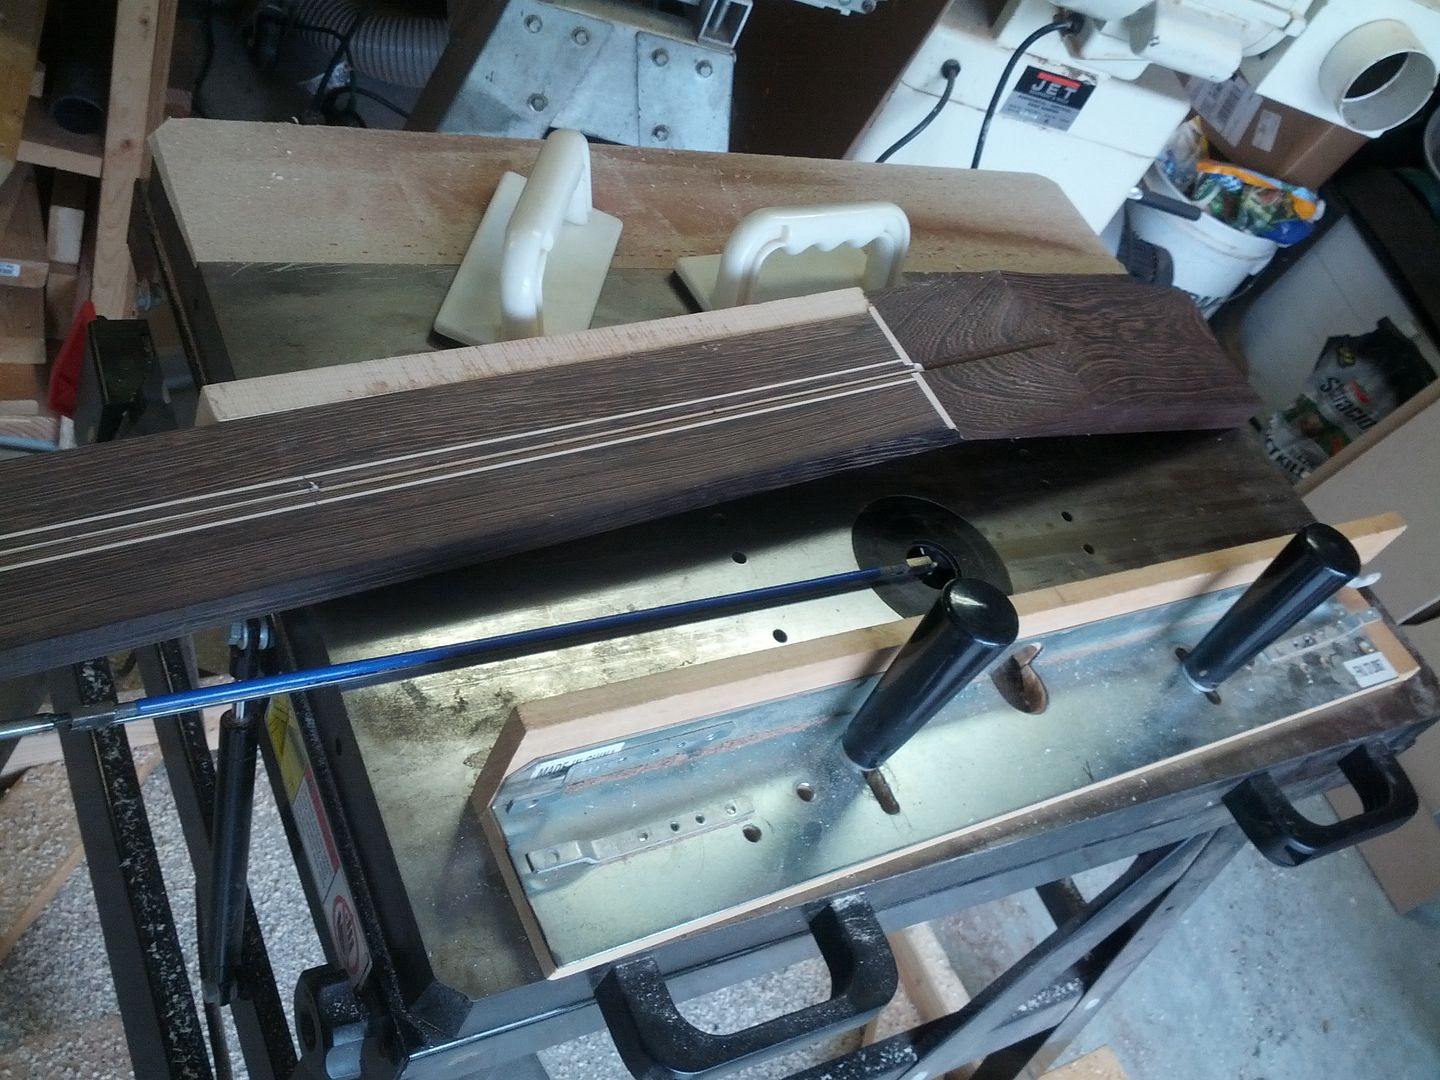
Using the fence on my router table to do the trussrod slots. I attach a scrap to the side of the neck to clear the headstock.
It takes multiple passes to get a clean slot. I set the height of the bit using a trussrod as a guide.
Trussrod slots ready.

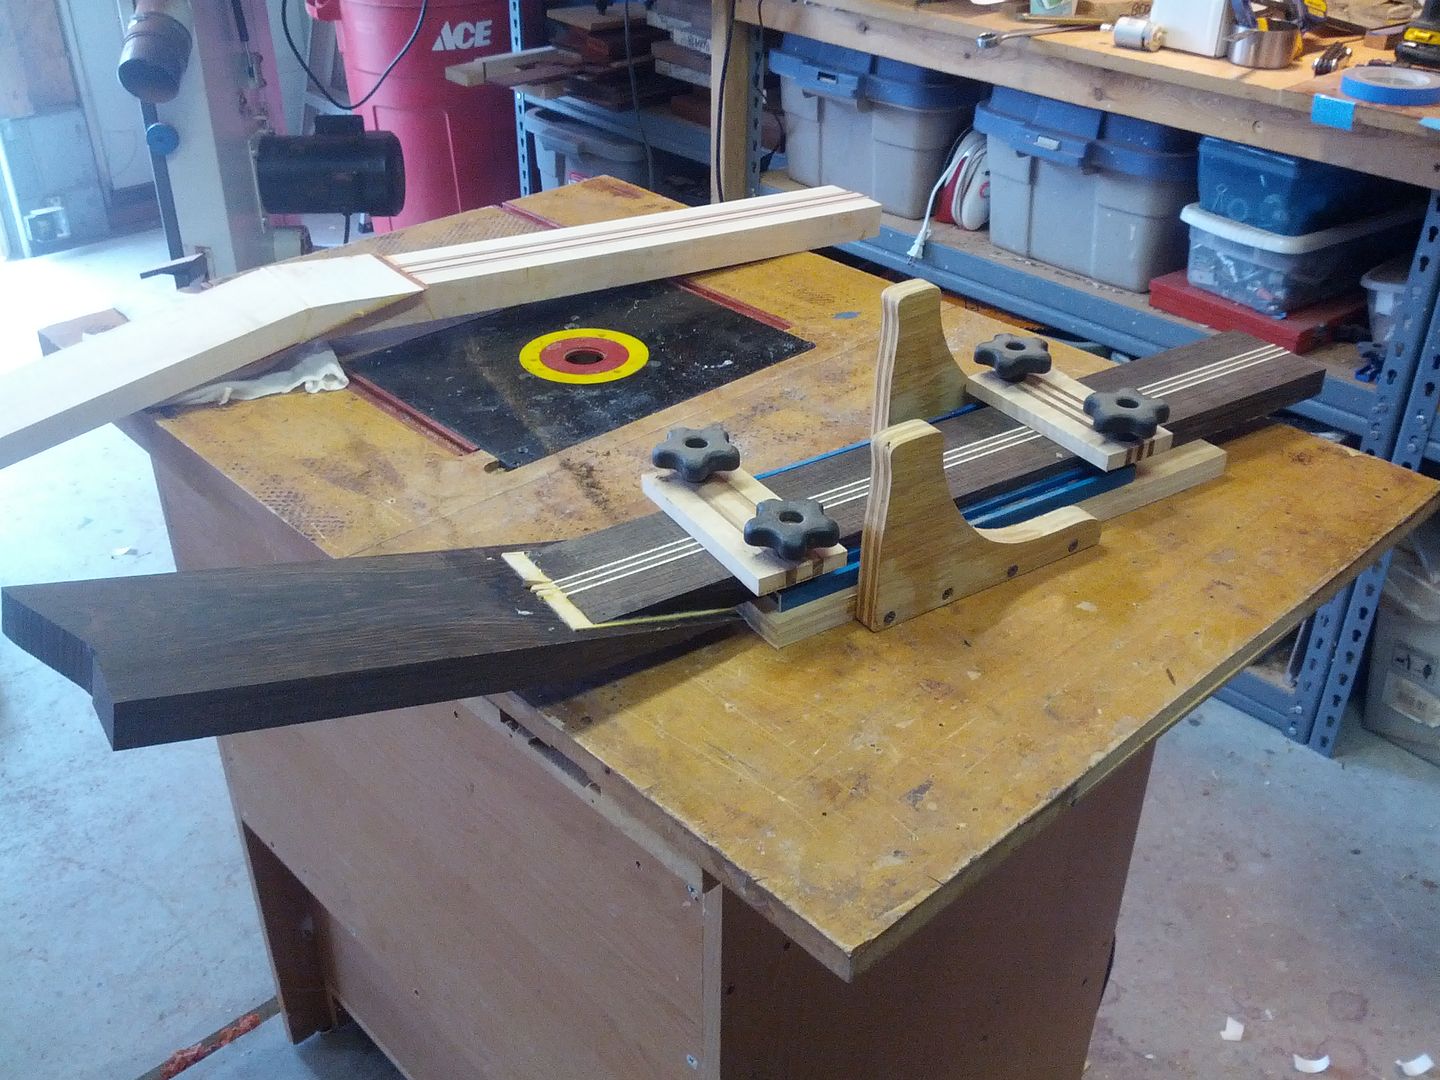
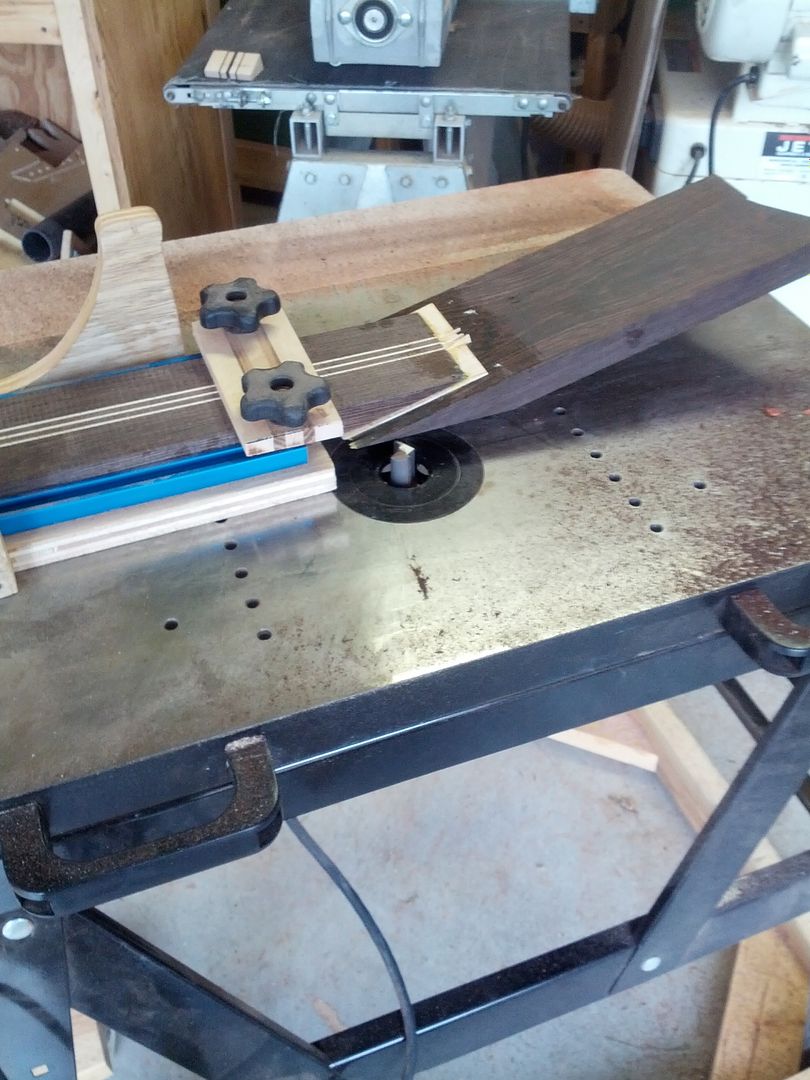
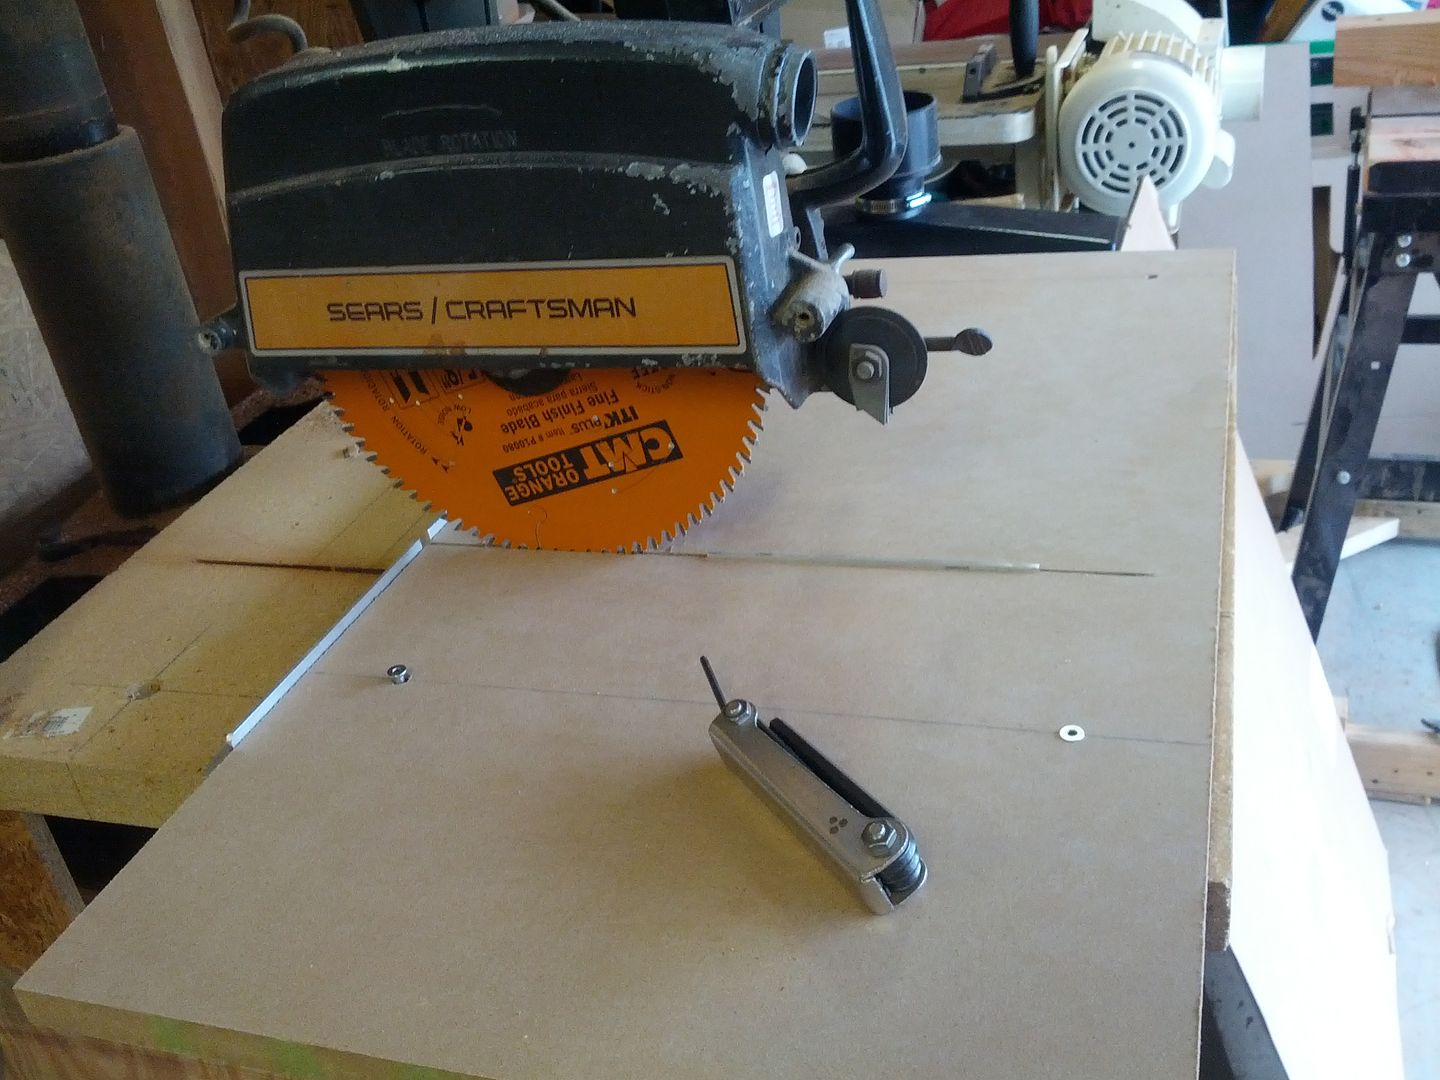
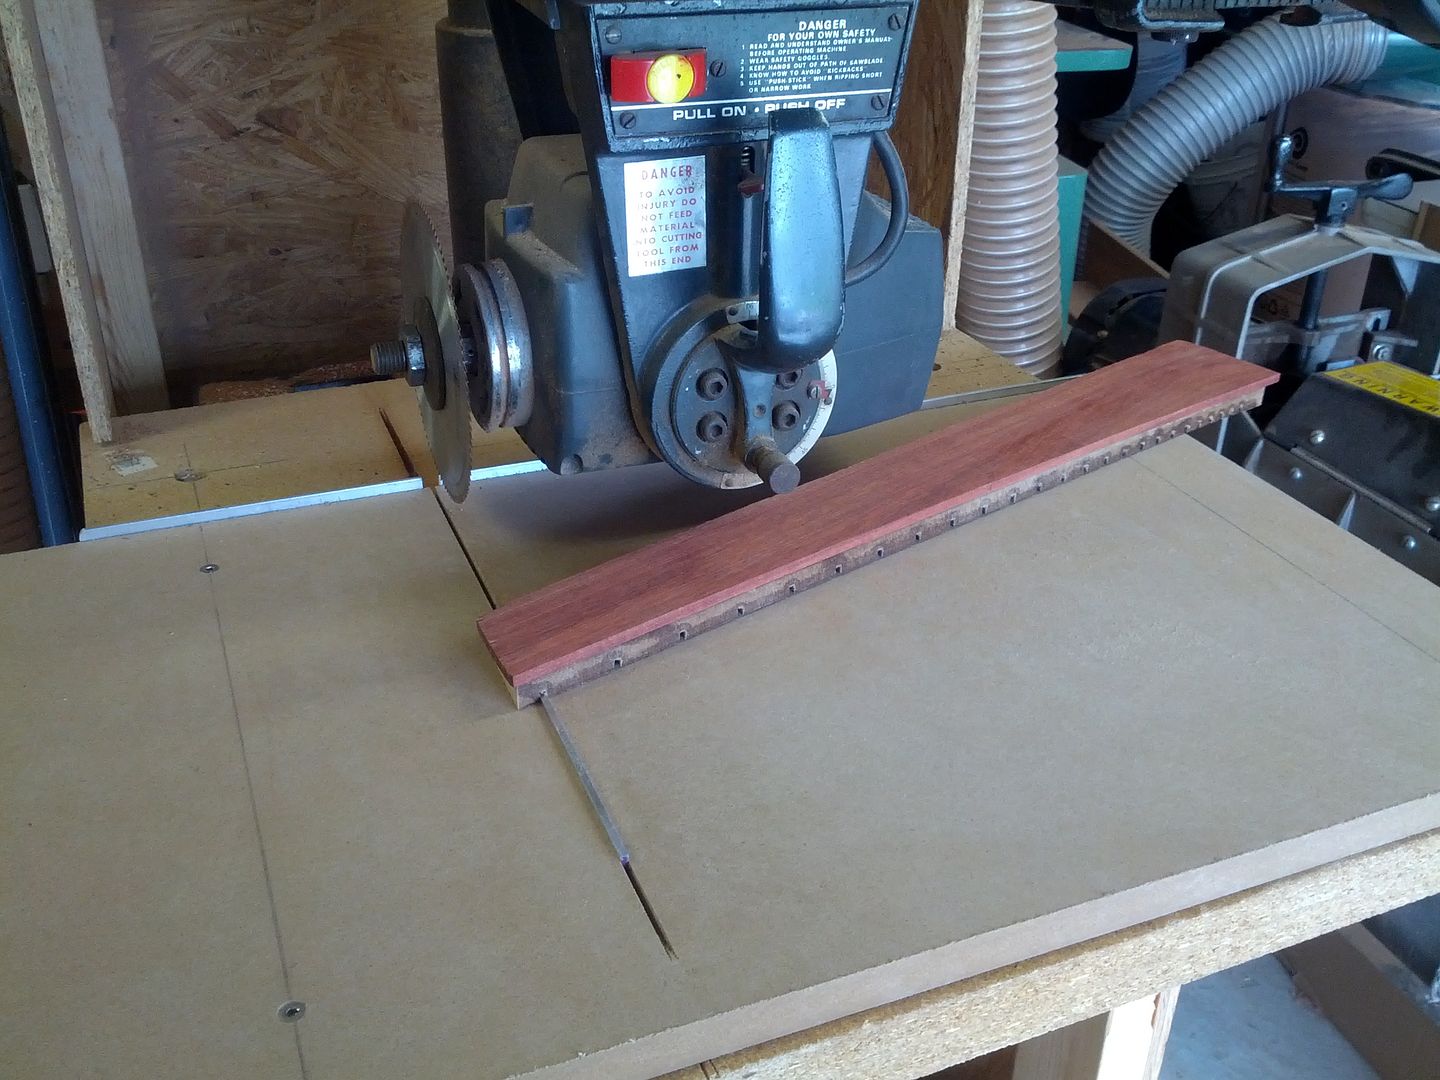
Using the new multiscale fretslotting jig I built.
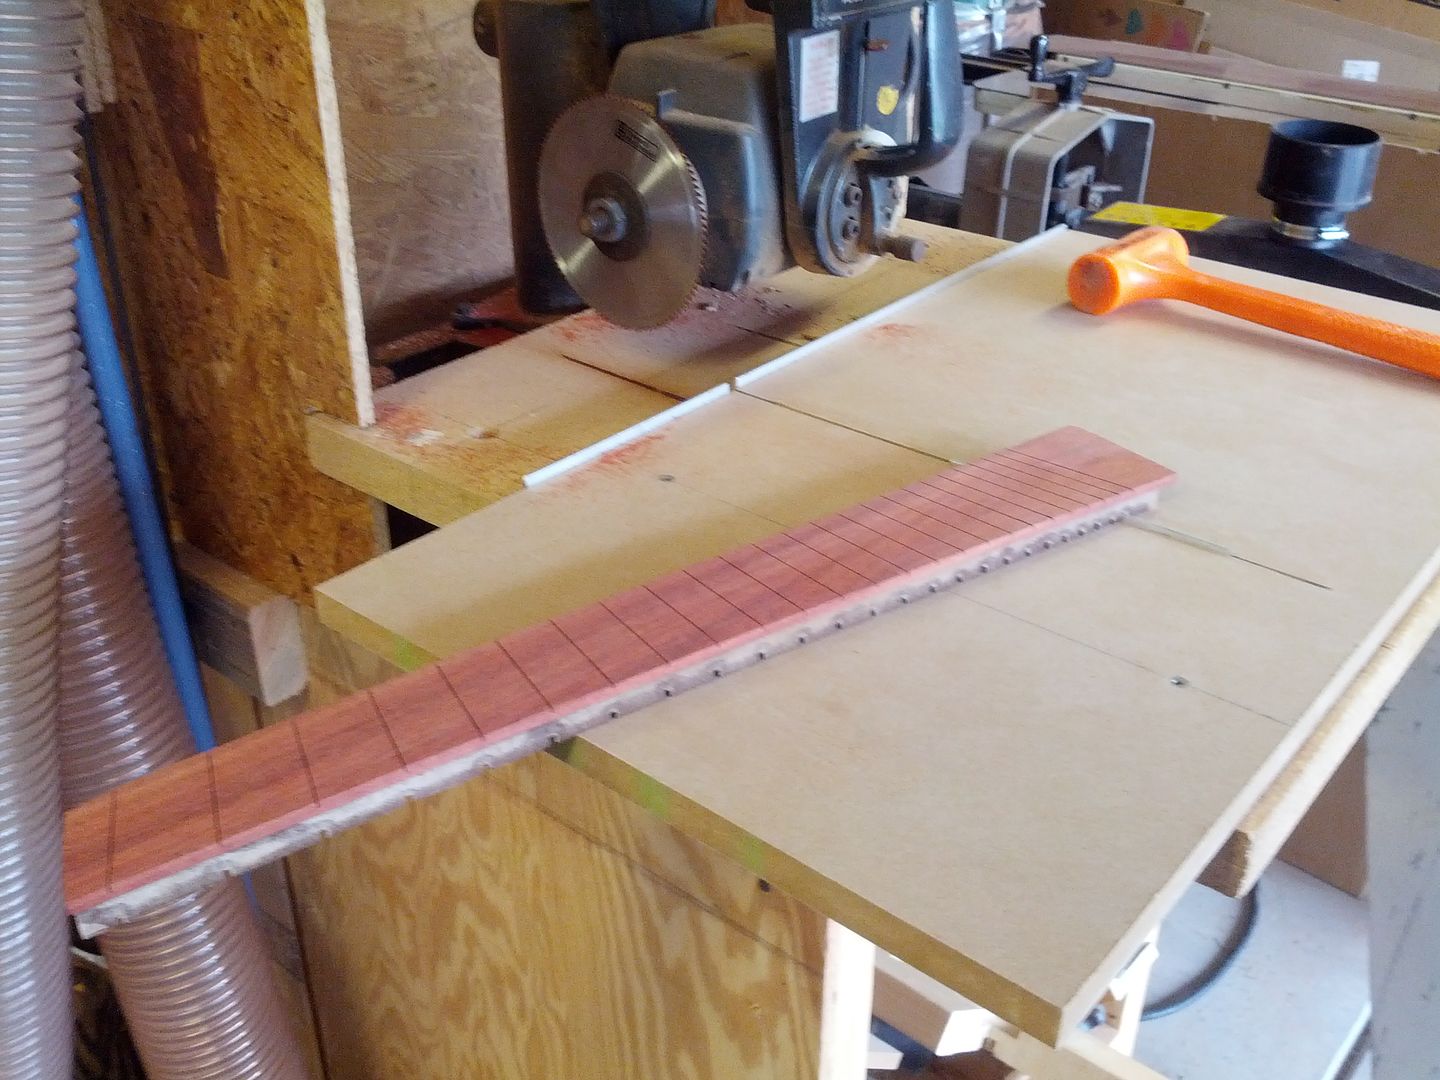
2 fretboards down 1 to go

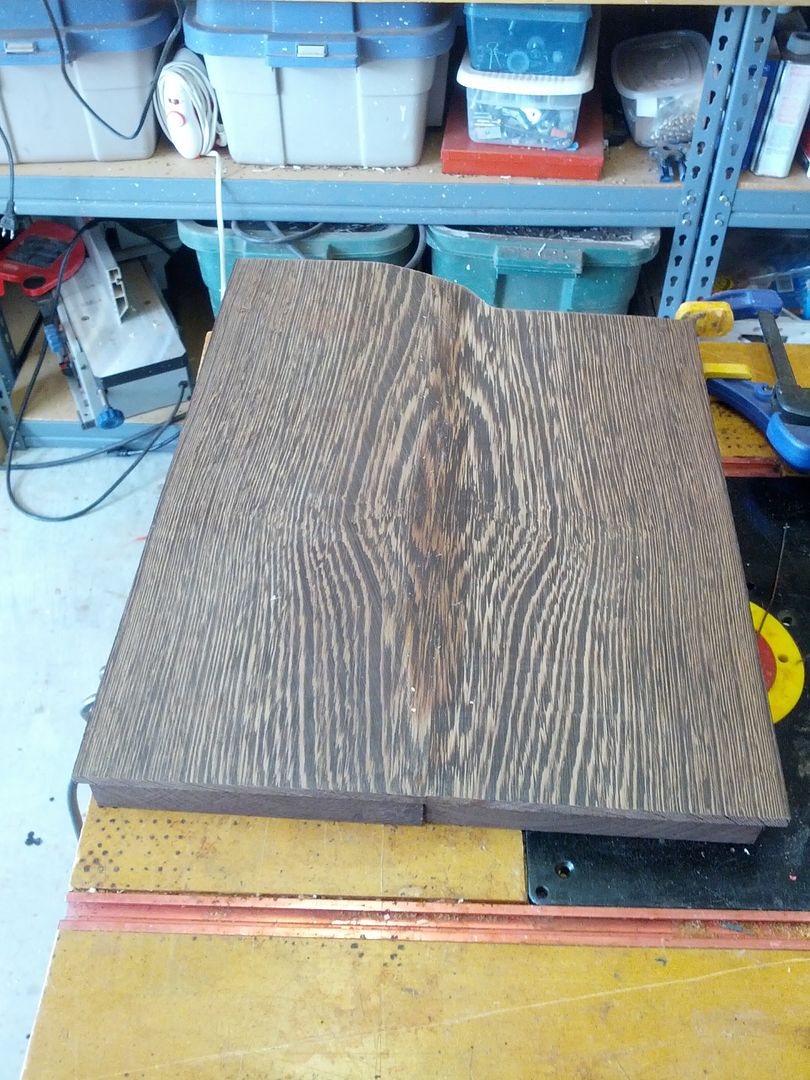
Top came in for a new build I am starting in June.
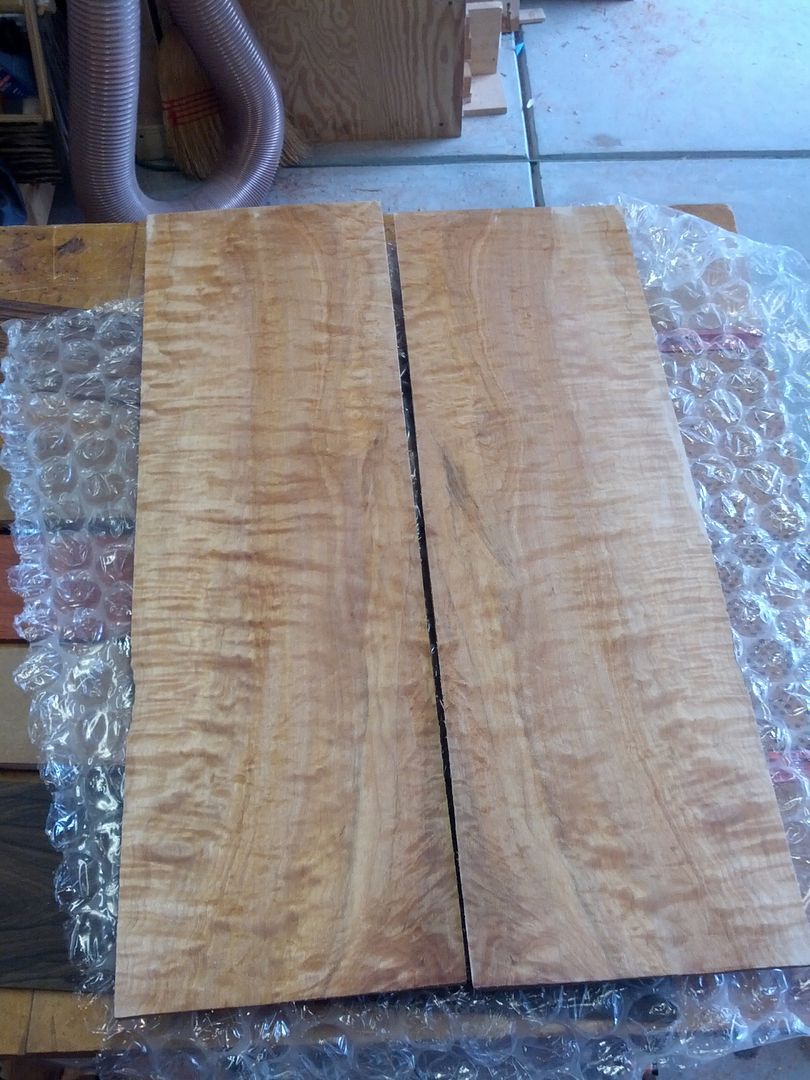
Prepping the blank. I am using epoxy on this one to help fill the voids in the burl and to avoid excess water in the blank.
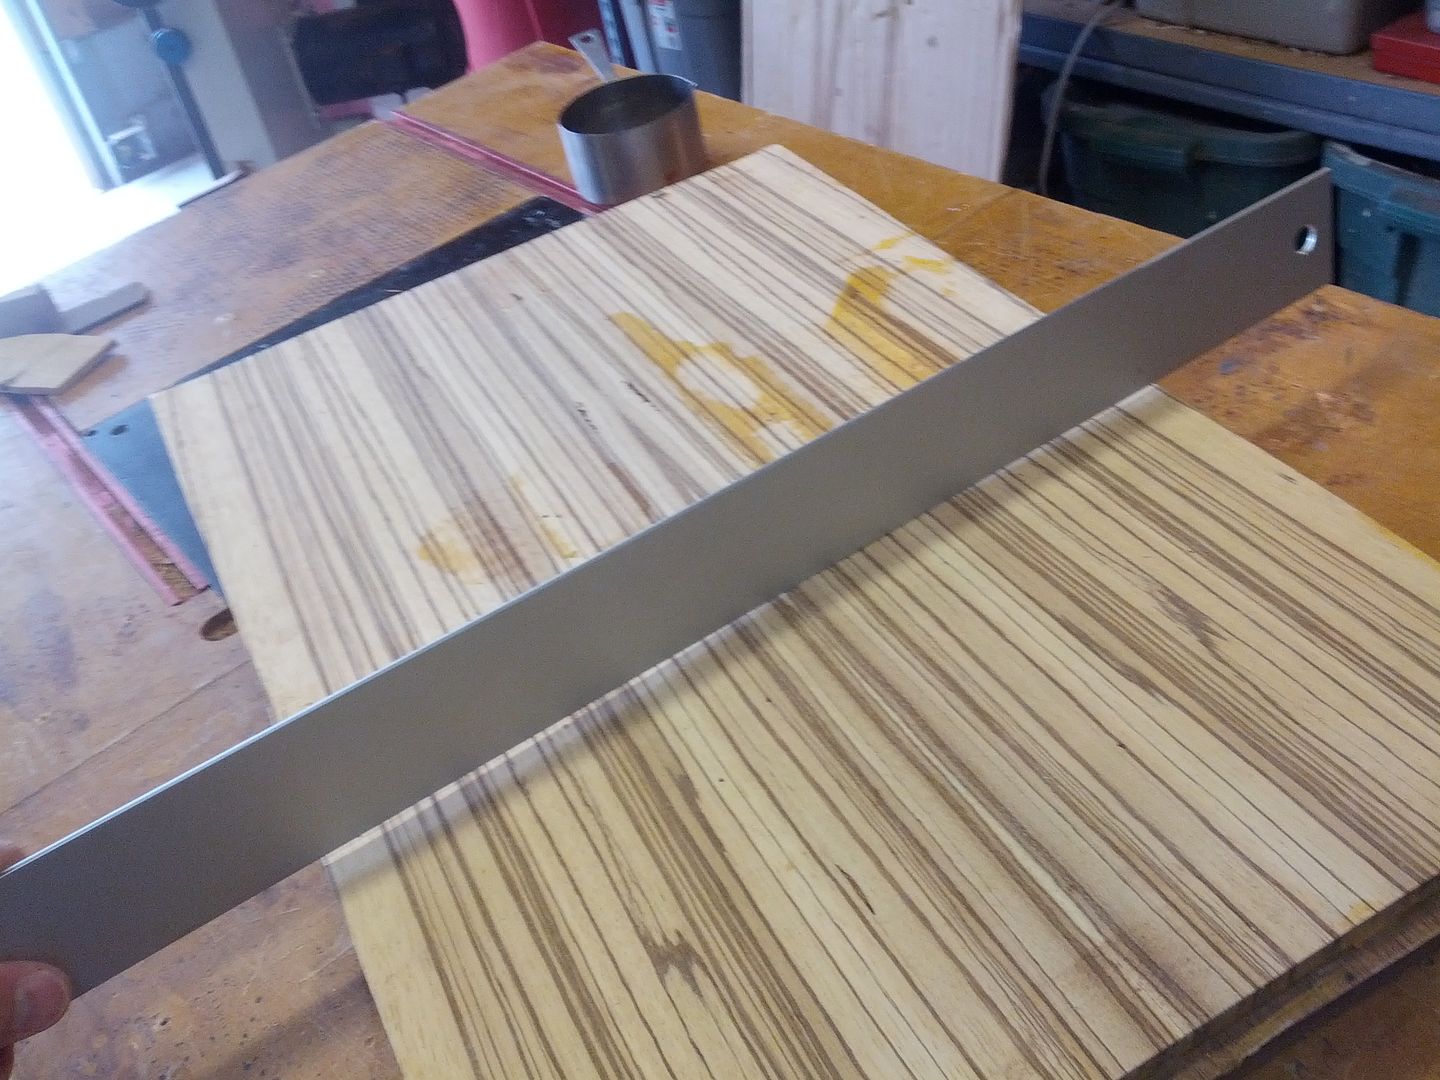
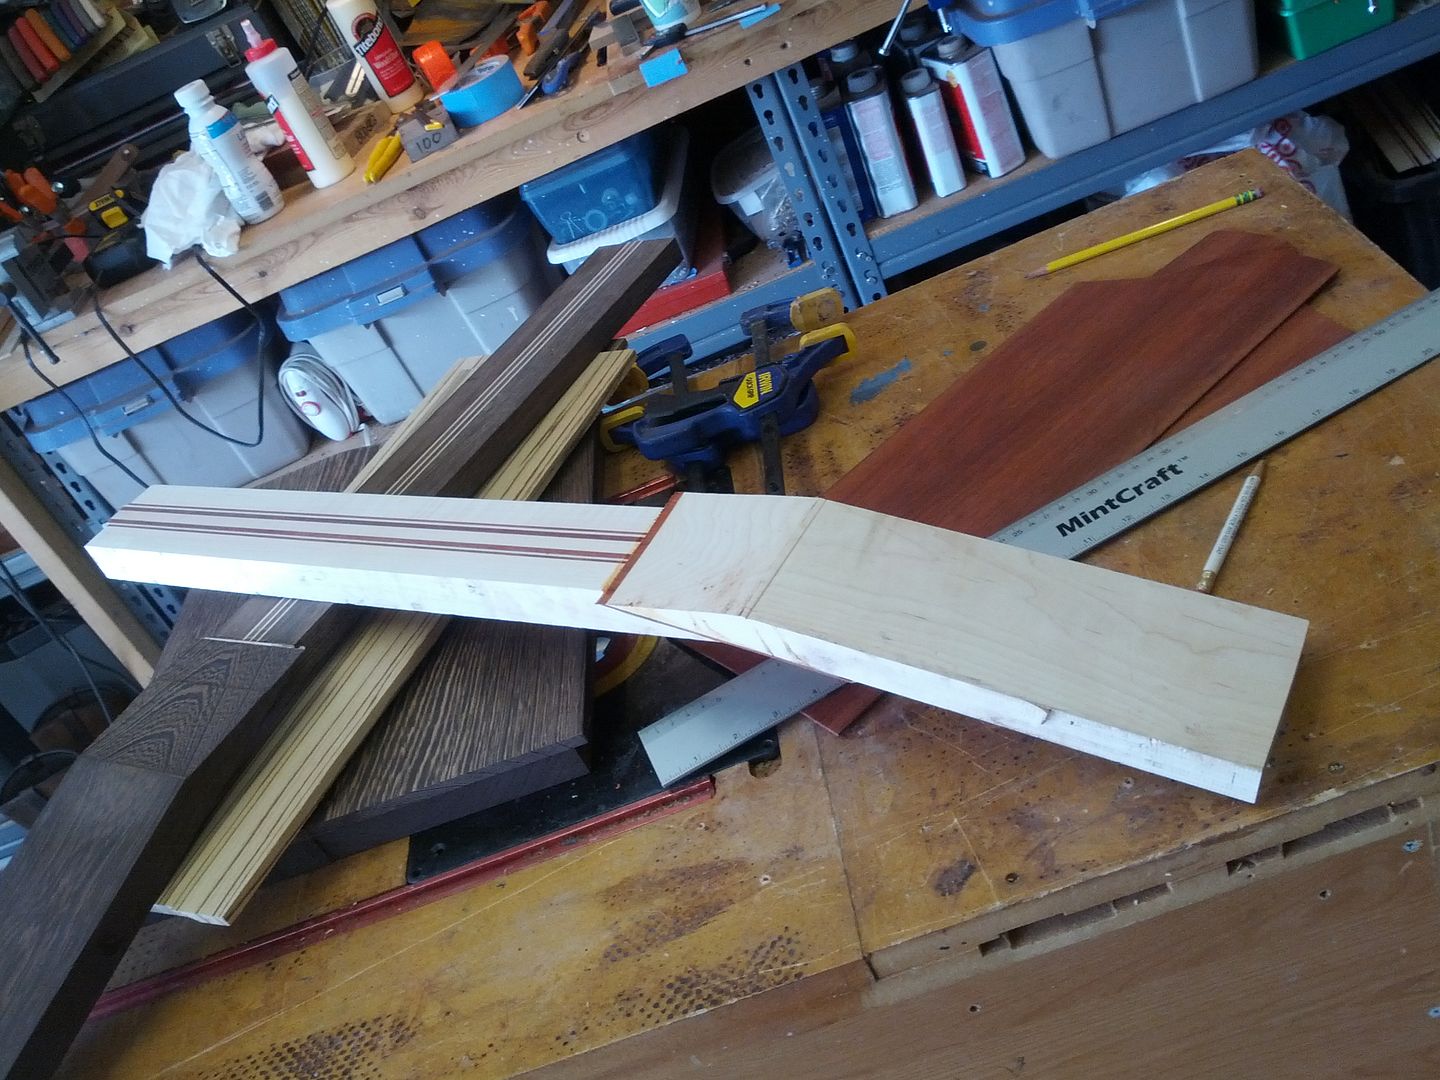
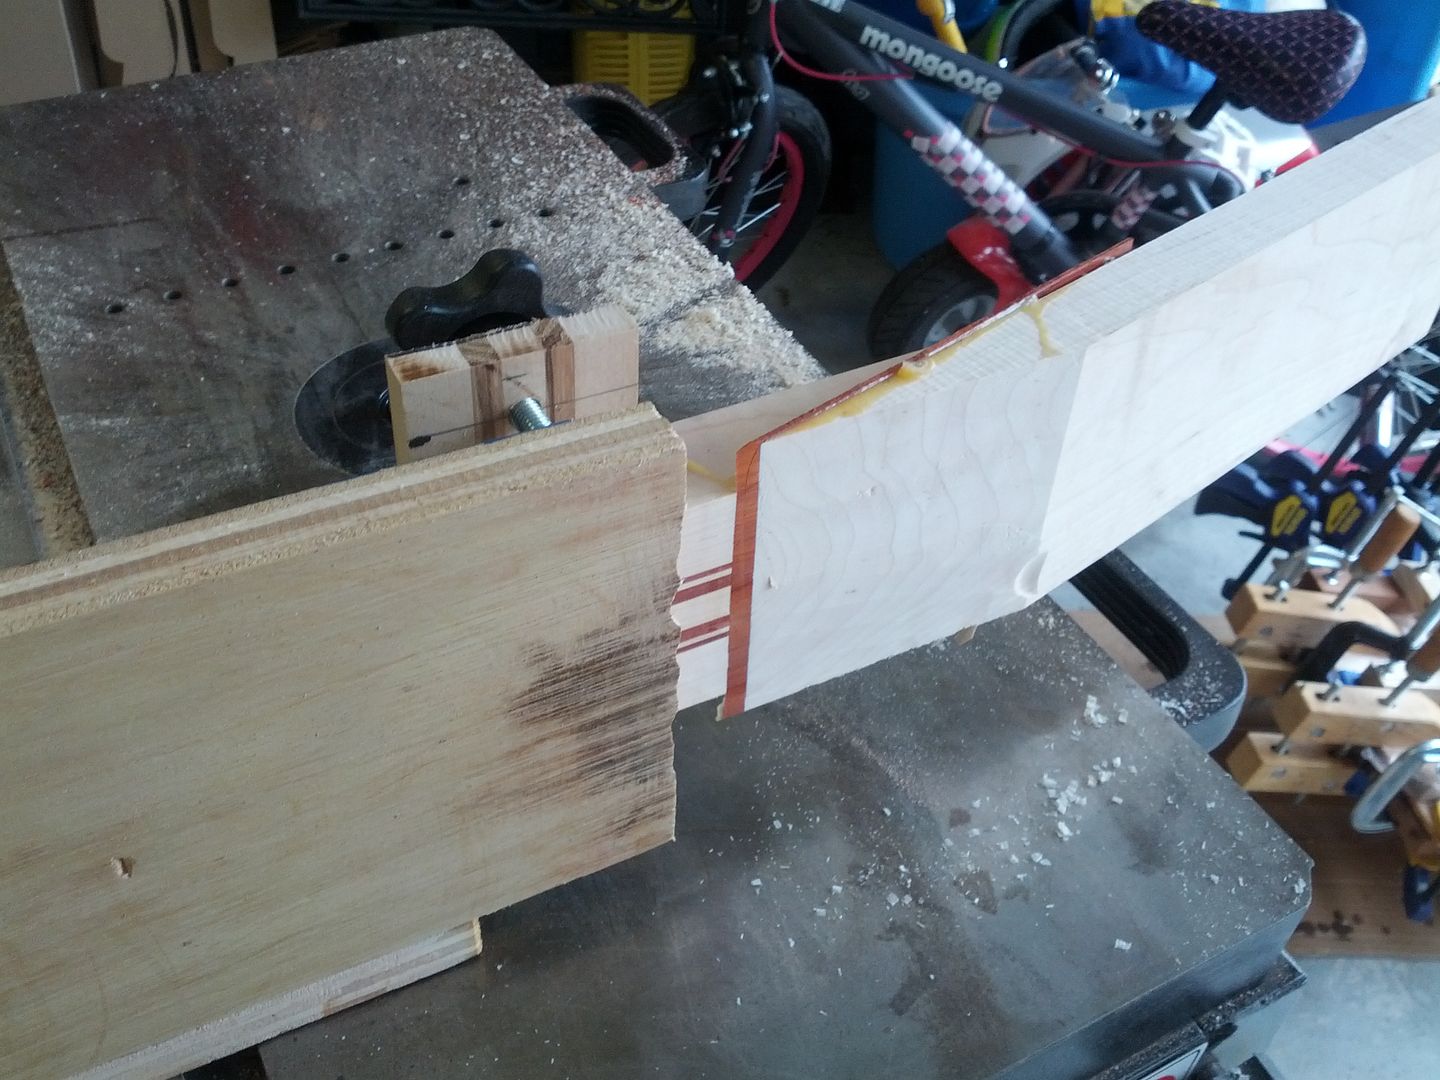
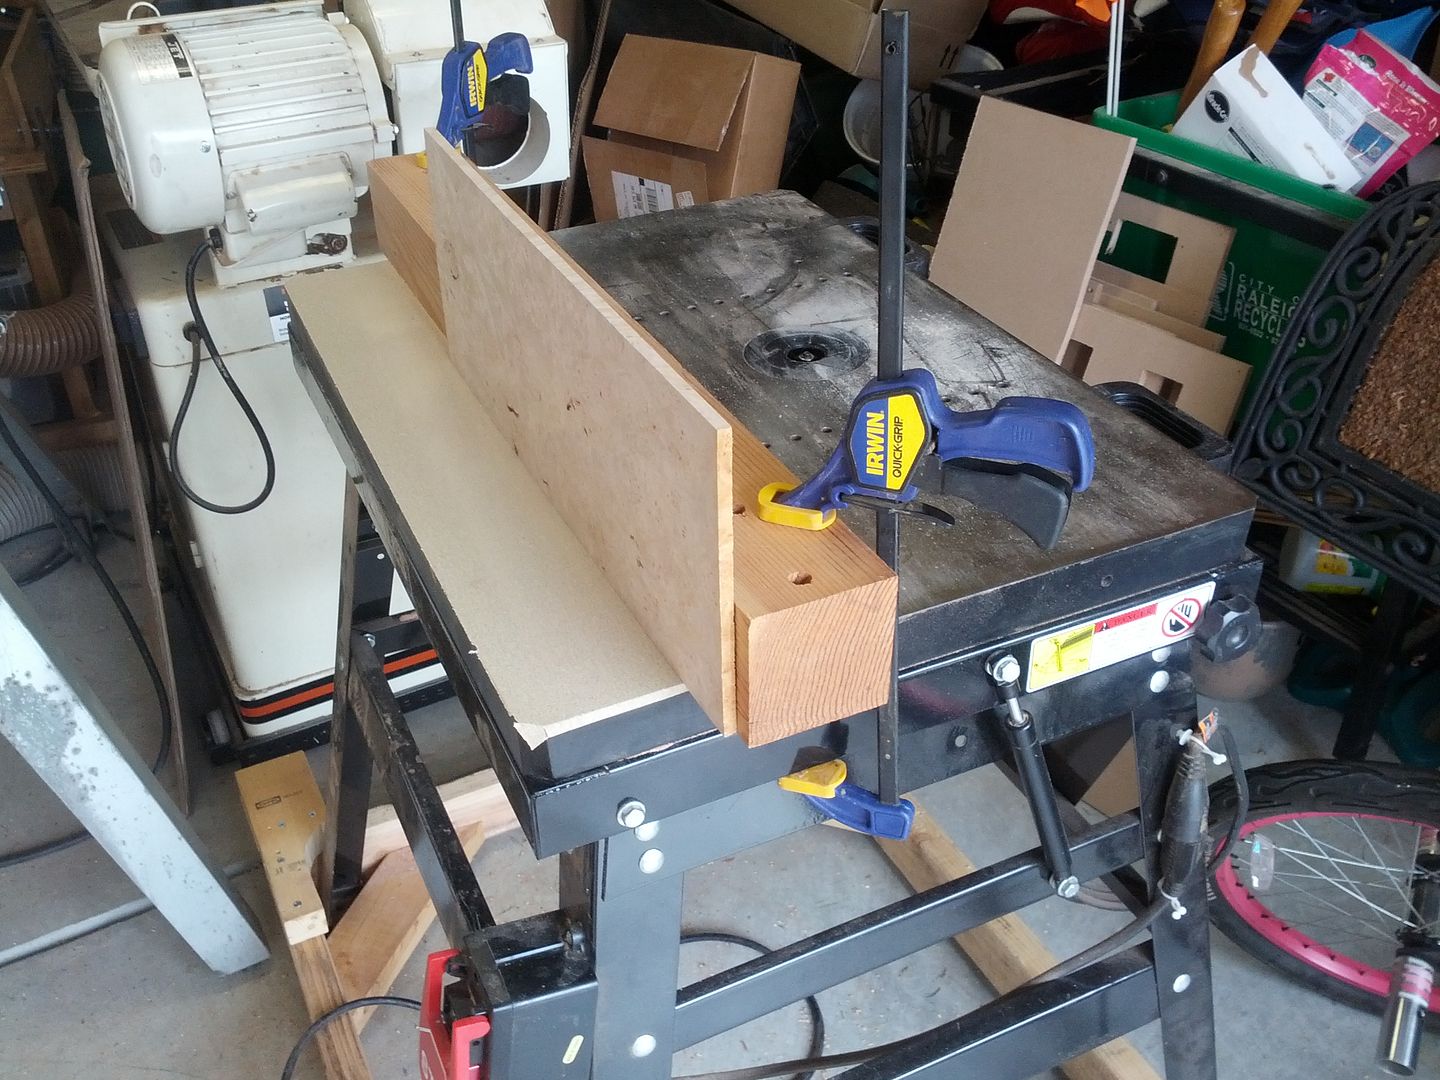
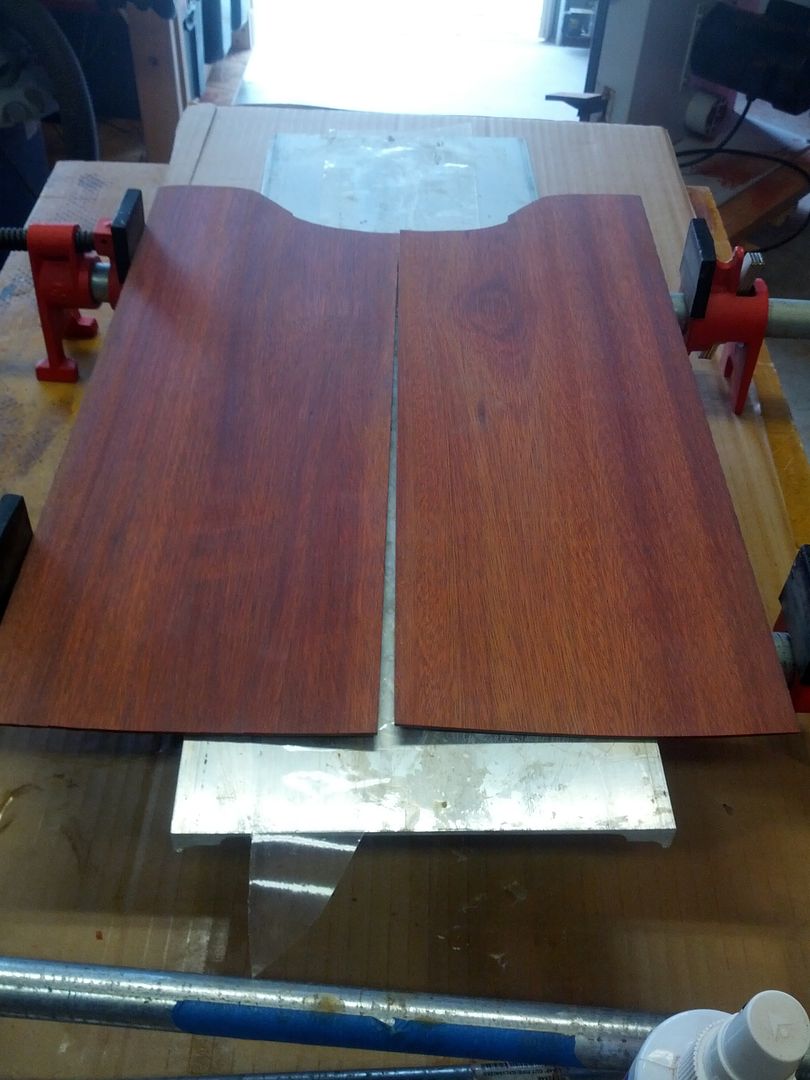
Joining the top.
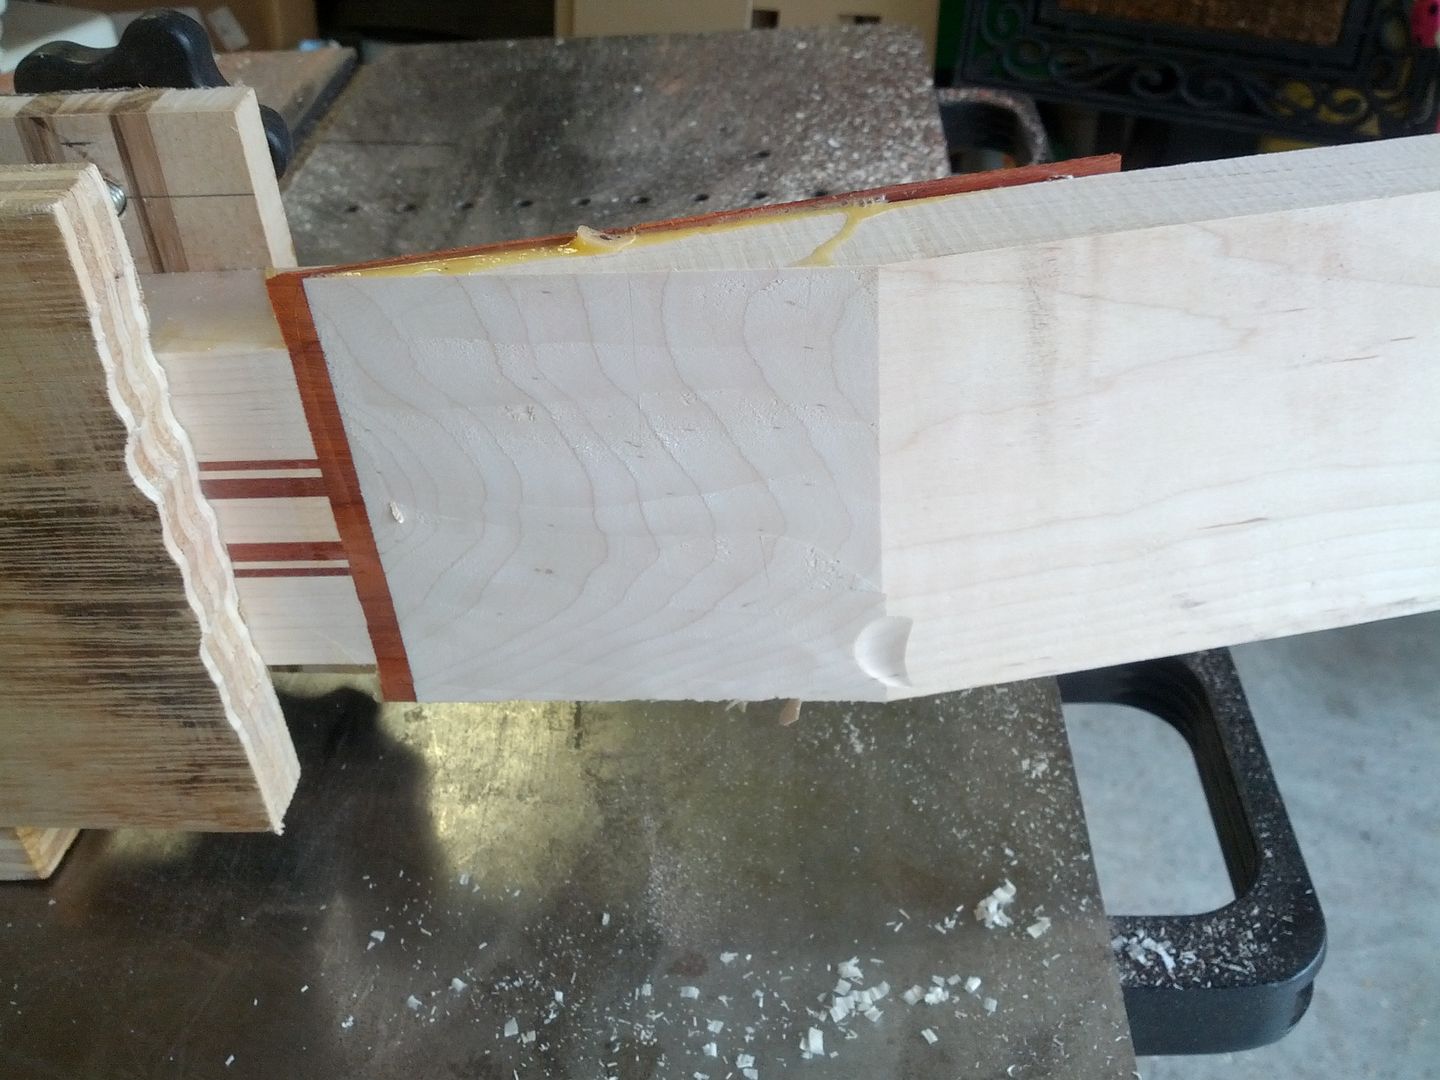
You can't use a jointer on figured tops. It will end bad. I picked this idea up from some acoustic builders. The 4x4 is squared on the jointer and I use it as a guide to true the edges of the tops and veneers.
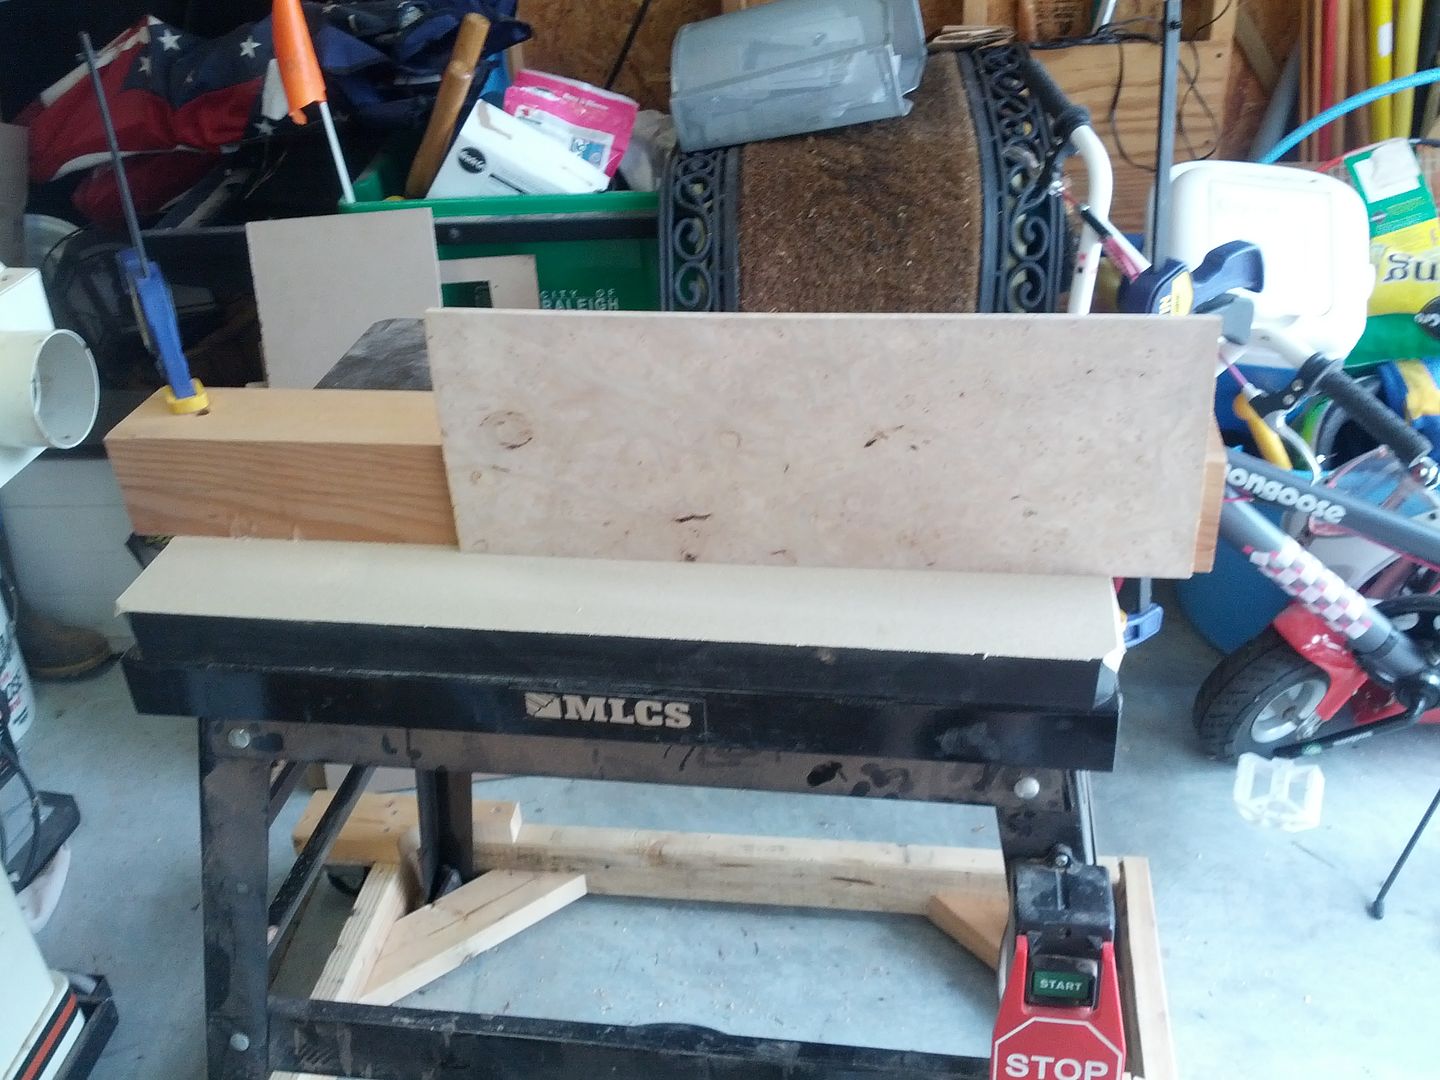
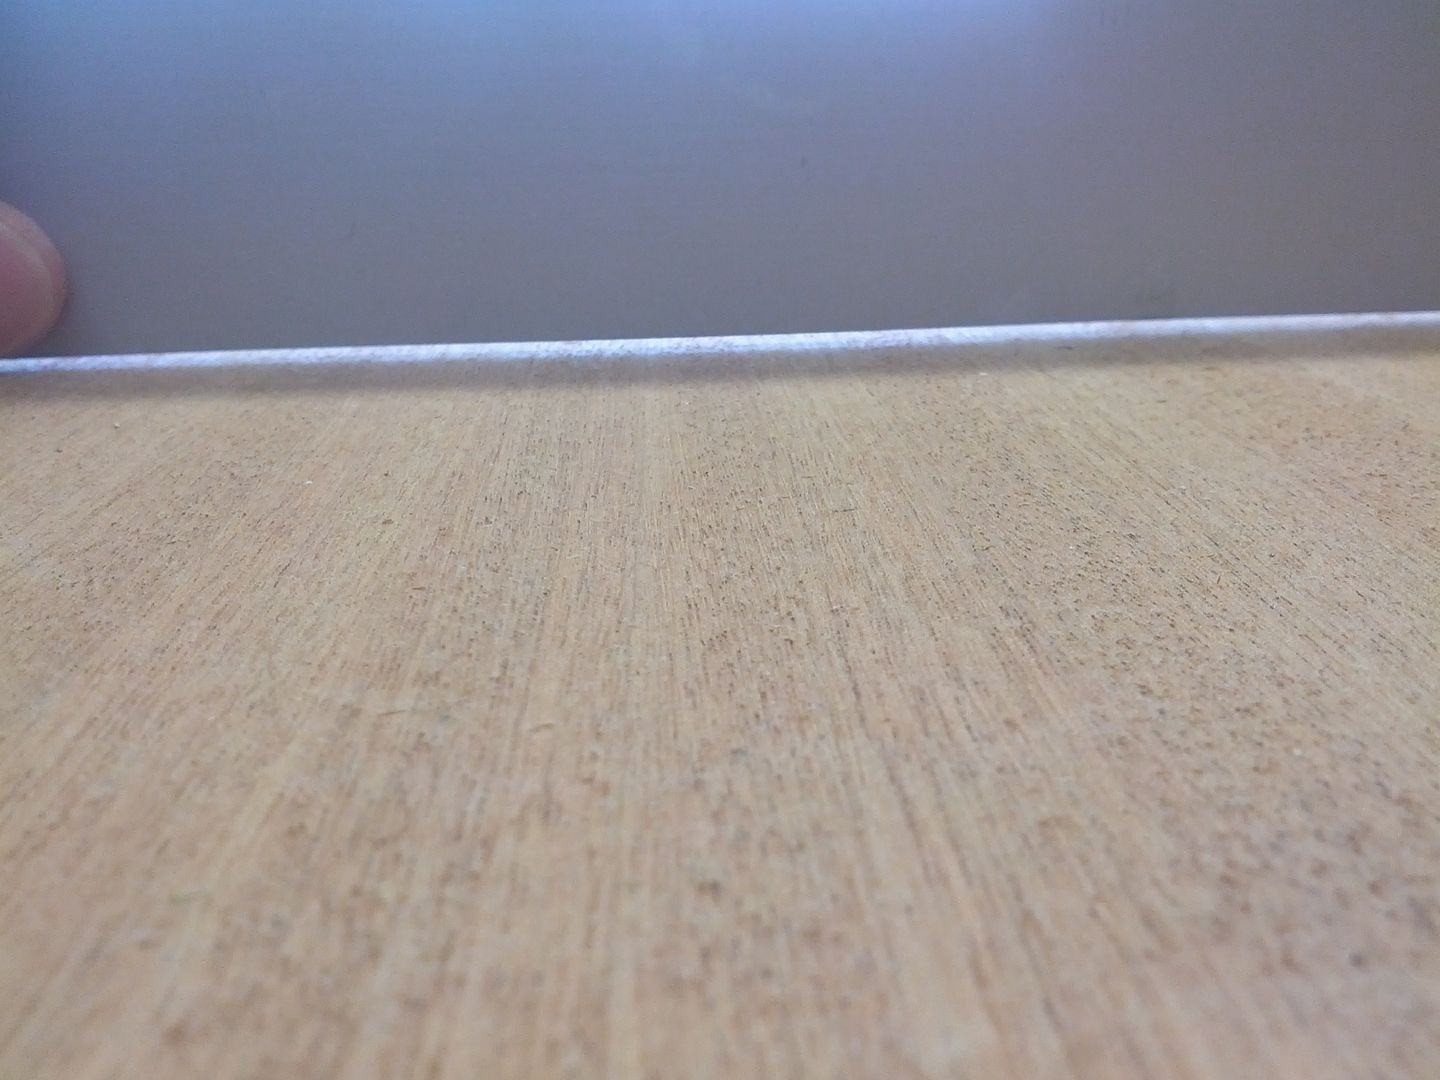
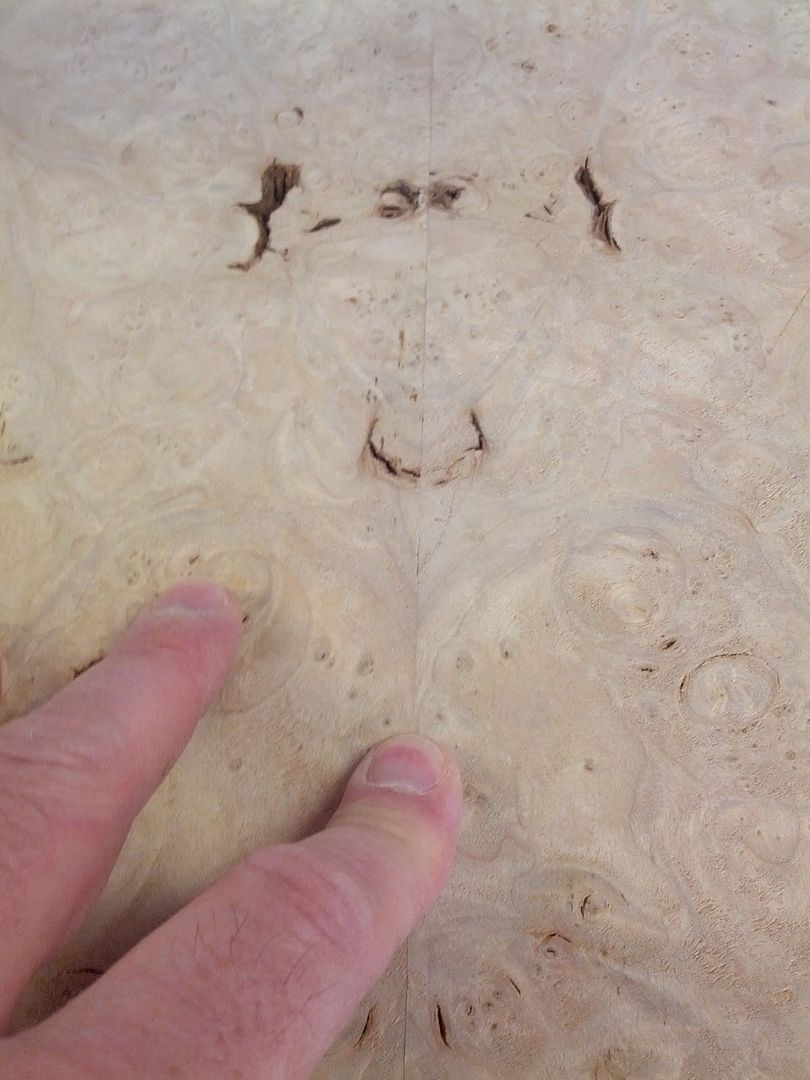
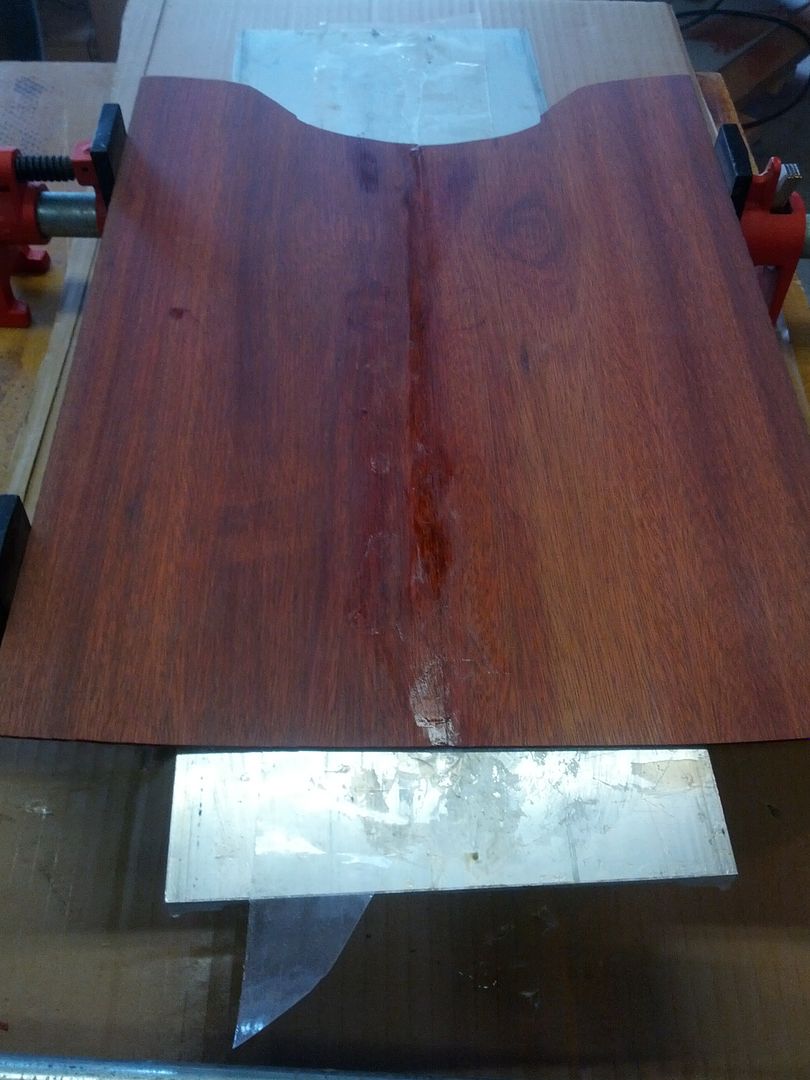
When the joint is right you can make the seem disappear by holding the pieces together with your hand.
Now for the veneer

Bloodwood just makes a mess out of sandpaper
Bloodwood veneer gets glued together with thick CA and hit with accelerator. The epoxy will hold it in place I just need it to stay together long enough to clamp everything up.
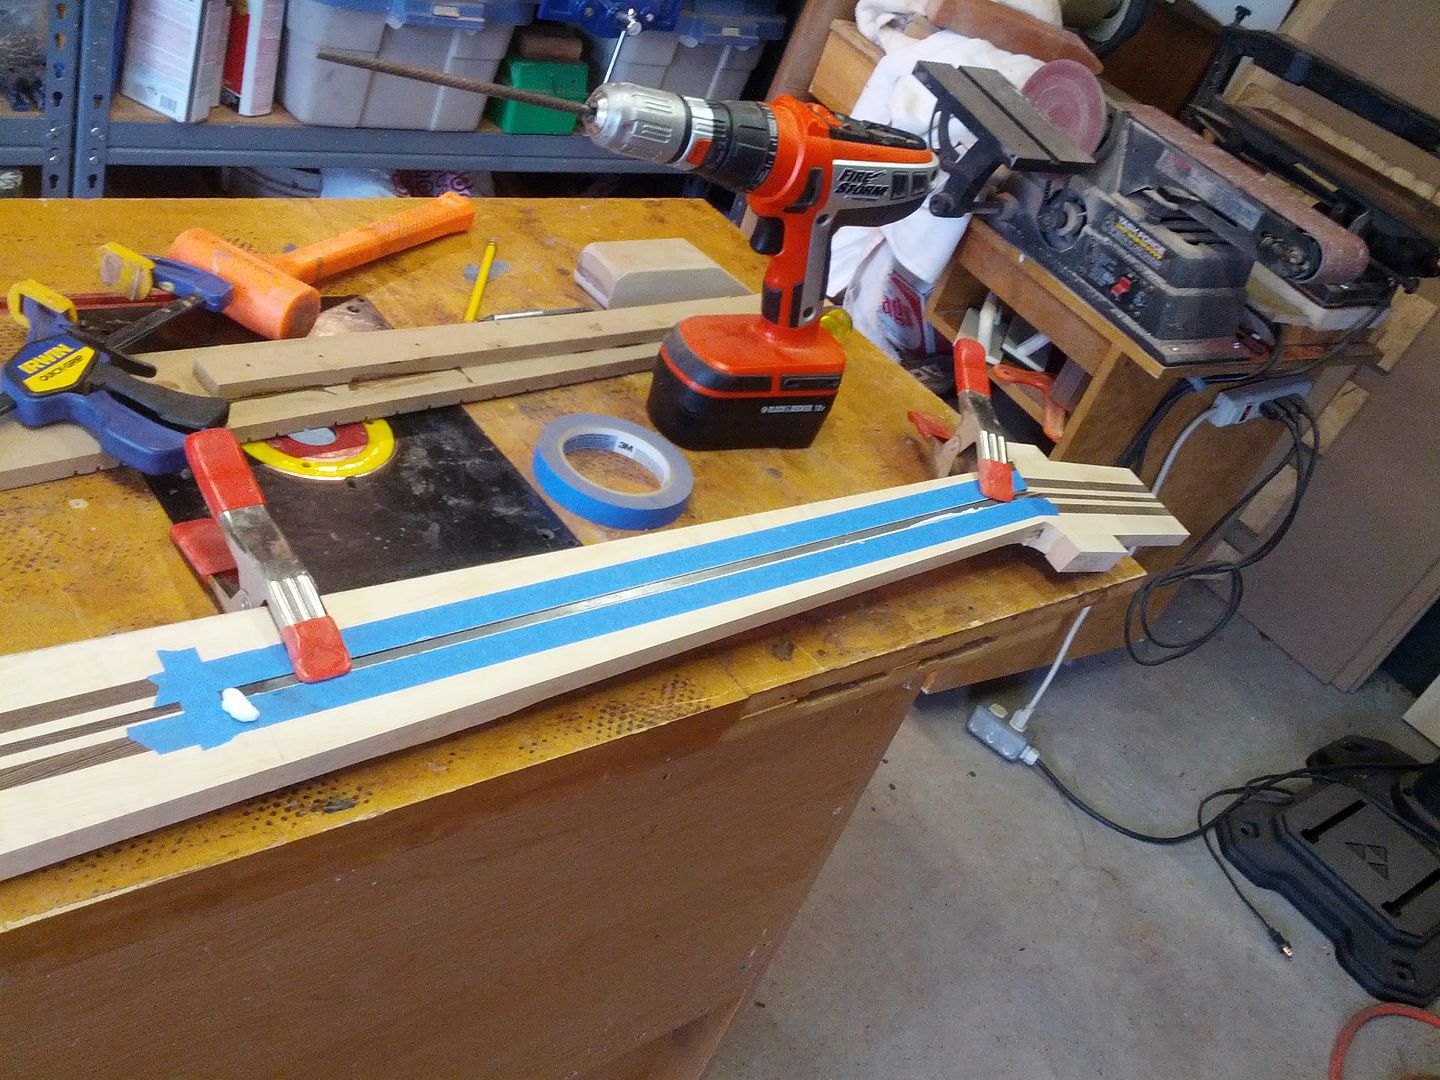
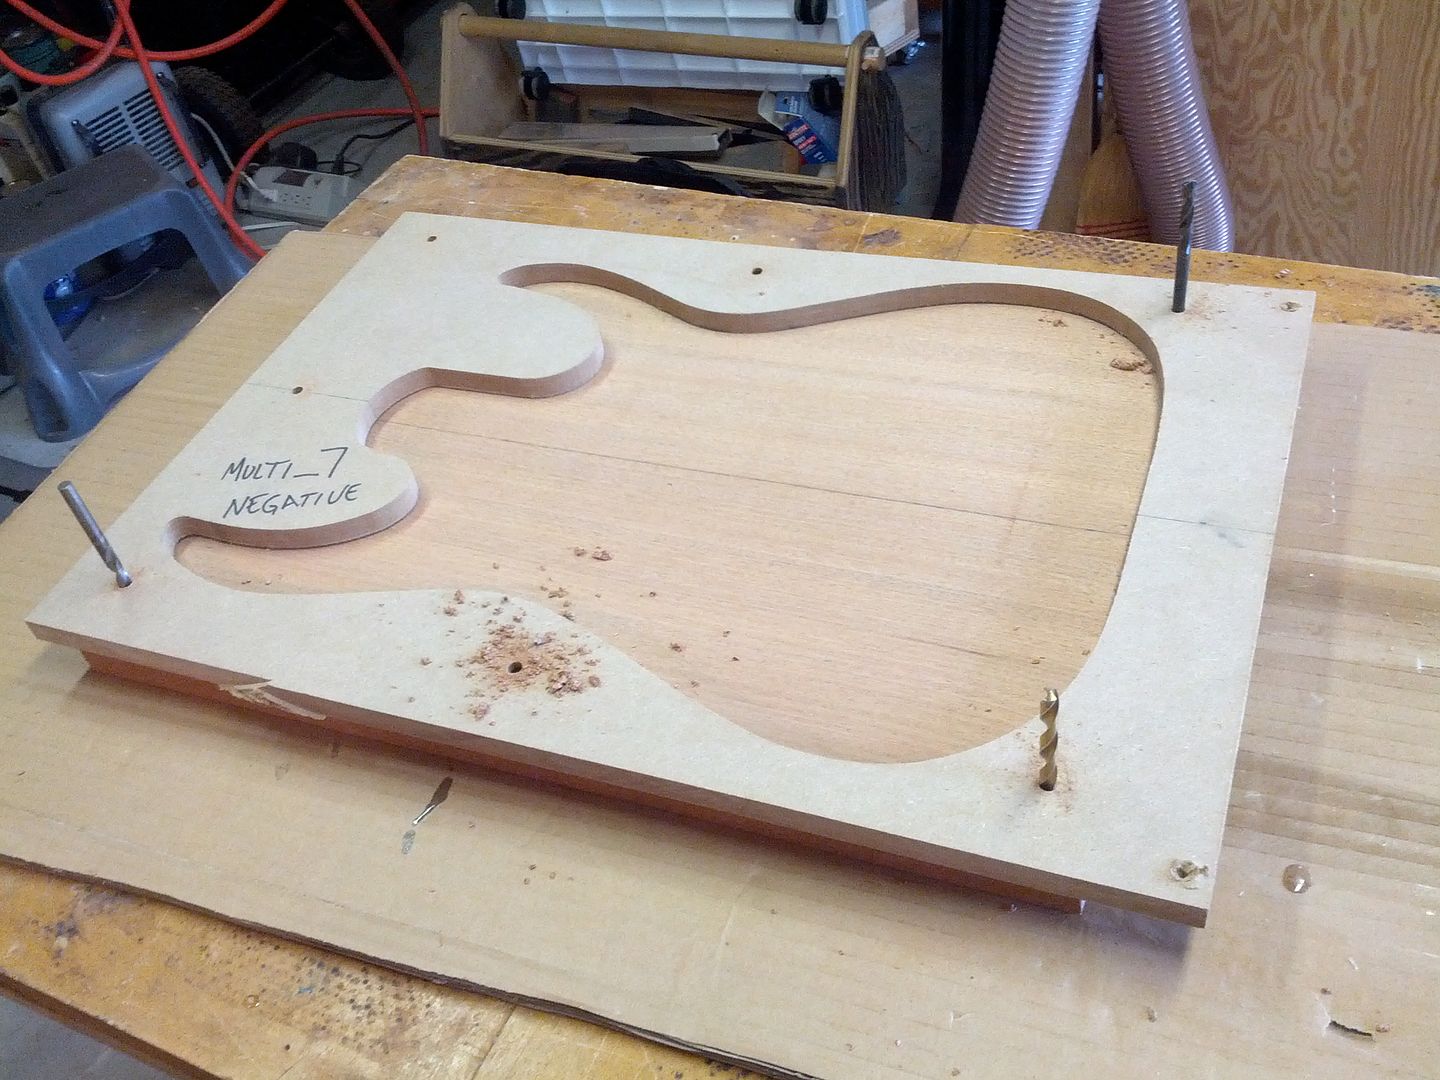
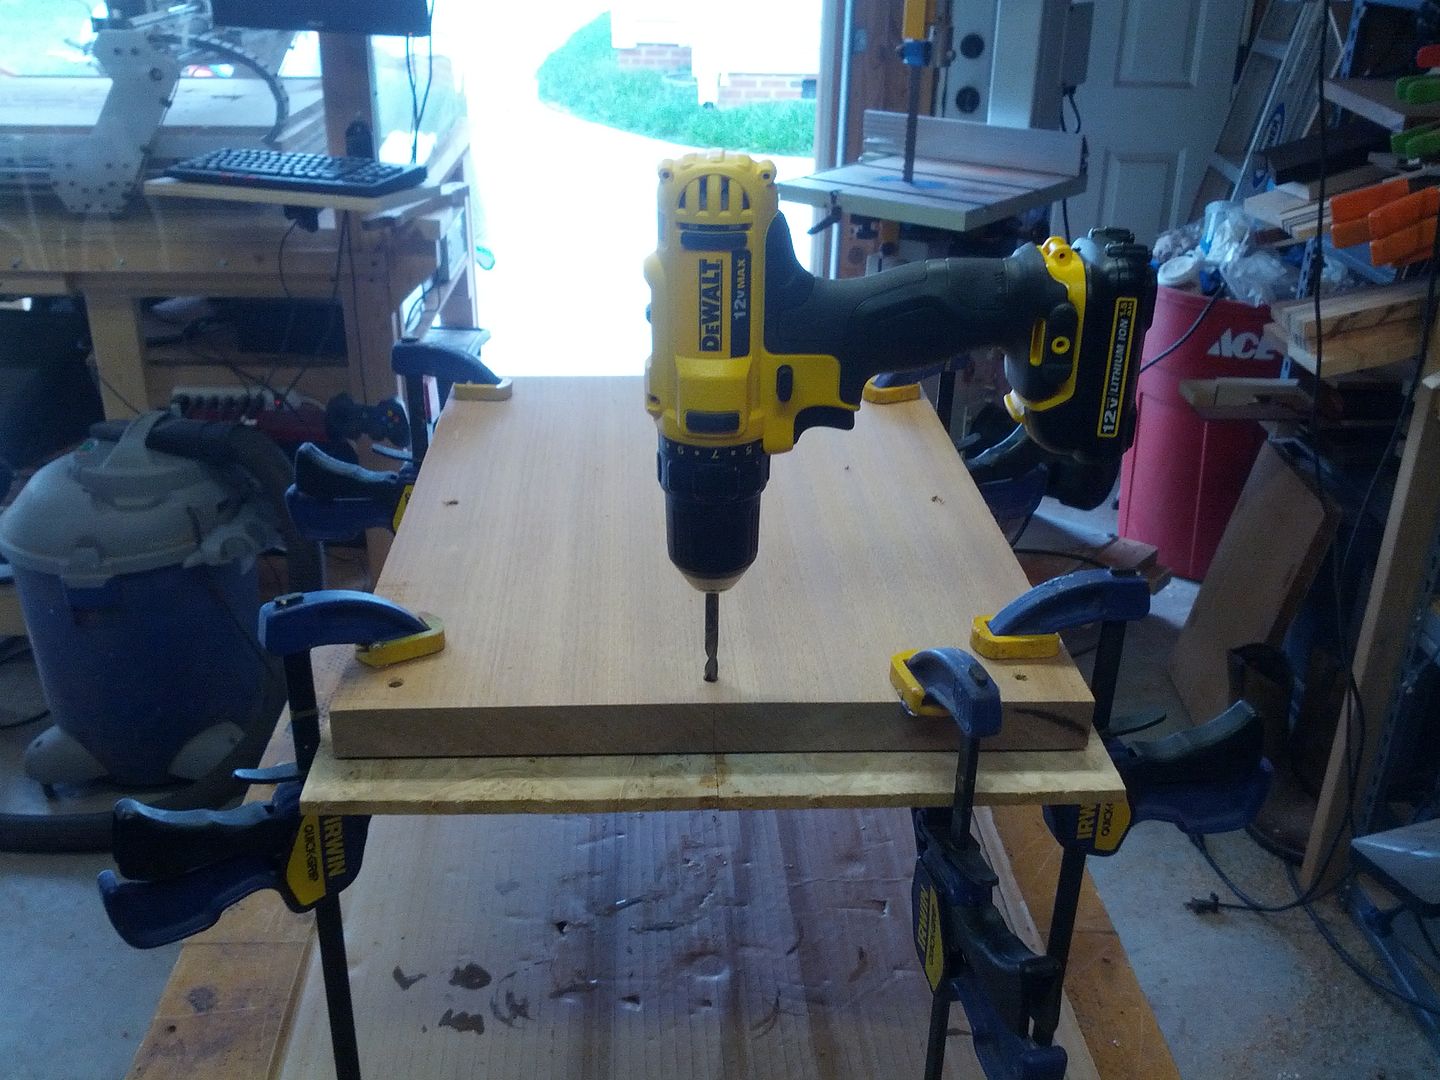
Carefully drilling the alignment pins. These are used on the CNC and also to align the top so it doesn't move when gluing.
No comments:
Post a Comment
Note: Only a member of this blog may post a comment.