The S9, the S9, and the S6. All are bad.
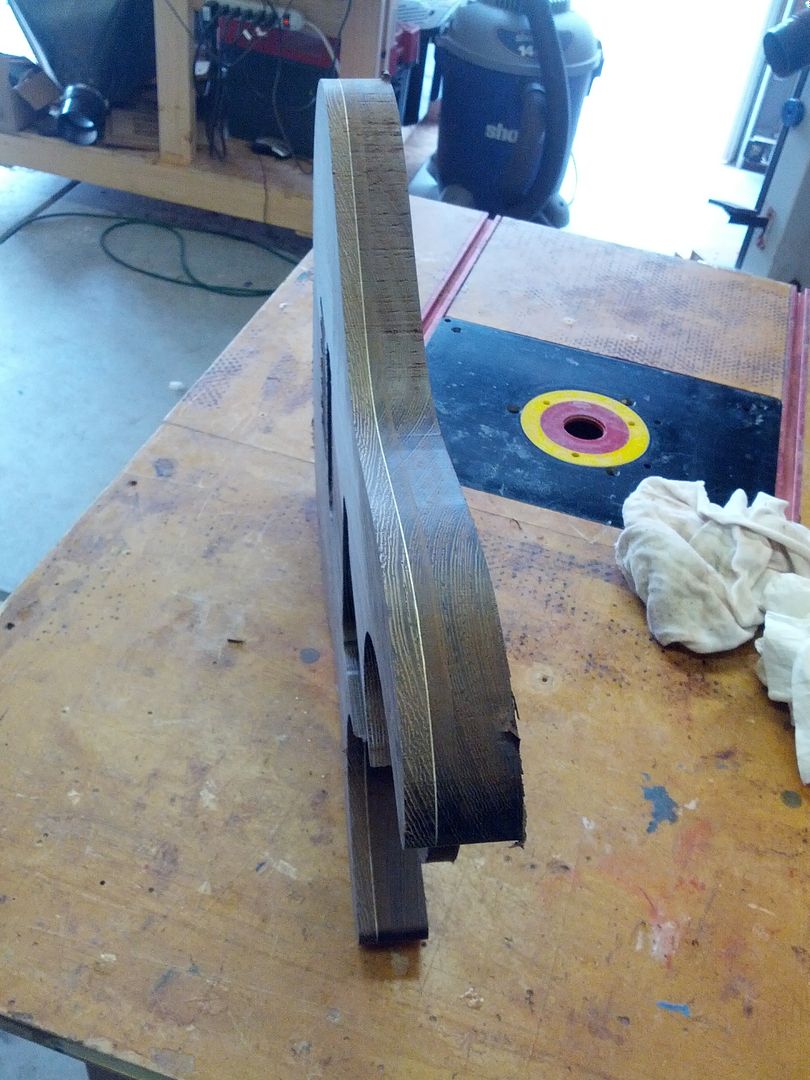
Starting on the Wenge body. Cutting painfully slow.

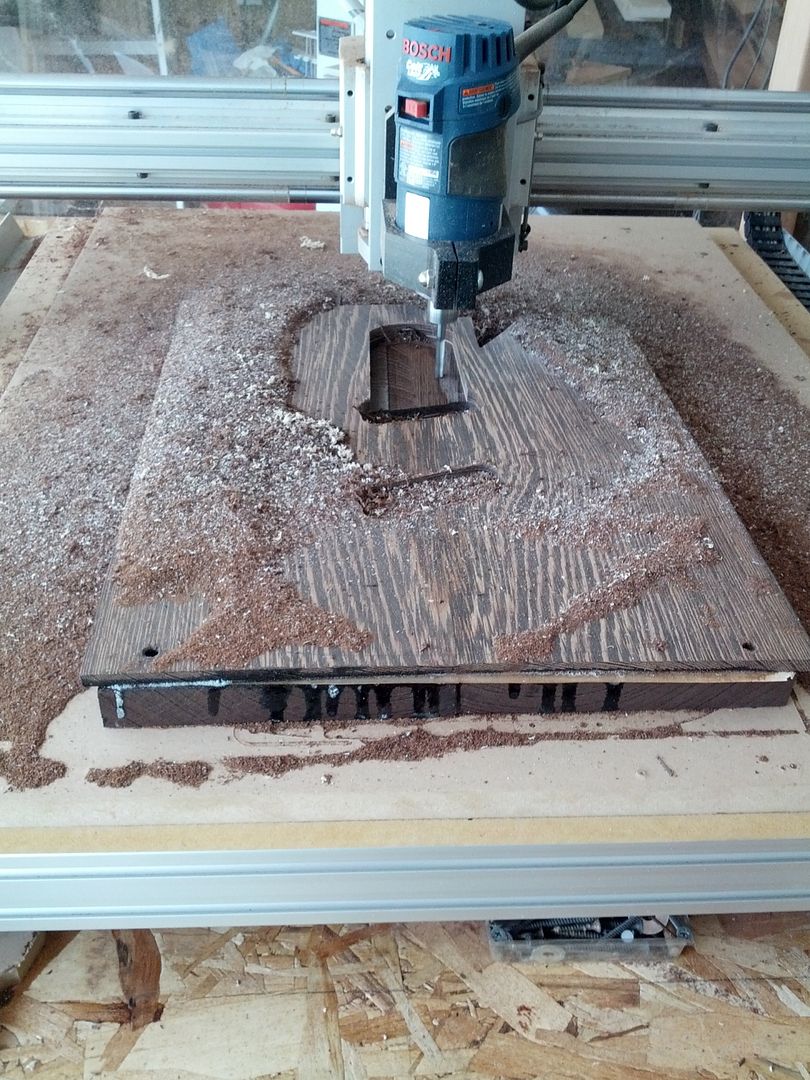
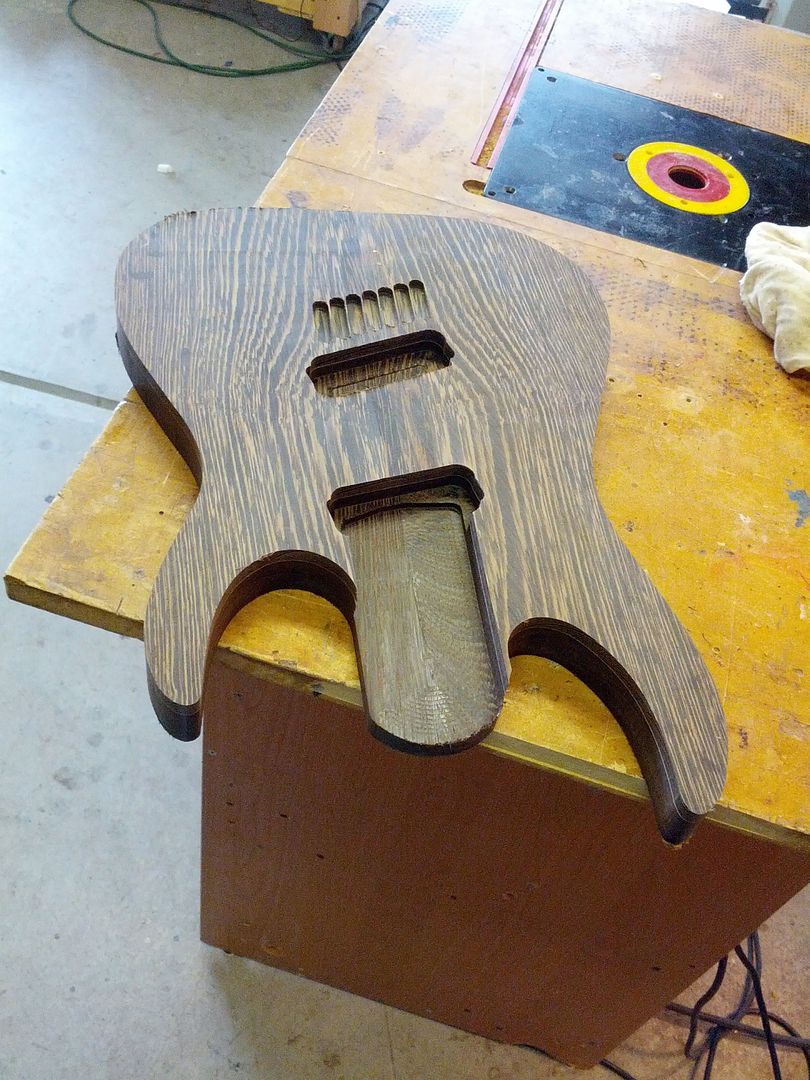
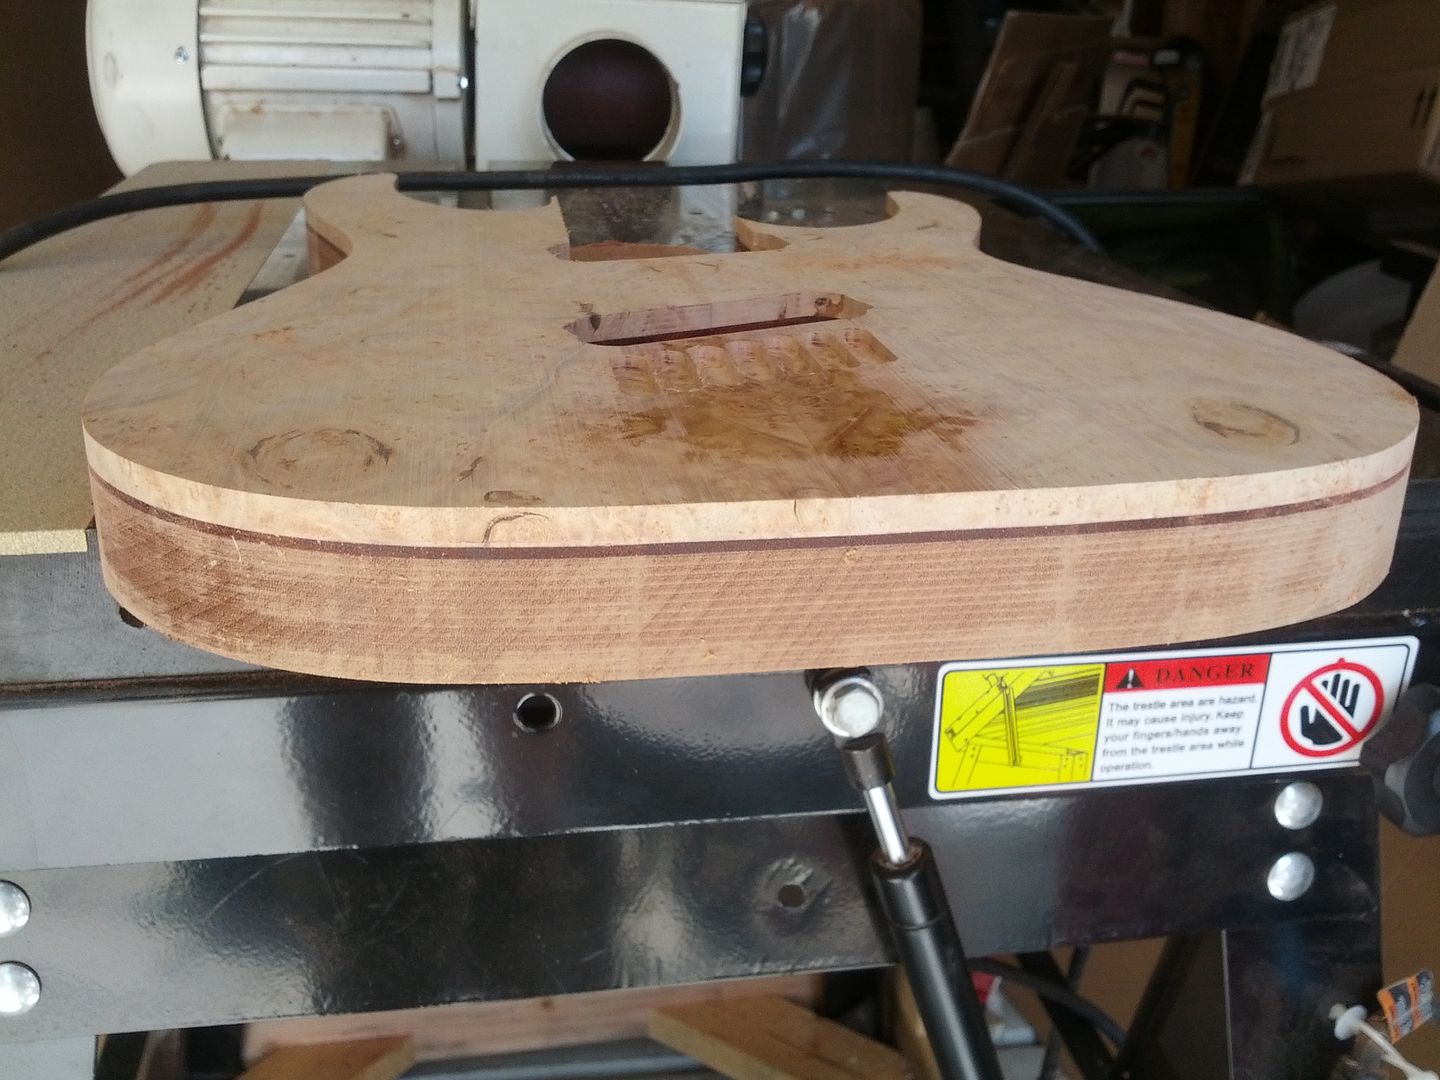
CNC is done. A few marks to clean up but a relatively uneventful cut out. One problem I have run into on harder materials is the tabs are too small and the work piece would come loose on the last pass. This spells disaster so I have increased the tab size significantly to prevent this.

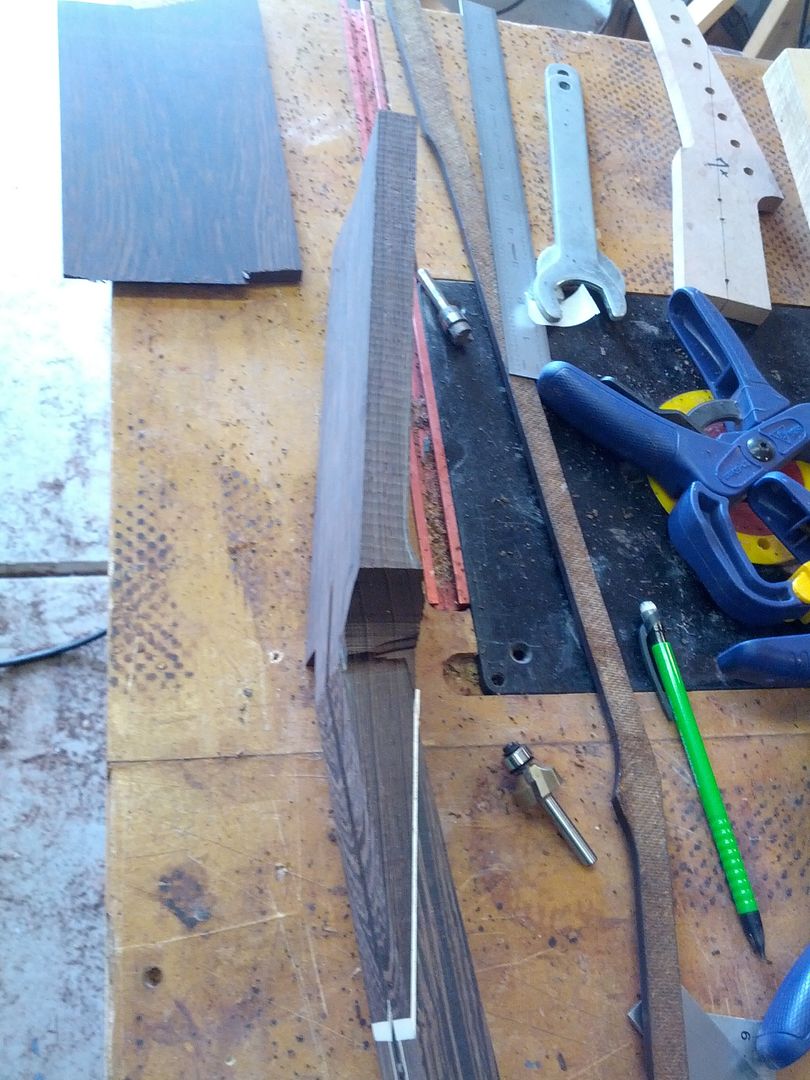
Some old school router work. I will explain later.
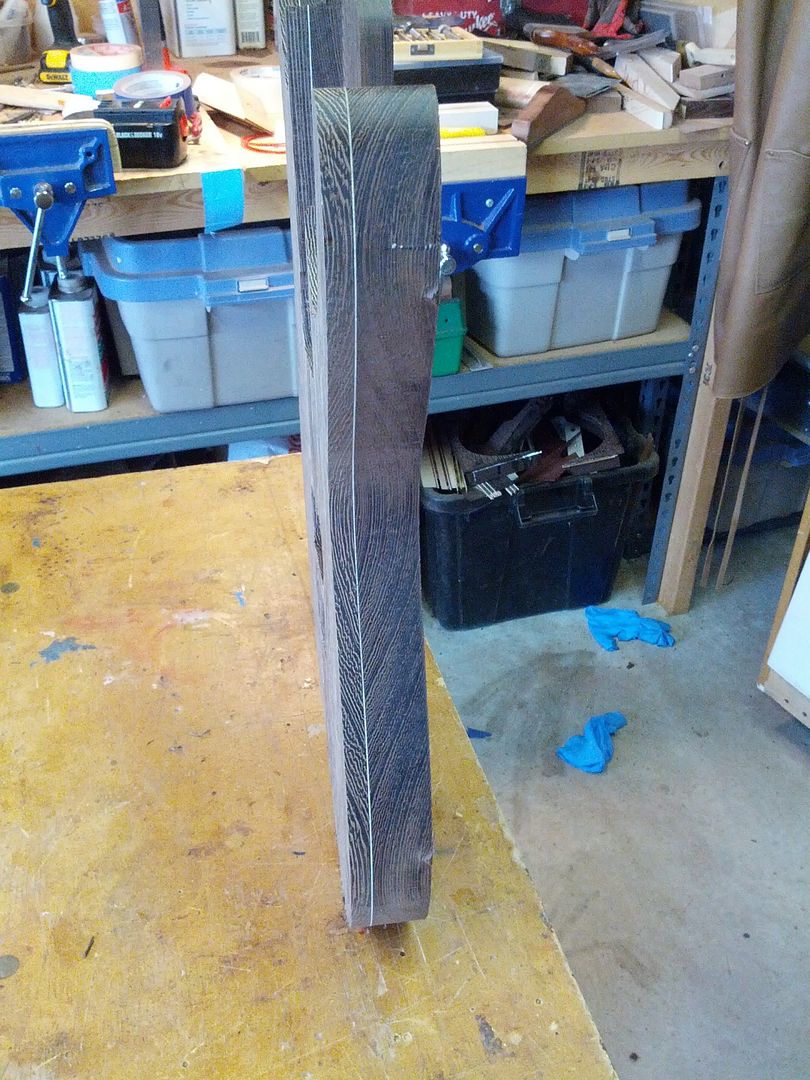
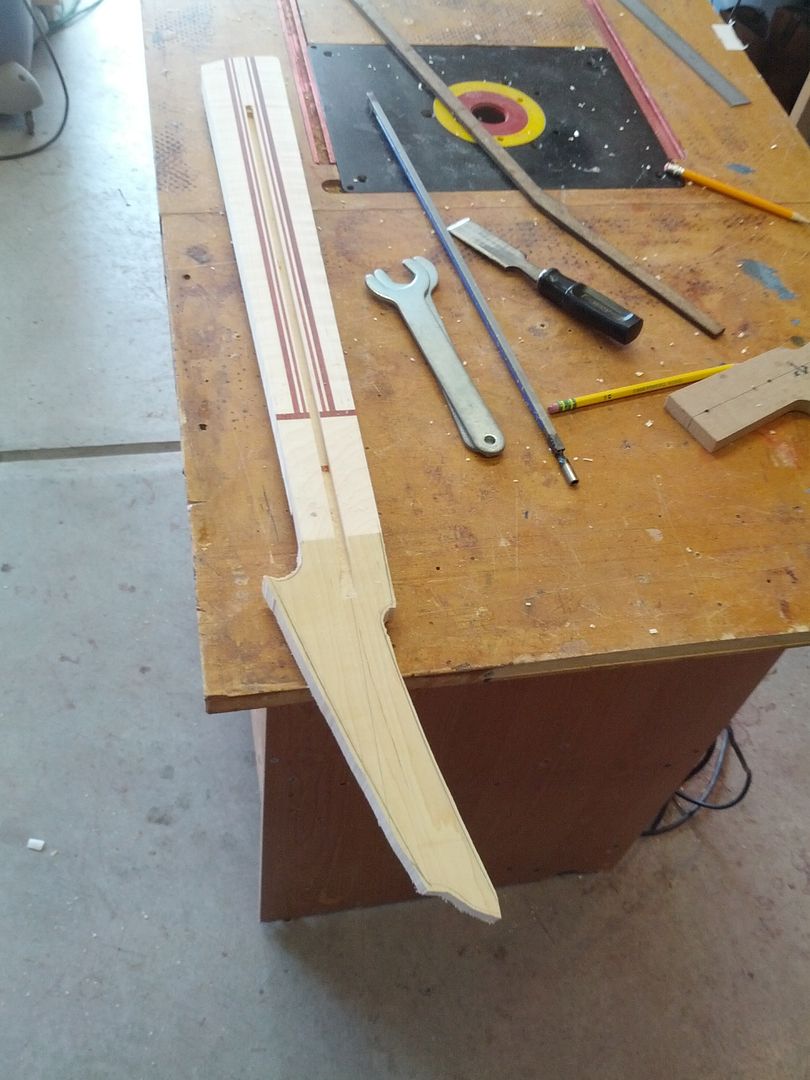
Headstock thickness while the blank is still square then we cut the profile
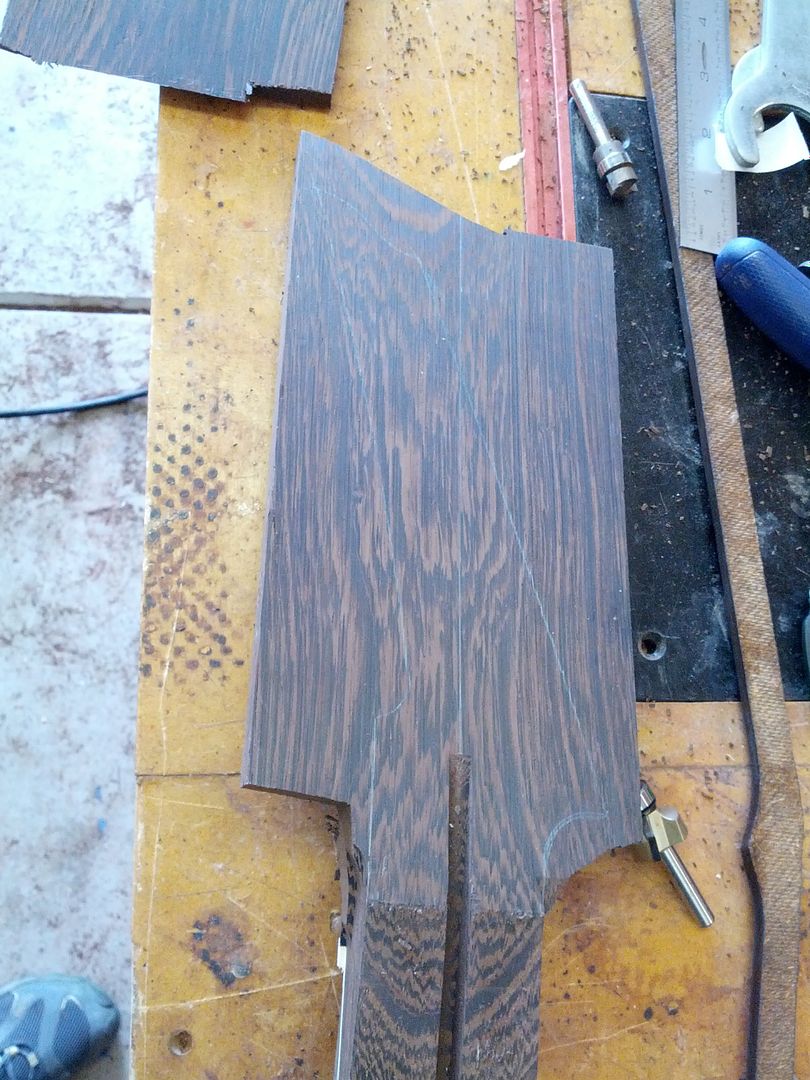
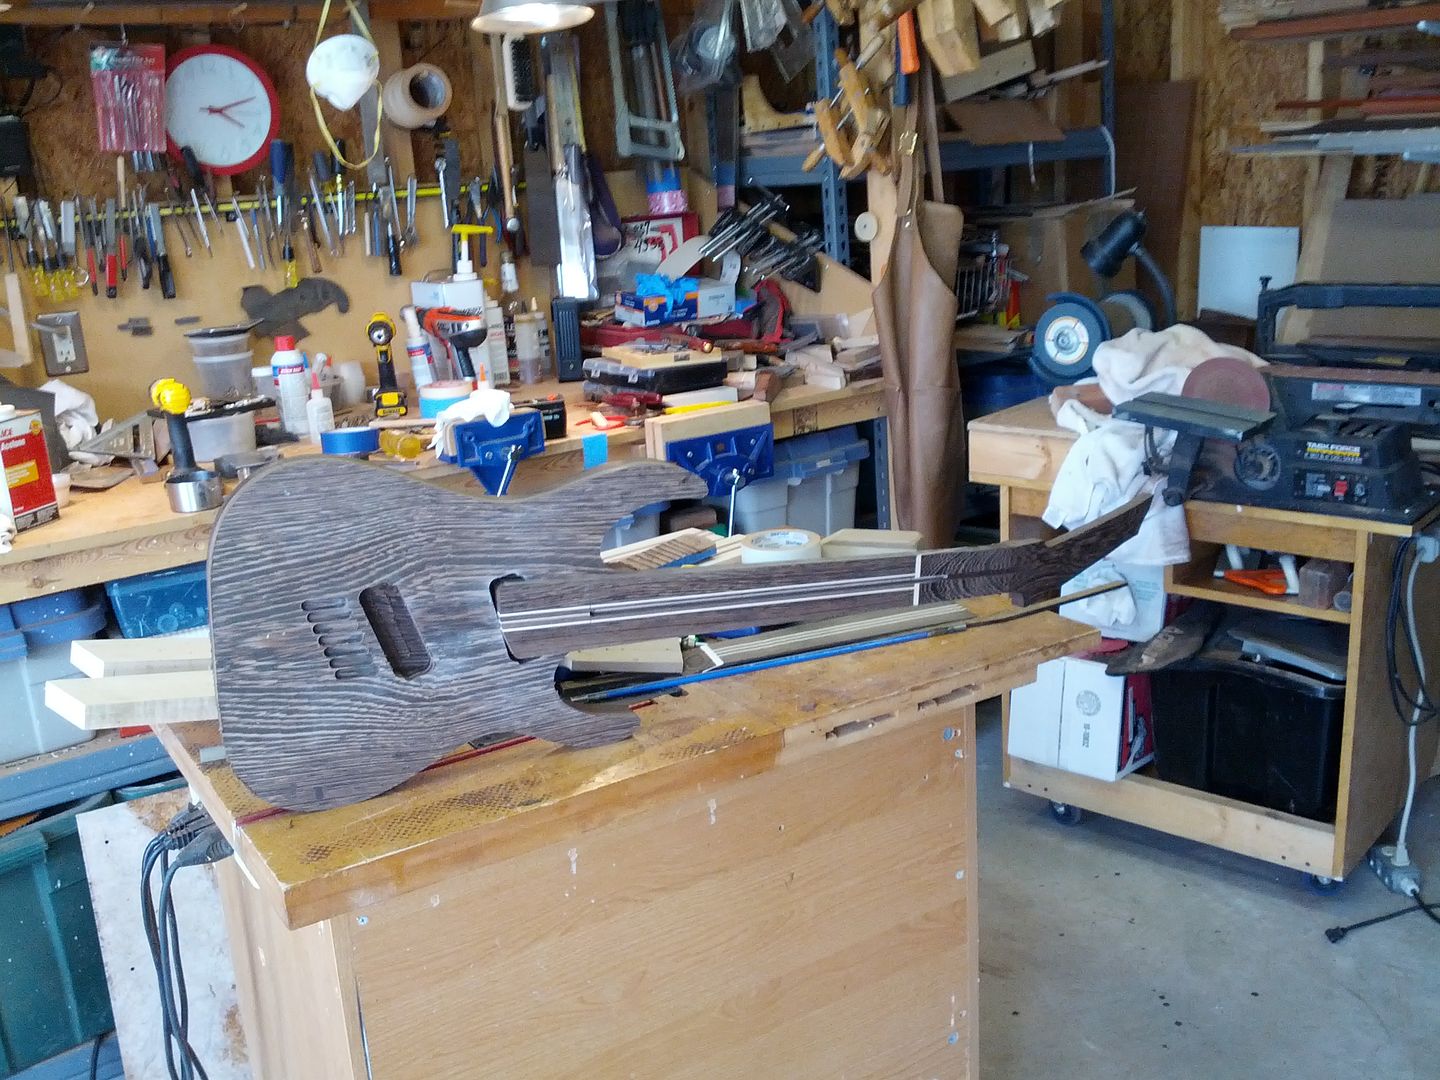
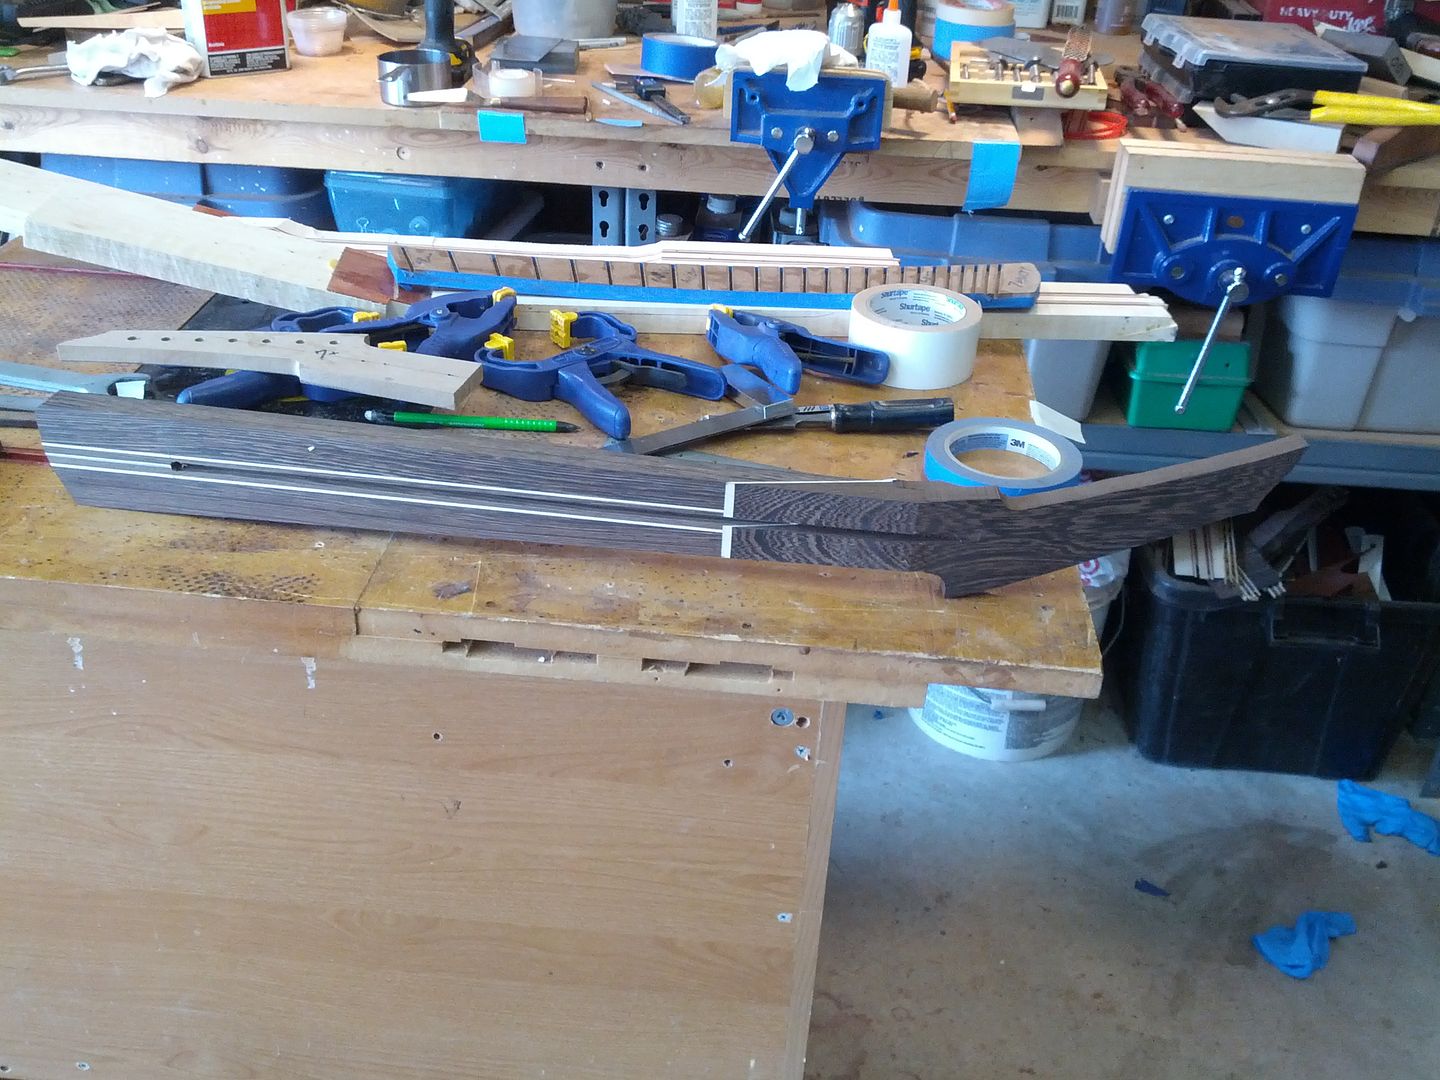
Looks like a neck now.

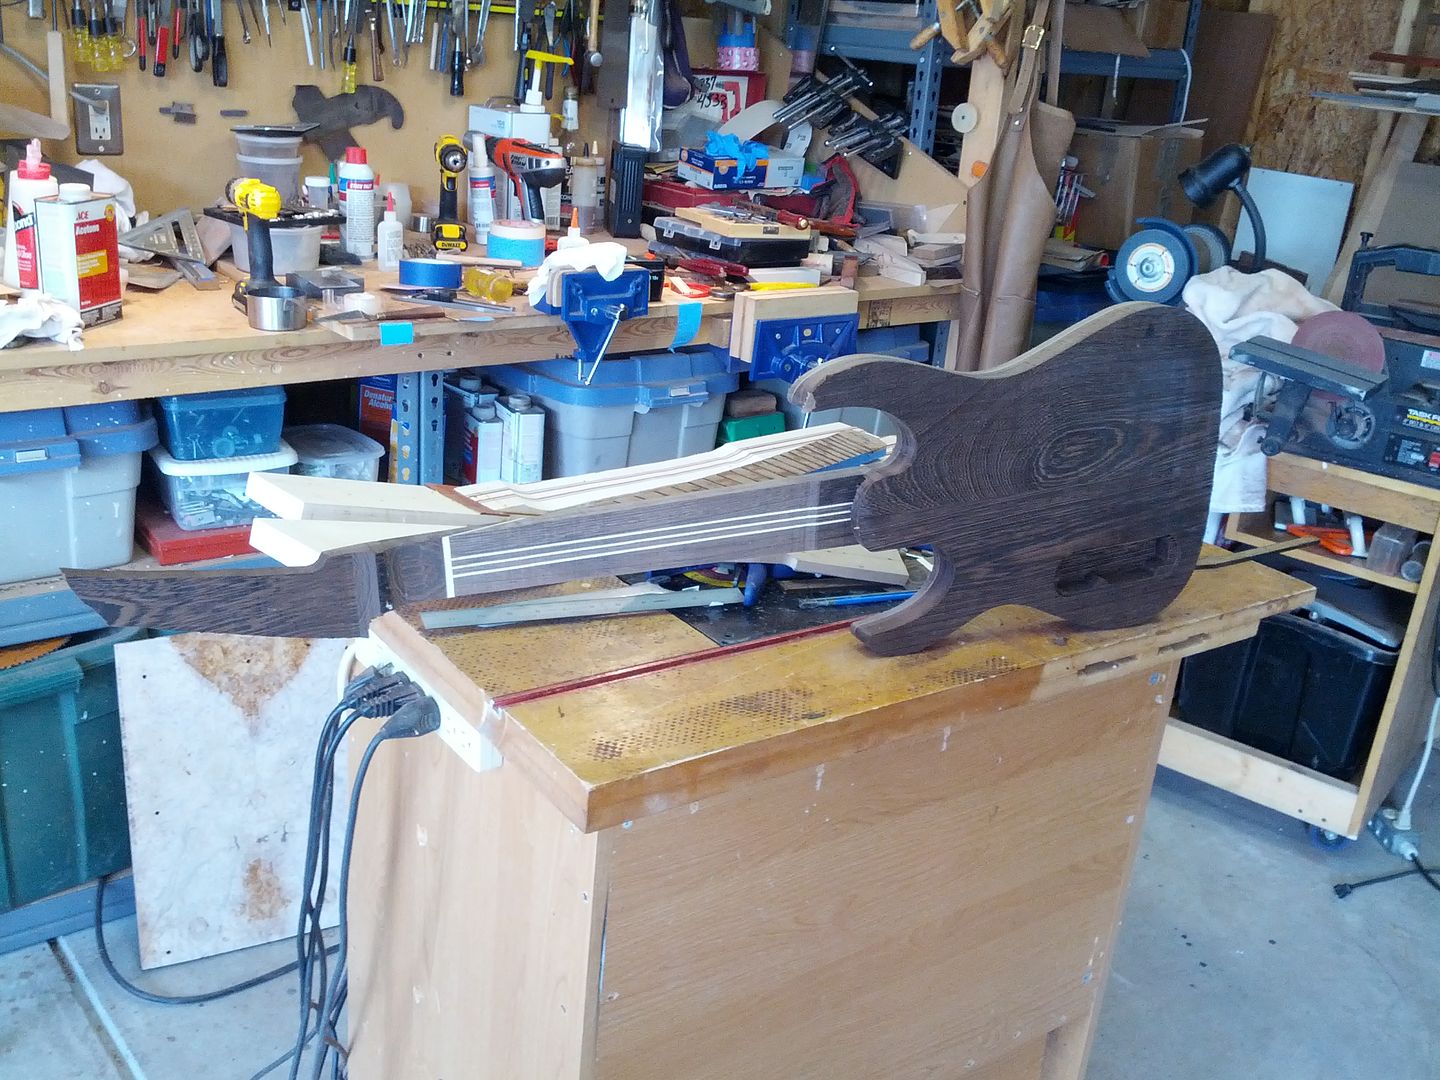
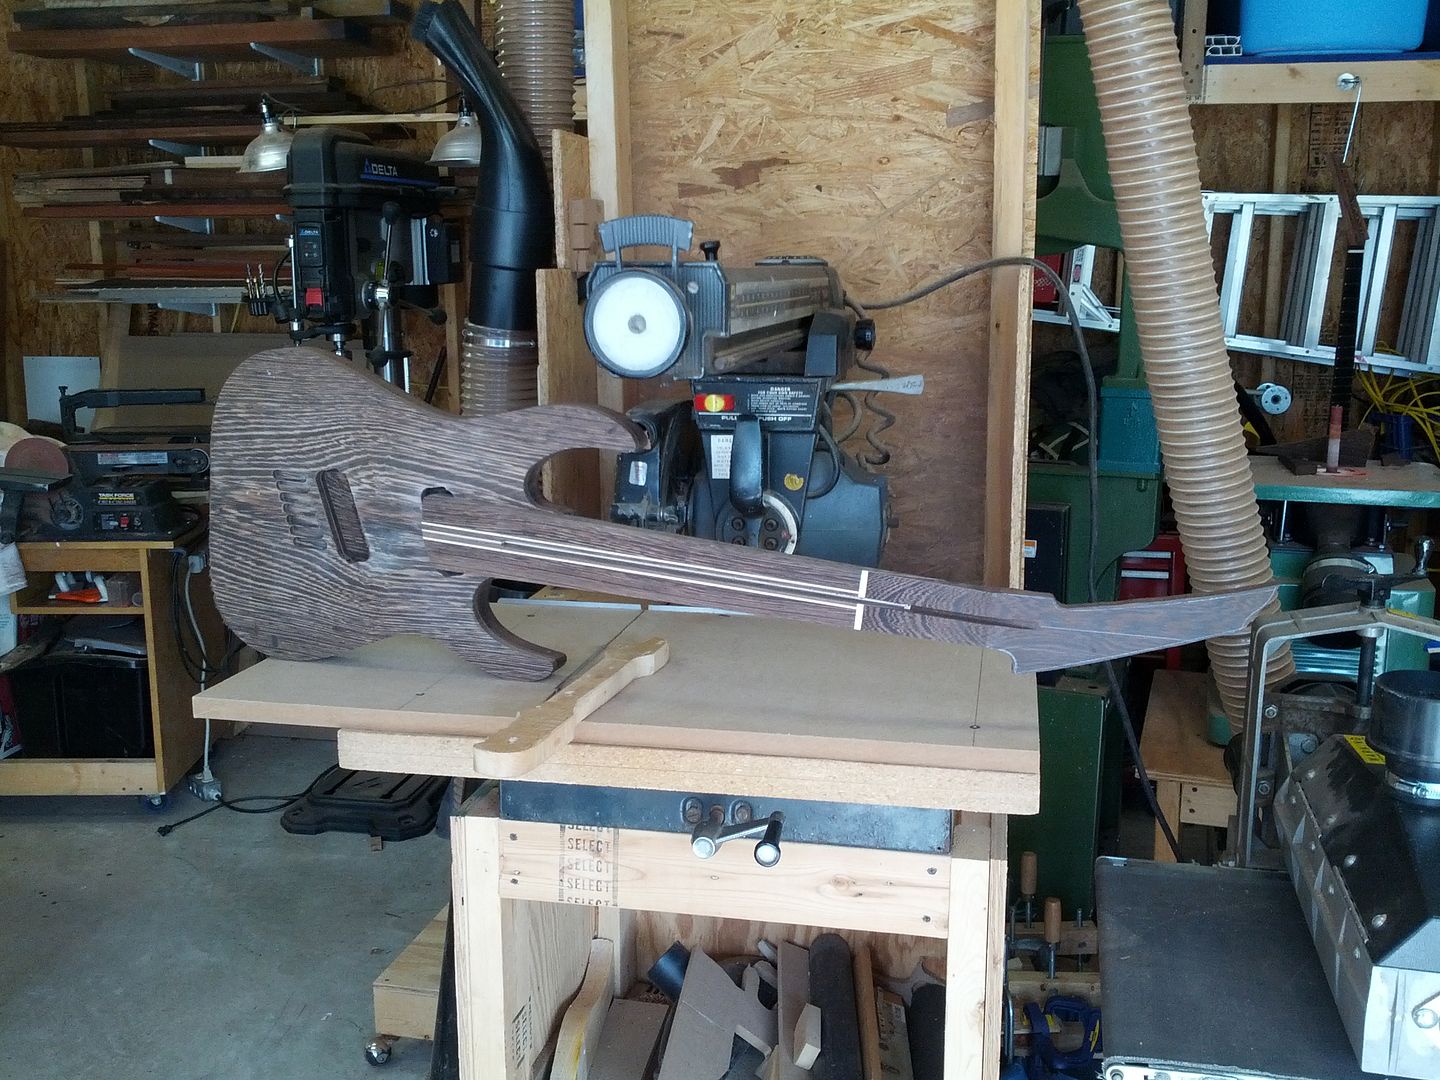
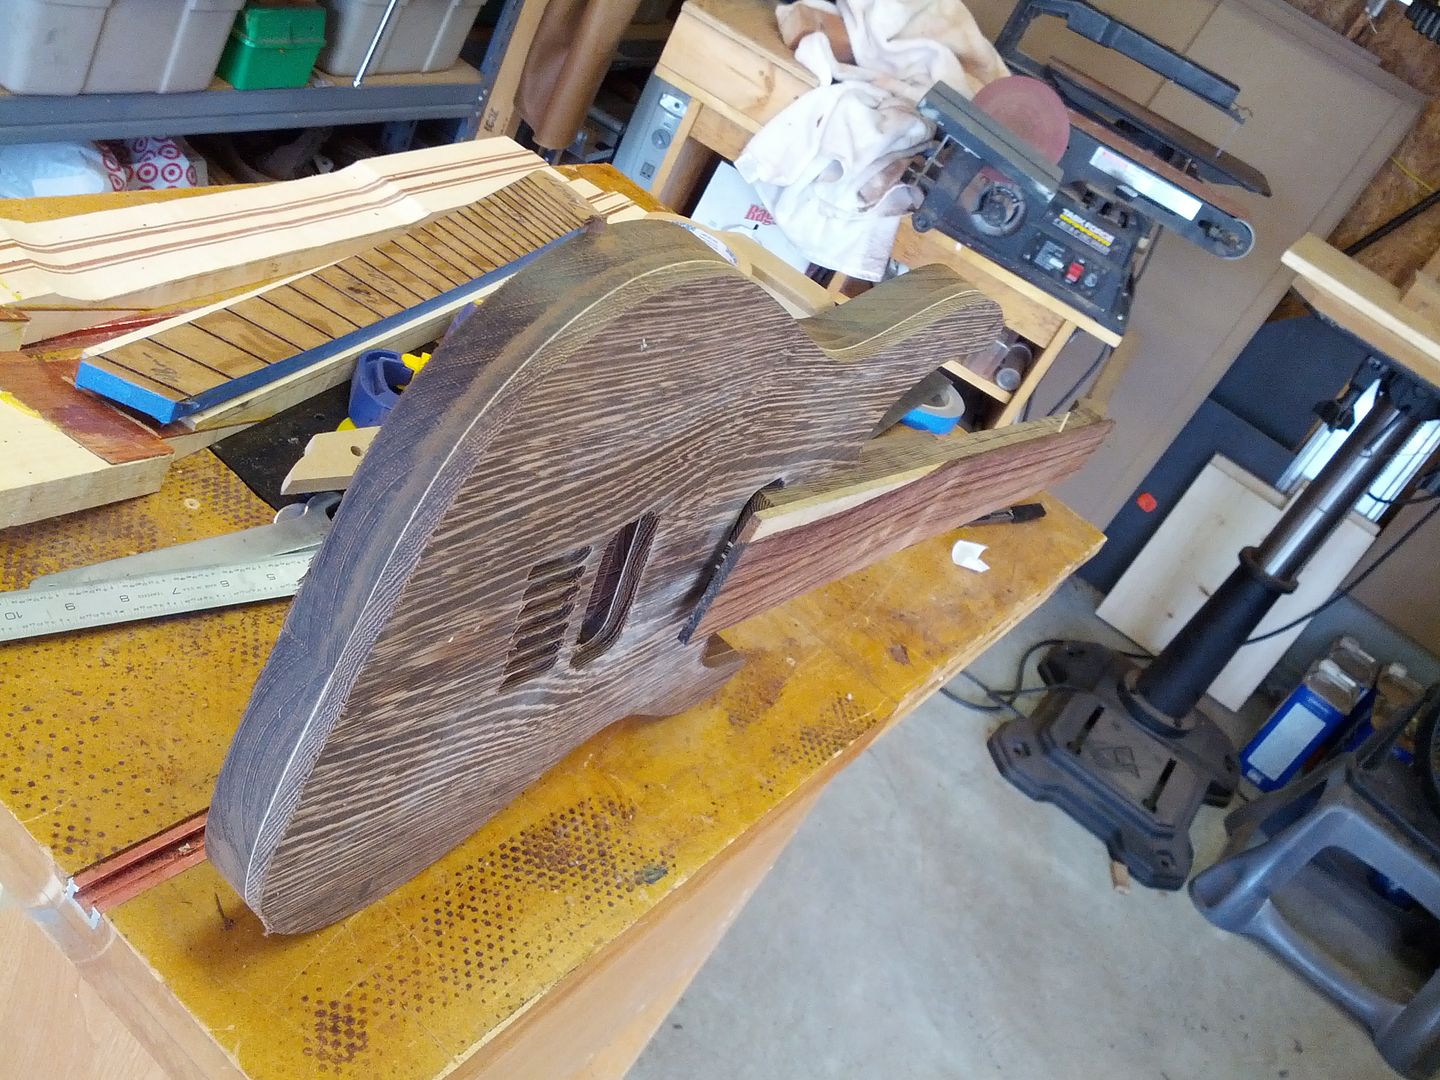
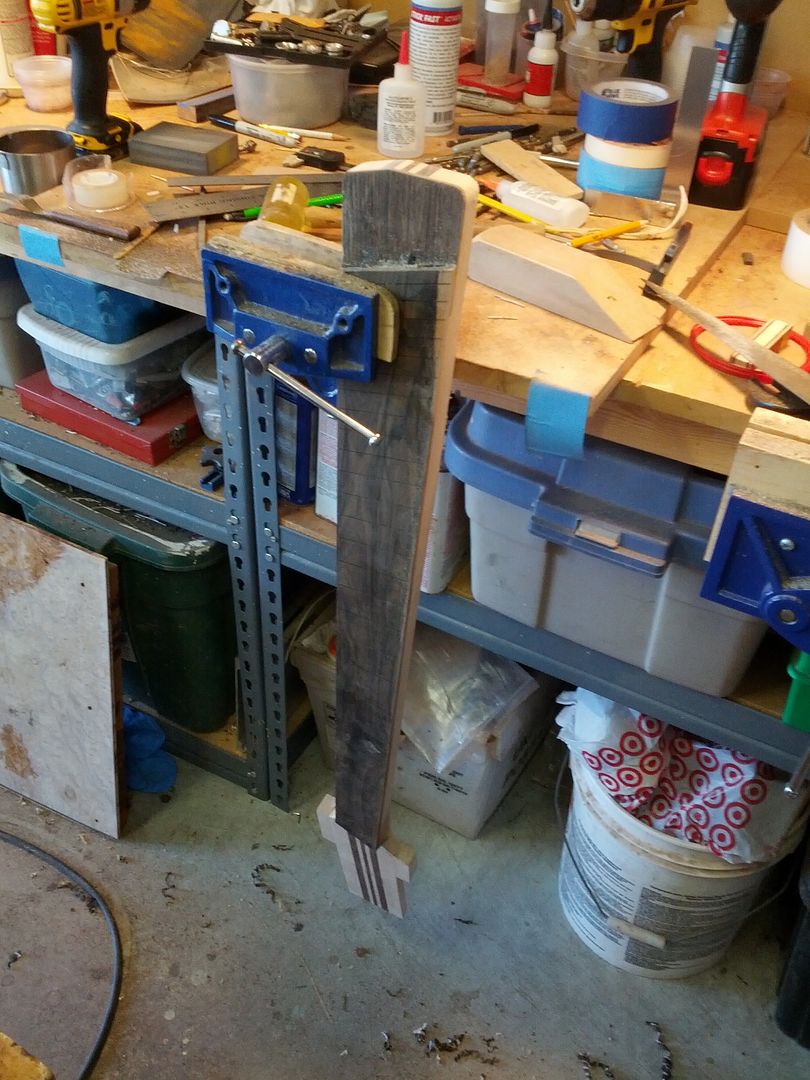
Lets get a look at the beast before moving forward.


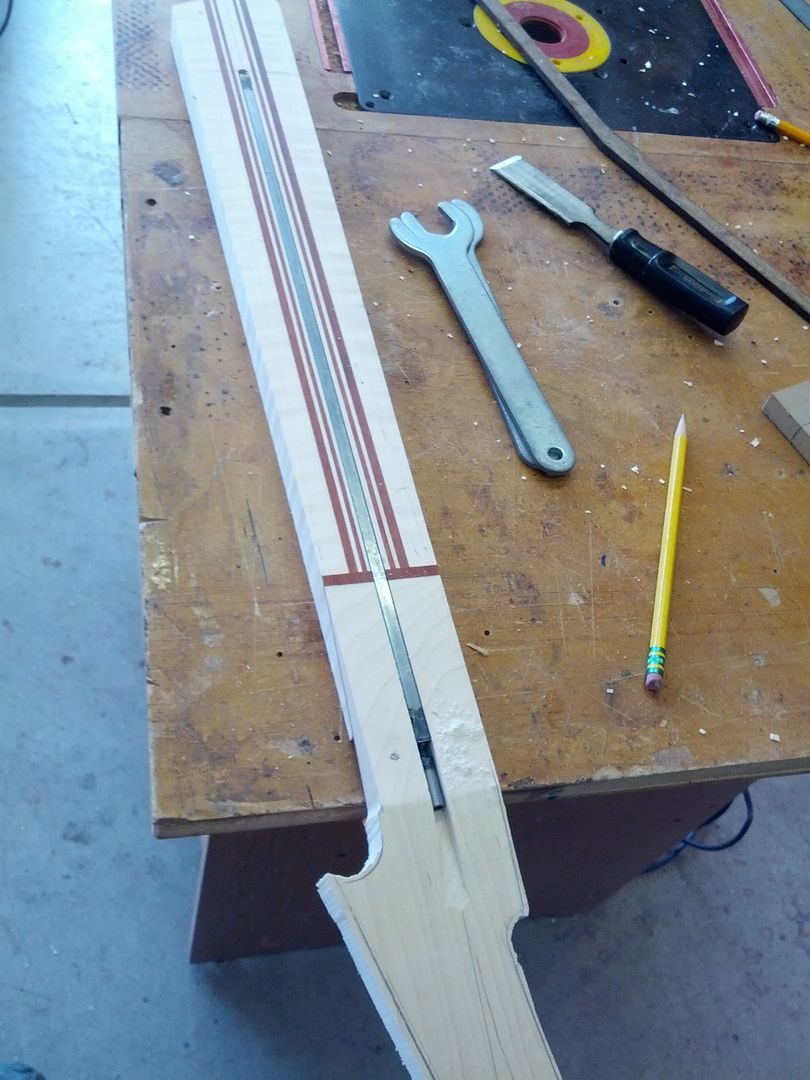
Lets get the trussrod ready. I had a picture of how I use a rasp in a battery drill to clean out the trussrod nut area but it was blurry.
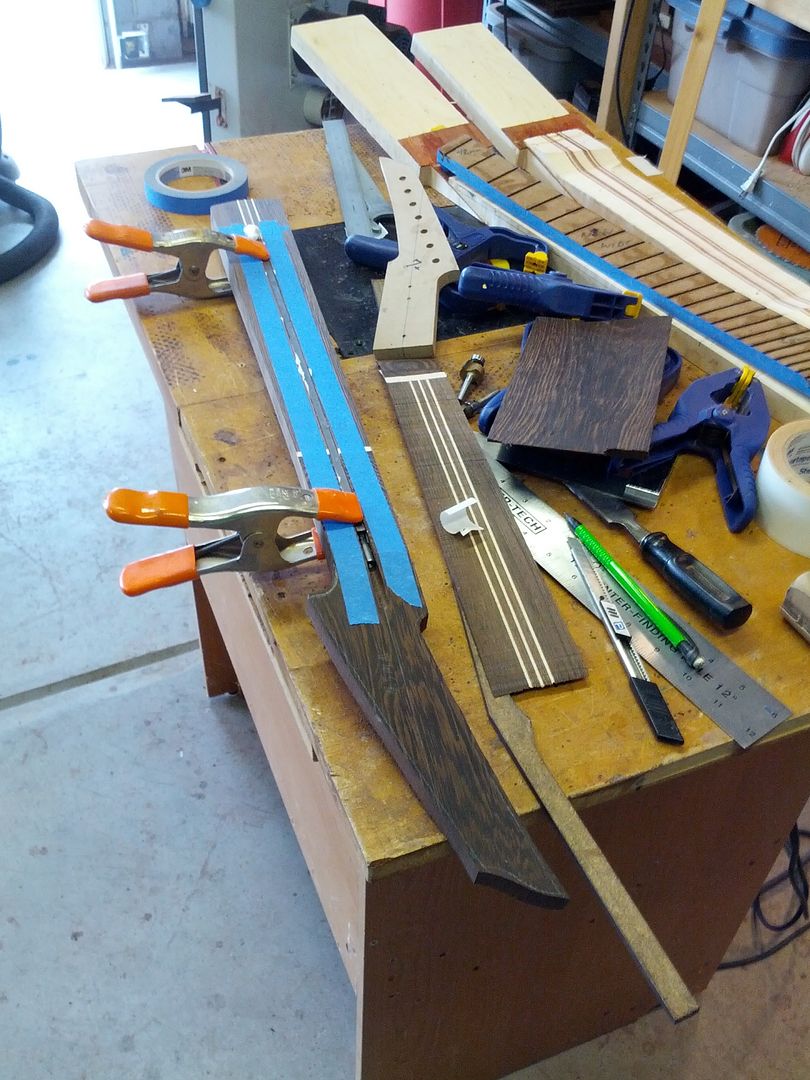
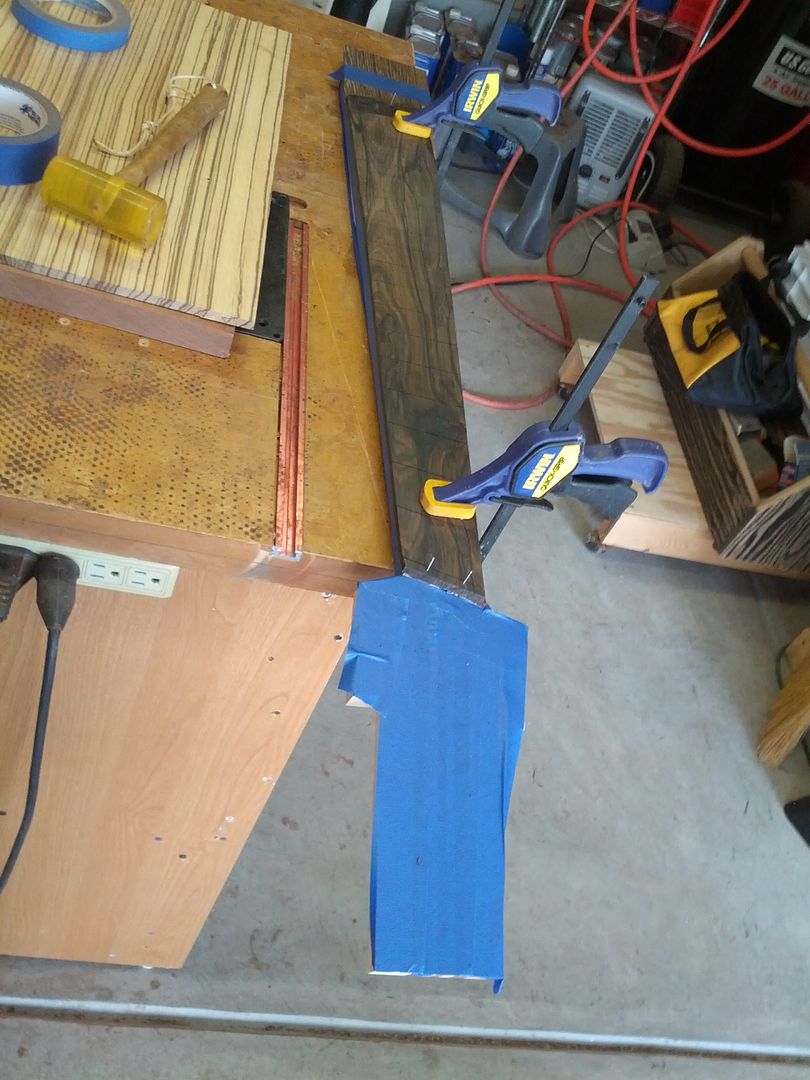
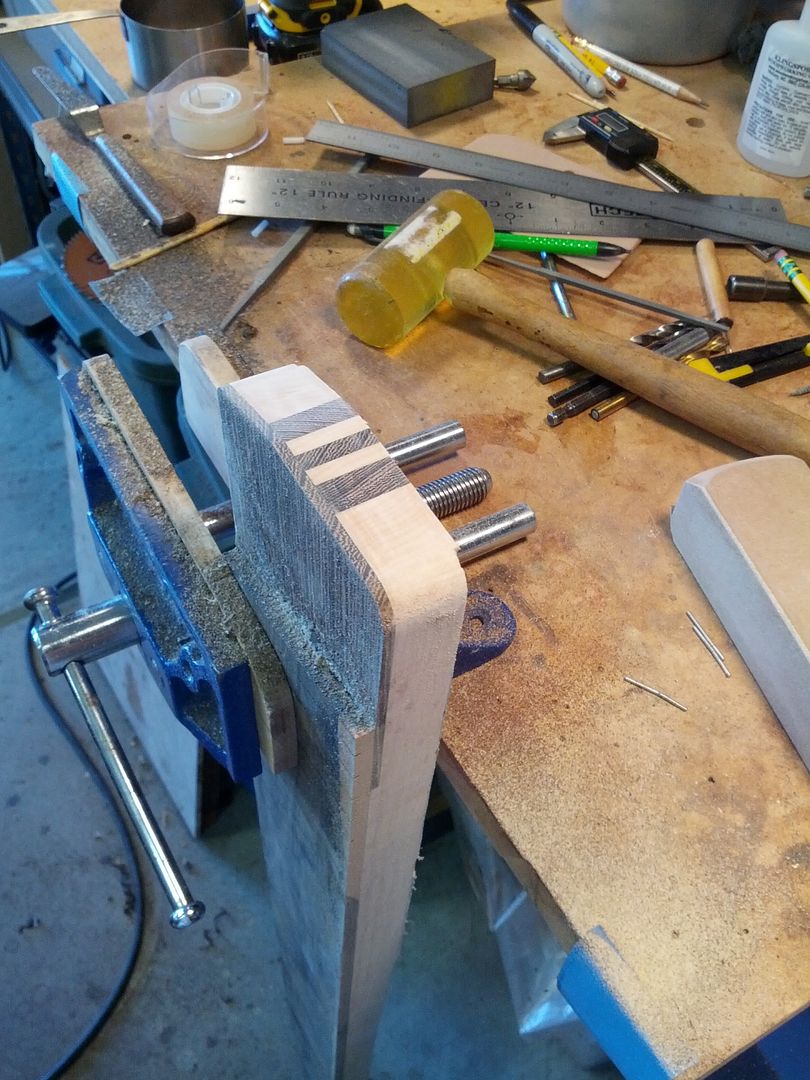
Tape before epoxy. Trust me on this. Unless you really enjoy cleaning hardened epoxy do this. Especially with oil finishes I do not want any epoxy filling up pores. I know what you are thinking "You haven't even carved that neck yet." If you don't believe me, well, then have fun.
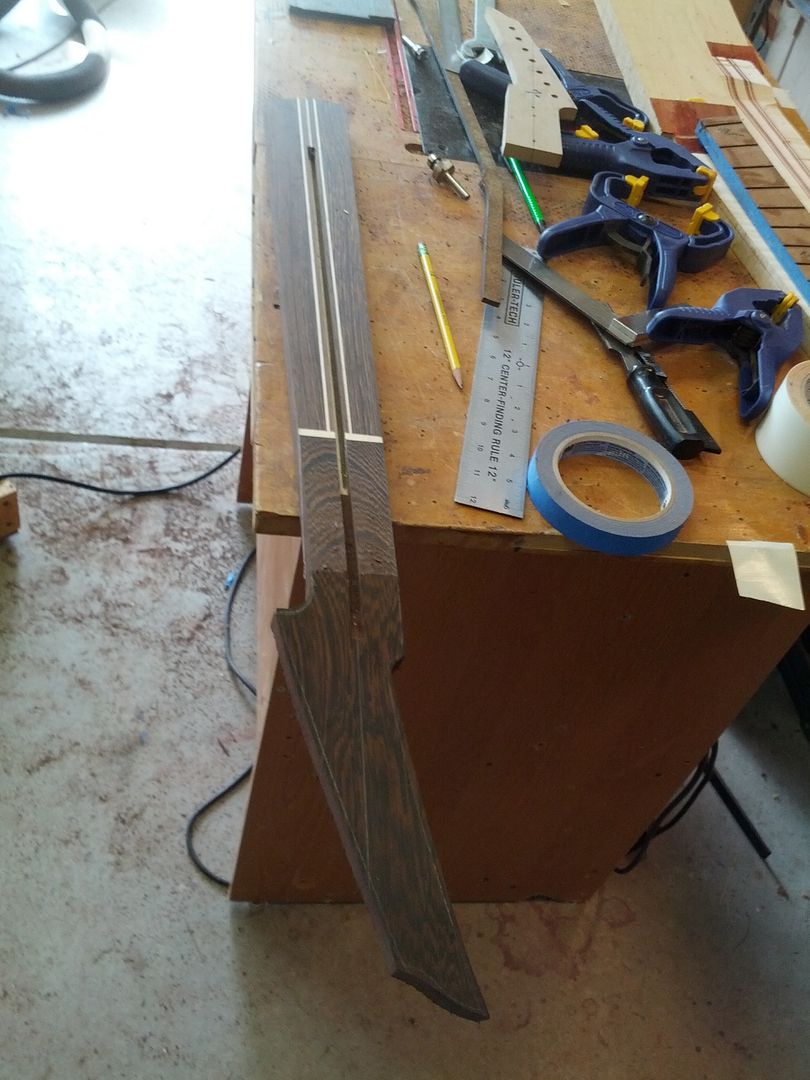
Laying out the neck profiles by hand..
Again you might ask yourself why is he profiling necks by hand when he has a CNC? Because I am faster than the CNC and just as accurate. Right now I am in the middle of 3 builds do in July. They have to be basically done by June 1 in order for the oil finish to cure enough to ship in July.
The CNC took a whole Saturday to cut out the Wenge body. I had to slow everything down because of how hard the material is. Normally I can cut out 1.5 Bodies on a Saturday. Anyway while RoboRAD (R4-D5) was cutting bodies I decided to finish up the necks. That means time for some router table.
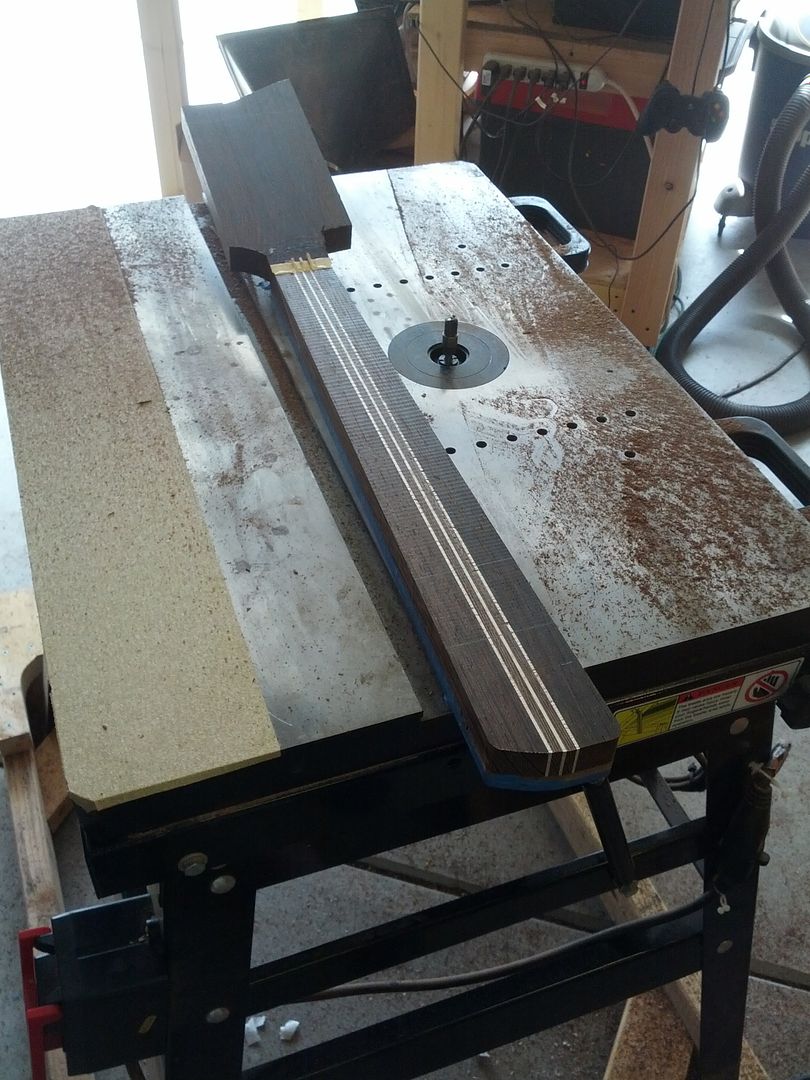
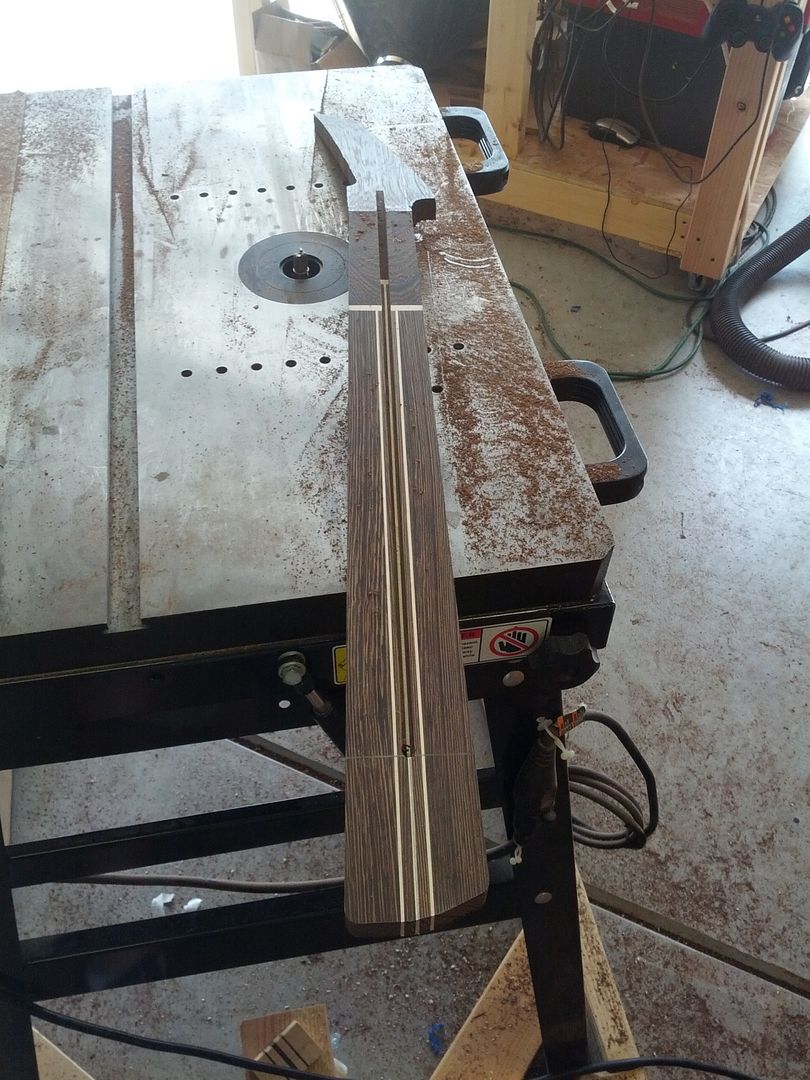
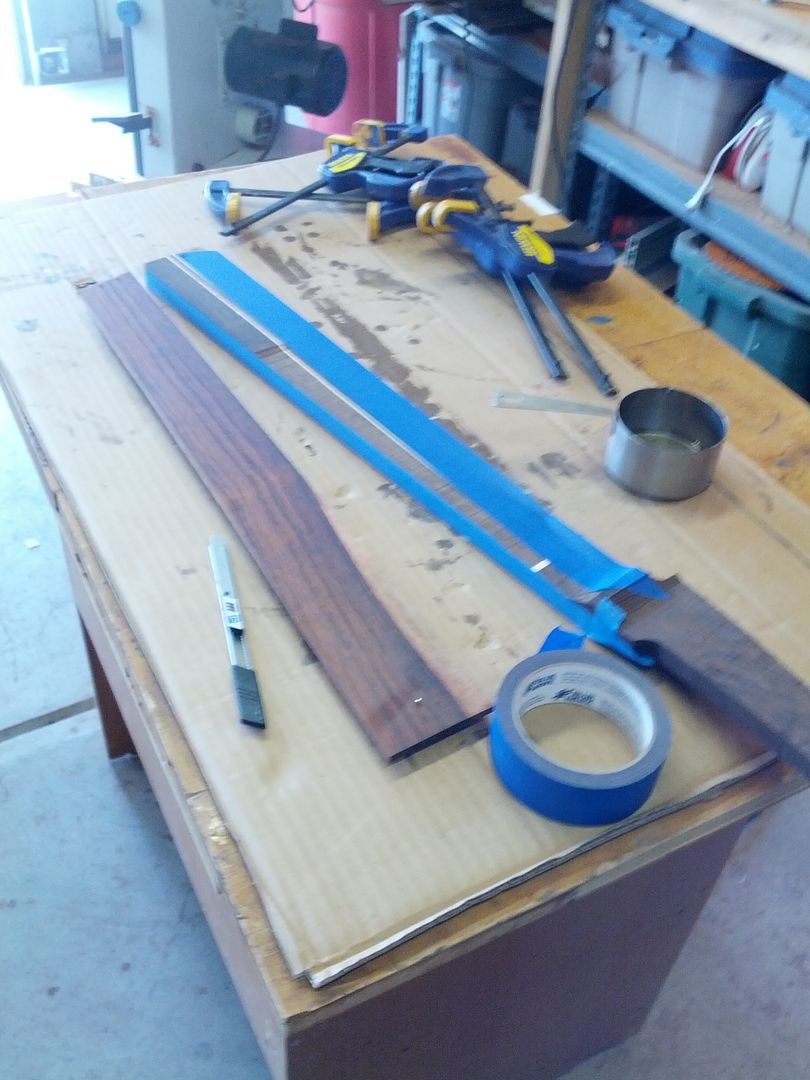
Get your centering rulers and dial calipers out as it is all old school now.
After centering and attaching the template I cut as close as I can with the band saw. Normally you would not want to take more than half the diameter of the bit. That is fine for making cabinets but not guitars with figured wood. I do not want the router bit cutting more than half the depth of its carbide blades. That is about .0625" or so. Watch the kerf on the bandsaw as it can be deceiving and leave scratches deeper than your template. You can use the sander to get even closer.
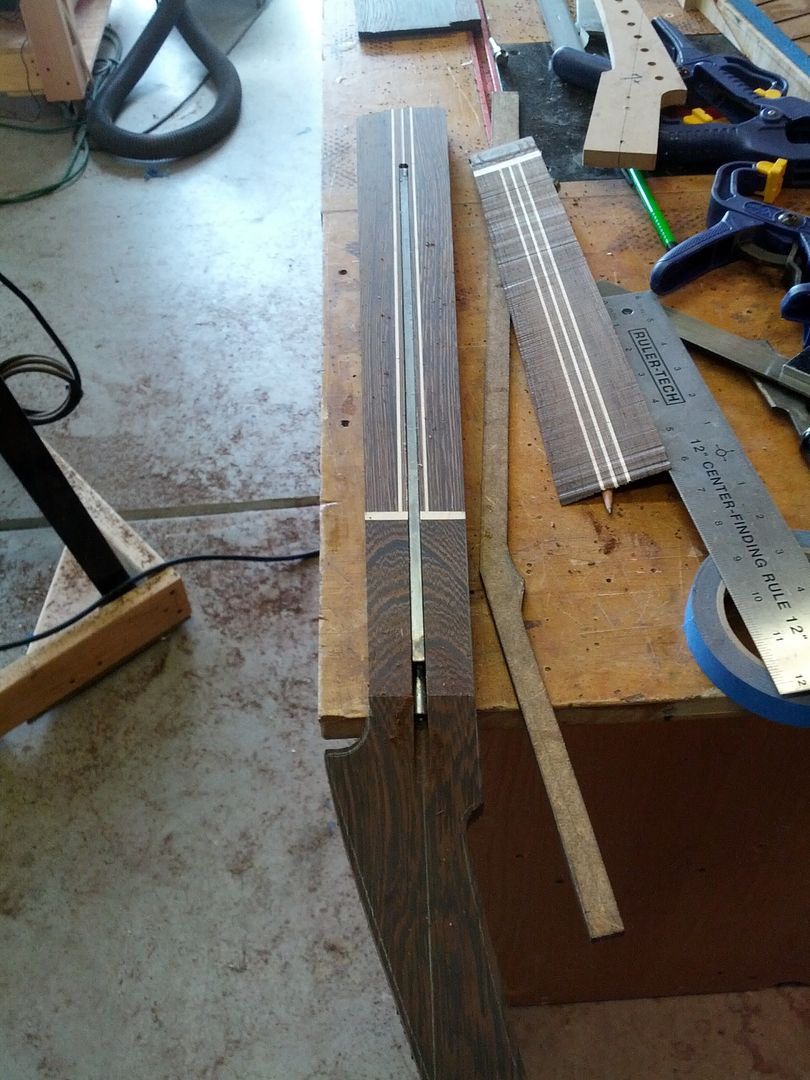
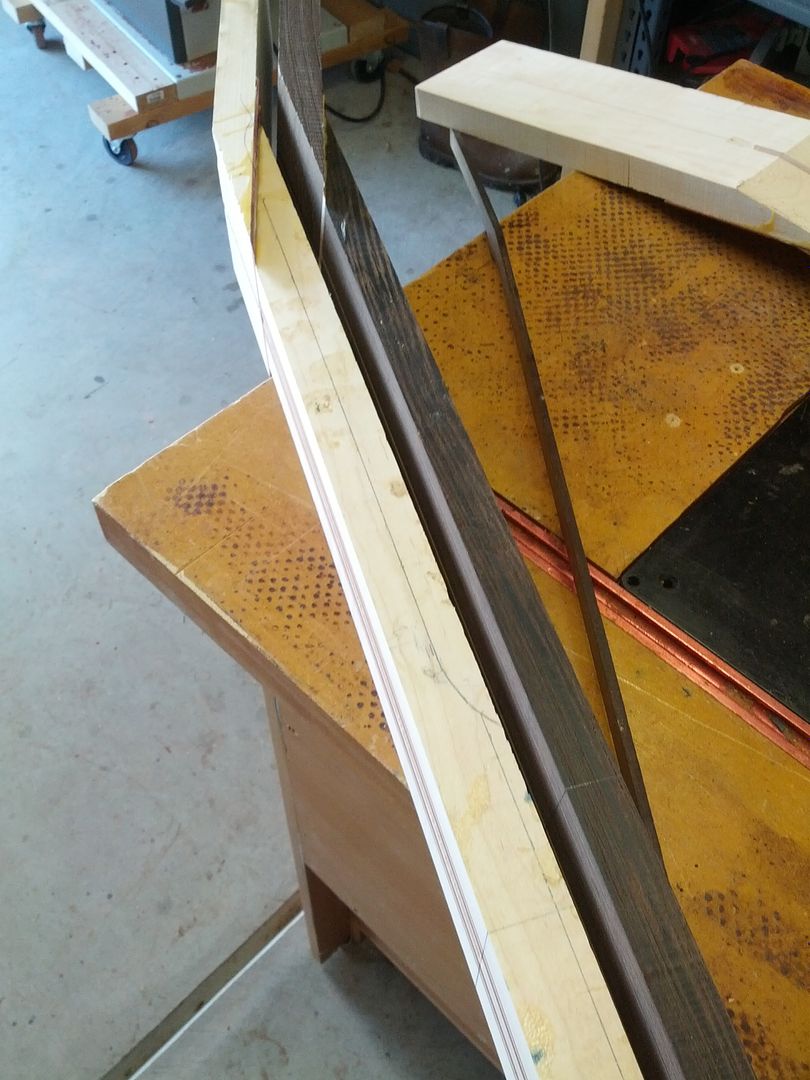
With the router the first pass should always be very small. Just enough to get a clean edge. Since on a neck the only part really left from profiling is the edge of the fretboard this is important.
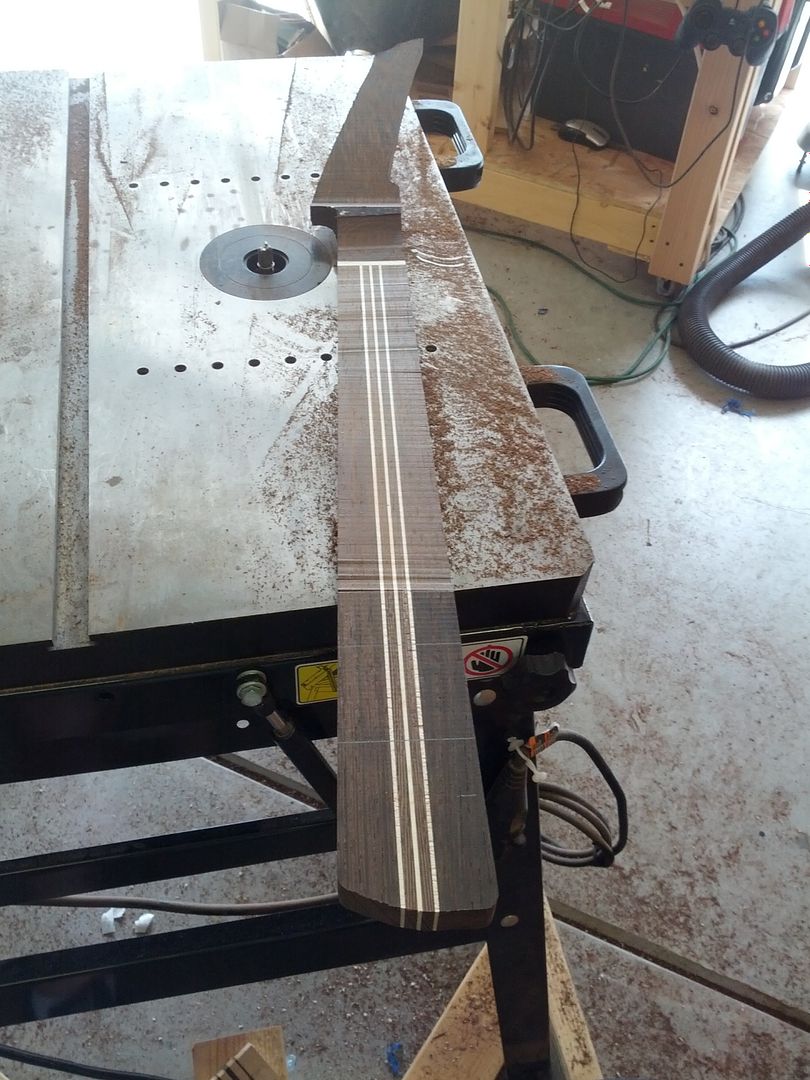
This is after 2 passes


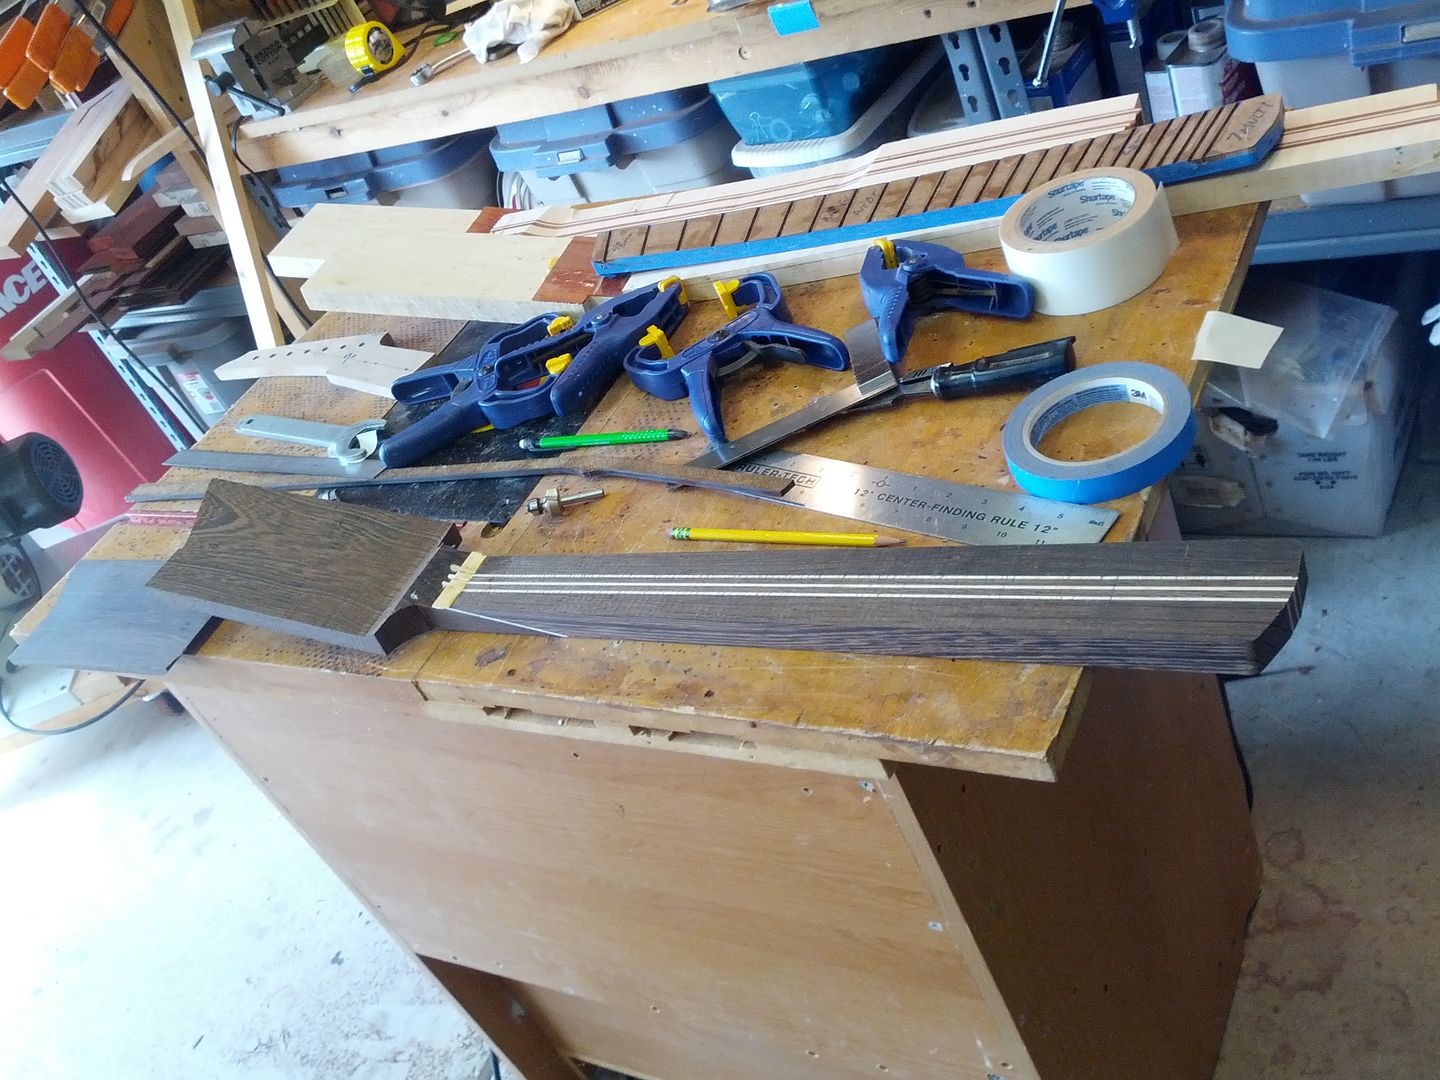
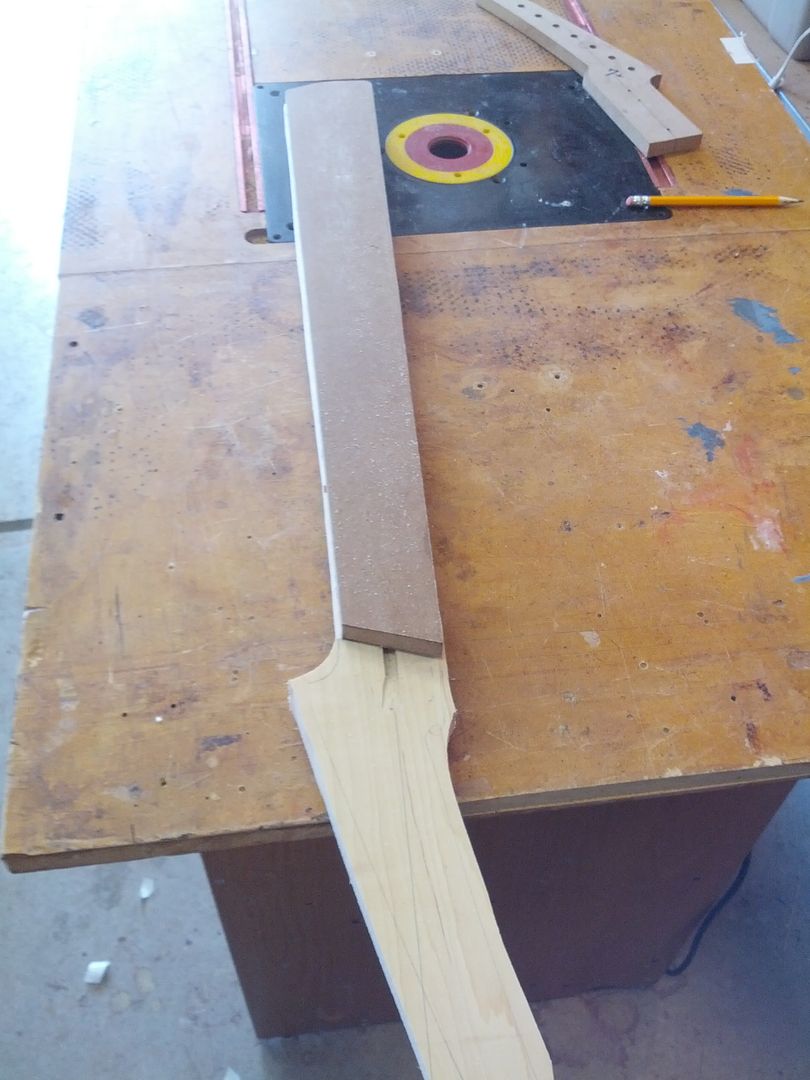
Be careful removing your templates. Now I have to make a new one.

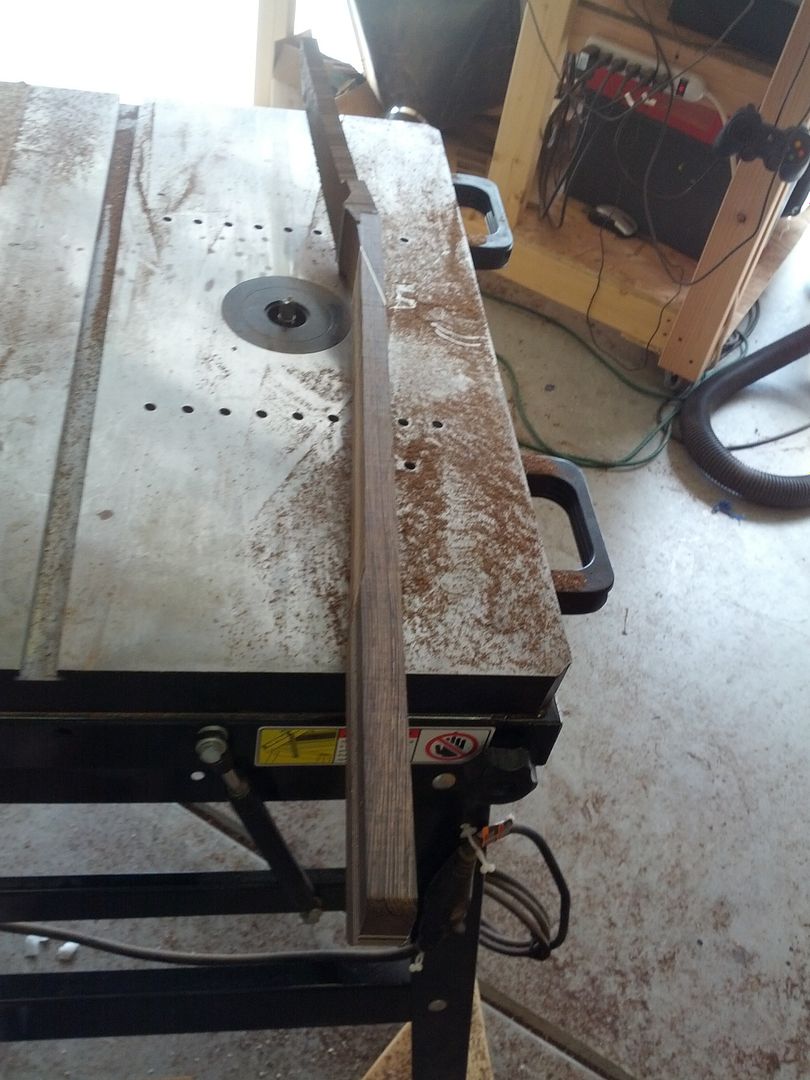
Almost ready for fretboard

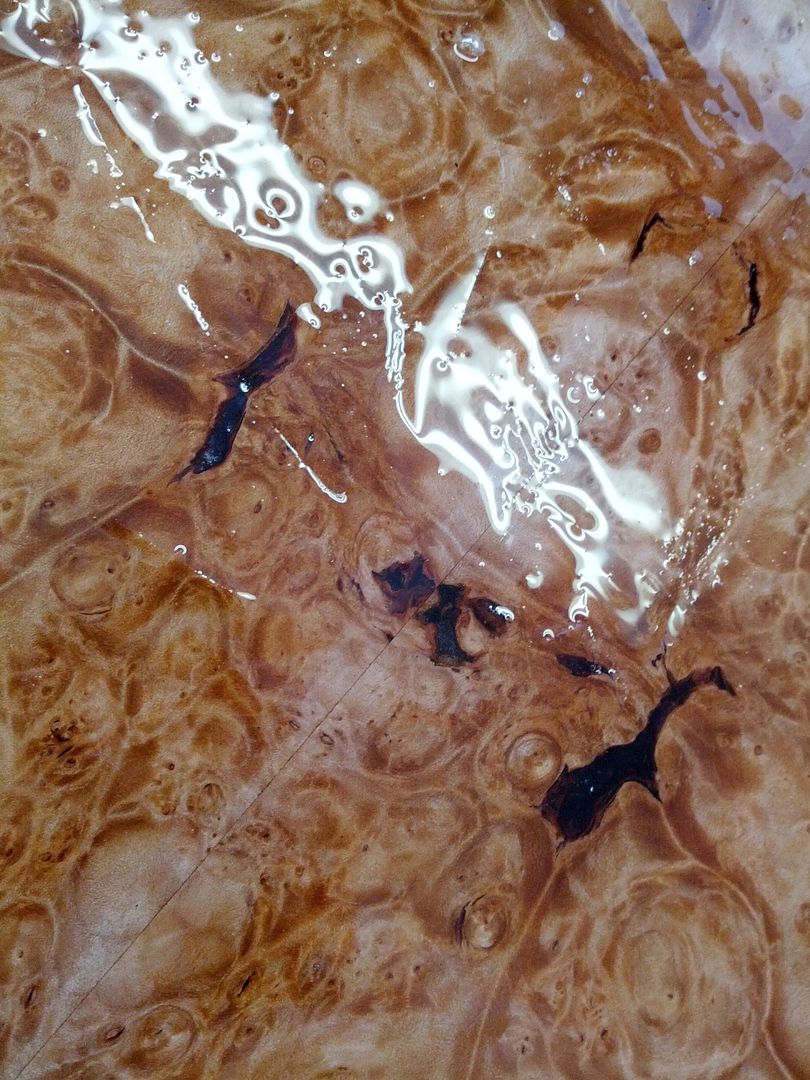
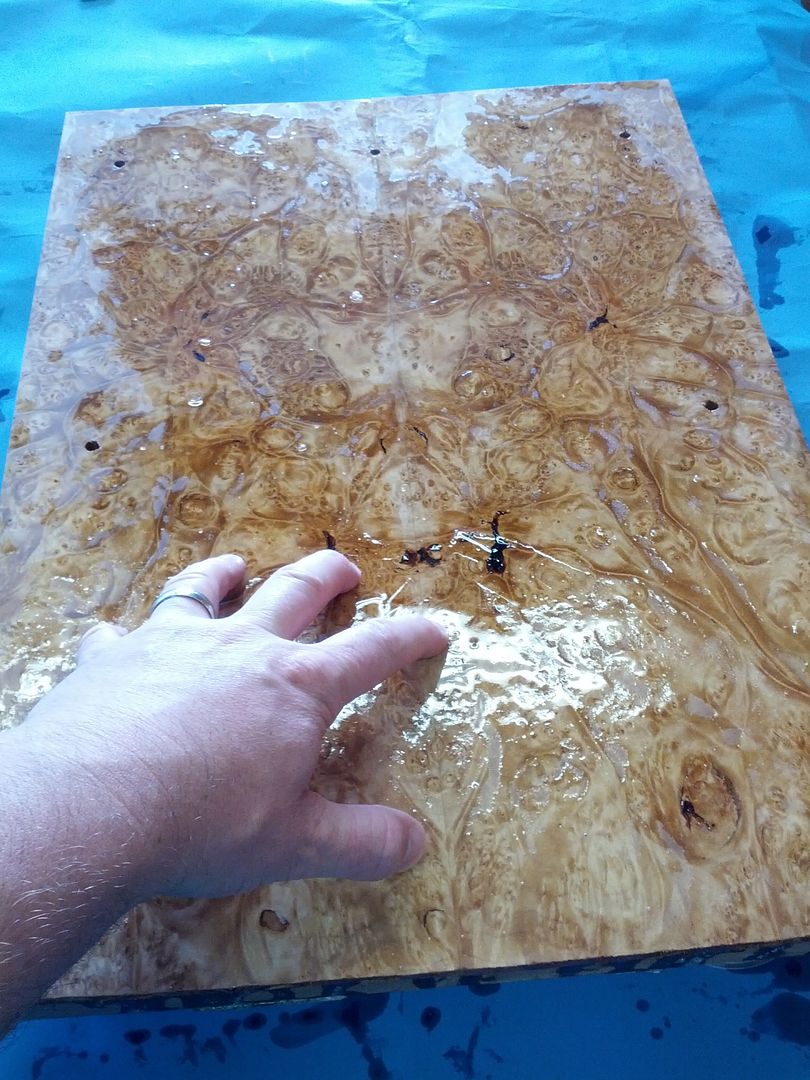
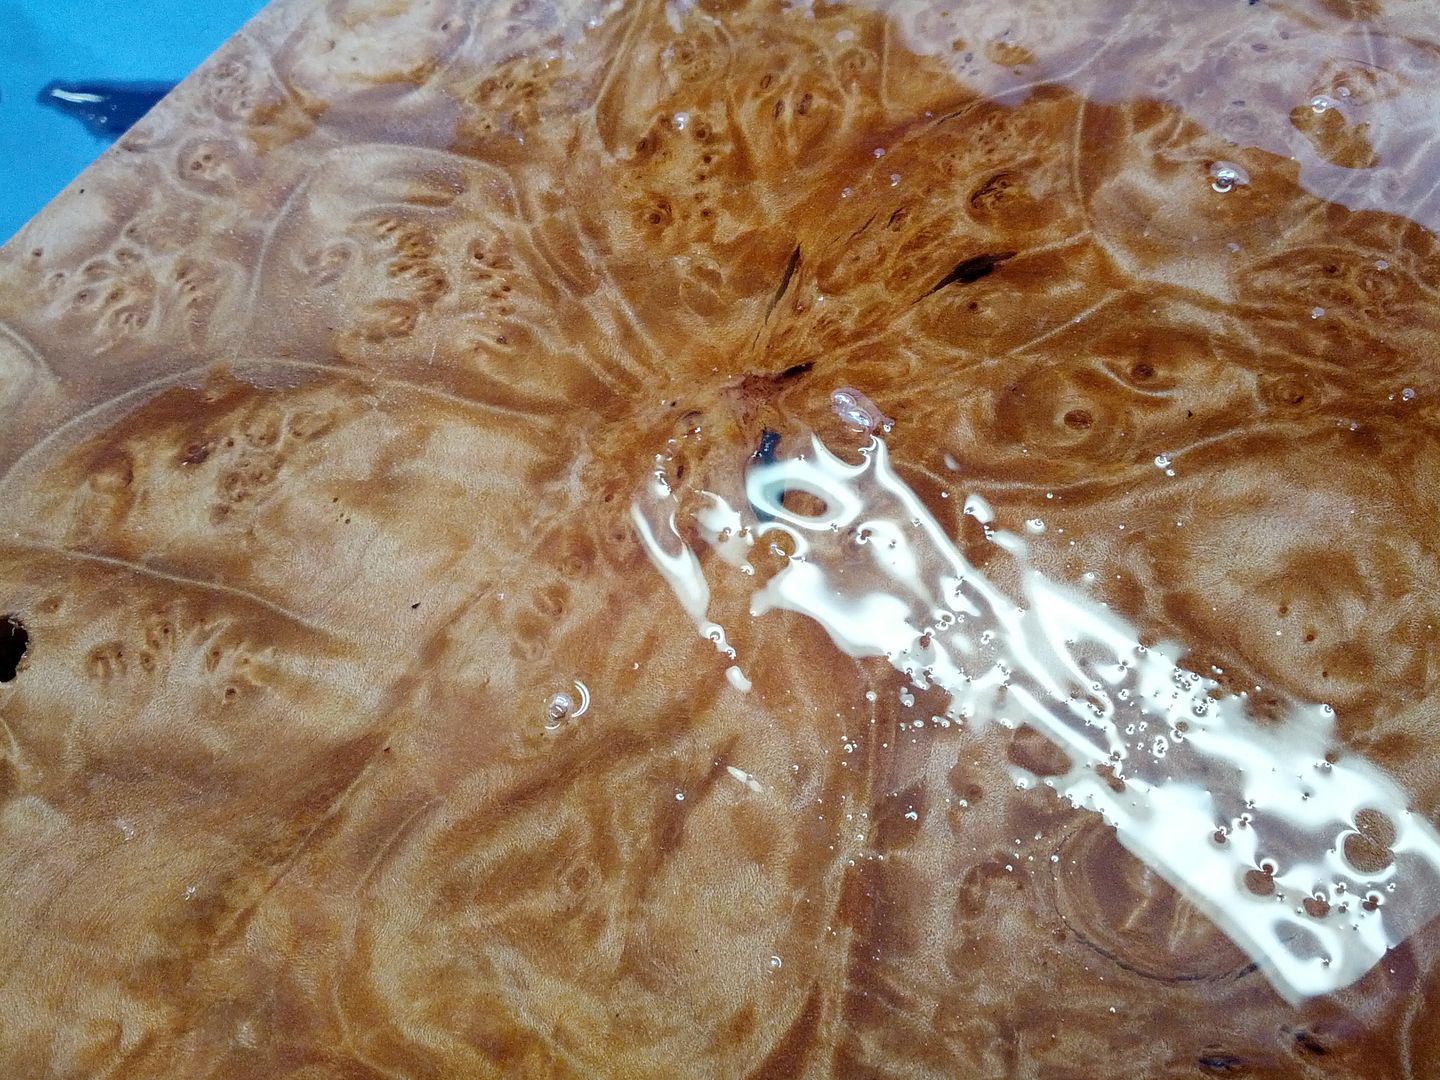
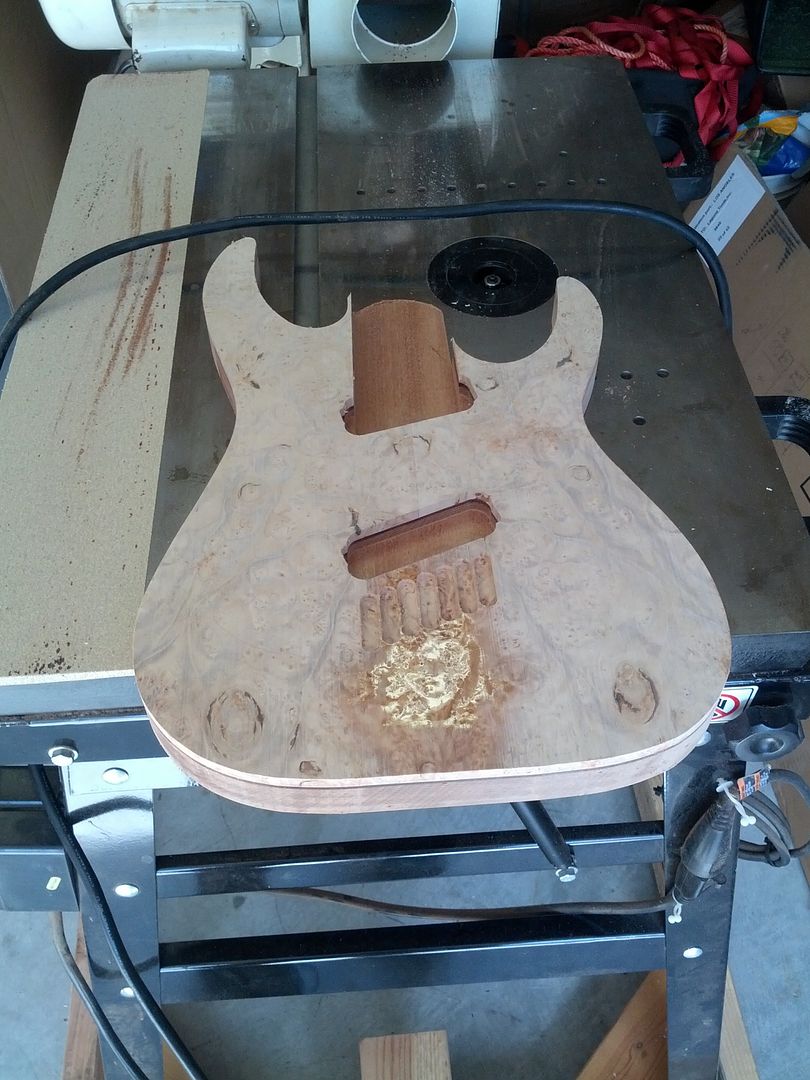
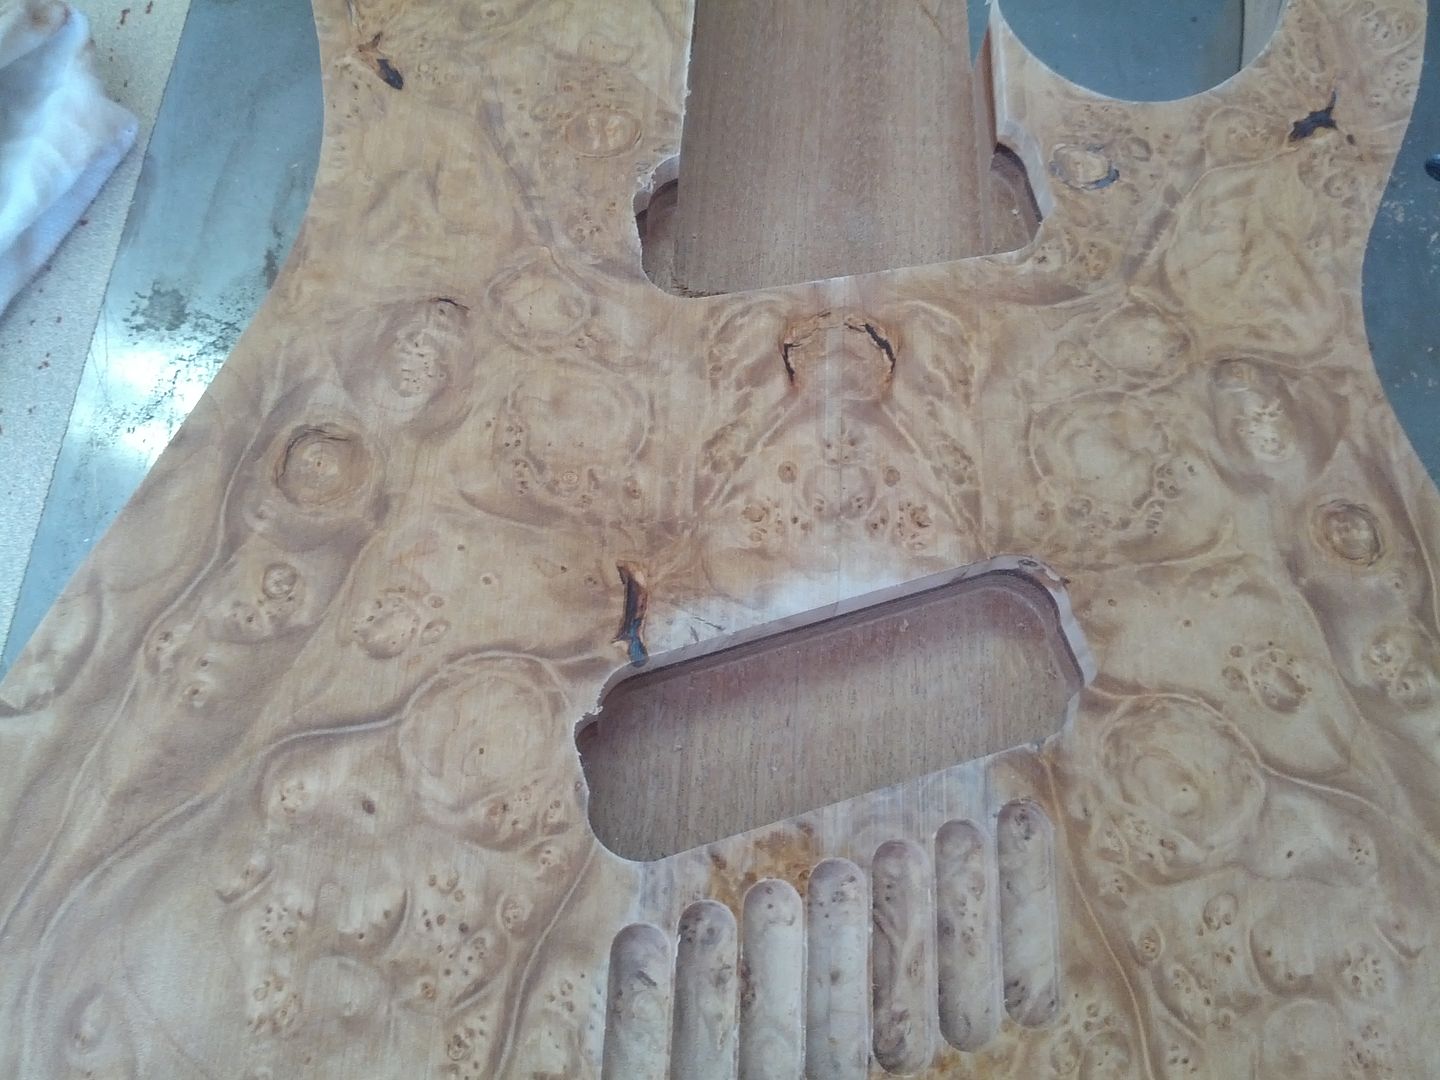
In order to make Burl Maple bullet proof enough for a metal band I have to resort to crazy things. In the past I have used CA to fill voids and harden the soft spots. I always feel like it dulls the coloring though so we are going a different route.
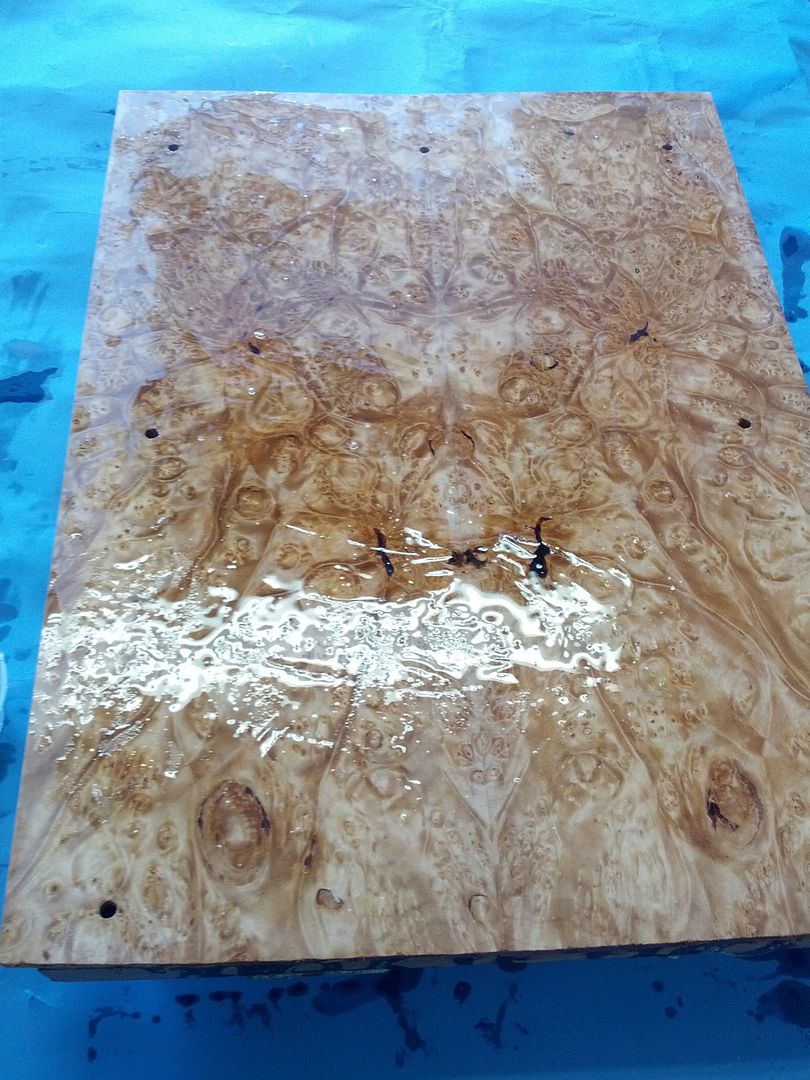
Enter System Three Mirror Coat epoxy. It is thin, soaks in, and cures hard as a rock with a very clear and shiny finish. We are not really using at a finish just stabilizing the wood. It does not bubble like normal epoxy when mixing so you don't need a vacuum to get it settled into voids. It doesn't yellow. And it is going to last a lot longer than CA.
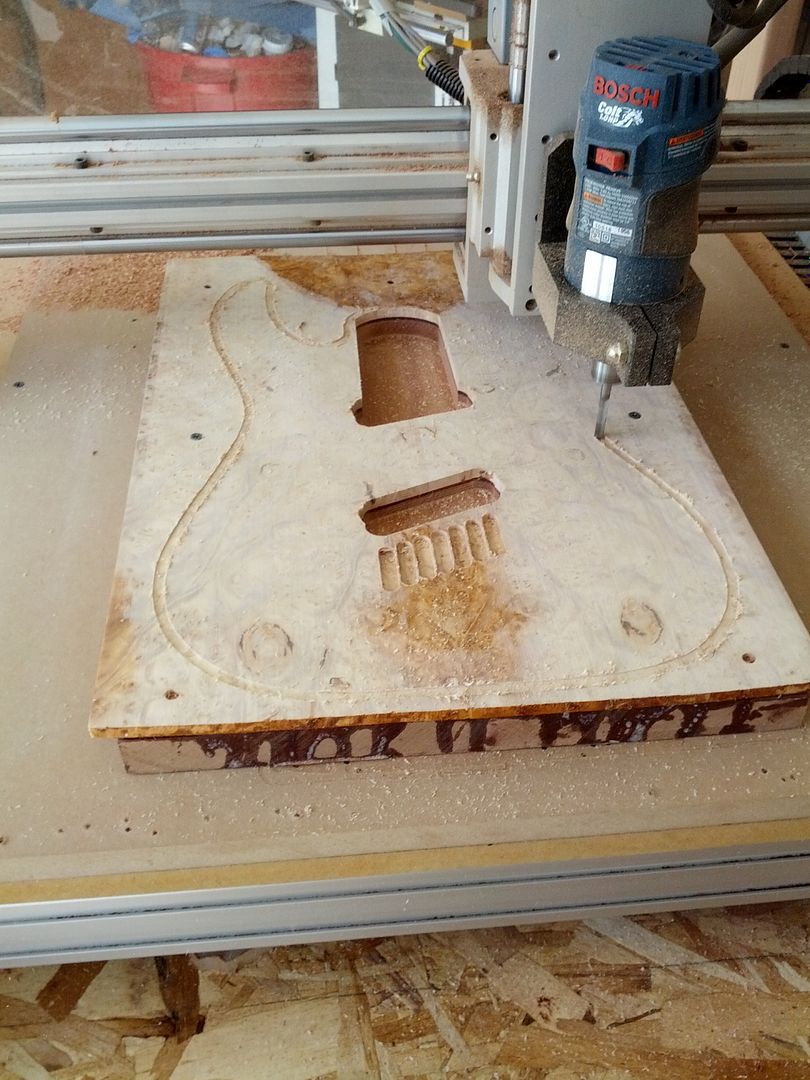
I coated the blank before machining. This gives the router a solid surface to cut and helped prevent the tear-out common in routing very soft woods.
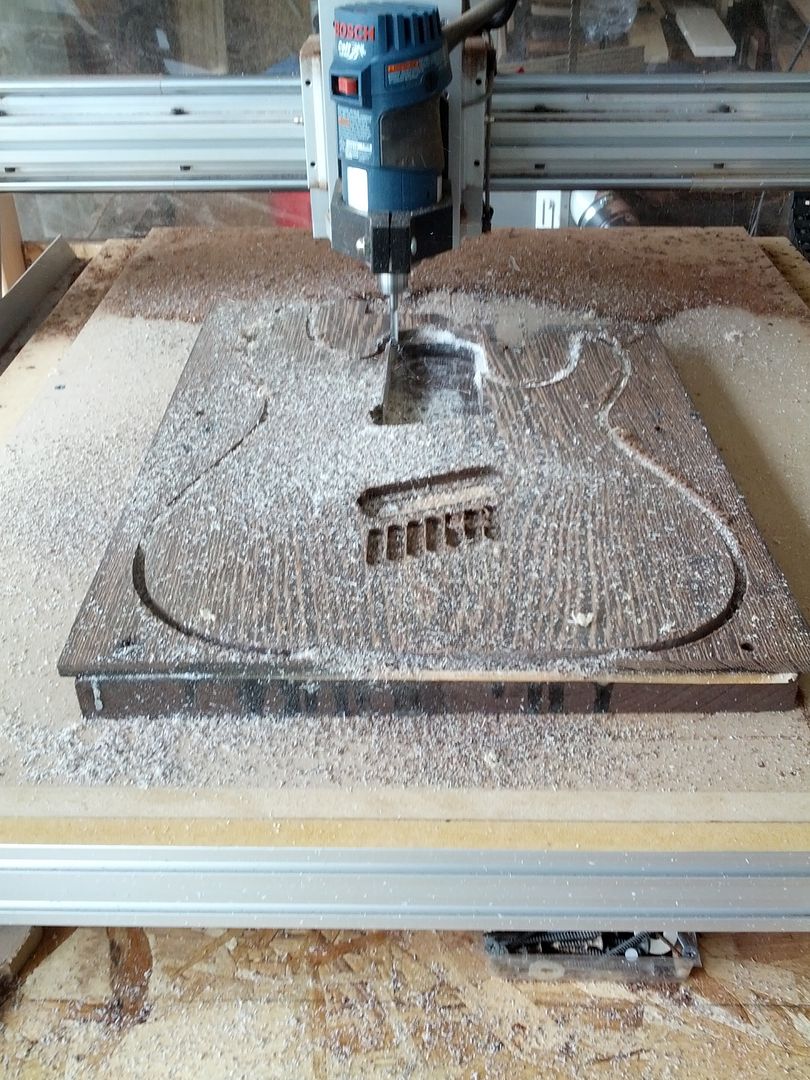
As you can see R4-D5 is doing something. I call it R4-D5 because I never know when it is going to blow a motivator.
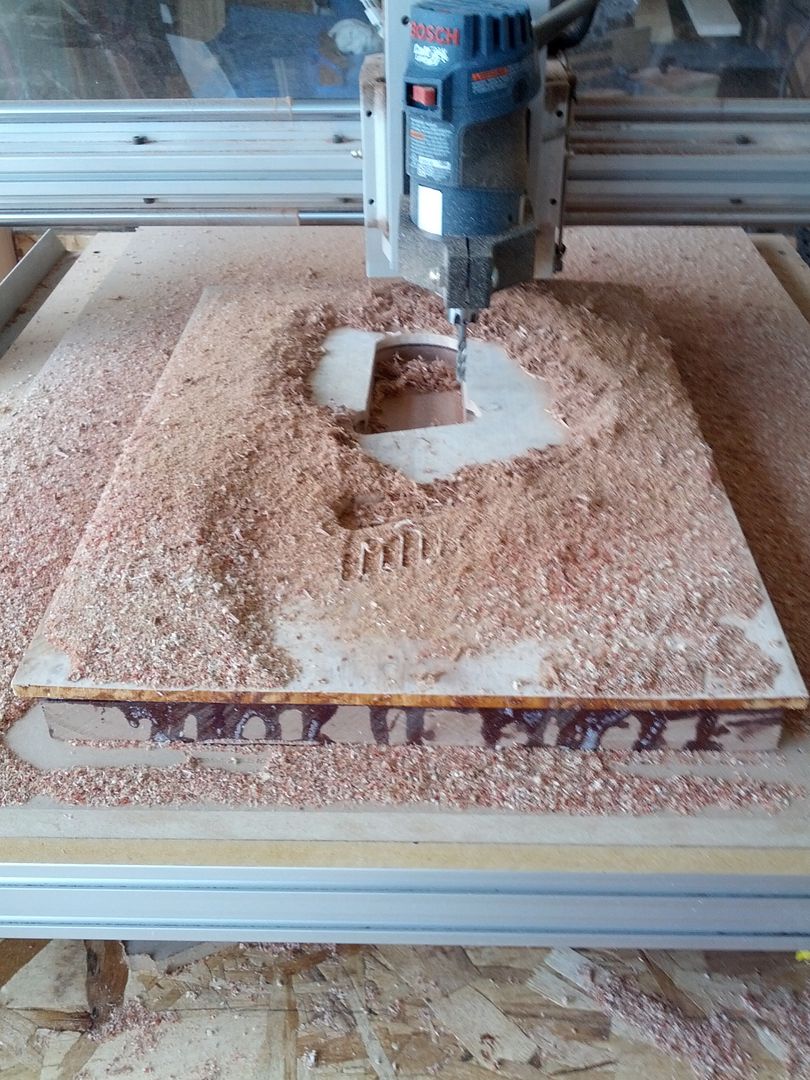
Now we see

I am working pretty fast on this bass and as a result pictures are sparse.
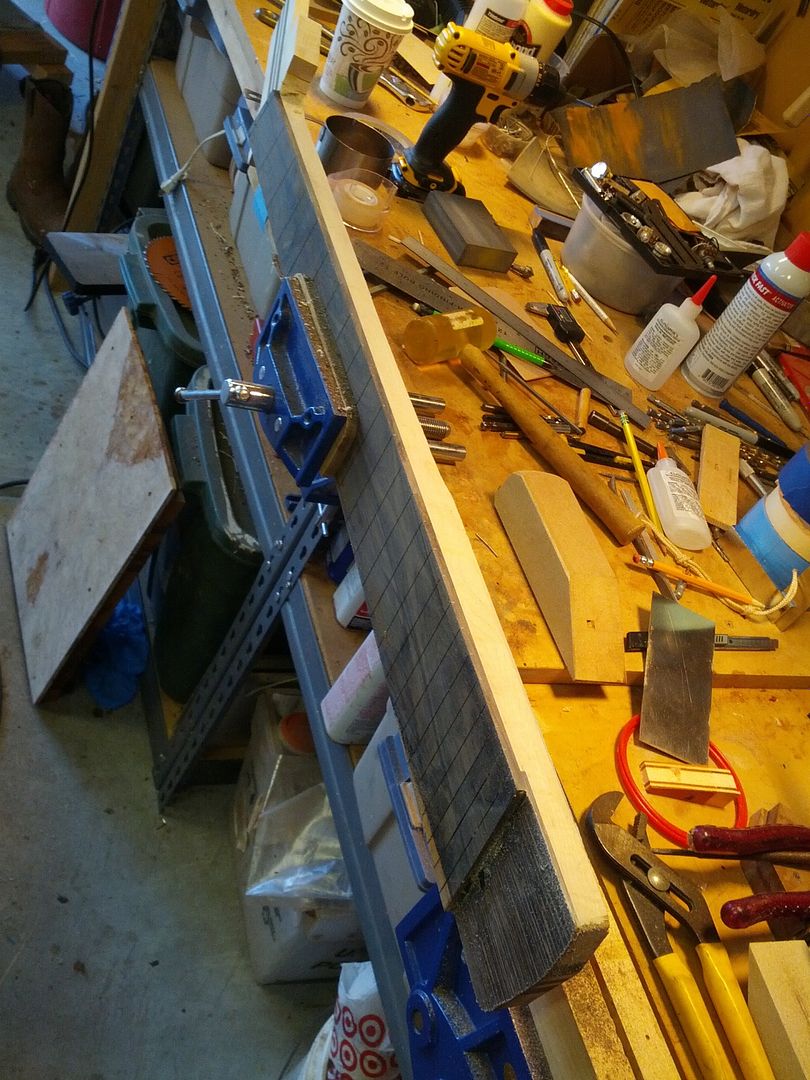
Fretboard aligned and pinned.
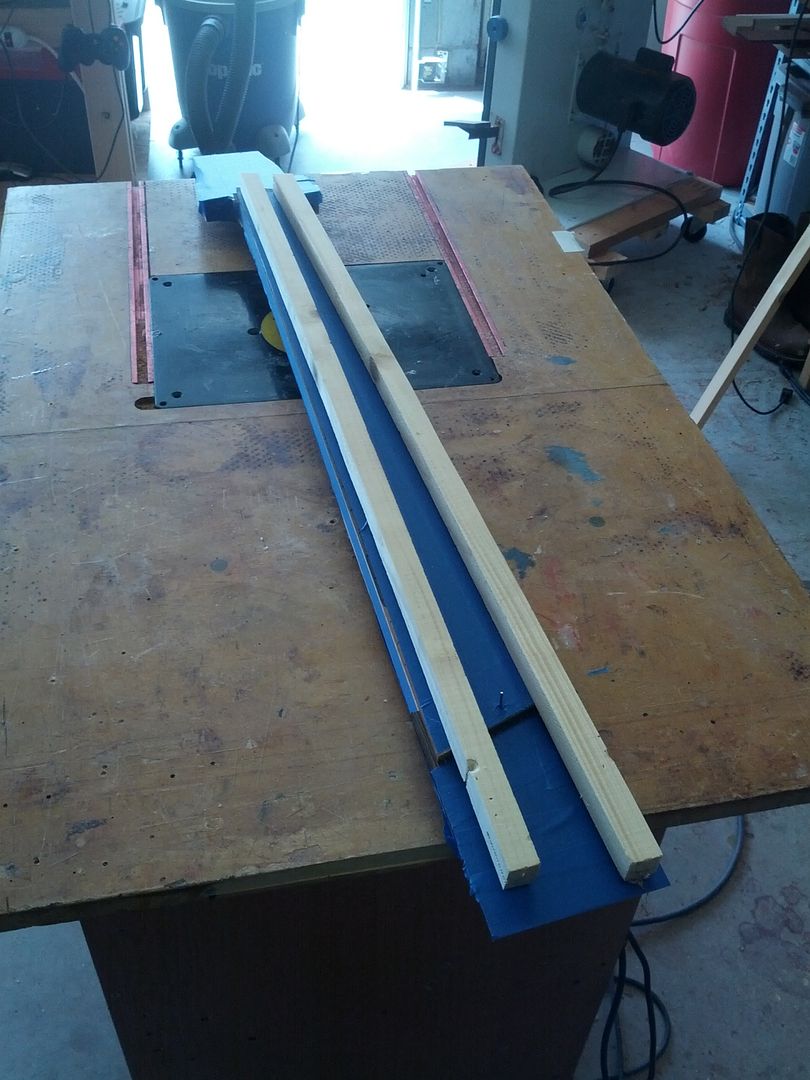
Again I say "Basses are big" and I needed new runners for clamping the fretboard on.
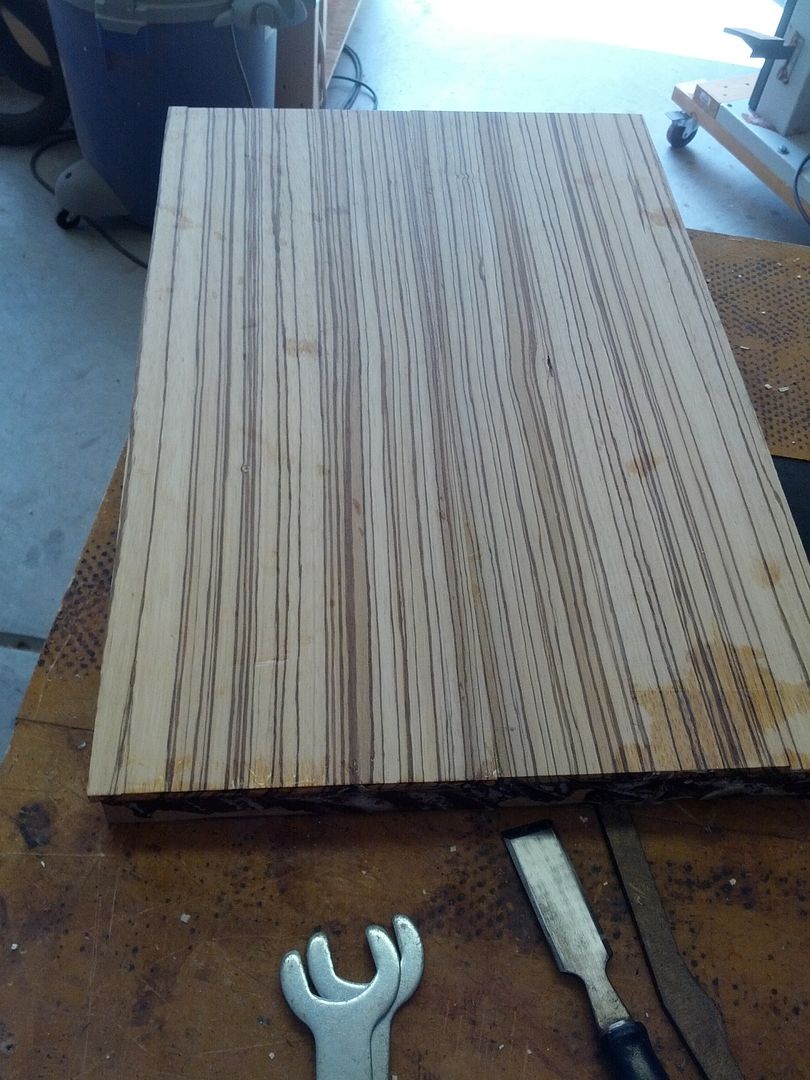
If you remember I had to make a new body blank for this so here is the the new blank joined, glued and ready to go.
After the fretboard is glued on I clean up the sides and heal by hand as it is safer than using the router.
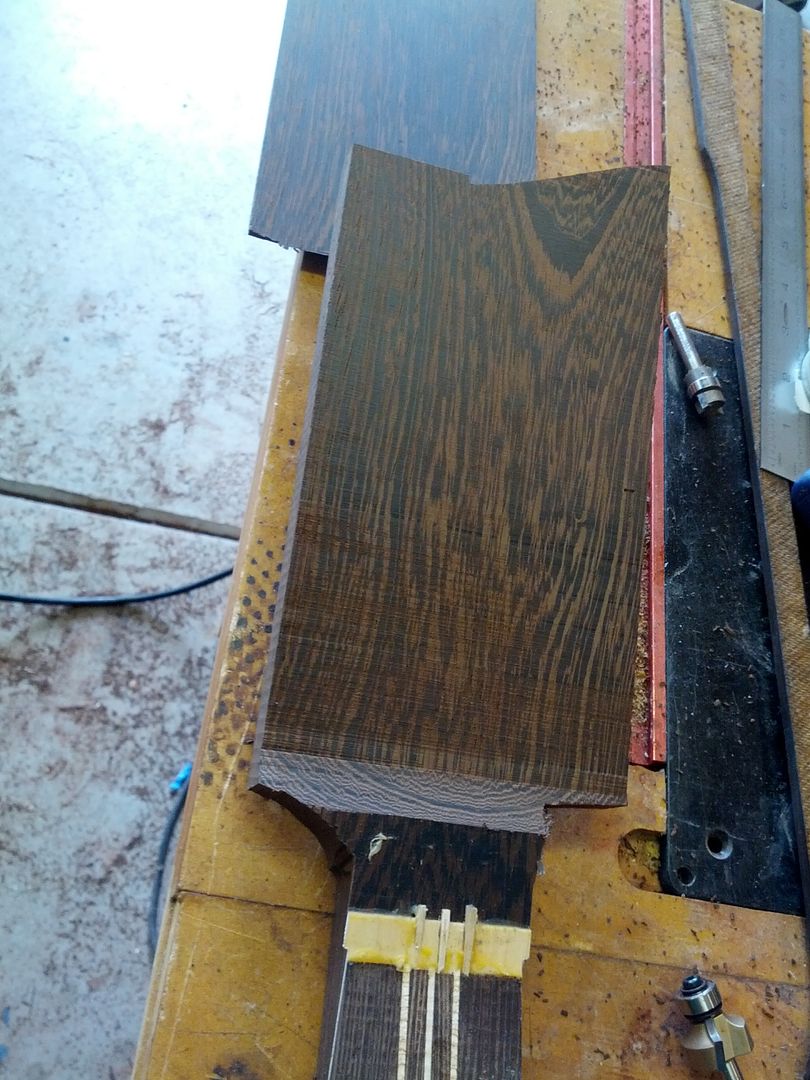
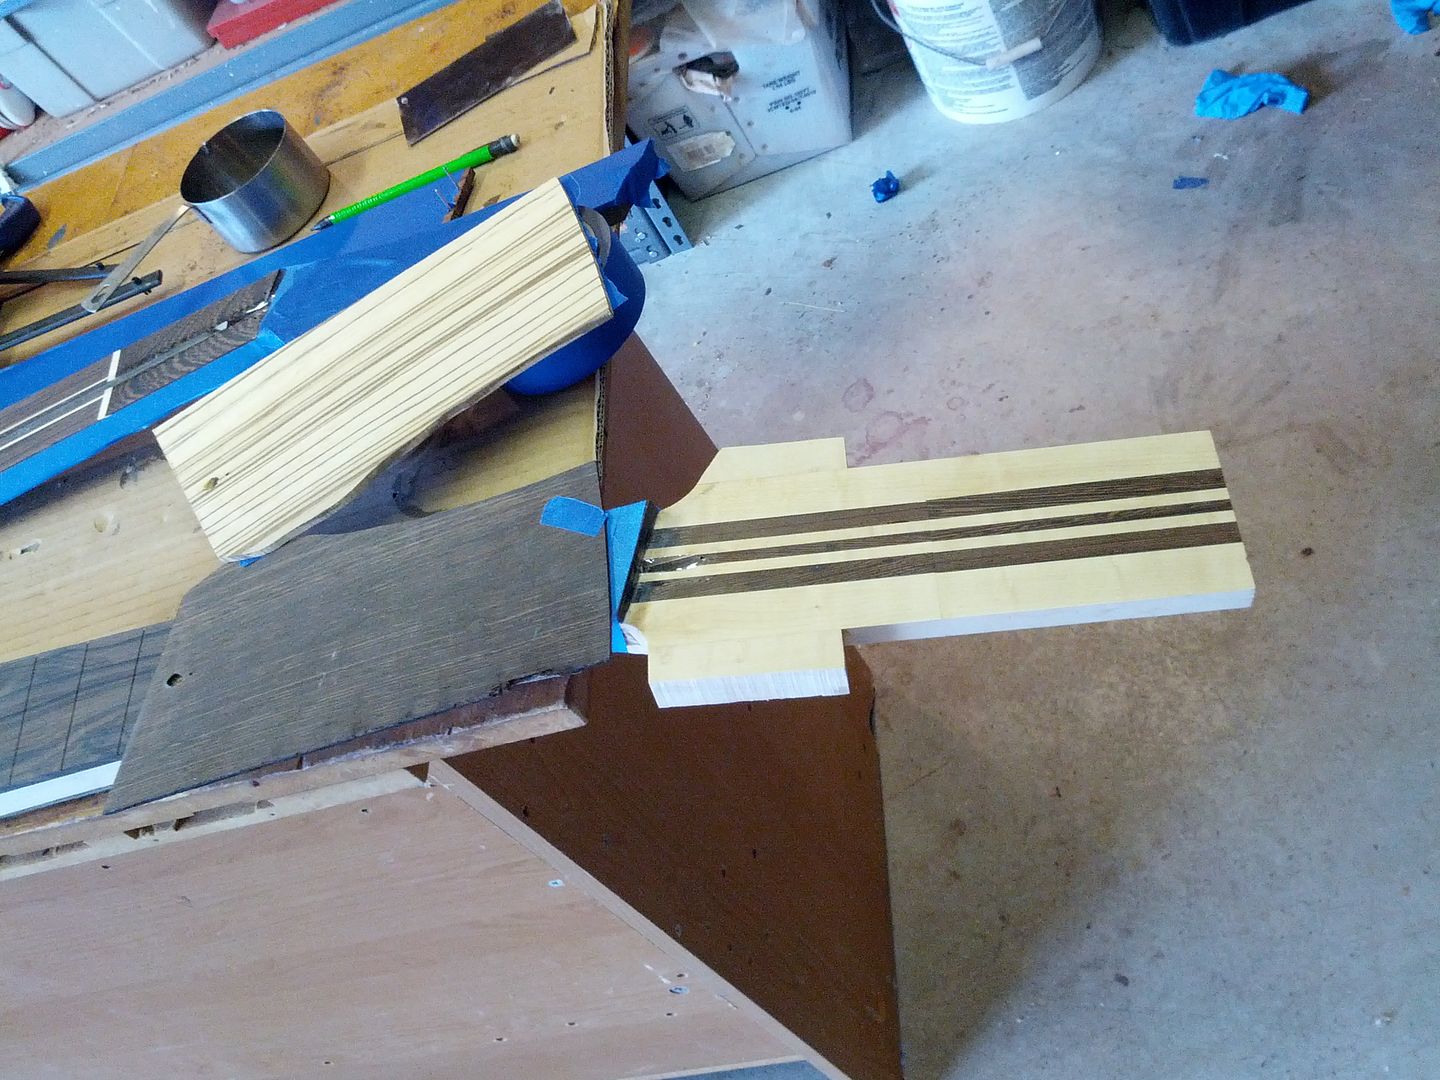
Headplate time. Wow I didn't take any other pictures. Slack.
No comments:
Post a Comment
Note: Only a member of this blog may post a comment.